
To get a sleek look with wood slat wall panels, it’s vital to pay attention to spacing and seams. Proper measurement and planning help create consistent gaps that highlight the natural grain and make your wall appear seamless. Avoid common mistakes like misaligning panels or rushing measurements, as these can cause uneven seams or gaps. Mastering the right tools and techniques ensures a professional finish—if you’d like to discover expert tips, keep exploring how to perfect your installation.
Key Takeaways
- Proper spacing ensures a seamless look, highlights natural grain, and prevents warping or sagging over time.
- Accurate measurements and consistent gaps are crucial for professional, aligned seams.
- Use spacers and level tools during installation to maintain even spacing and prevent uneven seams.
- Address misalignments promptly with filler, reattachment, or adjustments to keep seams tight and uniform.
- Material choice, stain color, and grain flow influence how gaps and seams appear, requiring careful planning.

WPC Wood Slat Wall Panels, 8 Pack 95” x 6” Accent Slat Wood Slats for Wall and Ceilings, Acoustic Panels for Interior Wall Modern Décor, Oak
Size Specifications: Transform your space with our slat wall panels! Each box includes 8 high-quality wood panels, 95…
As an affiliate, we earn on qualifying purchases.
As an affiliate, we earn on qualifying purchases.
Why Proper Spacing Is Key to a Flawless Wood Slat Wall
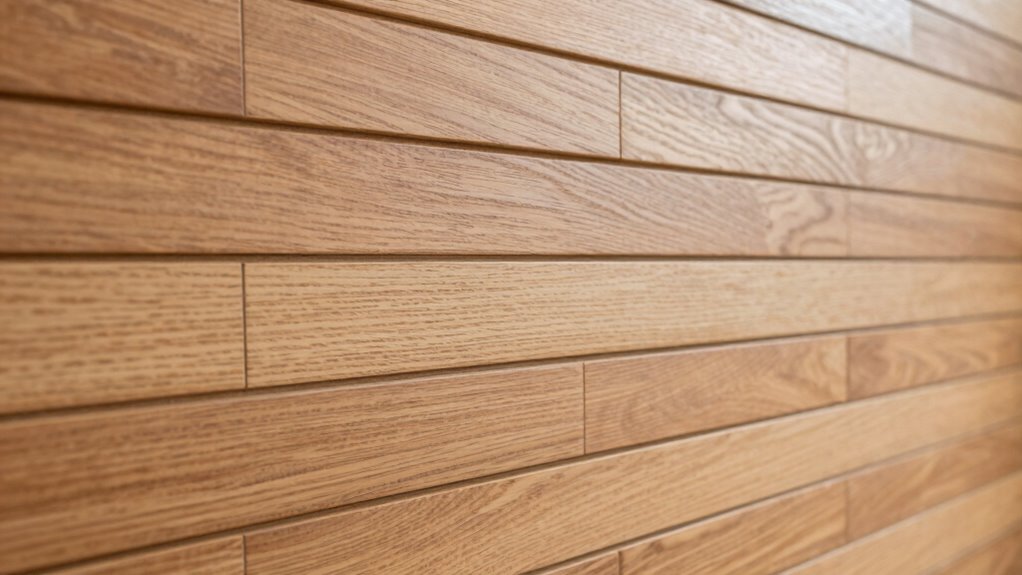
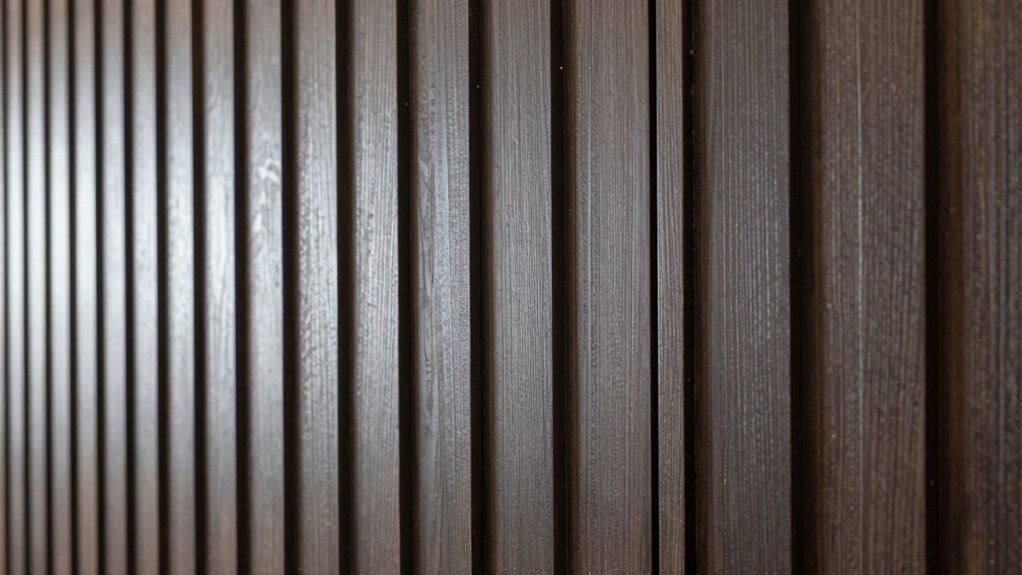
Proper spacing between wood slats is essential for achieving a sleek, professional look. When you pay attention to spacing, you allow the natural wood grain to stand out without creating clutter or uneven lines. The panel thickness also plays a role; thinner slats require tighter spacing to maintain strength, while thicker panels can be spaced slightly wider without compromising stability. Consistent gaps ensure that each slat aligns perfectly, highlighting the wood’s unique grain patterns. Proper spacing helps prevent warping or sagging over time, keeping your wall looking flawless. It also creates a clean, seamless appearance that enhances your overall design. Additionally, understanding consumer preferences can guide you in choosing the right spacing to match your style and functional needs. Knowing the recommended gap size for different slat types can further improve your results. Paying attention to installation techniques can help you achieve an even and professional finish. Attention to detail in spacing and seam alignment can also make a significant difference in the final appearance. Ultimately, precise spacing balances aesthetics and durability, making your wood slat wall a stunning, long-lasting feature.

4pcs Wall Tile Lifter, Height Adjustment 2/5~2 Inch, Wall Tile Leveling Tool Stainless Steel Hand Multi-Function Lifting Tool for Installation of Wall Tile, Door Panel, Bed, Cabinet
4Pcs Wall Tile Fine-Tuning Lifter: Usually multiple lifters worked together to achieve better effect. And the range of…
As an affiliate, we earn on qualifying purchases.
As an affiliate, we earn on qualifying purchases.
How to Measure and Plan Spacing for Seamless Results
To achieve a seamless look, you need to measure accurately and plan your spacing carefully. Using the right measurement techniques guarantees consistent gaps, while choosing ideal spacing strategies helps your panels look balanced. Let’s explore how to get these details just right for perfect results. Incorporating sustainable options into your planning can also make your project more environmentally friendly and align with eco-conscious choices. Paying attention to cookie management can enhance your browsing experience as you research different design ideas. Additionally, understanding material properties can assist in selecting panels that maintain consistent appearance over time. Considering installation techniques ensures your panels stay securely in place and contribute to a polished finish. Being aware of measurement accuracy techniques can further improve your overall results and reduce errors during installation.
Subheading 1: Accurate Measurement Techniques
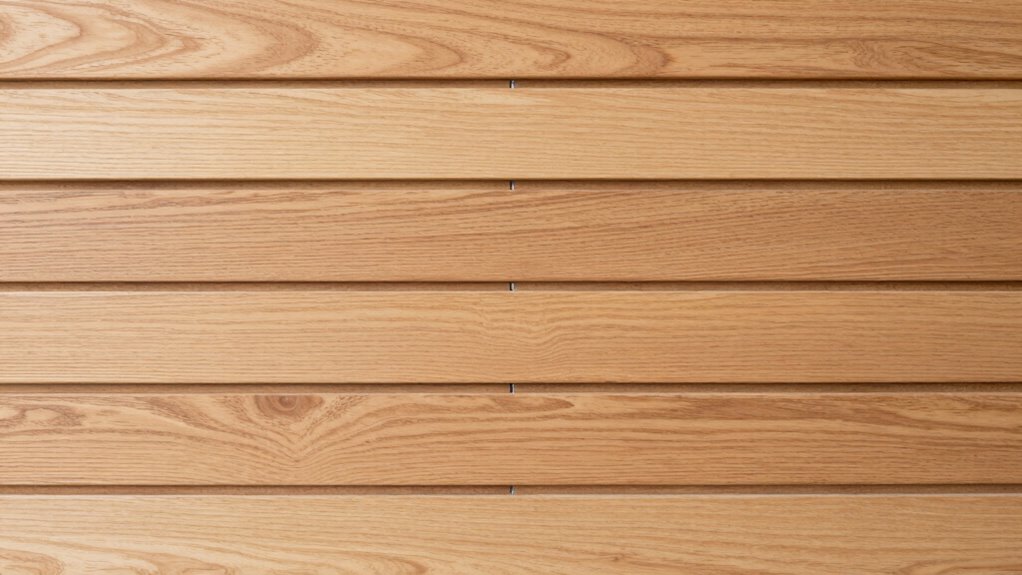
Accurate measurement is essential for achieving a seamless look when installing wood slat wall panels. To start, measure your wall carefully, noting its total width and height. Use a level and measuring tape to mark consistent reference points, ensuring the wood grain flows smoothly across panels. When planning spacing, consider the stain color and how it interacts with the wood grain—lighter stains might highlight gaps, while darker stains can mask slight misalignments. Double-check measurements before cutting or installing, and account for any expansion gaps needed for climate changes. Precise measurements prevent uneven seams and guarantee each slat aligns perfectly, creating a professional finish. Taking your time with measurements now saves you from costly adjustments later, resulting in a polished, seamless wall.
Subheading 2: Optimal Spacing Strategies
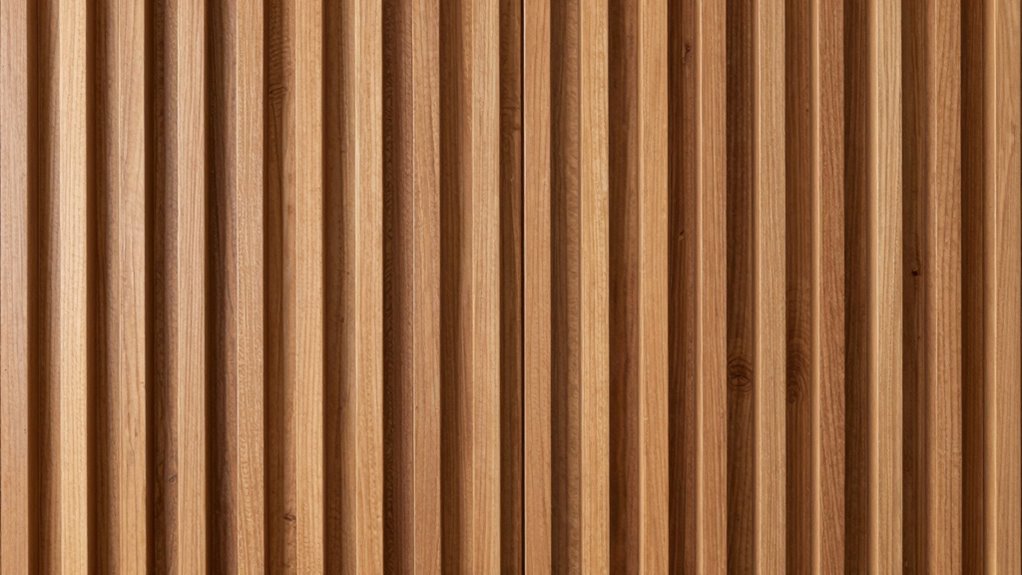
When planning your wood slat wall, carefully measuring and strategizing your spacing guarantees a clean, professional look. To achieve seamless results, consider the grain pattern—spacing should highlight the natural flow without creating visual disruptions. Consistent gaps help emphasize the uniformity of your slats, so use precise measurements to maintain even spacing. Pay close attention to color matching; aligning slats with similar hues minimizes noticeable seams and enhances the overall aesthetic. If your slats have varying grain directions or tones, adjust spacing accordingly to create a balanced appearance. Using a spacer or jig ensures accuracy, preventing uneven gaps. Thoughtful planning of spacing, mindful of grain pattern and color matching, results in a polished, cohesive wall that looks intentional and refined.

Gorilla All Purpose Wood Filler, Natural Finish, 16 Ounce Tub (Pack of 1) – Water Resistant for Indoor or Outdoor Projects and Repairs
Gorilla tough: Gorilla Wood Filler is the go-to product for strong water resistant repairs on cracks, gouges and…
As an affiliate, we earn on qualifying purchases.
As an affiliate, we earn on qualifying purchases.
The Best Tools and Techniques for Installing Wood Slat Walls
Installing wood slat walls requires the right tools and techniques to guarantee a seamless, professional finish. Start with a level, a saw for panel customization, and a spacer tool to ensure consistent gaps. Use a drill for secure mounting, and consider clamps for precise alignment. For wood grain matching, select slats in complementary tones and arrange them thoughtfully before installation. To achieve clean seams, a miter saw helps cut slats accurately at corners and edges. Additionally, proper measurement accuracy is essential to ensure the overall alignment and appearance of the wall. When measuring, always double-check your dimensions to prevent errors that could compromise the visual continuity of your project. Employing proper planning can also streamline the installation process and help avoid mistakes. Incorporating quality materials is crucial for a durable and attractive finish. Here’s a quick overview:
| Tool | Purpose | Tips |
|---|---|---|
| Level | Ensures even alignment | Check frequently |
| Saw | Panel customization, cuts | Use for precise cuts |
| Drill | Secure mounting | Pre-drill for accuracy |
| Spacer tool | Consistent spacing | Maintain uniform gaps |
| Clamps | Hold panels during installation | Prevent shifting |

Komelon F12 12-Foot Stick and Measure Flat Tape Measure
12-Foot by 1/2-Inch Steel Blade
As an affiliate, we earn on qualifying purchases.
As an affiliate, we earn on qualifying purchases.
Common Mistakes to Avoid When Seaming Your Slats

Seaming your slats correctly is key to achieving a polished look, but it’s easy to make mistakes that can compromise the entire installation. One common error is poor seam alignment, which can cause uneven panels and disrupt the visual flow. Always double-check your measurements before seaming to ensure consistent spacing and alignment. Measuring accurately is essential because even small errors can lead to noticeable gaps or overlaps. Another mistake is rushing panel matching; mismatched grains or color variations can stand out if seams aren’t carefully aligned. Use clamps or seam tapes to hold slats in place during assembly, and verify alignment frequently. Inconsistent seam placement or misaligned panels can ruin the sleek, uniform appearance you’re aiming for. Taking your time and implementing proper installation techniques can significantly improve your results. Being aware of material expansion and contraction can help you plan for natural movement over time, preventing gaps or buckling. Additionally, understanding sound vibrations and how they can subtly influence the environment might inspire you to incorporate harmony into your space design. Proper spacing considerations also enhance visual appeal by maintaining a consistent and professional finish.
Troubleshooting Gaps and Misaligned Seams After Installation
If you notice gaps or misaligned seams after installing your wood slat wall, don’t worry—these issues can be fixed. You’ll want to focus on correcting spacing errors and realigning the seams for a seamless look. Taking steps to prevent future gaps will help keep your wall panels looking polished over time. Proper kitchen gear care and understanding eco-friendly disposal tips can also contribute to maintaining your wall’s condition and sustainability. Additionally, paying attention to system efficiency in your home can help identify underlying issues that may affect installation accuracy and long-term durability. Being aware of installation techniques can also improve your results and reduce the likelihood of gaps appearing later. Understanding the environmental impact of tissue paper can inspire eco-conscious choices for any related craft projects that may complement your wall decor.
Correcting Spacing Errors
When you notice gaps or misaligned seams after installing wood slat wall panels, addressing these issues promptly can restore a seamless appearance. Start by examining the joint spacing to identify where the gaps are most prominent. If the spacing is uneven, you can carefully adjust the position of individual slats or panels before securing them further. For seam alignment, use a level or straightedge to ensure the seams are straight and consistent. Sometimes, tiny shims or spacers can help correct minor misalignments without dismantling the entire wall. If panels are already fastened, you may need to loosen and reposition them before tightening again. Maintaining proper joint spacing and seam alignment is essential for a clean, professional finish, so take your time to make precise adjustments.
Aligning Seam Lines
Aligning seam lines is essential for achieving a seamless look with your wood slat wall panels. To fix misaligned seams, start by checking the grain alignment across panels—consistent grain direction ensures a uniform appearance. Pay attention to finish consistency; mismatched stains or coatings can accentuate gaps and misalignments. Here are some tips:
- Use a level or straightedge to realign panels precisely
- Adjust panels carefully, ensuring edges meet flush
- Apply a small amount of wood filler or caulk to fill gaps
- Sand lightly to smooth out uneven seams
- Reassess grain alignment and finish to ensure uniformity
- Consider panel spacing to prevent future misalignments and achieve a clean, professional look
These steps help create a polished, professional look while preventing visible gaps and misaligned seams after installation.
Preventing Future Gaps
To prevent future gaps and misaligned seams after installing your wood slat wall panels, it’s essential to prepare and measure carefully beforehand. Confirm the panels are aligned with the correct grain direction, as installing panels against the grain can cause warping or shifting over time. When selecting materials, choose high-quality, stable wood that’s less prone to expansion or contraction due to humidity changes. Double-check your measurements and mark the placement of each panel accurately before fixing them in place. Consistent spacing relies on precise measurement and understanding of how your material behaves. Proper material selection and attention to grain direction during installation help maintain tight seams and prevent gaps from forming later, ensuring your wall remains sleek and seamless over time.
How to Keep Spacing Consistent During the Installation Process
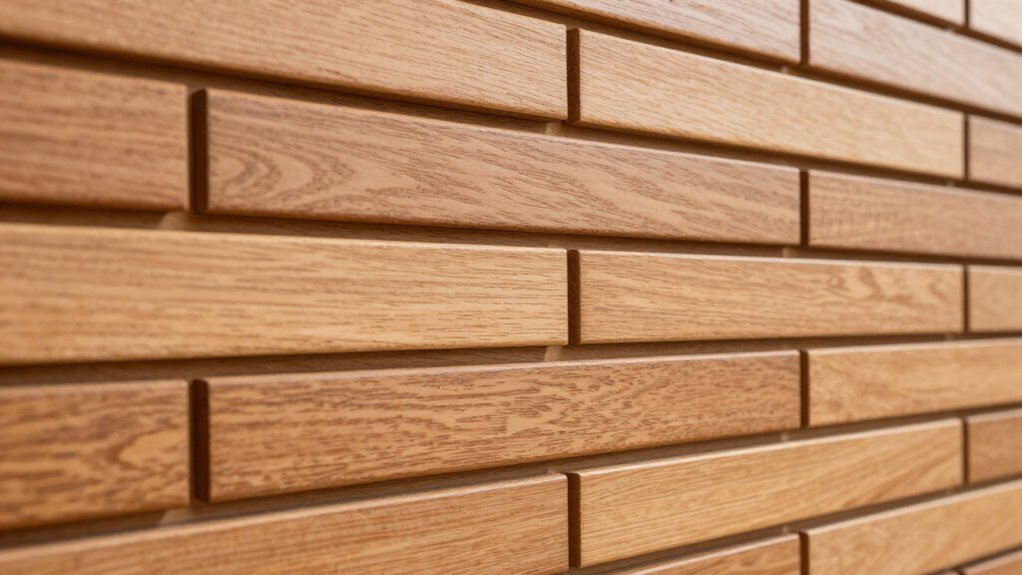
Maintaining consistent spacing between wood slats is essential for a professional-looking wall panel. To achieve this, use spacers or scrap pieces of wood as guides during installation, ensuring even gaps. Keep the wood grain aligned for a uniform appearance and match the color tones for a seamless look. Measure each section carefully and double-check before attaching each slat. Use a level or straight edge to maintain straight lines across the panel. Regularly check your spacing and adjust as needed, especially when working with different wood grains or finishes. Keep your tools handy and take your time; precision shows in the final result. Remember, consistent spacing enhances the overall aesthetic and elevates the quality of your wood slat wall.
How to Fix or Adjust Seams and Gaps Post-Installation

Even with careful planning, gaps and seams can develop after installing your wood slat wall. Wood expansion caused by humidity changes often leads to these issues, affecting aesthetic consistency. To fix or adjust seams, start by evaluating the gaps carefully. For minor separations, you can use wood filler or caulk designed for wood, smoothing it into the seam and sanding once dry. If gaps are larger, consider removing the affected slats and reattaching them with adjustable fasteners or shims to accommodate wood expansion. Applying a light finish or sealant afterward helps maintain a uniform look. Regular maintenance and controlling indoor humidity levels can prevent future gaps, keeping your wall looking seamless and visually appealing.
Frequently Asked Questions
What Are the Best Materials for Hiding Seams Discreetly?
You should choose materials like veneer strips or thin wood panels, which allow for better grain matching and stain continuity, making seams less noticeable. Using consistent grain direction and applying stain uniformly helps hide seams effectively. Also, consider flexible caulks or specialized seam fillers that blend seamlessly with the wood finish. These materials, combined with careful installation, guarantee your seams stay discreet and maintain a polished, cohesive look.
How Does Humidity Affect Wood Slat Spacing Over Time?
Did you know that wood can expand up to 3% with moisture? Humidity causes moisture expansion, which affects your slat spacing over time. Seasonal fluctuations in humidity make this even more noticeable, potentially causing gaps or buckling. To prevent issues, leave small gaps during installation and allow for natural movement. Regularly monitor indoor humidity levels, especially in changing seasons, to keep your wood slat wall looking seamless and beautiful.
Can Different Wood Types Be Mixed Without Affecting Seam Appearance?
Yes, you can mix different wood types, but you should consider wood type compatibility to minimize seam visibility. Some woods expand or contract differently, which can make seams more noticeable over time. To keep seams looking clean, choose woods with similar moisture content and grain patterns, and plan for slight variations. Proper installation and sealing also help maintain a uniform appearance, even with mixed wood types.
What Are Advanced Techniques for Creating Hidden Seams?
You can create hidden seams using advanced techniques like concealed fasteners and precise joinery methods. Start by selecting fasteners that stay hidden behind the slats, ensuring seamless joints. Use biscuit or dowel joints for alignment, then sand and finish carefully to hide any gaps. These steps help you achieve a clean, polished look with virtually invisible seams, enhancing the overall aesthetic of your wood slat wall panel installation.
How Do I Choose the Optimal Spacing for Different Room Sizes?
Imagine your wall transforming from a tight, crowded corridor to a spacious, airy gallery. To achieve this, consider room size considerations and spacing ratios. For small rooms, opt for closer slats to avoid overwhelming the space. In larger rooms, increase spacing for an open feel. Measure carefully, and adjust spacing ratios accordingly, ensuring your wood slat panels enhance your room’s size and style without feeling cramped or sparse.
Conclusion
Remember, your wood slat wall is like a symphony—you set the rhythm with precise spacing and seamless seams. Pay attention to detail, and you’ll create a masterpiece that flows effortlessly from one slat to the next. When gaps or misalignments appear, see them as gentle pauses, not flaws, and know you have the tools to fine-tune your design. With patience and care, your wall will stand as a harmonious canvas of craftsmanship.