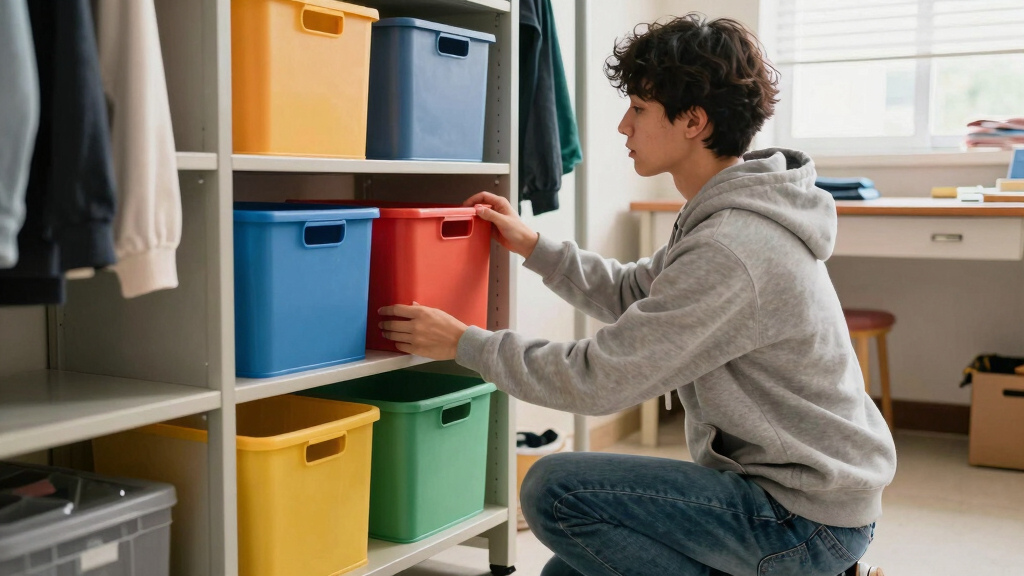

This guide teaches you how to select and organize your dorm room with storage bins, making your space tidy and accessible. Suitable for students new to organizing, it covers practical steps to optimize limited space quickly and effectively.
Difficulty: Beginner | Time: 30-60 minutes
What You’ll Need
Tools & Materials:
- Assorted plastic or fabric storage bins (various sizes)
- Label maker or masking tape and marker
- Optional: drawer dividers or small containers
Knowledge:
- Basic understanding of your room layout and storage needs
Choose durable, stackable bins with secure lids if possible. Measure your available space beforehand to select appropriately sized containers. Have a plan for organizing items like clothing, supplies, and snacks.
dorm room storage bins with lids
As an affiliate, we earn on qualifying purchases.
As an affiliate, we earn on qualifying purchases.
Before You Start
Clear a workspace outside your room if possible, or clear existing clutter to make it easier to move items into bins. Keep in mind weight limits for stacking bins and avoid overfilling to prevent damage or difficulty accessing contents.
Step-by-Step Instructions
Step 1: Assess your storage needs
List all categories of items you need to store, such as clothes, toiletries, school supplies, snacks, and electronics. Measure the space available in your room for bins.
Tip: Use a notebook or digital list to keep track of items and designated storage areas.
Check: You have a clear list of item categories and know the dimensions of your storage space.
Step 2: Select appropriate storage bins
Choose bins that fit your space and storage needs. Use smaller bins for frequently accessed items and larger ones for bulk storage. Ensure they have lids if stacking or to keep items clean.
Tip: Opt for clear bins when possible, so contents are visible without opening. Label each bin with a marker or label maker.
Check: Bins are appropriate in size, labeled, and ready for use.
Step 3: Sort items into categories
Gather similar items and place them into the corresponding bins. For example, group all toiletries together, and organize school supplies in another bin.
Tip: Use small containers or dividers inside larger bins to keep smaller items organized and prevent mixing.
Check: Items are grouped logically and each bin contains a category of items.
Step 4: Pack items into bins securely
Fill each bin with its designated items, packing tightly but not overstuffing. Close lids securely or ensure lids are properly aligned if using clip-on lids.
Tip: Place heavier items at the bottom for stability and easier access to lighter or frequently used items on top.
Check: Bins close securely, and contents are stable without risk of spilling.
Step 5: Arrange bins in your room
Place bins in designated storage areas—under the bed, on shelves, or in closet corners—according to your plan. Stack bins to save space, ensuring stability.
Tip: Use labels facing outward for quick identification. Leave some space for airflow and access.
Check: Bins are organized neatly, accessible, and optimize your available space.
Step 6: Maintain organization over time
Regularly revisit and adjust your bins as your needs change. Re-label or re-pack as necessary to keep your space tidy and functional.
Tip: Set a weekly reminder to tidy up and reorganize if needed.
Check: Your dorm room remains organized and clutter-free with accessible storage.
Common Mistakes to Avoid
- Overfilling bins, making lids difficult to close or contents hard to access — Fill bins only to a comfortable capacity, leaving space for easy closing and retrieval.
- Using inappropriate-sized bins for certain items — Measure items and space beforehand to select correctly sized bins for each category.
- Not labeling bins, leading to confusion and difficulty finding items — Label each bin clearly with its contents for quick identification.
- Stacking bins dangerously or unstable stacking — Ensure heavier bins are at the bottom and stacks are stable, avoiding over-height stacking.
Troubleshooting
Problem: Bins are too heavy to lift or move
Solution: Repack heavier items into smaller bins or redistribute weight across multiple containers.
Problem: Items are difficult to find or access
Solution: Reorganize bins with labels visible and place frequently used items in more accessible locations.
Problem: Lids won’t close properly after packing
Solution: Remove excess items or pack more loosely, and ensure lids are fully aligned before closing.
What Success Looks Like
Your dorm room is organized with labeled, appropriately filled storage bins placed neatly in designated areas. Items are easy to access, and space is maximized with no clutter blocking pathways or furniture. You can quickly locate stored items and maintain the organization over time.
Next Steps
Regularly review and update your storage bins, especially after shopping or new acquisitions. Re-label and reorganize as needed to keep your space functional. Consider adding more bins if your storage needs grow or decluttering periodically to prevent accumulation.
Frequently Asked Questions
How many storage bins do I need for my dorm room?
Estimate based on your storage needs and available space. Start with 4-8 bins, adjusting as you assess how much space each category requires.
What size of bins is best for under-bed storage?
Look for low-profile, flat bins that slide easily under your bed, typically 12-16 inches wide and 4-6 inches tall.
How should I label my storage bins?
Use a label maker or masking tape with a permanent marker. Place labels on the front or top for visibility, and include the contents or category.
Can I stack bins without risking collapse?
Yes, only stack bins designed for stacking, with secure lids and weight distribution. Avoid stacking more than 3-4 high unless the bins are specifically made for it.