
To remove a kitchen island, start by turning off the power supply at the circuit breaker and testing outlets to guarantee safety. Clear the area of all items and unplug any connected appliances. Next, disconnect plumbing and gas lines, if applicable. Remove molding and trim carefully before detaching the island from the floor. Finally, take off the countertop and disassemble the base cabinets for easier handling. Stick around to find out the detailed steps for each task.
Key Takeaways
- Turn off the power supply by switching off the circuit breaker and using a voltage tester to ensure no current is present.
- Clear the area by removing all items and unplugging any appliances connected to the kitchen island.
- Disconnect plumbing and gas lines by turning off water supply valves and carefully detaching pipes and fittings.
- Remove molding and trim using a pry bar, ensuring to score painted edges to prevent chipping or damage.
- Disassemble the base cabinets by removing doors and frames, organizing screws in labeled containers for easy reinstallation.

Klein Tools ET310KIT AC Circuit Breaker Finder Kit, Electric Tester, GFCI Tester, Leads, Adapters and Case
- Accurate Breaker Identification: Quickly locate the correct breaker
- Clear Visual and Audible Cues: Easy to identify the correct breaker
- Built-in GFCI Tester: Test GFCI outlets and wiring
As an affiliate, we earn on qualifying purchases.
As an affiliate, we earn on qualifying purchases.
Turn Off the Power Supply

Before you tackle the removal of your kitchen island, it's vital to turn off the power supply.
Head to the main electrical panel and locate the circuit breaker that powers your kitchen area. Switch it off to guarantee a safe environment while you work.
It's important to confirm that the correct circuit breaker is off; use a voltage tester on adjacent outlets to check for any electrical current. If your island has multiple connections, turn off all relevant breakers to prevent any damage.
Remember, working on live electrical wiring can lead to serious injury or shock.
Once you've turned off the power, label the circuit breaker for future reference, making sure your job is done safely.
Clear the Area

Before you start removing the kitchen island, clear off all items from its surface and inside the drawers.
Make sure to assess the surrounding space, moving any large appliances and ensuring the area is free of obstacles.
This will help you work safely and efficiently throughout the removal process.
Remove Appliances and Tools
To safely remove your kitchen island, start by unplugging and disconnecting all electrical appliances and tools linked to it. This guarantees you're working in a safe environment.
Next, turn off the water supply and gas valves if your island has a sink or cooktop. This step is essential to avoid any leaks or hazards.
After that, remove appliances and tools from the area, including items stored in drawers and cabinets, to create a clear workspace.
Relocate larger appliances, like refrigerators and dishwashers, to allow for safe access and movement around the island.
Always wear protective equipment, such as gloves and goggles, while handling and moving appliances and tools to prevent injuries during the removal process.
Assess Surrounding Space
After unplugging and removing appliances and tools, it's important to clear the surrounding space around your kitchen island. Start by evaluating the kitchen layout and planning the removal process. Move large appliances away to facilitate easier access and create a safe working environment.
| Task | Purpose |
|---|---|
| Clear surrounding area | Minimize hazards |
| Disconnect small appliances | Avoid electrical risks |
| Remove decorative molding | Expose screws and connections |
| Move furniture | Prevent damage |
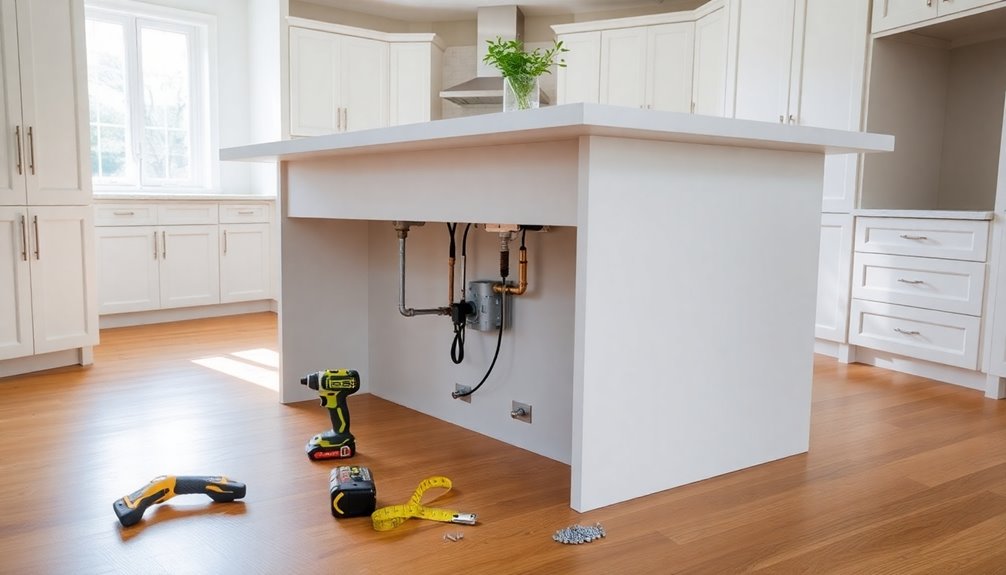
Disconnect Plumbing and Gas Lines
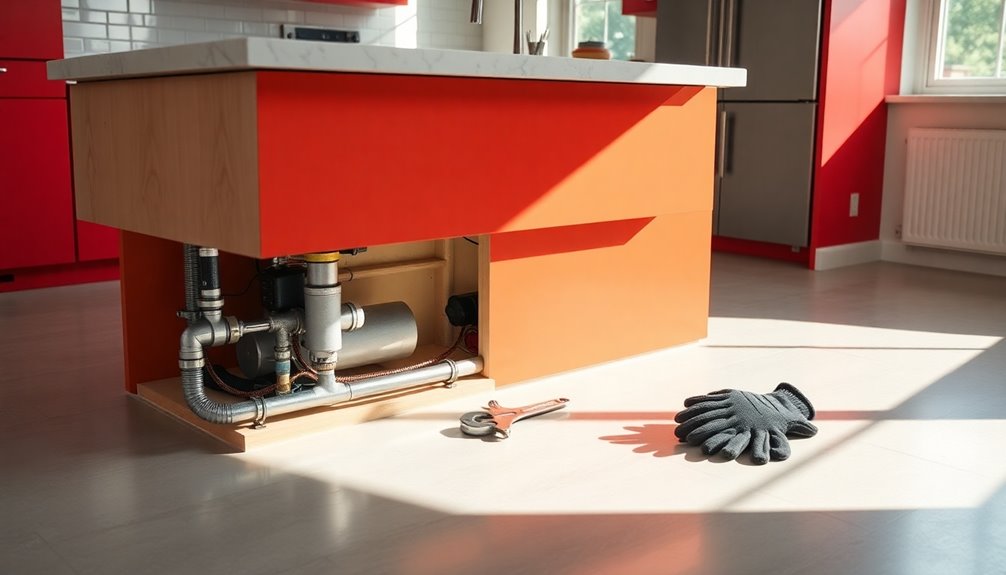
When you're ready to disconnect plumbing and gas lines, make certain the water supply valves beneath the sink are turned off to prevent leaks.
Use a pipe wrench or adjustable pliers to loosen and detach the nuts connecting the plumbing lines to the sink or cooktop, keeping a bucket handy to catch any residual water.
For gas lines, carefully loosen the fittings linking the appliance to the gas valve. It's vital to avoid damaging the line or causing leaks.
To guarantee safety during your kitchen remodel, have a licensed professional handle these gas line disconnections.
After disconnecting, cap off any open gas lines with appropriate fittings to prevent leaks and maintain safety throughout your renovation.
Remove Molding and Trim
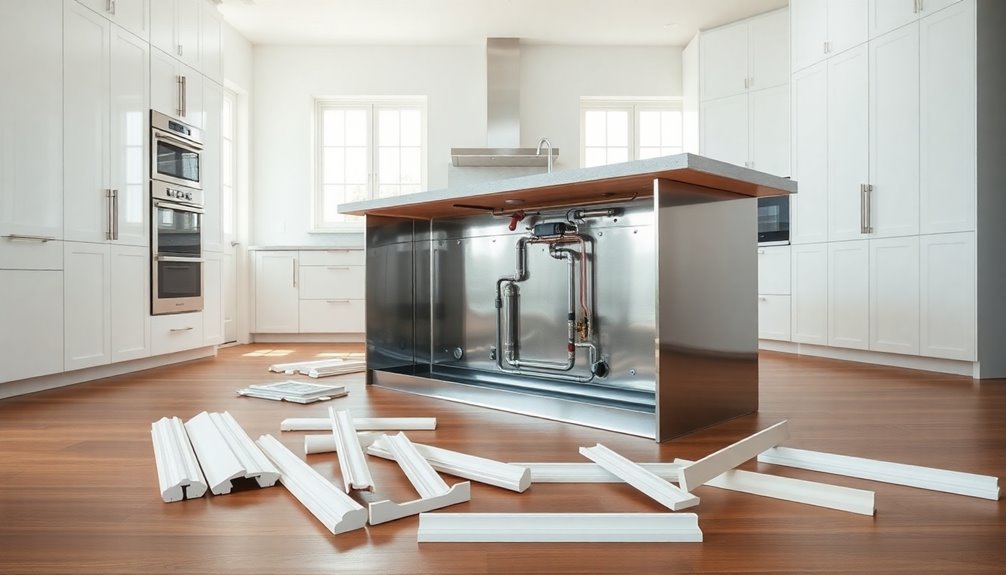
Removing the molding and trim around your kitchen island is a crucial step in the process. To do this, grab the right tools, like a pry bar or hammer.
Start at one end and work your way along to guarantee that the job is done without causing damage to the wall. Before you remove molding and trim, inspect for any hidden fasteners or nails to avoid splintering the wood.
If the molding is painted, score the paint with a utility knife along the edges to prevent chipping. Always wear safety goggles and gloves while you work to protect yourself from splinters and debris.
Remember to label or store the removed pieces properly if you plan to reuse them later.
Detach the Island From the Floor

To successfully detach the kitchen island from the floor, start by locating the screws or bolts that secure it in place. These are often hidden beneath the toe kick or inside cabinet bases. Use a power drill or socket wrench to carefully remove these fasteners, ensuring you don't damage the surrounding flooring. If the island's glued down, use a pry bar to gently break the adhesive seal.
| Step | Tool Needed | Important Tip |
|---|---|---|
| Locate fasteners | Power drill | Check under toe kicks |
| Remove fasteners | Socket wrench | Don't damage the floor |
| Lift island away | Heavy lifting | Get help for heavy islands |
Once detached, inspect the floor for any remaining debris before proceeding with new flooring installation.
Remove the Countertop
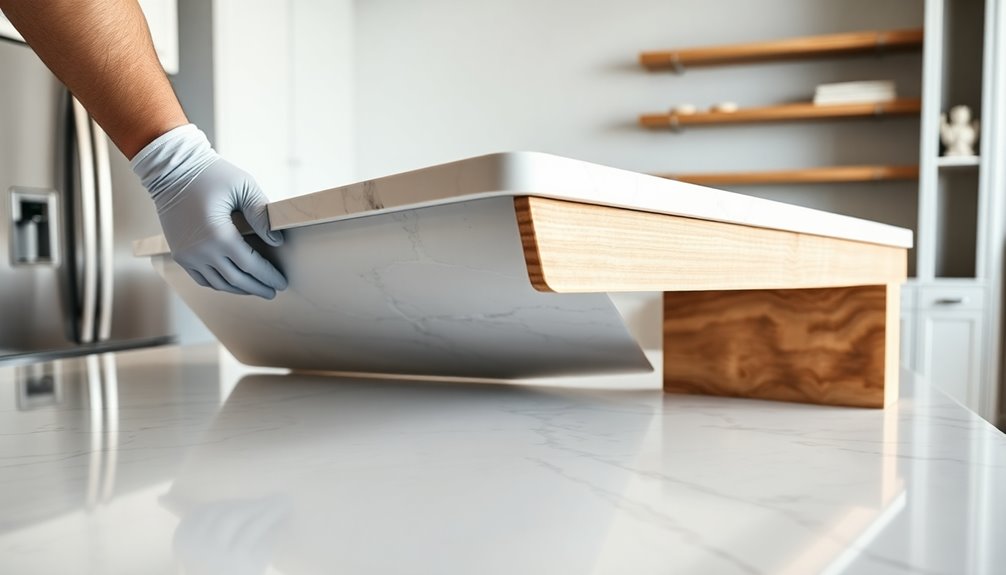
After detaching the kitchen island from the floor, focus on removing the countertop.
First, assess how it's attached—screws, adhesive, or both—to determine the tools needed for removal. If it's made of heavy materials like granite or quartz, grab a helper to lift it safely and efficiently.
Use a pry bar to carefully detach the countertop from the base cabinets, avoiding damage to surrounding structures. If the countertop is glued, apply heat with a heat gun to soften the adhesive, ensuring you work in a well-ventilated area.
Once detached, store the countertop in a safe spot where it won't get damaged if you plan to reuse or repurpose it later.
Disassemble the Base Cabinets
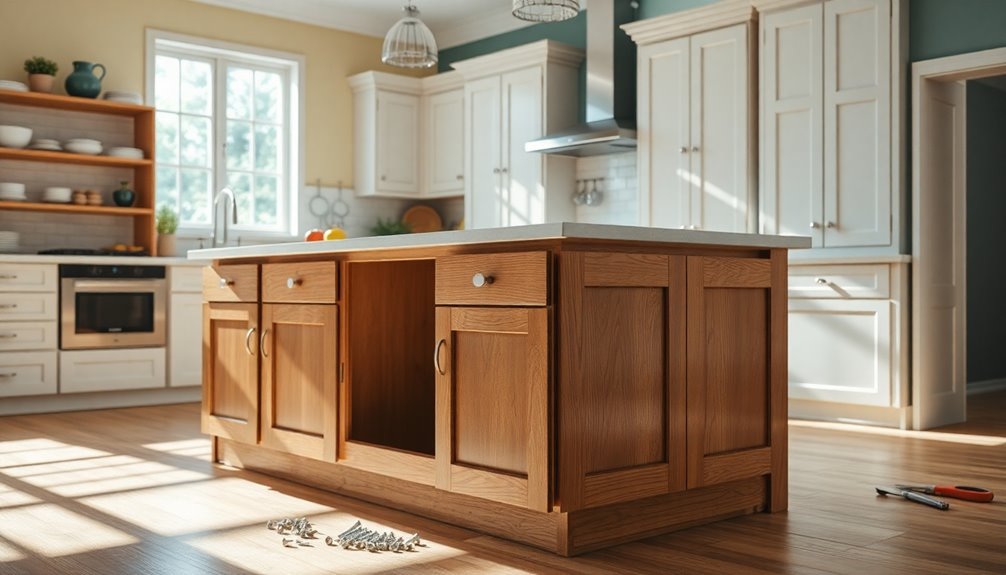
Start by removing the doors and drawers from the base cabinets; this makes the structure lighter and easier to work with.
Next, grab your screwdriver to unscrew and detach the cabinet frames from each other and the wall.
This step is essential for a smooth disassembly process.
Remove Doors and Drawers
Begin by removing the doors from the base cabinets, which sets the stage for a more straightforward disassembly. Unscrew the hinges carefully, and keep the screws organized in a labeled container for easy reinstallation if needed.
Next, take out all the drawers. Typically, you can pull them out fully and lift them to release them from the slides. Inspect the drawer slides for any screws or fasteners that may need removing to detach the entire mechanism.
Also, remove any shelves inside the cabinets by unscrewing their brackets or simply lifting them out if they aren't secured. Keeping all hardware, like screws and hinges, organized will facilitate future assembly or reuse.
Unscrew Cabinet Frames
Carefully unscrew the cabinet frames to disassemble the base cabinets effectively.
Start by removing all doors, drawers, and shelves to lighten the load, making your task easier. Use a screwdriver or drill and confirm you have the right bit size to avoid stripping screws.
If the cabinets are secured to the wall, locate and remove any screws or fasteners anchoring them to the wall studs.
As you unscrew, focus on organization by keeping all hardware, like screws and hinges, in a container for potential reuse later.
Finally, inspect the cabinet frames for any signs of damage or rot, as this will determine whether they can be repurposed or need to be discarded during your kitchen island removal.
Frequently Asked Questions
How Hard Is It to Remove a Kitchen Island?
Removing a kitchen island can be quite challenging, depending on its size and construction.
You'll need to evaluate factors like plumbing and electrical connections, which can complicate the process. If the island's heavy, you might require extra hands or tools to lift it safely.
If you're not comfortable handling utilities, it's wise to call in a professional.
Always assess your kitchen layout first to avoid unexpected issues during your renovation.
Are Kitchen Islands Attached to the Floor?
Oh, kitchen islands aren't attached to the floor, right? Just kidding!
Most of the time, they're securely fastened with screws, bolts, or brackets, ensuring stability in your kitchen.
It's essential to check for these fastenings if you ever decide to relocate or remove yours.
Otherwise, you might find yourself in a precarious situation when it shifts or tips unexpectedly.
Why Are People Getting Rid of Kitchen Islands?
You might be wondering why so many people are getting rid of kitchen islands. Many homeowners find that islands can clutter their space and limit traffic flow.
As trends shift towards minimalism, you're likely to see an increase in simpler designs that prioritize openness.
Plus, multifunctional furniture offers similar benefits without the bulk.
Finally, with rising renovation costs, opting for a more budget-friendly layout can make a lot of sense for your kitchen.
How Much Does It Cost to Remove an Island?
Wondering what it'll cost to remove an island? The price typically ranges from $250 to $1,000, depending on size and complexity.
If you hire professionals, expect to pay around $75 to $150 an hour. Got plumbing or electrical issues? That could add another $100 to $500.
If you're considering a DIY approach, you might save on labor but will need tools and safety gear that could set you back an extra $100 to $300.
Conclusion
Removing a kitchen island can feel like untangling a stubborn knot, but with careful steps, it's manageable. By following these guidelines, you've transformed your space and opened up new possibilities for your kitchen layout. Whether you're planning to replace it or simply want more room, your efforts will pay off in functionality and style. Remember to take your time and work safely, and soon enough, you'll have a kitchen that suits your needs perfectly!