
To refinish a porcelain sink, you'll need an epoxy refinishing kit, cleaning supplies, and protective gloves. Start by thoroughly cleaning the surface and repairing any chips with touch-up paint. Next, apply a mixed epoxy in multiple coats, allowing each to dry for about 6-8 hours. Once you've finished, let it cure for at least 48 hours before use, or ideally a full week. There's a lot more to learn about maintaining your refreshed sink!
Key Takeaways
- Prepare the surface by cleaning thoroughly and repairing chips or cracks using a touch-up kit.
- Mix resin and hardener in a 1:1 ratio and allow it to set for 15 minutes before application.
- Apply multiple coats of epoxy with 6-8 hours drying time between each coat for a smooth finish.
- Avoid using the sink for at least 48 hours and allow a full week for maximum curing.
- Maintain the finish with mild soaps and non-abrasive sponges, avoiding harsh chemicals and abrasive materials.

DWIL Tile Paint, Tub and Tile Refinishing Kit with Tools, Water-based Bathtub Paint – Low Odor, Easy to Use, 25-30sq.ft, 16.5oz, Semi-Gloss White
【Acrylic Formula】Our tub paint boasts an advanced water-based acrylic formula designed for durability and longevity. The high-quality acrylic…
As an affiliate, we earn on qualifying purchases.
As an affiliate, we earn on qualifying purchases.
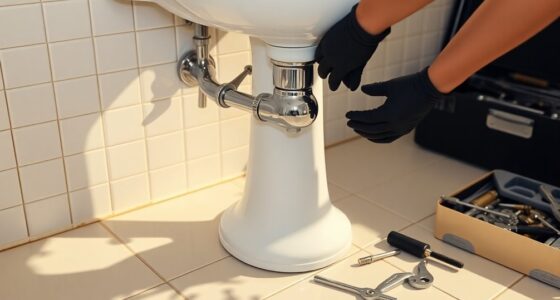
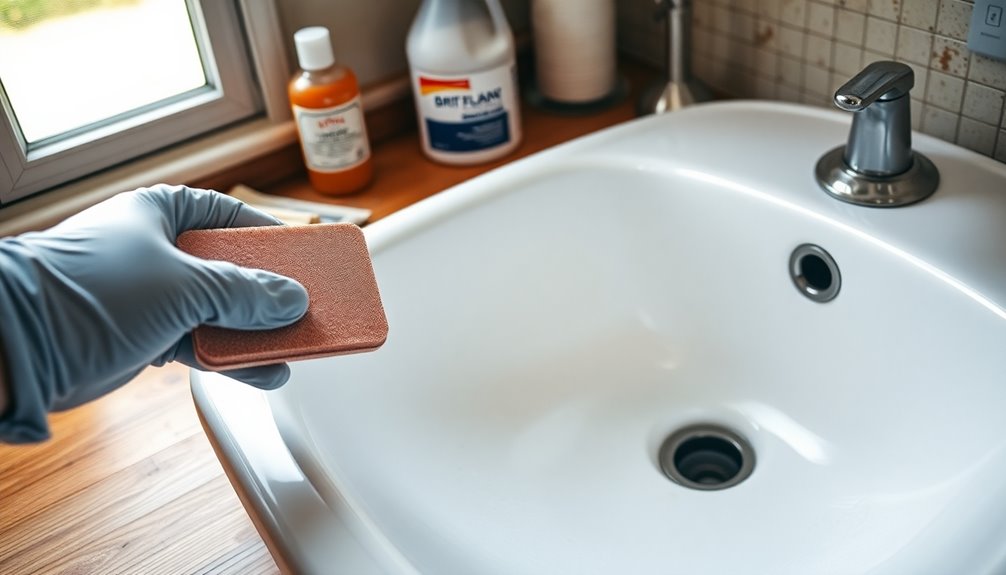
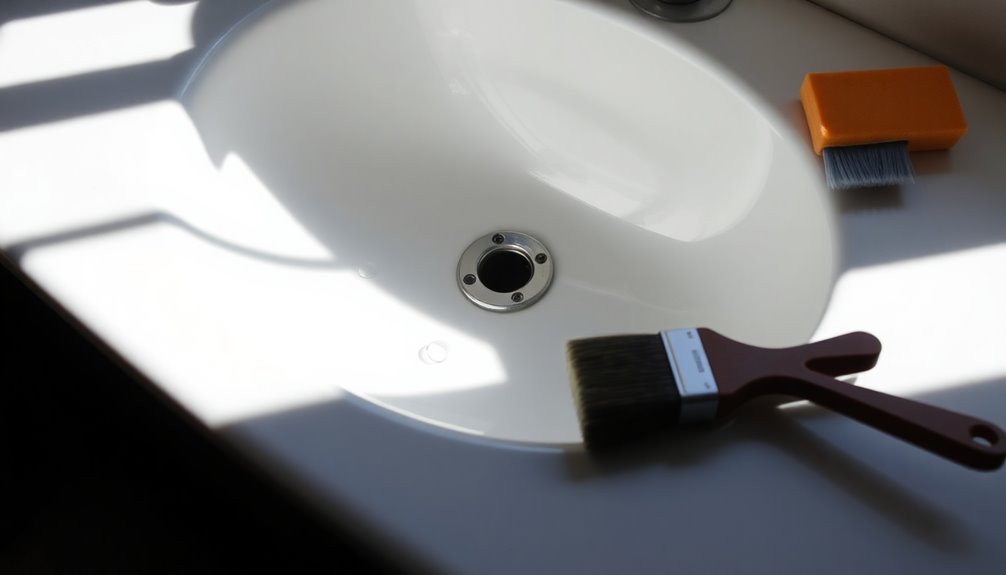
Materials Needed for Refinishing
To successfully refinish your porcelain sink, you'll need a few essential materials that make the process smoother.
Start with a Sink and Tub Surface Preparation Kit to clean and prepare the porcelain surface effectively. Next, grab a Sink and Tub Epoxy Refinishing Kit for the final coating, which will restore your sink's appearance and durability.
A chip brush is also vital for applying the epoxy evenly, ensuring a smooth finish. Don't forget epoxy thinner to clean your tools and surfaces afterward, keeping your workspace tidy.
Finally, protect your hands with nitrite gloves, as the chemicals involved can be harmful. With these materials needed for refinishing, you're well on your way to achieving a beautiful, restored sink.

Bathworks EZ-Etch Surface Prep Kit – Etching Solution for Tile, Ceramic, Cast Iron & Steel – For Use with Refinishing Kits
SURFACE PREP KIT ONLY – This is not a paint or refinishing coating. The EZ-Etch Kit is a…
As an affiliate, we earn on qualifying purchases.
As an affiliate, we earn on qualifying purchases.
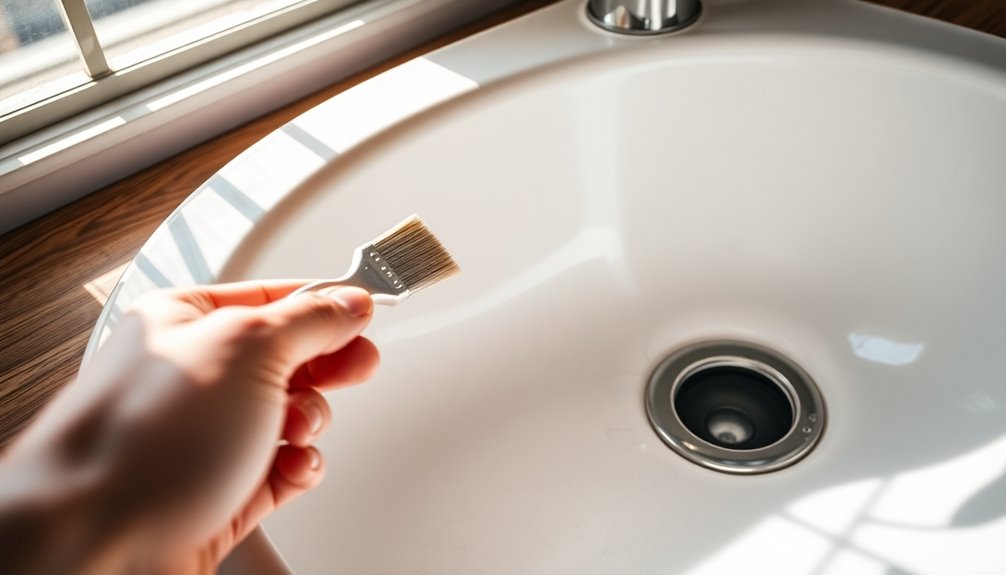
Preparing the Surface
Preparing the surface of your porcelain sink is essential for a successful refinishing project. Start by removing any existing silicone or caulk to create a clean workspace. Use a sanding pad with abrasive paste to scrub the sink in circular motions, especially on areas with chips and peeling. After scrubbing, rinse the sink thoroughly and let it dry completely. Next, prepare a TSP solution to eliminate any grease and grime, ensuring maximum adhesion for the epoxy. Don't forget to protect the surrounding areas by using masking tape on fixtures and drains.
| Step | Action | Purpose |
|---|---|---|
| Remove silicone/caulk | Scrape it off | Clean working area |
| Scrub with abrasive paste | Circular motion scrubbing | Smooth out surface |
| Rinse | Wash with water | Remove debris |
| Apply TSP solution | Clean sink thoroughly | Enhance epoxy adhesion |

DWIL Tub and Tile Paint, White Touch Up Paint for Porcelain, Scratches, Cracks and Spots on Tile, Porcelain Repair Kit for Bathtub, Sinks, Enamel and Toilets, 1.5 Fl Oz(White)
Wide Application – This touch up paint pen adheres to a wide range of surfaces, including tile, tub,…
As an affiliate, we earn on qualifying purchases.
As an affiliate, we earn on qualifying purchases.
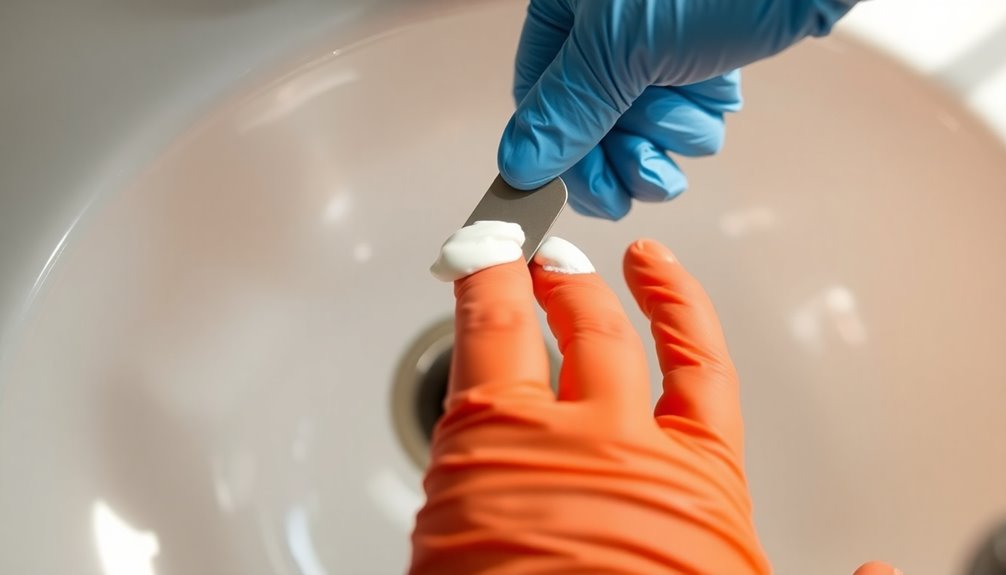
Repairing Chips and Cracks
Inspect your porcelain sink for any chips or cracks that need attention.
Start by identifying both large and small imperfections to assess the extent of repairs required.
Follow these steps for effective repairing chips and cracks:
- Use Rust-Oleum's Tub & Tile Touch-Up kit for a convenient mixing process.
- Apply the touch-up mixture carefully with the provided brush; consider a smaller brush for tight spots.
- For deeper chips, apply multiple coats of the touch-up paint, allowing ten minutes of drying time between each.
- Follow the kit instructions for adequate curing time to guarantee a durable finish.
With these steps, your sink will look refreshed and ready for use again!

LET'S RESIN Resin Hardener Only 5.4OZ, Part B Epoxy Hardener
You can use this part B hardener with the part A resin from LET'S RESIN Epoxy Resin.
As an affiliate, we earn on qualifying purchases.
As an affiliate, we earn on qualifying purchases.
Cleaning the Sink Thoroughly

Once you've repaired any chips and cracks, focus on cleaning your porcelain sink thoroughly.
Start by removing all existing silicone or caulk around the sink's edges to create a smooth surface for refinishing.
Next, mix a TSP (tri-sodium phosphate) solution, which effectively tackles grease, grime, and stains.
Using a sanding pad and abrasive paste, scrub the sink in a circular motion to eliminate any remaining dirt and prepare the surface for better adhesion.
After scrubbing, rinse the sink with water to wash away any cleaning residue.
Finally, dry it completely.
Ensuring all surfaces are clean and dry is essential, as any contaminants can affect the quality of the finish during the epoxy application process.
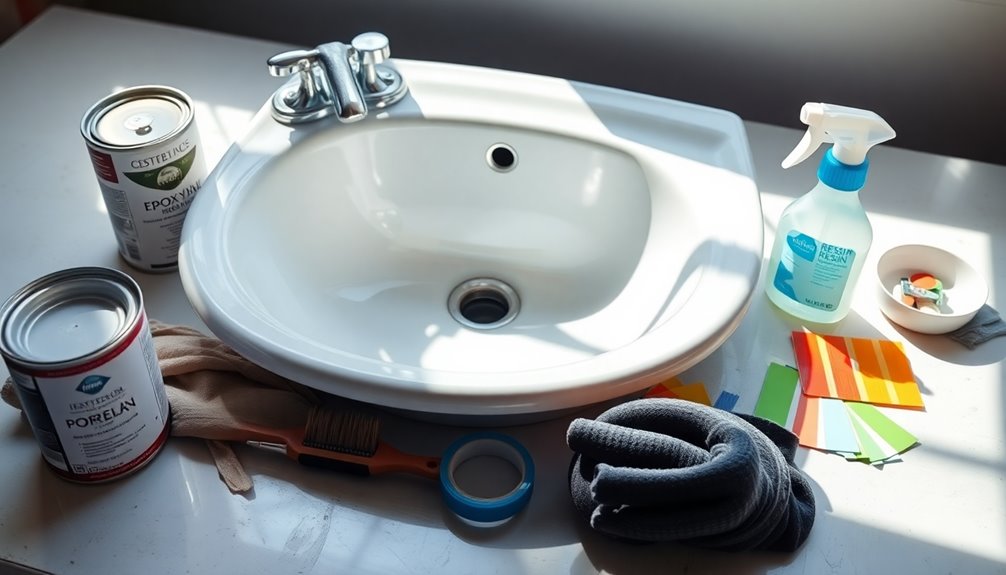
Applying the Epoxy Coating
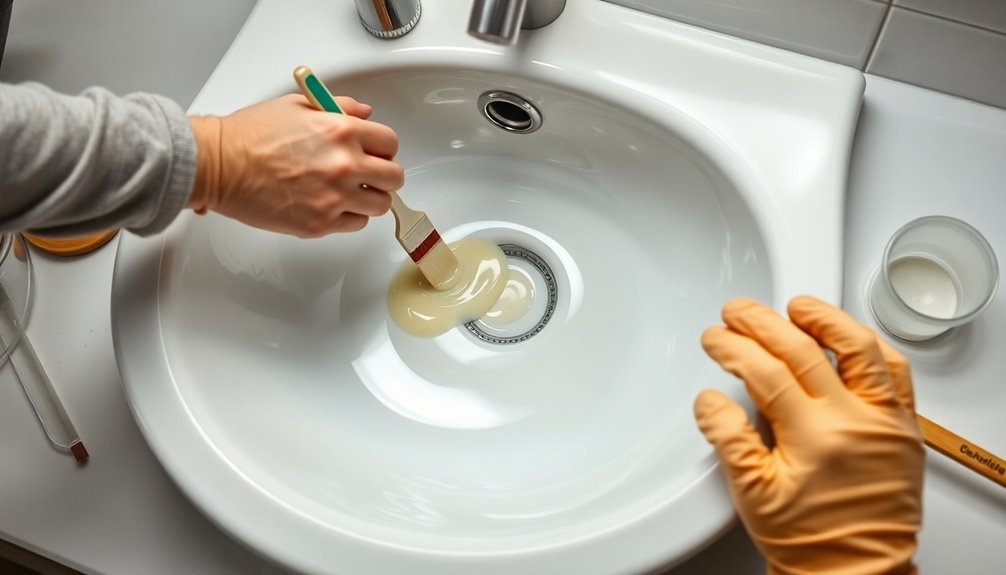
Now that your sink is clean, it's time to apply the epoxy coating.
Start by mixing the resin and hardener in a precise 1:1 ratio, and then use a soft chip brush to guarantee a smooth application.
Remember to allow adequate curing time between coats for the best results.
Mixing Epoxy Components Properly
Achieving a flawless finish on your porcelain sink starts with properly mixing the epoxy components. To get the best results, follow these steps:
- Combine equal parts of resin and hardener by both volume and weight.
- Allow the mixed epoxy to set for 15 minutes to guarantee proper chemical bonding.
- Use a soft chip brush to apply the epoxy evenly, working in one direction to minimize streaks.
- For maximum durability, apply multiple coats with a 6-8 hour waiting period between each.
Application Techniques for Smoothness
To guarantee a smooth and professional-looking finish when applying epoxy to your porcelain sink, focus on using consistent techniques.
Start by wearing your safety equipment, including gloves and a mask, to protect yourself during the process. Mix the resin and hardener in a 1:1 ratio, then let it set for 15 minutes for ideal consistency.
Use a soft chip brush to apply the epoxy evenly, following the sink's natural contours. Apply in thin layers, allowing 6-8 hours of drying time between coats to prevent drips.
If you have leftover epoxy, store it in the freezer to extend your working time. For best results, resist using the sink for a week to guarantee the epoxy fully cures and hardens.
Curing Time and Considerations
While curing the epoxy coating on your porcelain sink, it's important to allow ample time for the material to harden properly. Here are some key considerations regarding curing time:
- Mixing Prep: After mixing the two-part epoxy, let it set for 15 minutes before application for better adhesion.
- Coats: Apply multiple coats, allowing 6-8 hours of curing time between each for a smooth finish.
- Cure Duration: It's best to avoid using the sink for at least a few days. A full week is ideal for the epoxy to cure completely.
- Ventilation: Guarantee proper airflow during curing by using a fan to direct fumes outside for safety.
Following these steps helps guarantee a durable and long-lasting finish.
Curing Time and Care Instructions
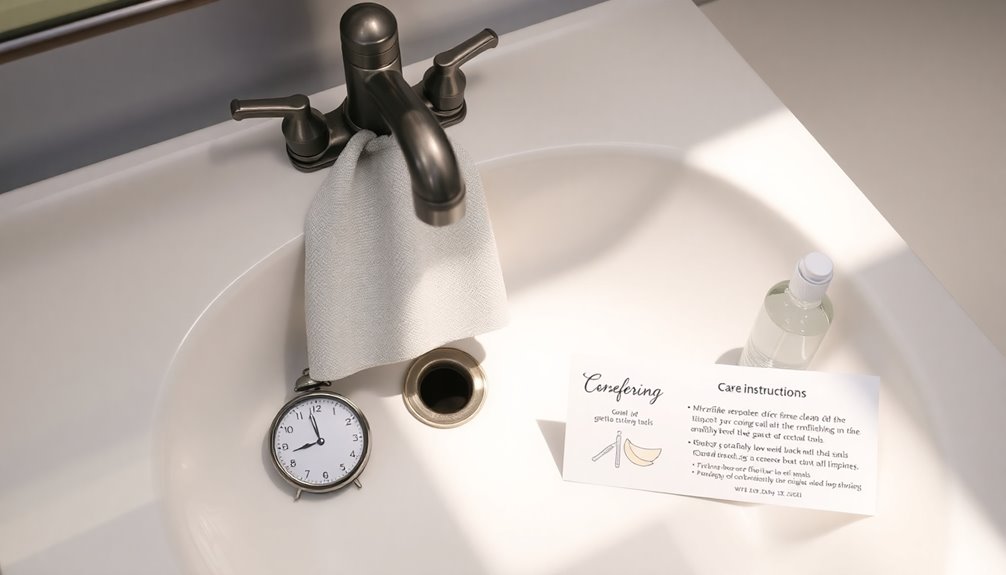
Once you've applied the final coat of epoxy, it's essential to let the sink cure properly to guarantee a durable finish.
Avoid using the sink for at least 48 hours to allow the epoxy's curing time to begin. For the best results, let it cure for a full week before putting it to regular use, ensuring maximum hardness.
During this period, keep the area well-ventilated to help dissipate any lingering fumes.
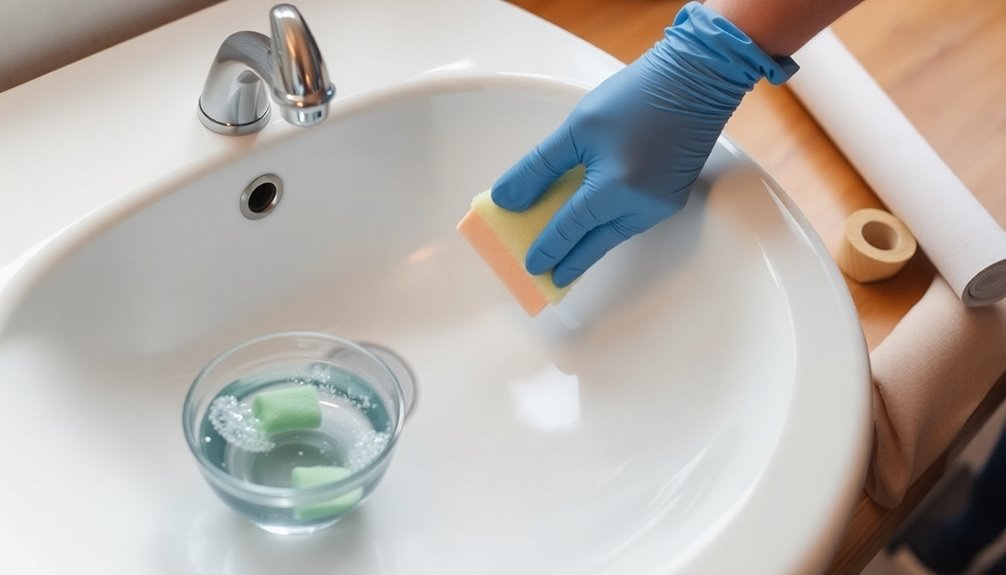
For two weeks post-refinishing, steer clear of heavy objects and abrasive cleaners, as they can damage the new surface.
When cleaning your refinished sink, stick to mild soaps and non-abrasive sponges, avoiding harsh chemicals that could compromise the epoxy finish.
Touching Up Imperfections
Even after a successful refinishing project, imperfections like chips or scratches can still appear on your porcelain sink.
Don't worry; you can easily fix these by touching up imperfections with a few simple steps:
- Identify the size and location of the chips or scratches needing repair.
- Use Rust-Oleum's Tub & Tile Touch-Up kit, mixing the two parts as directed for even consistency.
- For deeper chips, apply multiple coats of touch-up paint about ten minutes apart to build up the repair.
- Confirm the area is clean and dry before application; consider sanding the edges of larger chips for better paint adhesion.
To ensure your sink maintains its appearance, regularly clean it with essential oils for oral health to prevent further damage.
Remember to let the touched-up areas cure fully for at least 24 hours before using the sink again.
Final Thoughts on Refinishing
Refinishing your porcelain sink isn't just about restoring its shine; it greatly boosts its aesthetic appeal while being a cost-effective solution.
You'll extend the lifespan of your fixture, making it look great for years to come.
With the right approach, you can transform your sink into a centerpiece of your kitchen or bathroom.
Enhanced Aesthetic Appeal
Although some may overlook an old porcelain sink, refinishing it can transform it into a stunning centerpiece that revitalizes your space.
The process enhances the sink's aesthetic appeal, giving it a fresh, modern look that rivals new fixtures.
Here's why you should consider refinishing:
- Eliminates unsightly chips and scratches.
- Restores the original color and shine.
- Uses high-quality epoxy for lasting beauty and durability.
- Elevates your home's value by creating a focal point.
Cost-Effective Solution
Transforming your old porcelain sink not only enhances its aesthetic appeal but also presents a cost-effective solution for homeowners.
The first step in this process is realizing that refinishing can save you hundreds of dollars compared to a full replacement. In just two days, you can restore your sink's appearance, making it a quick fix for your home.
By choosing refinishing, you extend the useful life of your fixtures for 15 years or more, maximizing your investment. Plus, a professionally refinished sink can boost your home's overall value, attracting potential buyers.
With the right techniques and materials, you'll achieve a durable and attractive finish that far outperforms DIY kits, ensuring your sink looks great for years to come.
Extended Fixture Lifespan
When you choose to refinish your porcelain sink, you're not just giving it a facelift; you're also investing in its longevity.
Refinishing can extend its useful life by 15 years or more, saving you from costly replacements. To guarantee you maximize this investment, make sure to:
- Hire Professionals: They often provide a 5-year warranty on their work.
- Maintain Regular Care: Simple cleaning can help preserve the finish.
- Avoid Harsh Chemicals: Use gentle cleaners to prevent damage.
- Check for Damage: Address any chips or cracks promptly to maintain the sink's integrity.
Frequently Asked Questions
Can Porcelain Sinks Be Refinished?
Yes, porcelain sinks can be refinished to restore their look and functionality.
You'll find that the refinishing process involves cleaning, preparing the surface, and repairing any damage.
After that, a durable epoxy coating is applied.
This method can extend the sink's life for over 15 years, making it a smart alternative to costly replacements.
Plus, professional services often come with warranties, ensuring a quality finish you can trust.
How Can I Make My Porcelain Sink Look New Again?
To make your porcelain sink look new again, start by cleaning it thoroughly.
Use a sanding pad and TSP solution to eliminate grime and old finishes. For any chips or scratches, grab a Rust-Oleum Tub & Tile Touch-Up kit to restore its surface.
Next, apply a high-quality two-part epoxy, waiting between coats. Allow it to cure for a week afterward, and you'll see a significant transformation in your sink's appearance.
How Much Does It Cost to Reglaze a Sink?
The cost to reglaze a sink typically ranges from $300 to $600, depending on its condition and size.
If you opt for professional services, you'll likely get a 5-year warranty, ensuring quality and durability.
DIY kits are available for $20 to $100, but they may not provide the same professional finish.
Keep in mind that local labor rates and geographic location can also impact the overall cost of reglazing services.
How Do You Refurbish Porcelain?
You might think refurbishing porcelain is intimidating, but it's quite manageable.
First, you'll want to clean the surface thoroughly. Then, sand it down to remove any imperfections.
Mixing a two-part epoxy is next; just remember to let it set for 15 minutes. Apply it evenly, allowing for drying time between coats.
Finally, patience is key—avoid using the item for a week to guarantee a durable finish and enjoy your refreshed porcelain!
Conclusion
Now that you've transformed your porcelain sink, step back and admire your handiwork. The glossy surface gleams like fresh snow under the morning sun, reflecting the beauty of your kitchen. Each curve and contour shines with renewed life, inviting you to wash your hands or fill it with fresh flowers. With a little care and attention, your sink can continue to dazzle for years to come, becoming a centerpiece of your home's charm and warmth.