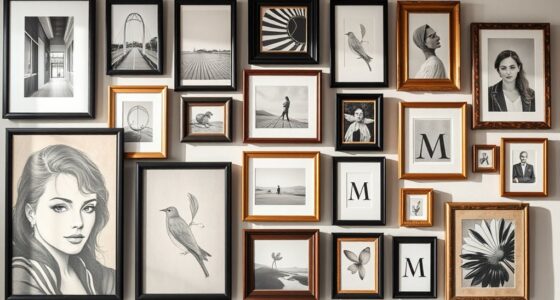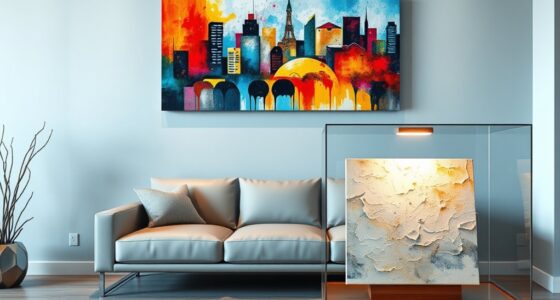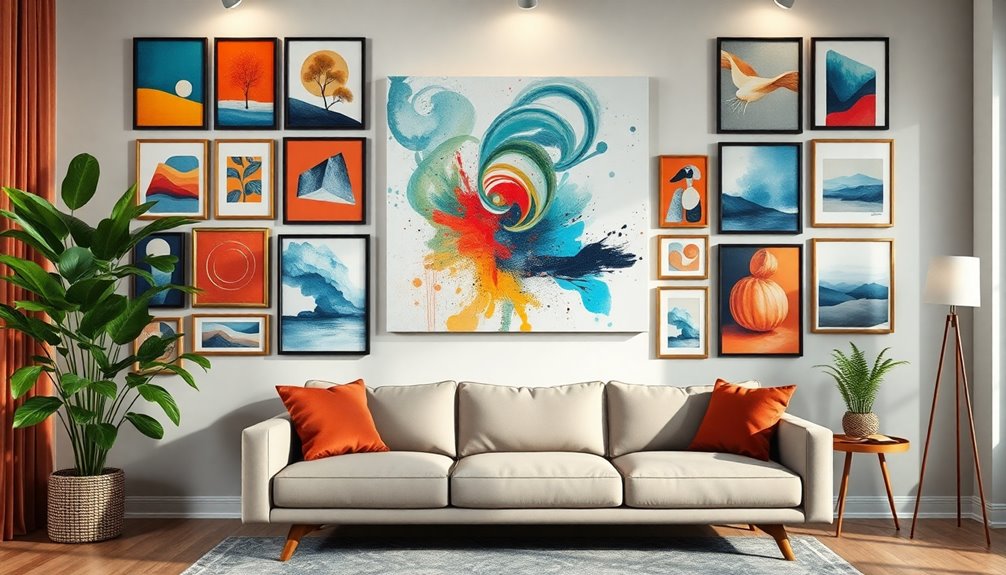
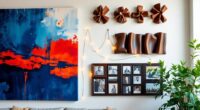
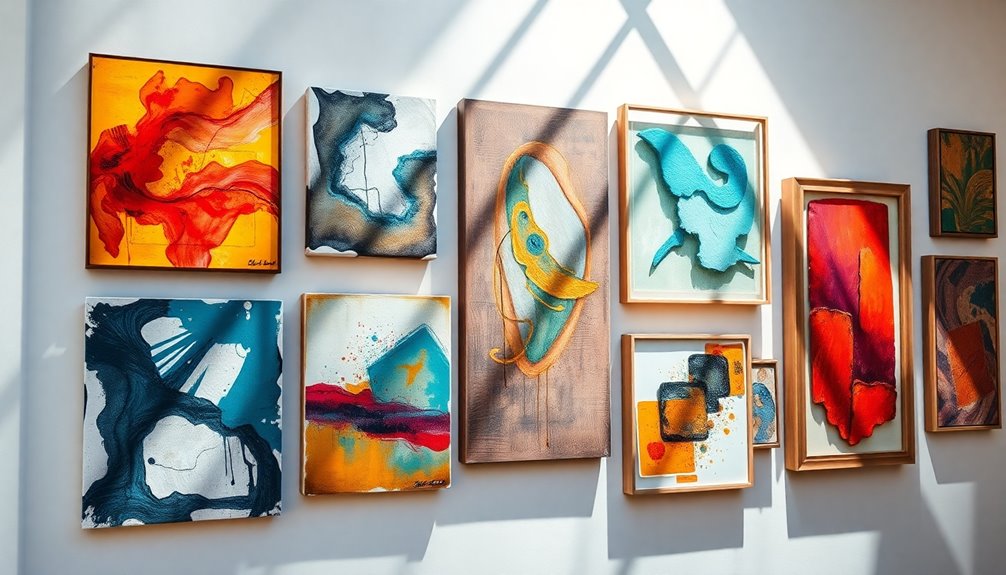
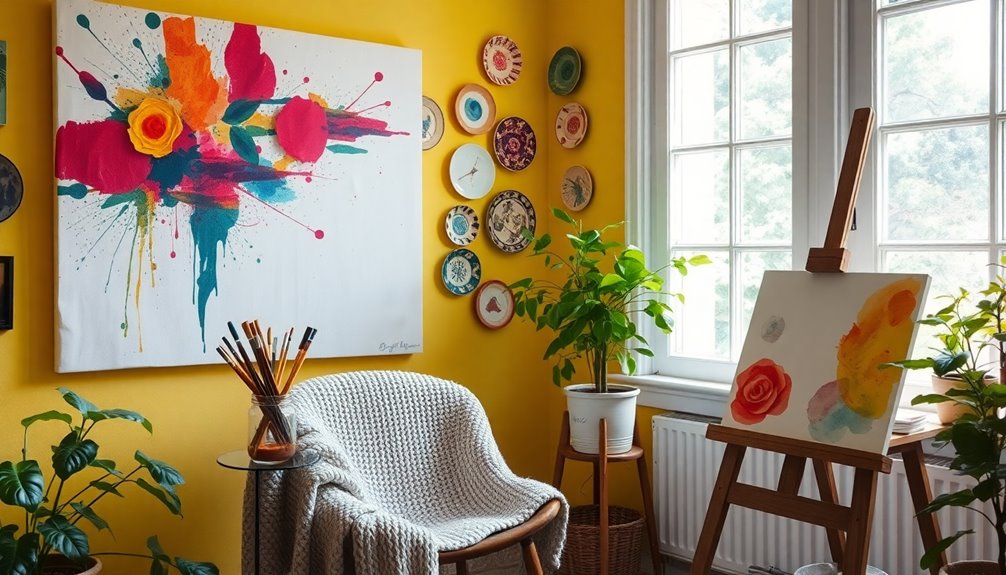
Transform your walls into extraordinary art pieces using innovative techniques! Embrace texture with filler techniques mixed with acrylic paint and experiment with unconventional materials like baking soda and toilet paper for a dynamic background. Layer colors and textures to create depth, and use masking tape for crisp lines. Consider crafting realistic floral designs with plaster or adding dimension using painted rope. Explore these ideas and discover even more creative possibilities to elevate your space!
Key Takeaways
- Embrace texture by mixing all-purpose filler with black acrylic paint and applying it with a party knife for dynamic wall designs.
- Create depth by layering multiple materials, such as acrylic paint mixed with baking soda, to build three-dimensional effects.
- Experiment with unconventional materials like soaked toilet paper or window draft blocker strips to form unique shapes and textures.
- Use masking tape for clean edges when blending colors and creating abstract designs with layered textures.
- Revitalize old canvases by applying multiple layers of white paint and adding decorative elements to create fresh, eye-catching art.
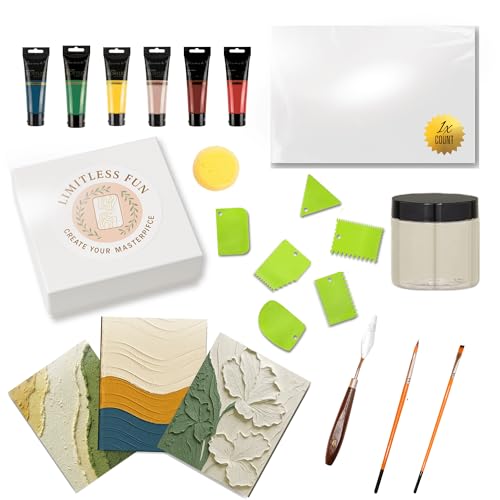
Textured Canvas Art Painting Kit – 3D Canvas Kit – Create Modern Wall Art at Home – Complete DIY Canvas Art – 6 Acrylic Paint Colors + Brushes & Tools
🎨 DIY Home Décor Made Easy – Create stunning textured canvas wall art with this complete kit.
As an affiliate, we earn on qualifying purchases.
As an affiliate, we earn on qualifying purchases.
Embrace Texture With Filler Techniques
When you want to add depth and interest to your walls, embracing texture with filler techniques can make a significant difference.
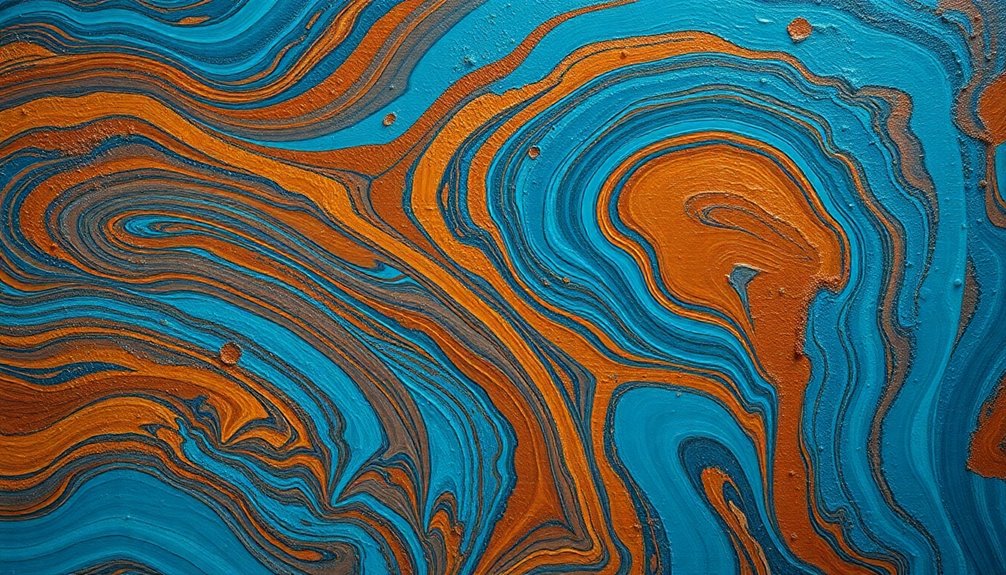
Using all-purpose filler mixed with black acrylic paint allows you to create unique textures that look great. Apply it with a party knife in various directions to achieve dynamic designs.
If you incorporate plaster of Paris, you'll get a smoother consistency, perfect for realistic textures like petals. Mixing acrylic paint with baking soda also gives you an interesting textured finish.
To guarantee clean lines, use masking tape during application. Additionally, consider how butter can enhance the texture of your cooking and baking, as just like with your walls, the right ingredients can make a significant difference in the final outcome.

Bluebird Thick Modeling Paste White 28.2 Oz / 800gm – High Density, Acrylic Medium for Texture, Thickness, and Dimension Additive
High-Quality Ingredients: Crafted from premium materials, our modeling paste ensures durability and smooth application for your artistic projects.
As an affiliate, we earn on qualifying purchases.
As an affiliate, we earn on qualifying purchases.
Create Depth With Layering Methods
To create depth in your artwork, layering techniques are key. By using multiple materials and applying them in a thoughtful sequence, you'll enhance the visual interest and texture of your pieces. Incorporating natural materials can add an authentic touch to your designs as you explore how these methods can transform your walls into enchanting displays.
Layering Techniques Explained
Layering techniques play an essential role in creating depth in your artwork, as they allow you to build up textures and colors for a more dynamic visual experience.
By applying multiple coats of paint or filler, you can enhance the three-dimensional effect of your piece of art. When using quite thick layers of plaster mixed with color, you'll achieve a textured surface that adds visual interest.
Remember, the sequential application of colors is vital; each layer should contribute to the overall depth without compromising the design.
You can also mix materials, like acrylic paint with baking soda, to create varied textures. Randomly applying filler around letters will draw attention to your message, making it pop against the background. Additionally, incorporating natural materials in your layered designs can enhance the organic feel of your artwork, reflecting the principles of Balinese decor.
Textured Effects Demonstrated
Creating textured effects in your artwork can transform a flat surface into an enchanting visual experience. To achieve this, you can play around with various layering methods. Here are some great ideas to get you started:
- Apply all-purpose filler with a party knife for rich texture.
- Use plaster of Paris mixed with color for realistic petals.
- Add filler around letters for visual interest.
- Layer multiple colors over your textured design, letting each dry.
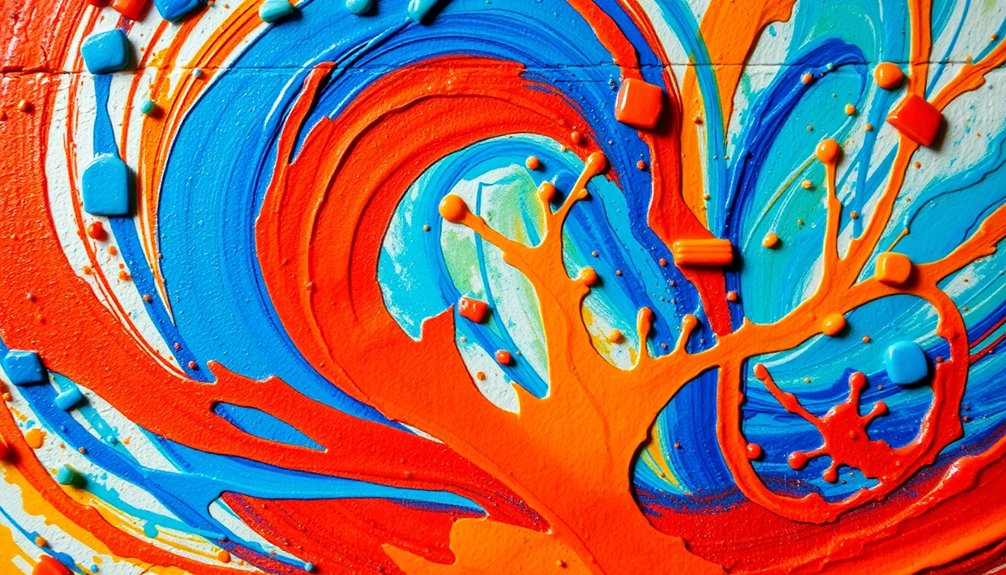
- Mix acrylic paint with baking soda for an abstract finish.
Consider working with smaller pieces to refine your technique. Incorporating essential oils for skin conditions can also provide a unique aromatic experience that enhances your creative process.
Experimenting with these methods won't only enhance depth but also elevate your artwork, making it truly enthralling.

Scotch Blue Painters Tape Applicator, Applies Painter's Tape in One Continuous Strip, Paint Tape Applicator for Trim, Windows and Door Frames, 1.41 Inches x 20 Yards, 1 Starter Roll
READY. SET. PAINT!: 1 ScotchBlue Original Multi-Surface Painter's Tape Applicator and Starter Roll (1.41 inch wide x 20…
As an affiliate, we earn on qualifying purchases.
As an affiliate, we earn on qualifying purchases.
Experiment With Unconventional Materials
Ready to shake up your art game?
Experimenting with unconventional materials can add unique textures and visual interest to your pieces.
Plus, repurposing items not only keeps your project budget-friendly, but it also sparks creativity in unexpected ways. Additionally, just as heat pumps transform energy use, your art can transform everyday materials into stunning masterpieces.
Unique Texture Applications
Exploring unique texture applications can transform your walls into fascinating works of art.
You can take inspiration from Pinterest and Instagram to experiment with unconventional materials that create stunning visual effects.
Here are some ideas to get you started:
- Mix baking soda into acrylic paint for a textured finish.
- Soak toilet paper in hot water for a layered, organic background.
- Use window draft blocker seal strips to form distinct shapes.
- Apply instant filler with a party knife for dynamic texture.
- Craft realistic petals or abstract forms with colored plaster of Paris.
These techniques not only add depth but also invite touch, making your walls a mesmerizing focal point in any room. Additionally, consider incorporating HEPA filtration methods to improve indoor air quality while you enhance your space.
Get creative and let your imagination run wild!
Repurposed Materials Benefits
While you mightn't think of them as art supplies, repurposed materials can open up a world of creativity and sustainability for your wall projects.
Using thrifted canvases or wooden boxes not only cuts down on waste but also offers a unique, cost-effective base for your art.
Experimenting with unconventional items like window draft seals or soaked toilet paper can introduce innovative textures and shapes.
Hot glue works wonders for attaching porous surfaces, allowing for exciting mixed media experimentation.
Incorporating materials like old rope or masking tape can add interesting patterns and clean edges.
Plus, mixing everyday supplies like baking soda with acrylic paint creates a textured finish that enhances your artwork's depth and character.
Additionally, embracing organic farming methods in your art projects can inspire a sustainable approach to creativity.
Immerse yourself in this eco-friendly art journey!

Falling in Art 1lb Plaster of Paris Powder – Hand Mold Casting Kit Powder, Gypsum Cement, Pottery & Ceramic Plaster Powder for Crafts, Sculpture, Diorama and Home Decor
Safe & Best Plaster of Paris: Falling in Art starts with safety, our plaster casting powder is made…
As an affiliate, we earn on qualifying purchases.
As an affiliate, we earn on qualifying purchases.
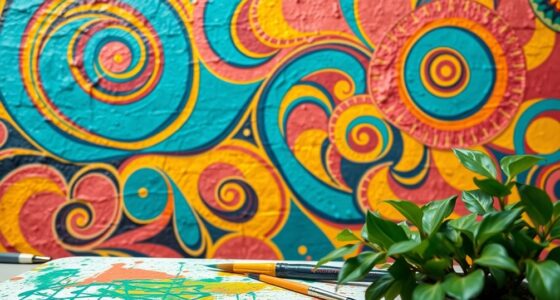
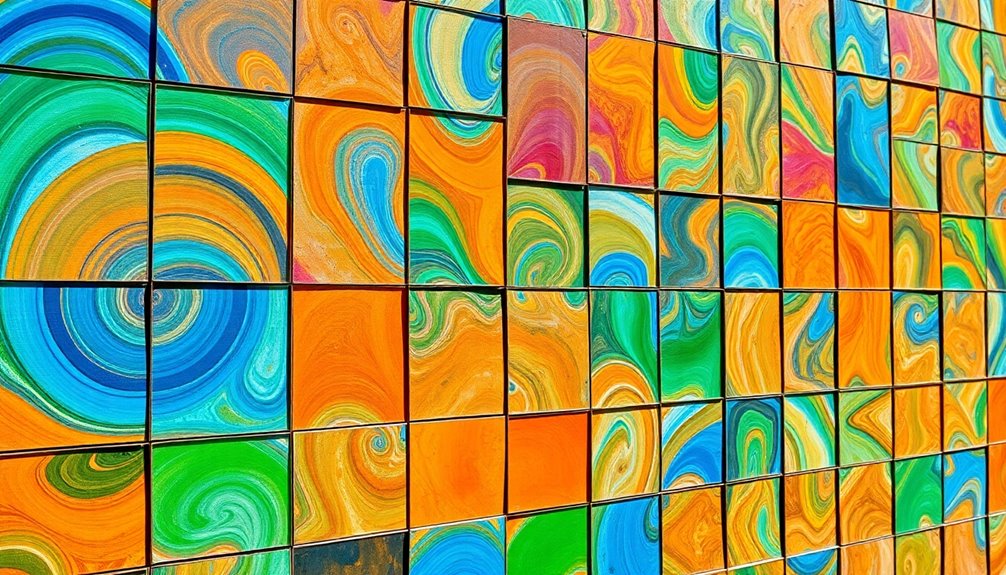
Explore Abstract Designs for Unique Wall Art
Have you ever thought about how abstract designs can transform your walls into a canvas of creativity?
By using techniques like thick layers of all-purpose filler, you can craft unique forms that add depth and texture to your space. Consider incorporating plaster mixed with color for dynamic visuals and fresh perspectives.
Here are some ideas to inspire you:
- Create striking shapes with crisp edges using masking tape
- Blend acrylic paint with baking soda for a textured finish
- Layer colors and textures for intriguing patterns
- Explore floral or landscape forms for organic appeal
- Experiment with overlapping techniques for depth
Incorporating various styling techniques can also enhance the overall aesthetic of your space.
With these methods, your abstract wall art will be a conversation starter, showcasing your unique style and imagination.
Incorporate Color Mixing for Textured Effects
To create stunning wall art that captures attention, incorporating color mixing can elevate your designs with rich textures and depth.
Mixing acrylic paint with baking soda gives you a textured finish that adds vibrancy and dimension to your piece. You can also try mixing plaster with color for a raised texture, creating a three-dimensional effect that draws the eye.
Using a thick layer of filler lets you manipulate the paint easily, allowing unique patterns to emerge. For dynamic backgrounds, soaking toilet paper in hot water and applying it creates layers that interact beautifully with your colors.
Additionally, layering colored plaster can mimic realistic effects, like textured petals, giving your walls a stunning, artistic flair that truly stands out.
Utilize Masking Tape for Clean Lines
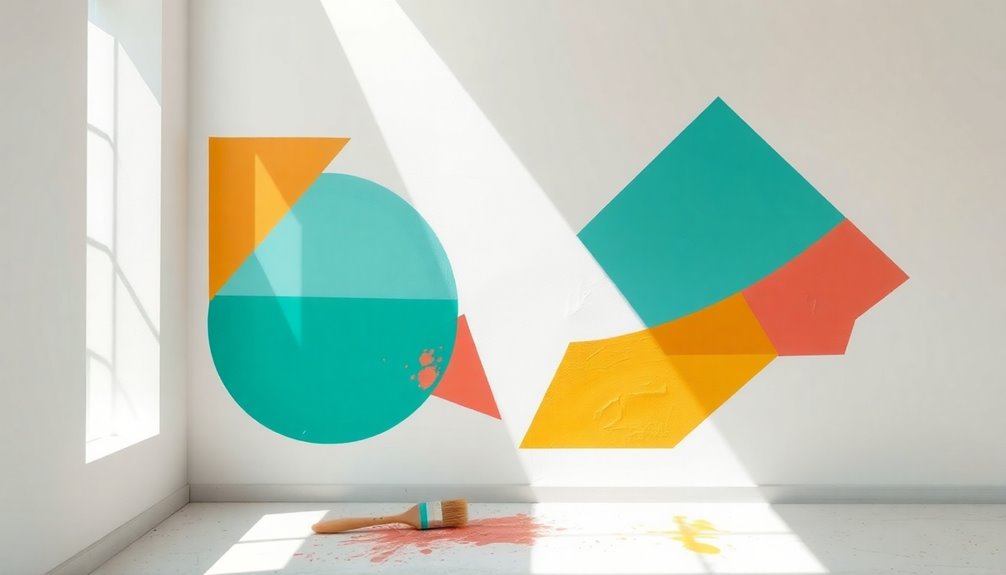
Achieving clean, sharp lines in your wall art can transform a simple design into a striking masterpiece, especially when you utilize masking tape effectively.
Start by firmly pressing the tape onto your canvas to prevent any paint from seeping underneath. Then, apply a thick layer of filler for intricate designs while ensuring clean edges. Remember to remove the tape while the filler is still wet for the best results.
For added precision, use smaller pieces of tape to create geometric shapes or patterns.
- Bold stripes that capture attention
- Intricate chevron designs
- Perfectly defined circles
- Crisp triangular accents
- Stunning multicolored sections
Incorporating effective preparation will elevate your wall art to new heights! With these tips, you'll elevate your wall art to new heights!
Transform Old Canvases Into Stunning Pieces
After enhancing your walls with clean lines, consider giving old canvases a vibrant makeover. Start by applying multiple layers of white paint to cover outdated designs, creating a fresh base.
Next, mix all-purpose filler with black acrylic paint to craft textured designs that add visual depth. Use a party knife to spread the filler in different directions, allowing for creative manipulation and unique textures.
For added realism, incorporate colored plaster to mimic petals or other elements—this elevates your artwork's aesthetic. Additionally, engaging in creative activities like this can support emotional regulation, contributing to your overall well-being.
Finally, secure any additional features, like decorative letters or shapes, with hot glue, ensuring they stand out prominently from the canvas background. Your transformed canvases will be stunning focal points in your space!
Craft Realistic Floral Designs With Plaster
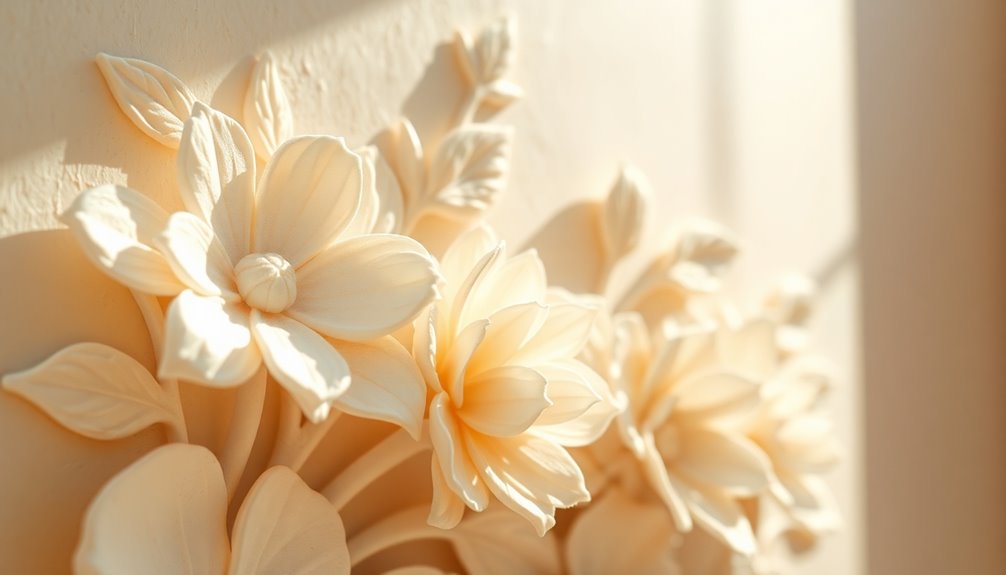
You can craft stunning floral designs using plaster by choosing the right materials and mastering application techniques.
Start with a thick layer of colored plaster and manipulate it to create textured petals, then enhance depth with additional layers.
Finally, add finishing touches for a lifelike appearance that really brings your wall art to life.
Materials for Floral Texture
Creating realistic floral designs with plaster requires just a few essential materials that can elevate your artwork.
Start with a mixture of plaster of Paris and vibrant acrylic paint for a smooth, colorful consistency. You'll also need tools for application and texture manipulation.
Here's what you'll want to gather:
- Plaster of Paris for creating durable petals
- Acrylic paints for adding rich color
- A party knife for applying and shaping the plaster
- Smaller palette knives for intricate detailing
- Window draft blocker seal strips to craft unique petal shapes
With these materials, you're set to bring your floral designs to life, adding depth and dimension that will truly stand out on your walls.
Application Techniques Explained
While applying plaster to craft realistic floral designs, mastering your technique is essential for achieving stunning results.
Start by mixing plaster with color to create vibrant petals that offer depth and texture. Use a party knife to apply filler in various directions, shaping the flowers as you go.
Layering filler is key; adding multiple layers enhances dimensionality and guarantees each petal stands out. For clean edges, incorporate masking tape, removing it while the filler is still wet to maintain sharp lines.
Finally, don't hesitate to experiment with smaller palette knives for detailed work, allowing you to create intricate patterns that bring your floral designs to life. Your creativity will shine through with these techniques!
Finishing Touches for Depth
To craft floral designs that truly pop, paying attention to finishing touches is essential.
Start by mixing plaster with acrylic paint for a colored texture that mimics real petals. Use a party knife to apply plaster in varied directions, shaping it to enhance depth.
For lifelike petals, a window draft blocker seal strip is a game changer, allowing you to create distinct forms that stand out. Layering plaster and drying it before adding more colors can give your artwork a multi-dimensional effect.
Don't forget tweezers for precise placement of smaller pieces, adding intricate details that capture the essence of real flowers.
- Vividly colored petals
- Textured layers
- Lifelike forms
- Intricate details
- Multi-dimensional effects
Design With Painted Rope for Added Dimension
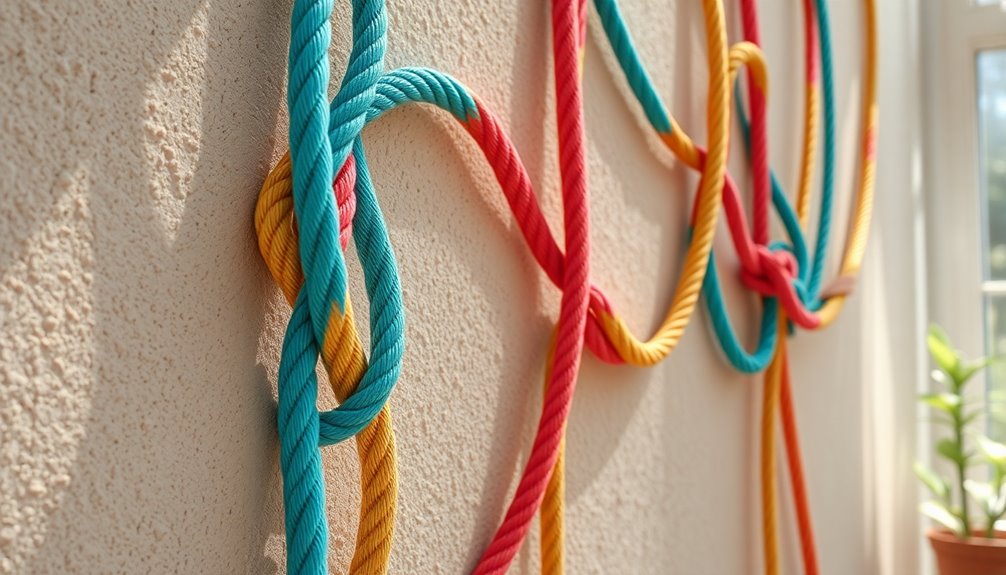
If you're looking to add a striking three-dimensional element to your wall art, designing with painted rope can transform a simple canvas into a fascinating focal point.
Start by wrapping jute rope around a thrifted canvas in measured sections for uniformity. Secure each section with hot glue to guarantee stability.
Don't hesitate to overlap sections of rope; this creates unique patterns and textures that catch the eye.
To enhance the visual interest, combine your textured rope design with painted filler. Mix acrylic paint with baking soda and apply it around the rope to add even more texture.
This multi-dimensional approach will elevate your artwork, making it a standout piece in any room.
Engage in Relaxing, Time-Consuming Art Projects
Creating art can be a delightful way to unwind, especially when you embrace projects that require time and attention. Engaging in these hands-on activities lets you express your creativity while enjoying the process.
You'll find that layering materials like plaster and acrylic paint can be both relaxing and rewarding.
Imagine:
- Smooth plaster gliding beneath your fingers
- Vibrant acrylics swirling together in rich hues
- Textured fillers adding depth and dimension
- Party knives and plastic spatulas shaping your vision
- Thrifted canvases transforming into unique masterpieces
As you immerse yourself in these time-consuming tasks, you'll discover a meditative quality that allows you to escape daily stresses while bringing your artistic ideas to life!
Frequently Asked Questions
What Tools Do I Need for Wall Art Projects?
For wall art projects, you'll need a few essential tools.
Start with a good set of brushes, sponges, or rollers for painting. Don't forget painter's tape for clean lines and a drop cloth to protect your floor.
If you're going for mixed media, gather scissors, glue, and a variety of materials like fabric or paper.
A level and measuring tape will help guarantee everything's straight and perfectly placed.
Get creative and have fun!
How Can I Protect My Finished Wall Art?
Imagine standing before your vibrant wall art, colors dancing under the light.
To protect it, you'll want to seal it with a clear varnish or acrylic spray, creating a shield against dust and fading.
If it's canvas, consider framing it to guard against wear.
Hang it away from direct sunlight to prevent color loss, and clean gently with a soft cloth.
Your masterpiece deserves the best care to keep its beauty alive!
Are There Specific Paints for Wall Art?
Yes, there are specific paints designed for wall art. Acrylic paints are popular because they're versatile, easy to use, and quick-drying.
If you're looking for a more durable option, consider using exterior latex paint, especially for larger murals. Make certain to choose paints that are non-toxic and suitable for your wall's surface.
Always test a small area first to guarantee the colors and finish meet your expectations before diving into your project!
Can I Paint Over Wallpaper for My Projects?
Yes, you can paint over wallpaper, but it's important to prepare properly.
First, verify the wallpaper's in good condition—no peeling or moisture damage. Clean the surface to remove dust and grease.
Then, apply a primer designed for wallpaper, which helps the paint adhere better. Once that's dry, you can use your chosen paint.
Just remember that the texture of the wallpaper might show through, so choose your paint finish wisely!
How Do I Choose Colors That Complement My Space?
Choosing colors that complement your space can be a colorful conundrum!
Start by considering the mood you want to create—calm, vibrant, or cozy. Use a color wheel to find harmonious hues, ensuring they enhance your existing decor.
Test paint samples on your walls to see how they interact with natural light.
Don't forget to factor in furniture and accessories; they should blend beautifully for a balanced, inviting environment.
Trust your instincts!
Conclusion
So, why settle for dull walls when you can release your creativity? By diving into these ten art ideas, you're not just decorating; you're transforming your space into a vibrant expression of who you are. Each technique invites you to explore and innovate, turning your walls into a canvas of endless possibilities. Embrace the journey of creation, and remember: your walls are waiting to tell your story—let them speak in colors, textures, and designs that truly reflect you.