To create textured art at home, gather diverse materials like textured paper, natural objects, or metallic foils, and layer them onto your canvas using adhesives like hot glue or acrylic gel. Experiment with techniques such as scraping, stippling, or dry brushing to build depth and interest. Choosing a cohesive color palette helps unify the piece, and adjusting layers guarantees your sculpture reflects your style. Keep exploring these methods to craft stunning, personalized textured art.
Key Takeaways
- Gather diverse materials such as textured paper, natural objects, and metallic foils to add depth and tactile interest.
- Layer materials and build up surfaces gradually using adhesives like hot glue or acrylic gel for a sculptural effect.
- Experiment with various painting techniques and color schemes to enhance textures and create visual harmony.
- Manipulate surface layers to develop peaks, valleys, and detailed textures that catch light and shadow.
- Incorporate mixed media elements and continually assess your composition for balance, resulting in a personalized sculptural artwork.

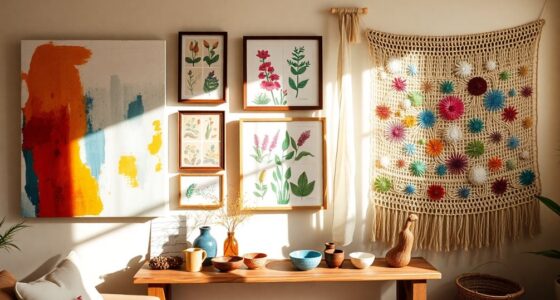
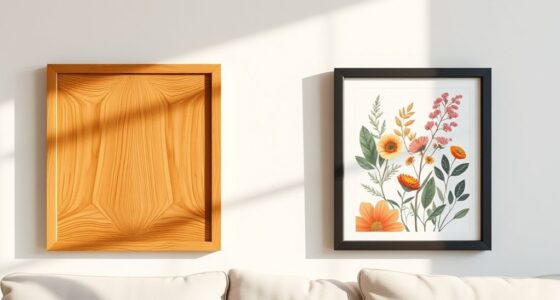
Creating textured art at home offers a fun and satisfying way to add depth and personality to your walls. When you explore crafting your own sculptural canvases, you unlock endless possibilities for self-expression. One of the most exciting aspects is experimenting with mixed media—combining materials like paper, fabric, clay, and found objects to create layered, tactile surfaces. This approach not only enhances the visual interest but also invites viewers to explore the different textures you’ve integrated. As you work, you’ll find that choosing a cohesive color palette becomes essential. Whether you opt for bold, contrasting hues or a subtle monochromatic scheme, your color choices influence the mood and impact of your piece. A well-selected palette can unify diverse materials, making your artwork look intentional and polished.
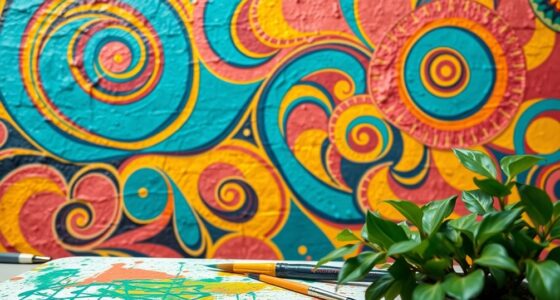
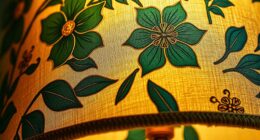
To start, gather a variety of textures and materials that inspire you. Think beyond traditional paint—incorporate elements like textured paper, metallic foils, or even small natural objects such as twigs or stones. As you arrange these on your canvas, consider how each piece adds to the overall composition. Layering is key to creating depth, so don’t hesitate to build up your surface in stages. Use different adhesives—hot glue, acrylic gel, or even epoxy—to secure your materials firmly. This process allows you to manipulate the surface, creating peaks, valleys, and intricate details that invite tactile exploration. Remember, the beauty of mixed media is its flexibility; you can add or remove components as you go, refining your design until it feels just right. Embracing mixed media techniques can open new avenues for your artistic experimentation.
Color plays a vital role in emphasizing texture. Bright, vibrant hues can make certain elements pop, while muted tones can lend a more subdued, sophisticated look. Consider applying paint with varied techniques—scraping, stippling, or dry brushing—to enhance the textures already present. This adds visual interest and helps unify the piece’s overall color palette. Don’t be afraid to experiment with different combinations; sometimes unexpected pairings create the most dynamic results. As you develop your artwork, step back periodically to assess how the colors and textures work together, making adjustments to balance the composition.
Creating your own textured art at home is about embracing your creativity and refining your skills. With mixed media, you’re not bound by traditional rules—your canvas becomes a playground for your ideas and materials. Carefully selecting a color palette ensures your finished piece feels harmonious and intentional. Whether you want a bold statement or a subtle statement piece, your personal touch will shine through in every textured layer. This process isn’t just about making art; it’s about crafting a unique, sculptural masterpiece that reflects your style and personality.
Frequently Asked Questions
What Are the Best Tools for Creating Textured Surfaces?
You’ll want palette knives and modeling paste for creating textured surfaces. Palette knives help you spread and shape materials with precision, giving your artwork a dynamic feel. Modeling paste adds thick, sculptural layers that stand out from the canvas. Use the knives to manipulate the paste, creating ridges, valleys, or abstract textures. Together, these tools let you craft unique, tactile effects that bring depth and dimension to your art.
How Long Does Textured Art Typically Take to Complete?
Textured art usually takes between a few hours to several days, depending on complexity. Surprisingly, most artists spend around 10-20 hours on a detailed piece, highlighting the importance of artistic patience. Your time estimates will vary based on the materials and techniques you choose. Rushing can compromise the texture, so plan accordingly to enjoy the process and achieve a stunning sculptural effect.
Can Textured Canvases Be Sealed or Protected?
Yes, you can seal or protect textured canvases using sealing techniques and protective coatings. Apply a clear acrylic varnish or a sealant designed for mixed media art to preserve your work. Make sure to choose a matte, satin, or gloss finish depending on your preference. Use a brush or spray for an even coat, and allow it to dry thoroughly. This will help safeguard your textured art from dust, dirt, and damage.
Are There Eco-Friendly Materials Suitable for Textured Art?
Yes, you can create textured art with eco-friendly materials. Use recyclable mediums like recycled paper, cardboard, or biodegradable gels, and incorporate natural pigments such as earth tones or plant-based dyes. These options allow you to craft beautiful, textured sculptures without harming the environment. You’ll enjoy producing sustainable artwork that’s both visually striking and eco-conscious, making your creative process more responsible and environmentally friendly.
How Can I Repair or Restore Damaged Textured Artwork?
You can restore damaged textured artwork using simple restoration techniques like gentle cleaning, filling cracks with suitable fillers, and repainting affected areas carefully. Don’t worry about damage; prevention is key, so keep your art away from moisture and direct sunlight. If damage occurs, act promptly to minimize it. Regularly inspect your piece and handle it carefully to maintain its integrity and prevent further deterioration.
Conclusion
Now that you’ve crafted your own textured masterpiece, you’ve woven a tangible story onto your canvas, turning a blank space into a vibrant landscape of your creativity. Think of your artwork as a garden, each textured element a blooming flower, adding depth and personality. Keep experimenting and let your imagination grow wild. With every new piece, you’ll cultivate a richer, more colorful garden of self-expression—your home’s walls just became a living, breathing gallery of your unique vision.