
Many DIYers skip essential prep steps like sanding and cleaning when painting cabinets, but these are vital for a professional finish. Skipping these steps can lead to chips, peeling, and uneven coverage because the surface isn’t properly prepared to hold the paint. Taking the time to sand thoroughly and clean all surfaces ensures better adhesion and longer-lasting results. Keep going to discover simple tips for smooth, durable cabinet painting that saves you time and money.
Key Takeaways
- Skipping thorough sanding, especially between coats, leads to uneven finishes and poor paint adhesion.
- Failing to clean surfaces properly before painting causes dust, grease, and grime to weaken the bond.
- Neglecting to mask or remove hardware results in paint contact and a less professional look.
- Overlooking the use of primer can cause chipping, peeling, and reduced durability over time.
- Not preparing edges and corners carefully can lead to uneven application and visible imperfections.

Romeda 8-Pack Sanding Sponge, Four Grits Per Pack 60/80/120/220, Washable and Reusable Handmade Sandpaper Block, Drywall Sandpaper Blocks for Wooden Drywall Sheetrock and Metal Glazing
- Assorted Grits and Colors: 8 sanding blocks with 4 grit sizes
- Durable High-Density Sponge: Flexible, tear-resistant, long-lasting material
- Wide Range of Uses: Suitable for woodworking, drywall, metal, and more
As an affiliate, we earn on qualifying purchases.
As an affiliate, we earn on qualifying purchases.
How to Properly Prepare Cabinets for Painting
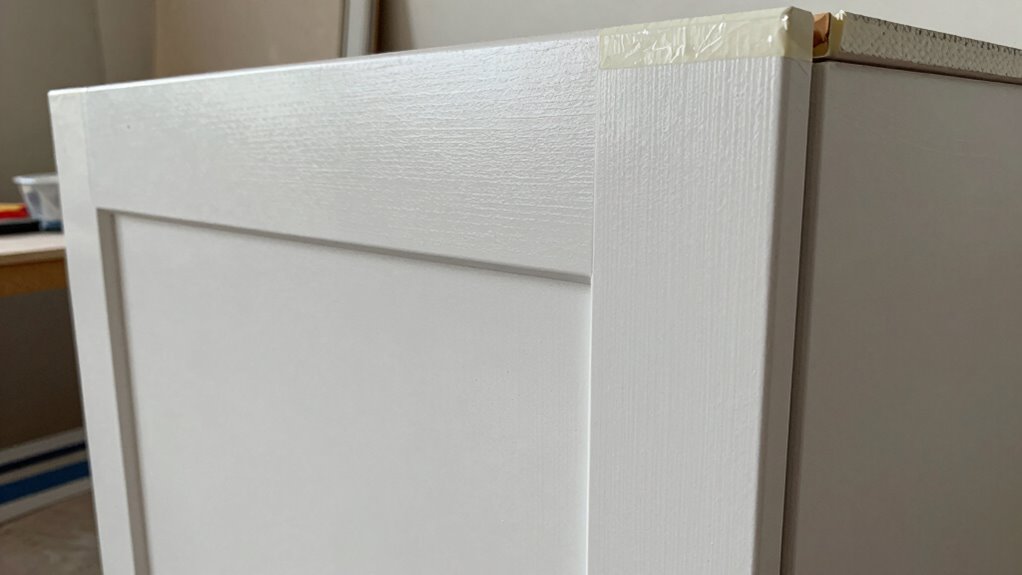
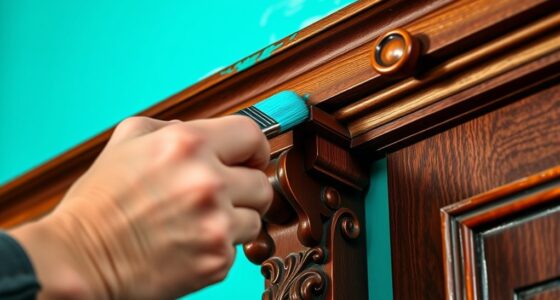
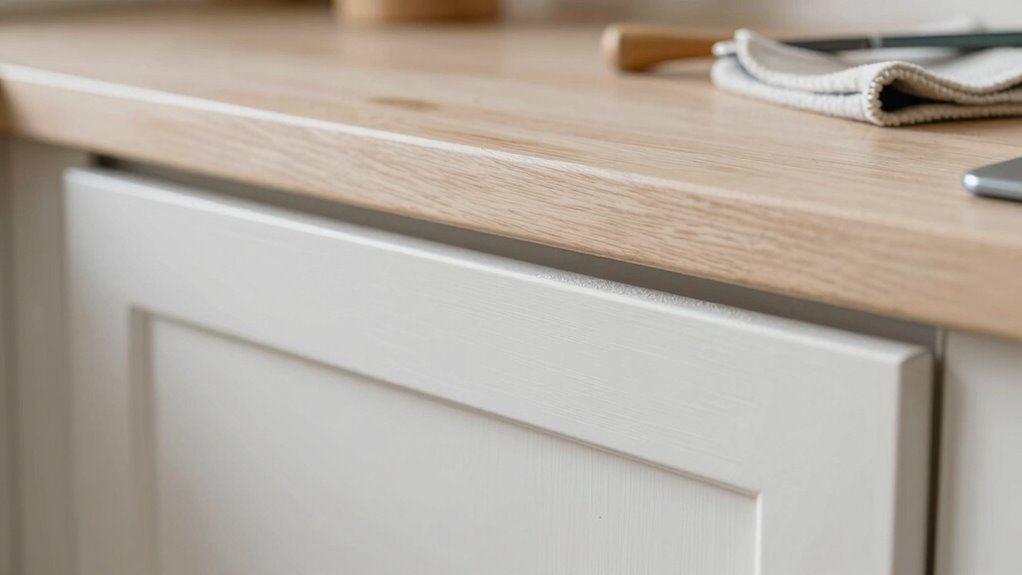
Properly preparing your cabinets before painting is essential to achieving a smooth, professional look. Start by removing cabinet hardware, such as knobs and handles, to prevent paint from getting on them. Once the hardware is off, clean the surfaces thoroughly with a degreaser or soapy water to eliminate grease and grime. Next, sand the cabinets lightly to create a rough surface that helps the paint adhere better. When it comes to paint selection, choose a high-quality, durable paint designed for cabinets to ensure a lasting finish. Proper preparation also includes filling any holes or dents and taping off areas you don’t want painted. Additionally, considering the contrast ratio of your project space can help you choose lighting and finishes that enhance the final appearance. Taking these steps guarantees your paint job will look flawless and last longer. To further improve adhesion, applying a primer suited for cabinets can make a significant difference in the durability of your paint. Also, ensuring proper piercing care and hygiene during the process can prevent issues like paint contamination and maintain a clean workspace.
The Most Common Step DIYers Skip When Painting Cabinets
One of the most overlooked steps when painting cabinets is sanding between coats. Skipping this step can cause paint to peel or chip prematurely, even if you’ve carefully chosen your paint color. Many DIYers forget to remove cabinet hardware or mask it properly, which affects the finish. Also, rushing the process means you might not achieve a smooth, durable surface. To get a professional look, lightly sand after each coat to promote adhesion. Remember to:
- Remove or mask cabinet hardware and hinges
- Use fine-grit sandpaper for a smooth surface
- Wipe away dust before applying the next coat
- Proper surface preparation is essential for a long-lasting, flawless finish. Additionally, understanding the importance of surface adhesion can help you avoid common pitfalls and ensure your paint bonds effectively. Applying a primer before painting can further improve adhesion and durability, especially on tricky surfaces. This extra step is crucial because it directly impacts the paint’s durability, ensuring your cabinets stay beautiful over time. Skipping it often leads to regrets down the line. Being aware of surface preparation techniques can make the difference between a DIY project that lasts and one that quickly fails.
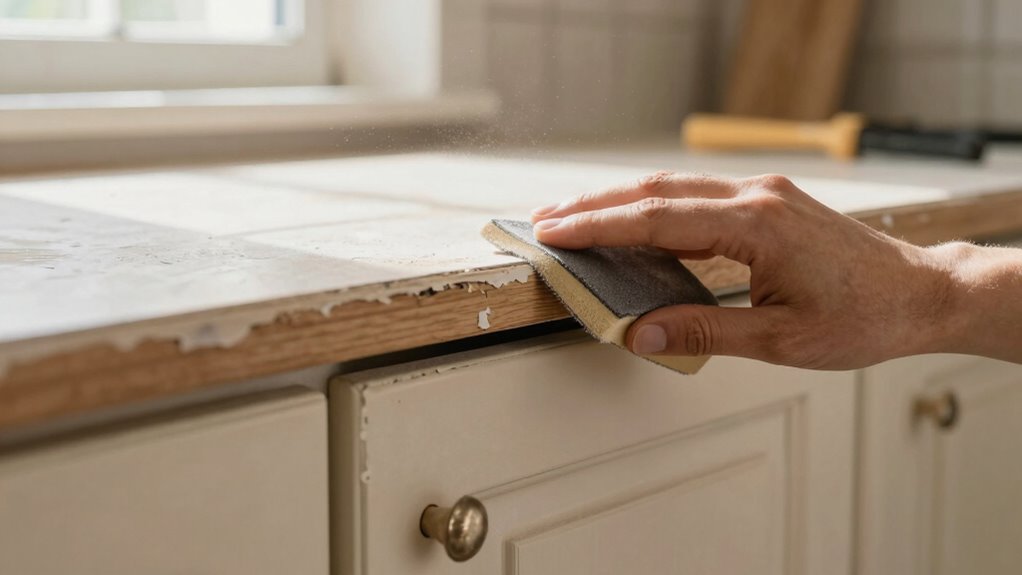
Why Skipping Sanding and Cleaning Causes Chips and Peeling

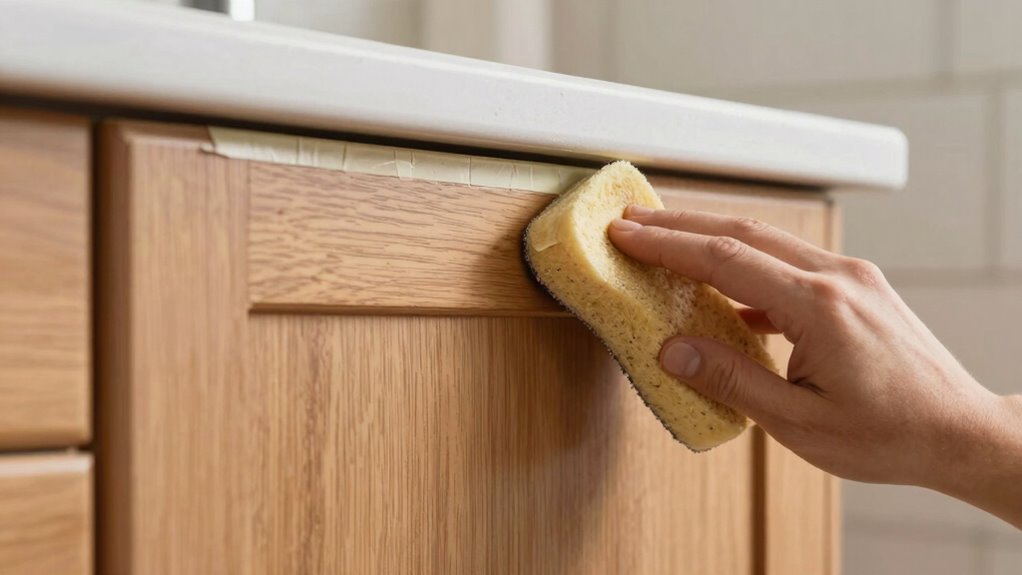
Skipping sanding and cleaning before applying paint weakens the bond between the paint and the cabinet surface, making chips and peeling much more likely. Without proper preparation, surface contaminants like grease, dust, and grime remain on the wood, preventing good paint adhesion. These contaminants create a barrier that stops the paint from sticking firmly, leading to weak spots prone to chipping. Sanding smooths rough areas and removes old paint or gloss, ensuring a clean, textured surface for better adhesion. Cleaning eliminates dust and oils that can compromise the bond. If you skip these steps, your paint won’t adhere properly, and your finish will be less durable. Proper prep is essential to achieve a long-lasting, professional-looking cabinet paint job. Surface preparation is a crucial step many DIYers overlook but can significantly impact the durability of the finished project. Additionally, understanding proper surface cleaning techniques can further enhance paint adhesion and longevity, especially when considering surface contaminants and their effects on paint bonds.
Simple Tips for Sanding and Cleaning Cabinets Effectively
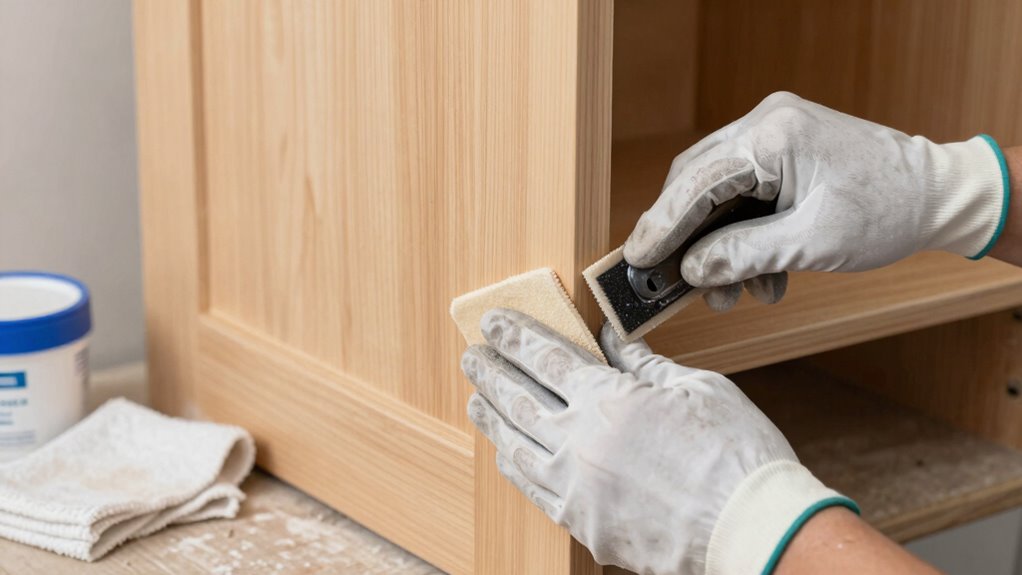
To guarantee your cabinets are ready for painting, start by thoroughly cleaning them to remove dust, grease, and grime. Proper cleaning assures paint adhesion and prevents peeling. After cleaning, focus on sanding to smooth surfaces and remove old paint or finish. Here are simple tips for sanding and cleaning cabinets effectively:
Ensure cabinets are clean and sanded properly for a smooth, lasting paint finish.
- Use a tack cloth or damp rag for dust elimination after sanding to keep surfaces spotless.
- Choose the right sandpaper grit—start with a medium grit, then finish with fine grit for a smooth surface.
- For paint removal, gently sand in circular motions to avoid gouging the wood, ensuring a clean, even base for your new coat.
- Incorporating proper cleaning and sanding techniques helps maintain the integrity of your surfaces and ensures a longer-lasting finish, much like proper appliance maintenance that extends the lifespan of your home investments. Additionally, using a vacuum or compressed air can help remove any remaining dust from crevices and hard-to-reach areas, ensuring a pristine surface before painting. For optimal results, consider sanding techniques that provide a better finish and durability, which is similar to airless paint spraying methods that can achieve a smooth, professional look. Regularly inspecting and measuring surface smoothness with accurate tools can help verify your preparation work is up to standard.
Saving Time and Money by Investing in Proper Cabinet Prep
Investing time and effort in proper cabinet prep upfront can save you significant money and frustration later on. Using the right brush techniques ensures smooth, even coats, reducing the need for touch-ups. Choosing the correct paint selection is equally important; high-quality, durable paint minimizes chipping and peeling, saving you money on repairs. Spending extra time on prep prevents issues that could require stripping and repainting. Additionally, understanding the importance of protective coatings can enhance your project’s longevity and appearance. Recognizing the benefits of proper surface preparation helps ensure a professional-looking finish that lasts longer. Moreover, paying close attention to surface adhesion can dramatically improve the durability of your paint job. Proper surface preparation is especially crucial for adhesion and overall durability. Taking the time to properly clean and sand your cabinets creates the ideal surface for paint to adhere effectively.
Frequently Asked Questions
What Tools Are Best for Cabinet Prep?
You should use a high-quality brush suited for your cabinet finish, like a synthetic for latex paints or natural bristles for oil-based paints. For surface sanding, a fine-grit sandpaper or sanding block works best to smooth surfaces and guarantee paint adhesion. Both tools help create a clean, even surface, making your cabinet painting look professional. Remember, proper brush selection and surface sanding are essential prep steps most DIYers overlook.
How Long Should Cabinet Prep Take?
Generally, cabinet prep takes about 4 to 8 hours, but it can stretch longer if you’re thorough. You’ll spend time sanding cabinets to guarantee smooth surfaces, which is vital for paint sealing and a professional finish. Rushing through this step can cause peeling or uneven paint. So, plan for enough time to complete cabinet sanding carefully, and don’t skip the essential prep to achieve durable, beautiful results.
Can I Skip Primer During Prep?
Skipping primer during cabinet prep isn’t advisable because primer necessity is key to ensuring paint adhesion. Without primer, your paint might not stick well, leading to peeling or uneven coverage over time. Primer creates a smooth, uniform surface that helps the paint adhere properly and lasts longer. So, even if it’s an extra step, using primer is essential for a professional-looking, durable finish on your cabinets.
What Paint Types Work Best for Cabinets?
When choosing paint for your cabinets, go for high-quality latex or alkyd options. These paints deliver durable, beautiful finishes and are easy to clean. Satin or semi-gloss finishes work best, offering a subtle sheen and smooth surface. To get the perfect look, consider color matching for consistency and a professional appearance. Remember, the right paint type enhances your cabinets’ longevity and elevates your space with a sleek, stylish finish.
How Do I Avoid Uneven Paint Coverage?
To avoid uneven paint coverage, use proper brush techniques like long, smooth strokes and consistent pressure. Make sure to work in manageable sections, blending edges as you go. Also, pay attention to your paint sheen; a satin or semi-gloss finish helps conceal imperfections. Apply thin coats, allowing each to dry thoroughly before adding the next, which guarantees an even, professional-looking finish.
Conclusion
Skipping proper cabinet prep might seem like a quick fix, but it’s a classic case of penny wise, pound foolish. Taking the time to sand and clean your cabinets sets the foundation for a flawless finish that lasts. Remember, a job worth doing is worth doing right from the start. When you invest a little extra effort upfront, you’ll save yourself headaches and dollars down the road. Don’t rush—your cabinets will thank you for it.