To achieve a vintage look on wood furniture, start by applying chalk paint for a matte, aged finish. Use fine-grit sandpaper or a sanding sponge to lightly sand edges, corners, and details, revealing underlying layers or natural wood. Focus on areas prone to wear, like handles and edges, for a naturally distressed effect. Experiment with different sanding techniques and tools to add depth. If you want to learn more about mastering these methods, keep exploring the options ahead.
Key Takeaways
- Lightly sand edges, corners, and raised details to mimic natural wear and create a distressed, vintage appearance.
- Use fine-grit sandpaper or sanding sponge for controlled, gentle removal of paint layers.
- Focus on friction points like handles and edges to achieve authentic, weathered effects.
- Layer different sanding techniques and grit levels to add depth and realism to the distressed look.
- Combine sanding with selective paint removal for a naturally aged, vintage finish on wood furniture.

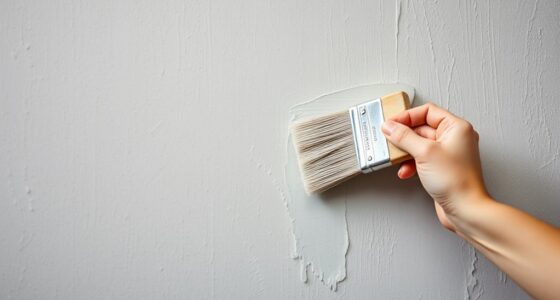
Have you ever wondered how artists create aged, vintage, or weathered looks on their work? One popular technique involves using chalk paint, which is favored for its matte finish and effortless application. Chalk paint adheres well to most surfaces, making it an ideal choice for distressing furniture to achieve that authentic, worn-in appearance. When you start with chalk paint, you can skip extensive prep work, and the paint itself often contributes to a naturally aged look. After applying your chosen color, the real magic happens with sanding methods. Sanding allows you to selectively remove paint, revealing layers underneath or the natural wood grain, giving your piece that charming, distressed character.
To begin, you might want to use a fine-grit sandpaper or sanding sponge. Lightly sanding over the painted surface helps create a soft, worn look, especially on edges or raised details where natural wear would occur over time. Don’t overdo it; the goal is to expose just enough of the underlying surface or previous layers to suggest age. For a more deliberate distressed effect, you can focus on areas where furniture naturally experiences friction—like corners, edges, or around handles. The key is to sand in a controlled manner, so the finish looks intentional rather than overly rustic or uneven.
If you want to add more depth to your vintage look, consider using different sanding techniques. For example, dry brushing or using a damp cloth after sanding can smooth out rough spots or highlight areas where paint has been lightly removed. You can also experiment with different grits of sandpaper—starting with a coarser grit to remove larger sections of paint and then switching to a finer grit to soften the overall appearance. This layered approach helps mimic the natural aging process, making the furniture look genuinely vintage.

Rust-Oleum Linen White Chalked All-in-One Ultra Matte Paint | One Coat Coverage | No Primer, Sanding, Or Topcoat Needed | Easy Clean Up | Made in USA | 30 OZ
EASY TO USE, EVEN FOR BEGINNERS: Whether you’re new to DIY or a pro, Rust-Oleum Chalked makes painting…
As an affiliate, we earn on qualifying purchases.
As an affiliate, we earn on qualifying purchases.
Frequently Asked Questions
How Do I Choose the Right Wood for Distressing?
When choosing wood for distressing, pick hardwoods like oak or pine with prominent wood grain, as they create authentic distressing patterns. Avoid smooth, fine-grain woods that don’t showcase wear easily. Look for pieces with natural imperfections or knots, which add character when distressed. Your goal is to select wood that responds well to distressing techniques, highlighting the grain and creating a vintage, aged appearance.
Can Distressing Be Done on Painted or Stained Furniture?
Sure, you can distress painted or stained furniture—because who doesn’t want a ‘vintage’ look on their perfectly finished piece? Using chalk paint makes distressing easier, as it’s designed to peel and chip charmingly. Finish with wax to highlight those distressed spots, giving your furniture that authentic, weathered charm. Just remember, the more you disturb the surface, the more it looks lovingly aged—so go ahead, embrace the imperfection!
What Safety Precautions Should I Take During Distressing?
You should always wear protective gear like gloves and goggles to shield your skin and eyes from dust or chemicals. Make certain your workspace is well-ventilated to prevent inhaling fumes from paints, stains, or distressing agents. Keep a clean area to avoid accidents, and work in a well-lit space. Following these safety precautions helps you work effectively while minimizing health risks during distressing.
How Long Does the Distressed Finish Last?
The distressed finish can last several years if you care for your furniture properly. Its durability depends on how often you use and clean it, and applying a protective sealant helps improve finish longevity. Avoid harsh chemicals and excessive moisture, which can wear down the distressed look faster. Regular maintenance, like gentle cleaning and occasional touch-ups, guarantees your vintage-style piece remains charming and resilient over time.
Are There Eco-Friendly Distressing Alternatives?
Think of eco-friendly distressing as tending a garden with natural, recycled materials. You can use natural alternatives like vinegar, lemon juice, or beeswax, which gently age your furniture without harming the environment. These methods are as nurturing as rain on a blooming flower, preserving your piece’s charm while respecting nature. Embrace recycled materials and natural alternatives for a vintage look that’s both beautiful and eco-conscious, making your furniture a demonstration to sustainability.
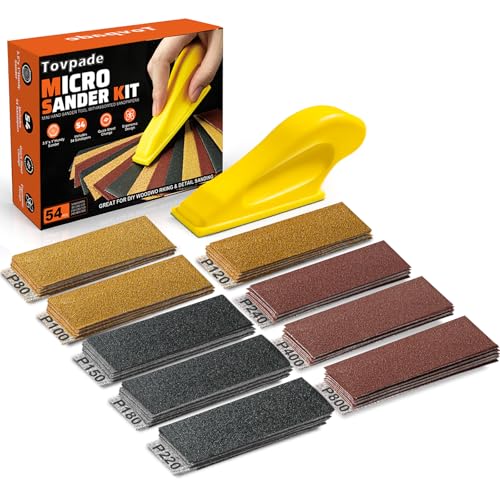
TOVPADE 54PCS Premium Micro Sander, Detail & Mini Sander Block – Precision Small Hand Sanding Tool, 80–800 Grit Sandpaper Kit, 3-in-1 Set for Wood, Crafts, Furniture, Tight Spaces & DIY Projects
All-in-One Sanding Kit for Every Detail: Includes a compact sanding block and 54 sandpapers in 9 grit types…
As an affiliate, we earn on qualifying purchases.
As an affiliate, we earn on qualifying purchases.
Conclusion
Now that you’ve learned these distressing techniques, your furniture can tell a story all its own. Imagine the character and charm you’ll add by revealing its age and history. Are you ready to transform a plain piece into a treasured heirloom that whispers tales of the past? With a little patience and creativity, you’ll craft a vintage masterpiece that invites admiration and sparks conversations. So, why not give your furniture that beautifully worn, timeless look?

Romeda 8-Pack Sanding Sponge, Four Grits Per Pack 60/80/120/220, Washable and Reusable Handmade Sandpaper Block, Drywall Sandpaper Blocks for Wooden Drywall Sheetrock and Metal Glazing
【ASSORTED GRIT SANDING BLOCKS】 8 sand blocks, 4 sizes from coarse to ultra-fine sand, 60/80/120/220 grit, 2 blocks…
As an affiliate, we earn on qualifying purchases.
As an affiliate, we earn on qualifying purchases.
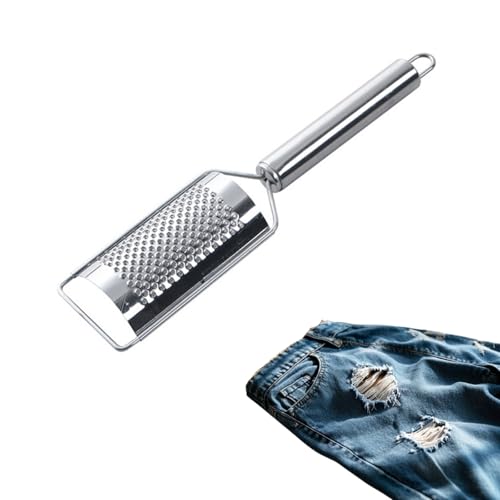
1 Pcs Jeans Tool Universal Jean Distressing Tool Stainless Steel Grater with Handle for Fabric DIY Craft
Versatile Jeans Tool: Perfect for all your fabric DIY needs, this universal Jean Distressing Tool helps you create…
As an affiliate, we earn on qualifying purchases.
As an affiliate, we earn on qualifying purchases.