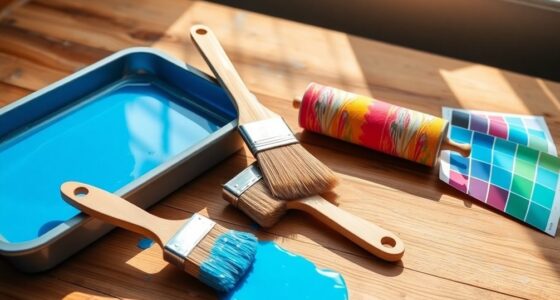
You can achieve pro results with these ten easy DIY painting projects perfect for beginners! Start with weatherstripping your front door for energy efficiency and learn to repair nail holes for flawless walls. Refurbish furniture using chalk paint and install board and batten for instant architectural charm. Don't forget to recaulk baseboards and bathrooms. Master basic painting techniques and explore texture and color to elevate your skills. Keep going to discover even more creative ideas to enhance your space!
Key Takeaways
- Start with simple projects like painting accent walls using bold colors for immediate visual impact and a professional finish.
- Use chalk paint for furniture refurbishing, as it requires minimal prep and offers a vintage look with ease of application.
- Practice nail hole repair before painting walls to ensure a flawless surface, enhancing the overall appearance of your project.
- Experiment with texture techniques using rollers or combs to create unique patterns, adding depth to your painting projects.
- Document your progress and inspiration in a sketchbook to track improvements and refine your painting skills over time.
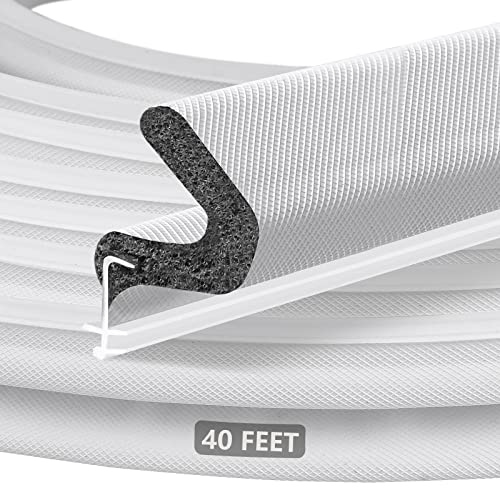
40FT Kerf V‑Shaped Weather Stripping Door Seal, Press‑in Seal for Pre‑Cut Slot Doors, Not Self‑Adhesive, Soundproof Draft Blocker for Exterior Front Doors, Fits Large Gaps, Easy DIY Install (White)
KERF SLOT ONLY DESIGN: This door seal is made exclusively for door frames with pre-cut kerf slots, press-in…
As an affiliate, we earn on qualifying purchases.
As an affiliate, we earn on qualifying purchases.
Weatherstripping Your Front Door for Energy Efficiency
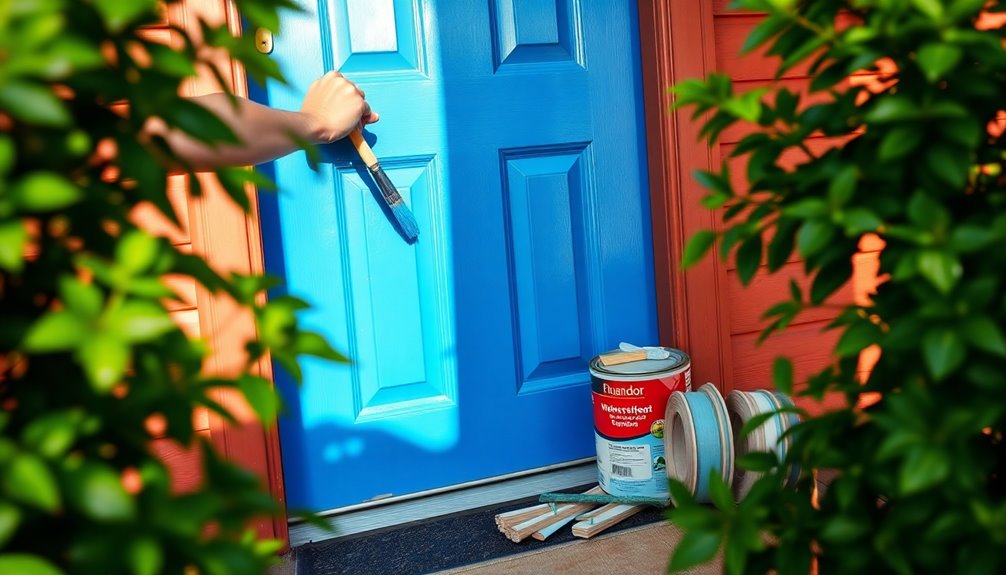
If you're looking to boost your home's energy efficiency, weatherstripping your front door is a simple yet effective solution. This DIY project can reduce drafts, helping you maintain a consistent indoor temperature while cutting heating and cooling costs by up to 20%.
To get started, choose materials like foam tape, V-strip, or door sweeps, depending on your needs. Measure the door frame and gaps accurately, as a proper fit is essential.
Clean the area around the door, then cut the weatherstrip to size and adhere it according to the product instructions. Think of this as a painting technique; just like you'd guarantee a smooth surface before applying paint, you want a tight seal for the best results. Regular maintenance of your weatherstripping can prevent issues similar to those caused by inadequate maintenance in heat pump systems.
Regularly inspect and maintain your weatherstripping for lasting efficiency.

Red Devil 0542 ONETIME Lightweight Spackle Wall Repair, Spackling for Holes Drywall, 1/2 Pint, White, 8 Ounce, Made in USA
EFFORTLESS REPAIRS: Fill holes, cracks, and dents in one easy application, saving time and effort on your DIY…
As an affiliate, we earn on qualifying purchases.
As an affiliate, we earn on qualifying purchases.
Easy Nail Hole Repair for a Flawless Wall Finish
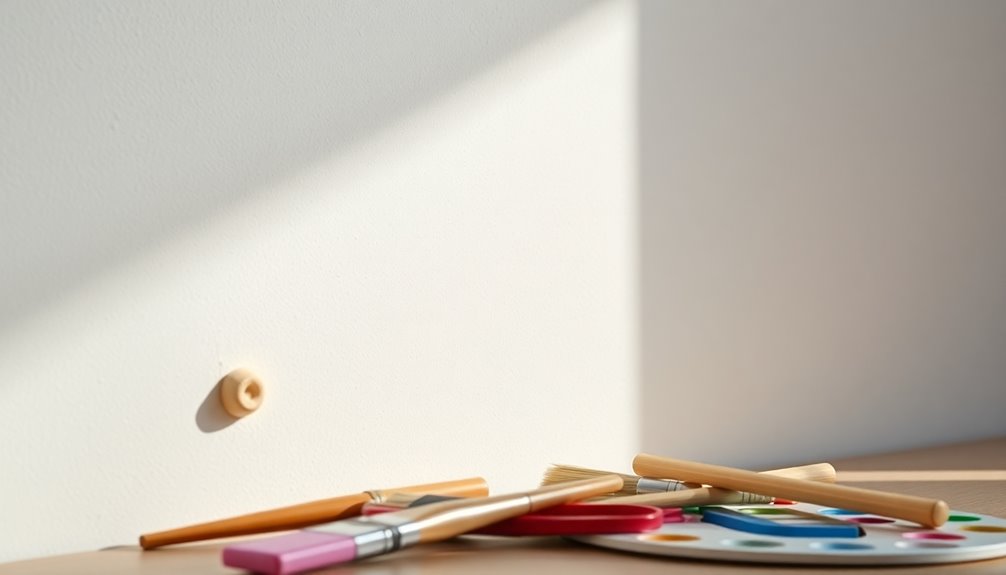
Repairing nail holes is simpler than you might think, and having the right tools makes all the difference.
You'll want to gather a lightweight spackling compound, a putty knife, and fine-grit sandpaper before starting.
Let's walk through the step-by-step process to guarantee your walls look flawless before you paint. Additionally, maintaining air quality in your workspace can help ensure a healthier environment while you work on your painting projects.
Tools Needed for Repair
To achieve a flawless wall finish after fixing nail holes, you'll need a few essential tools that make the process straightforward.
First, grab a putty knife for applying spackle or joint compound directly into the holes. You'll also need spackle or joint compound itself, as well as medium and fine grit sandpaper to smooth the repaired area.
Finally, keep a damp cloth handy for cleanup. Once the compound dries, use the medium grit sandpaper to create a smooth surface, then finish with fine grit for a polished look.
Wiping the area with the damp cloth helps remove dust, ensuring better adhesion when you start painting. Using a vacuum with HEPA filtration can further help eliminate dust and allergens from the surrounding area.
With these tools needed for repair, you're well on your way to a perfect wall finish.
Step-by-Step Repair Process
While fixing nail holes might seem intimidating at first, the process is quite simple and can be completed in just a few steps.
First, make sure to clean the area around the hole for proper adhesion. Next, use a lightweight spackling compound or patching paste, applying it with a putty knife. Overfill the hole slightly to account for shrinkage as it dries.
Allow the filler to dry completely, usually within 1-2 hours, then sand it smooth with fine-grit sandpaper for a seamless finish. Once sanded, wipe the area with a damp cloth to remove any dust.
Finally, choose a paint that matches your wall's sheen and color, applying multiple thin coats for ideal coverage.

Magicfly 15 Pcs Chalk Furniture Paint Set, 9 Colors Ultra Matte Finish Acrylic Craft Paint Set (60 ml/2 oz) with Liquid Wax, 2 Brushes, 3 Sandpapers, Chalk Paint for Furniture, Crafts, Rustic Colors
【Perfect Color Combination】Magicfly chalk paint set includes 9 colors in 2 oz bottles. The rustic colors are vibrant…
As an affiliate, we earn on qualifying purchases.
As an affiliate, we earn on qualifying purchases.
Refurbishing Furniture With Chalk Paint
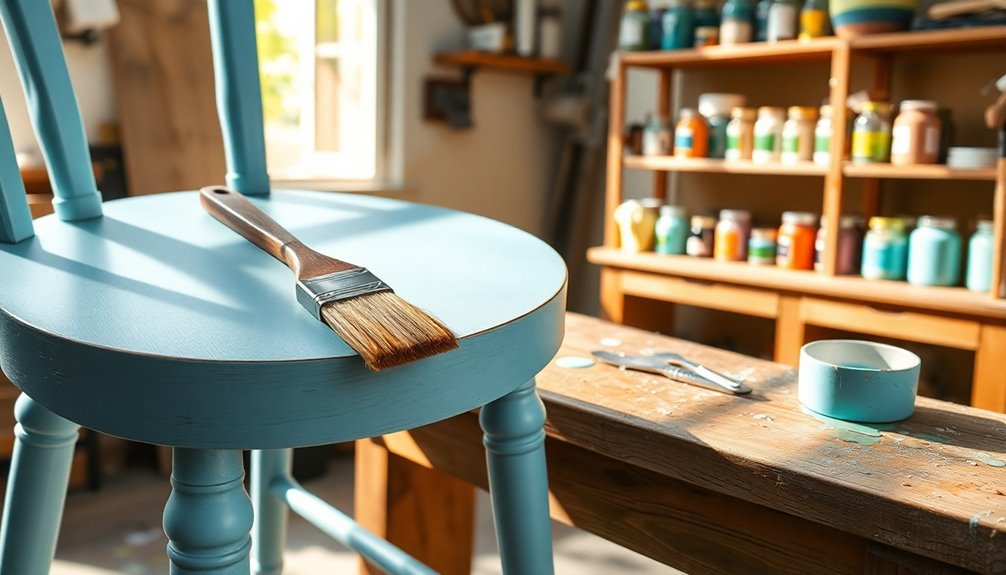
If you're looking to breathe new life into old furniture, chalk paint is an excellent choice. It's user-friendly, requiring minimal surface prep, making it perfect for beginners.
You'll love how quickly it dries—often within an hour—allowing you to layer multiple coats in a single day. The matte finish gives your pieces a vintage, rustic charm, and you can enhance it with wax or a topcoat for durability.
Mistakes? No problem! Chalk paint can be easily sanded or reapplied, giving you the confidence to experiment.
Plus, it comes in various colors and can be mixed to create custom shades, allowing for endless creative expression. Immerse yourself in your furniture refurbishing project with chalk paint and achieve stunning results!

Nichiyo 7'' Texture Roller DIY Decorative Art Pattern Paint Roller Rubber Roller for Walls, Furnitures and Floors Decoration(EG068T)
Durable Matetial: Pattern paint roller is made of high-quality durable rubber. Most common technique for using texture rollers…
As an affiliate, we earn on qualifying purchases.
As an affiliate, we earn on qualifying purchases.
Installing Board and Batten for Architectural Interest
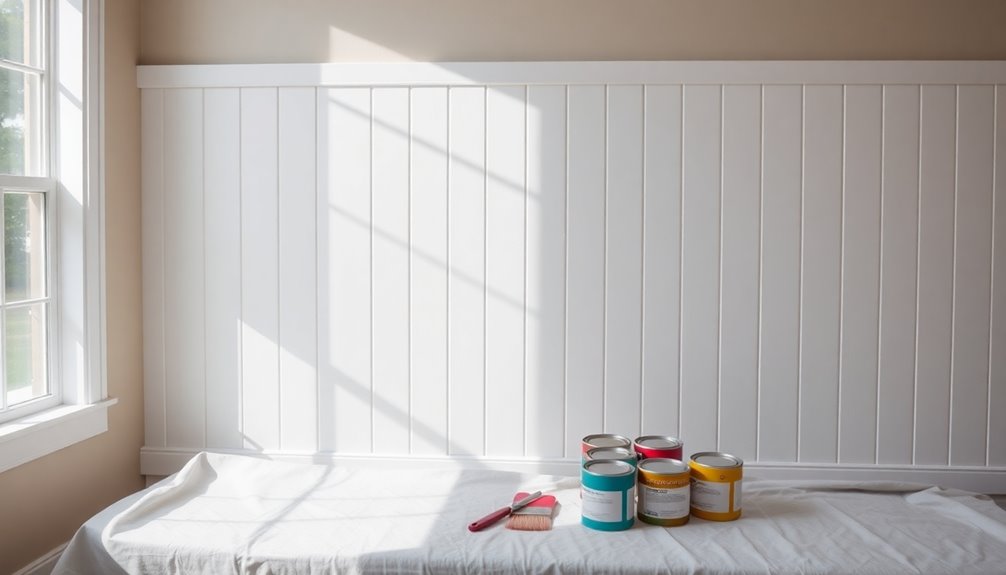
Adding board and batten to your walls can dramatically elevate the architectural interest of any room, creating a timeless look that blends seamlessly with various decor styles.
This DIY project is easy to use, requiring just basic measuring and cutting skills. Start by attaching vertical boards (battens) spaced evenly apart, then add horizontal rails at the top and bottom for a polished finish.
With materials like MDF or pine boards, you can achieve a budget-friendly upgrade that enhances your space without extensive carpentry skills. Online tutorials provide step-by-step guidance, making it accessible for beginners.
Incorporating rustic charm through this method will beautifully complement the farmhouse aesthetics of your home. You'll be amazed at how this simple addition transforms your hallways or rooms into stunning showcases of design.
Recaulking Baseboards and Bathrooms for a Fresh Look
Recaulking your baseboards and bathrooms can really transform the look of your space while protecting it from moisture damage. You'll need a few essential tools, like a utility knife and caulking gun, to get started. Incorporating natural elements into your decor can further enhance the serene atmosphere of your refreshed space. Let's explore the benefits of recaulking and what you'll need to achieve that fresh finish.
Benefits of Recaulking
While many homeowners overlook the importance of recaulk, this simple task can breathe new life into your baseboards and bathrooms.
Recaulking not only refreshes the appearance but also prevents moisture from seeping behind walls, reducing the risk of mold and mildew growth. It's a quick process that requires minimal tools, making it perfect for beginners.
With a caulking gun, you can easily apply a smooth, even bead of caulk to fill gaps and seams, enhancing the overall finish of your space. Regular recaulk maintenance extends the lifespan of surfaces and fixtures, providing a protective barrier against water damage. Additionally, incorporating lighting design can further enhance the ambiance of your newly refreshed areas.
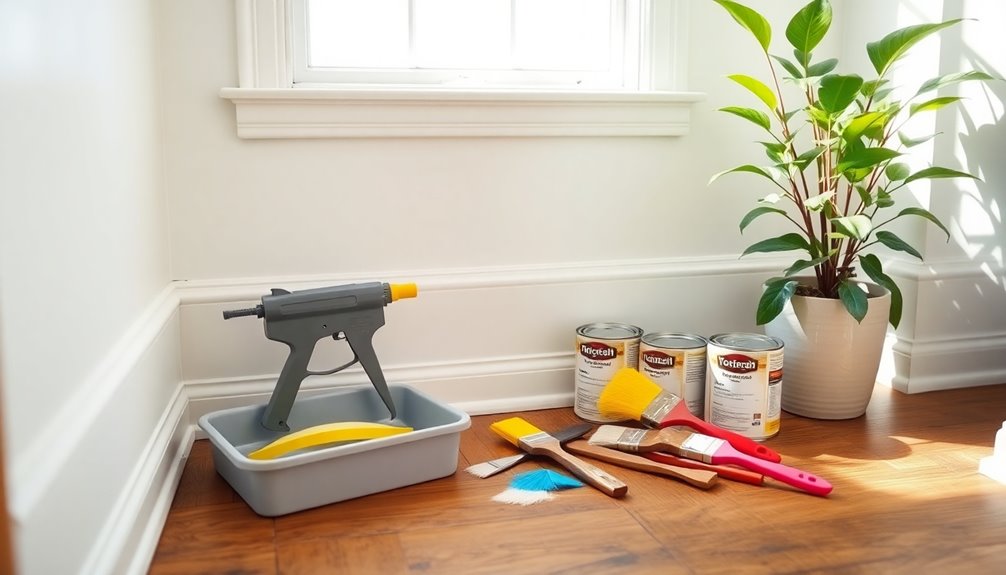
Essential Tools Needed
To achieve a fresh look when recaulk your baseboards and bathrooms, you'll need a few essential tools.
First, grab a caulking gun, which allows for even application of your chosen caulk. You'll also need painter's tape to create clean lines, ensuring a professional finish. A utility knife is essential for removing old caulk and debris, so your new caulk adheres properly.
Choose silicone caulk for bathrooms to resist moisture, and paintable latex for baseboards. Before you begin, make sure all surfaces are clean and dry.
Apply steady pressure on the caulking gun while pulling the nozzle along the seam. Finally, smooth the caulk with a wet finger or tool for a polished look.
Happy recaulking!
Creating Accent Walls to Transform Your Space
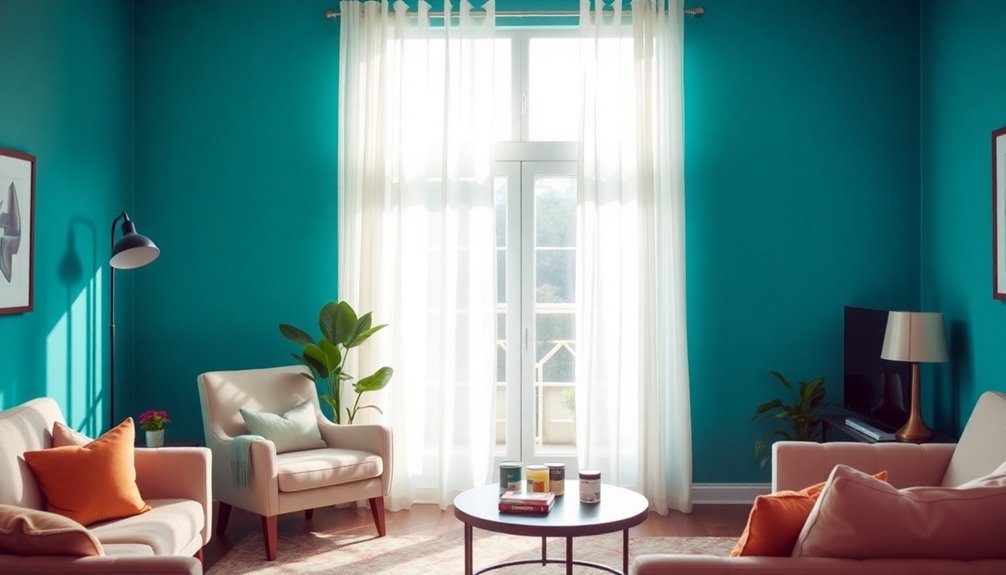
An accent wall can instantly transform your space, adding depth and visual intrigue without the hassle of major renovations. To make it look stunning, choose a bold color or patterned wallpaper that complements your decor.
Proper preparation is key—clean the wall, patch any holes, and use painter's tape for crisp edges. When picking paint, go for high-quality options with a sheen that matches or contrasts with your other walls; semi-gloss or satin finishes add elegance and durability.
Think about the room's size and shape; placing the accent wall behind a key piece of furniture, like a sofa or bed, can enhance the visual impact and make it look even more impressive. Consider using affordable airless paint sprayers to achieve a professional finish with ease.
Your space will feel refreshed in no time!
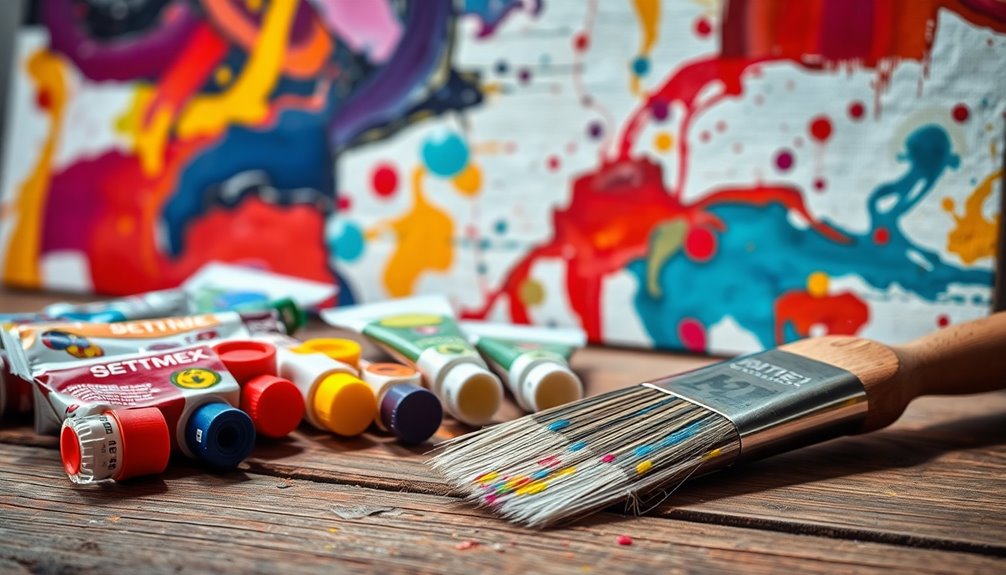
Mastering Basic Painting Techniques for Beginners
After you've created a stunning accent wall, the next step is mastering basic painting techniques that can elevate your skills even further.
To start, make sure you understand color theory—hue, saturation, and value are essential for making informed choices. Familiarize yourself with different brush techniques, like wet-on-wet and dry brushing, to create unique textures.
Practicing composition principles, such as the rule of thirds, helps you arrange your elements effectively. Learn to mix paints correctly based on your medium, whether it's acrylics, oils, or watercolors, to achieve the right consistency.
Finally, engage in observational drawing to improve your understanding of form and proportion. These foundational techniques will boost your confidence and enhance your painting journey.
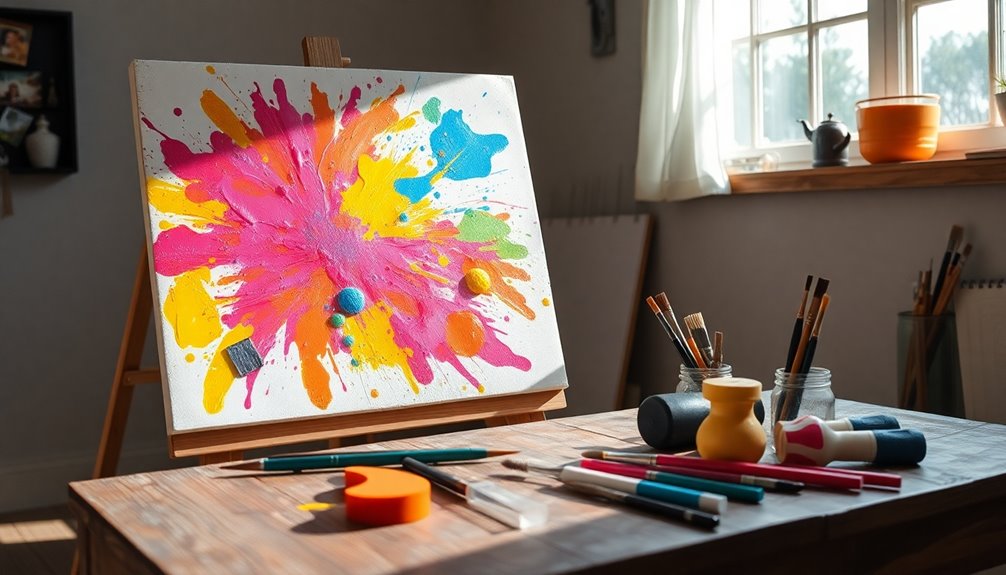
Exploring Texture and Color in DIY Projects
In your DIY painting projects, understanding color theory can elevate your work from ordinary to extraordinary.
By experimenting with texture techniques and patterns, you can create surfaces that not only catch the eye but also add depth to your designs.
Incorporating sustainable materials into your projects can also enhance both their aesthetic appeal and environmental impact.
Let's explore how these elements can transform your projects into stunning focal points.
Color Theory Basics
Color theory is an essential tool for anyone diving into DIY painting projects, helping you make informed choices that elevate your work.
Understanding the color wheel is vital for selecting complementary colors; these are colors opposite each other that enhance visual appeal and create dynamic contrasts. Warm colors like reds and oranges can make a space feel cozier, while cool colors such as blues and greens evoke calmness.
Manipulating color value—lightness or darkness—adds depth and dimension to your surfaces. Incorporating neutral colors as a base allows bolder accent colors to shine, providing balance and accessibility for beginners.
Experimenting with these principles can transform your projects and boost your confidence in color selection.
Texture Techniques Explained
Understanding color theory sets a strong foundation for your painting projects, but adding texture can take your work to the next level.
Texture techniques, like sponging, stippling, and rag rolling, enhance depth and dimension, allowing you to achieve professional results easily. Here are three ways to effectively use texture techniques:
- Tools Matter: Use texture rollers, combs, or brushes to create unique patterns.
- Play with Finishes: Combine matte, satin, or gloss paints with texture for a stunning effect.
- Layer Colors: Experiment with layering or blending multiple colors to elevate your design.
Be mindful of drying times and application methods, as they greatly impact your project's final appearance and durability. Additionally, incorporating natural materials like wood into your painting projects can further enhance the rustic charm of your designs.
Happy painting!
Experimenting With Patterns
How can you transform a simple wall into an enchanting focal point? By experimenting with patterns, you can greatly boost your DIY painting project's visual interest.
Techniques like stenciling or sponging allow you to create intricate designs without advanced skills. Try using painter's tape for sharp lines and explore contrasting colors to achieve a dynamic effect guided by color theory.
Adding texture through rag rolling or textured rollers can further enhance depth, making even basic projects look professional.
Don't forget to document your process! This not only helps you refine your skills but also lets you discover your personal style.
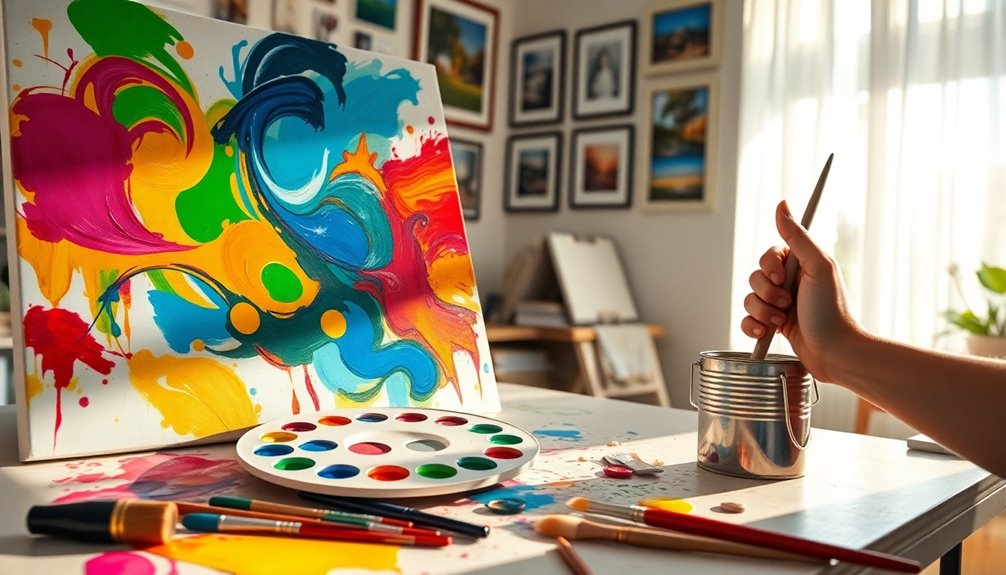
Finding Inspiration for Your Next Painting Project

Where do you find inspiration for your next painting project? There are countless sources to ignite your creativity! Here are three effective ways to spark your imagination:
- Explore Nature: Take a walk outdoors or observe still life around your home. Personal experiences can also provide deep emotional connections to your work.
- Utilize Reference Photos: Gather images that resonate with you to guide your composition and color choices, giving your project clear direction.
- Visit Art Galleries: Browse online platforms like Pinterest and Instagram to discover diverse styles and trends that might inspire your next piece.
Additionally, keep a sketchbook to jot down ideas and engage with fellow artists online for encouragement and feedback.
Let your inspiration flourish!
Documenting Your Progress and Celebrating Your Successes
Documenting your painting journey is a powerful way to track your growth and celebrate your successes. Keeping a visual record, like photographs or a dedicated sketchbook, helps you see how far you've come and identify areas for improvement.
Celebrate small milestones, such as finishing your first mini painting or mastering a new technique, to stay motivated and committed to learning. Reflect on your completed works by critiquing both strengths and weaknesses; this will guide future projects and enhance your skills.
Share your art on social media or within art communities for valuable feedback and encouragement. Ultimately, documenting your progress not only showcases your evolution as an artist but also serves as a resource for exploring color accuracy and styles in the future.
Frequently Asked Questions
What Is the Easiest Thing to Paint as a Beginner?
As a beginner, you'll find that painting simple still lifes is one of the easiest options. They let you practice color mixing and composition without overwhelming complexity.
Landscapes are also beginner-friendly, offering a chance to experiment with blending and depth. If you want more freedom, try abstract art, where you can express yourself without stressing over realism.
Mini canvases, like 5×7 inches, are perfect for quick practice and exploring various techniques.
What Is the Easiest Art to Start With?
When you're starting out, you'll find that simple art forms, like drawing, sketching, or even basic watercolor, make great choices.
They'll help you explore your creativity, develop your skills, and build your confidence. You can play with colors, shapes, and techniques without feeling overwhelmed.
Plus, focusing on still lifes or abstract forms lets you master the fundamentals while enjoying the process.
Immerse yourself, experiment, and let your artistic journey unfold!
Is DIY Painting Worth It?
Yes, DIY painting's definitely worth it!
You'll enhance your space without breaking the bank, and it's a fun way to express your creativity. With the right tools and techniques, you can achieve impressive results, even as a beginner.
Plus, tackling a painting project can boost your confidence and add value to your home.
How Do I Start Painting With No Experience?
To start painting with no experience, identify what motivates you. Choose a user-friendly medium like acrylics and gather basic supplies.
Set up a well-lit workspace where you can comfortably create. Learn core art principles like color theory and composition through practice.
Begin with a simple subject that inspires you, allowing yourself to experiment. Document your progress to see improvement over time.
Conclusion
You've got the tools and the know-how to tackle these painting projects like a pro! Whether you're weatherstripping your front door or refurbishing furniture, each step brings you closer to creating a space that reflects your style. Just remember, even Picasso started with a blank canvas! So grab your paintbrush, release your creativity, and don't forget to document your progress. You'll be amazed at what you can achieve—your home's about to get a whole lot more vibrant!