
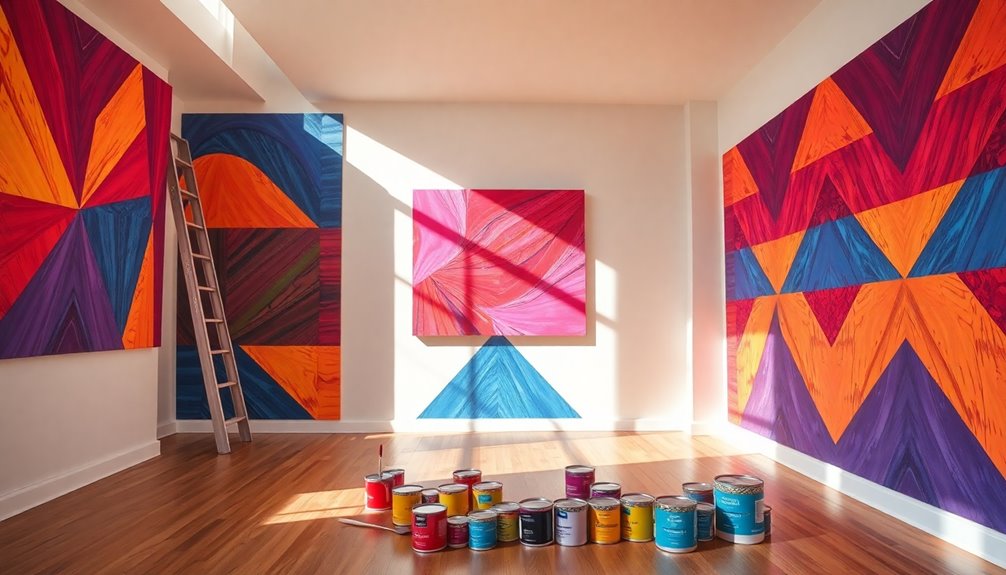
To make your walls pop, start by choosing vibrant, complementary colors that enhance your space's mood. Prep your walls for a smooth finish by cleaning and repairing any imperfections. Invest in high-quality paint and tools for lasting results. Don't skip the primer; it improves adhesion and coverage. Use a cut bucket for minimal spills and tackle sections for better control. Finally, clean up properly for future projects. There's so much more you can explore to transform your home.
Key Takeaways
- Select vibrant, complementary colors using a color wheel to enhance the mood and visual appeal of your walls.
- Invest in high-quality paint and tools for better coverage, durability, and a professional finish in your DIY projects.
- Properly prepare walls by cleaning, filling imperfections, and priming to ensure smooth paint adhesion and a flawless look.
- Utilize multiple coats for richer color depth, allowing each layer to dry completely to avoid streaks and patchiness.
- Incorporate creative techniques like stenciling or accent walls to add unique flair and personality to your space.
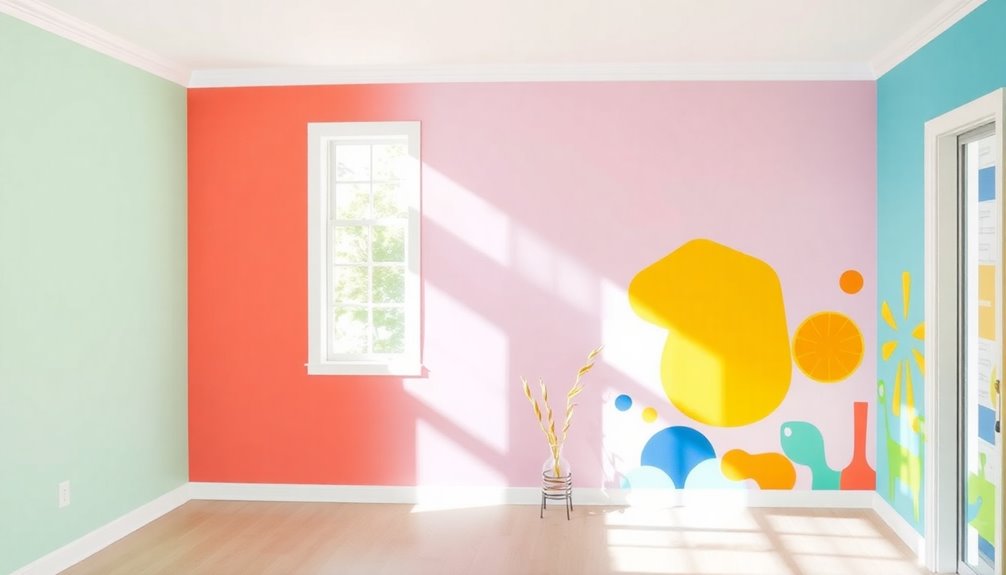
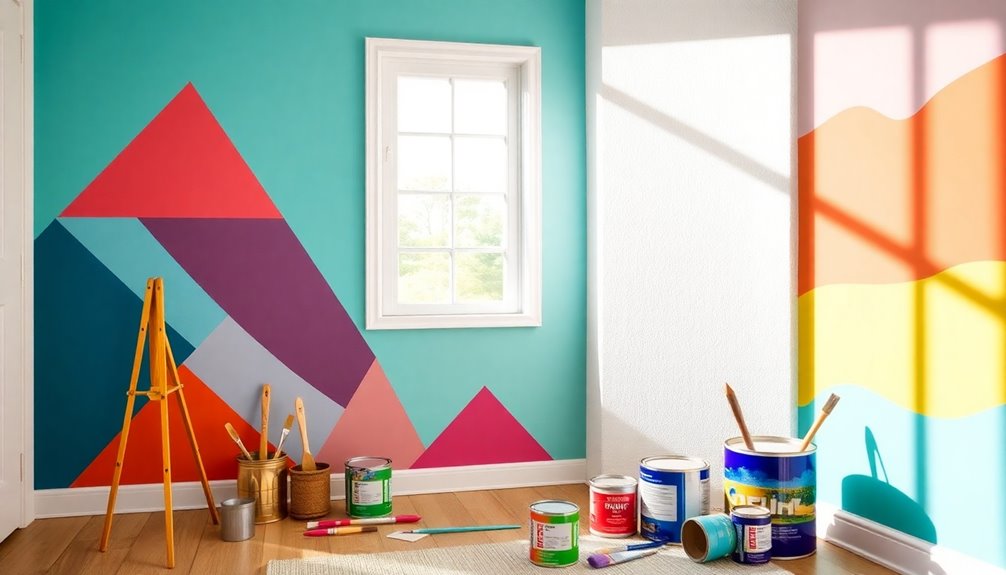
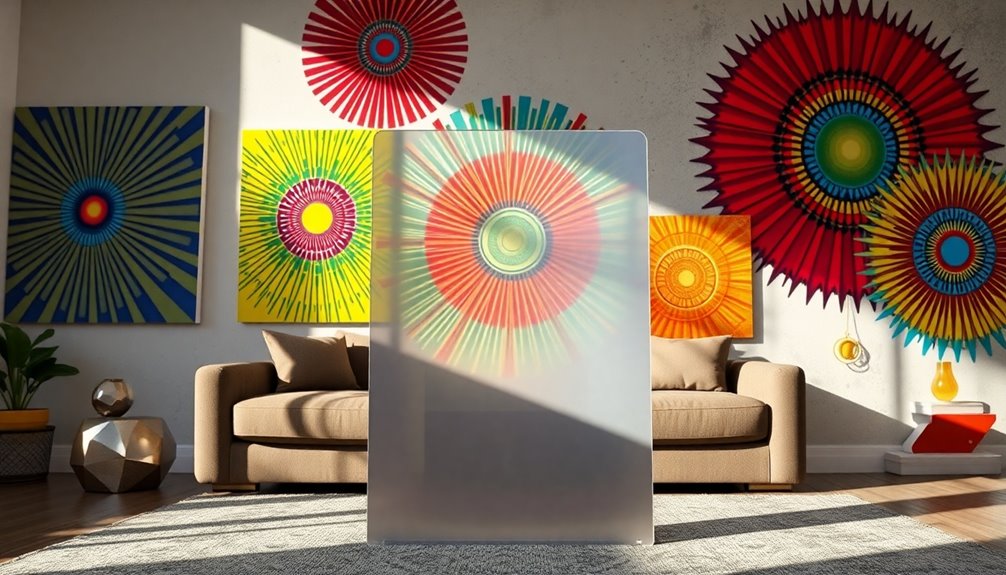
Choose the Right Colors for Your Space
When you're choosing colors for your space, how do you guarantee they create the right atmosphere?
Start by using a color wheel to pick complementary colors that enhance your mood. Look around at your existing furniture and decor; your new paint choices should create a cohesive color scheme.
Aim for balance—too many contrasting colors can make your space feel chaotic. Remember, dark colors can shrink a room, while lighter shades can open it up and create an airy feel.
If you want to evoke energy, go for warm colors like reds and oranges. For a calming vibe, opt for cool colors such as blues and greens.
Additionally, effective preparation can help you better understand how color choices will impact your overall design vision.
Choose wisely, and your space will reflect the atmosphere you desire.
Prep the Walls for a Flawless Finish
To achieve a flawless finish on your walls, start by ensuring they're clean, dry, and free of any cracks. This step is essential to prep the walls properly for your paint job.
If you find any imperfections, fill them with a spackling compound to create a smooth base for the paint. Once it's dry, sand the surfaces to eliminate rough spots, which enhances paint adhesion.
Don't forget to wipe down recently primed walls to remove dust; even tiny particles can mix with the paint to affect the finish.
Taking these steps will greatly improve the durability and appearance of your paint job, making your walls look fresh and vibrant. Additionally, using color accuracy in your painting technique can significantly enhance the overall visual appeal of your newly painted walls.
Now, you're ready to jump into the fun part—painting!
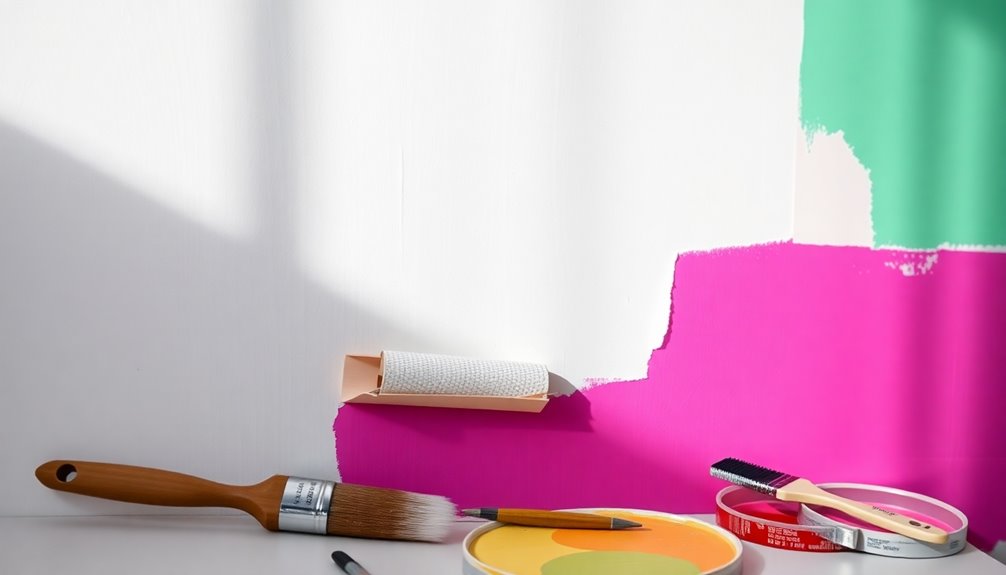
Invest in High-Quality Paint
After prepping your walls, choosing high-quality paint is the next step in achieving a stunning finish. Opting for premium brands, like Sherwin Williams' Emerald line, guarantees superior adhesion and durability.
With a higher pigment concentration, these paints offer vibrant colors and better coverage, often needing fewer coats to complete your DIY projects. Investing in high-quality paint not only enhances the aesthetic appeal of your walls but also saves you money in the long run, as it lasts longer and reduces the frequency of repainting.
Plus, it helps prevent fading, chipping, and peeling. By selecting eco-friendly options with lower VOCs, you can also improve indoor air quality, making it a healthier choice to transform your home beautifully. Additionally, using high-quality pellets in your DIY projects can further enhance the durability of your paint finishes.
Use the Right Tools for the Job

When you're tackling a painting project, using the right tools can make all the difference.
Opt for high-quality brushes and the appropriate roller size to guarantee a smooth and even finish.
With the right tools in hand, you'll not only enhance your efficiency but also elevate the overall look of your work.
Quality Brush Selection
Selecting the right brush can make all the difference in achieving a flawless finish on your DIY painting projects. High-quality brushes hold more paint and release it evenly, enhancing your techniques. Choose brushes based on your paint type: synthetic for water-based and natural bristle for oil-based. The size and shape matter too—angled brushes are perfect for cutting in, while larger flat brushes excel at broad strokes.
| Brush Type | Best For |
|---|---|
| Synthetic Bristle | Water-based paints |
| Natural Bristle | Oil-based paints |
| Angled Brush | Cutting in along edges |
Maintain your brush quality by cleaning them thoroughly after each use. Investing in a variety of sizes and shapes allows you to tackle different areas with ease. Additionally, using high-quality tools can significantly impact the outcome of your projects, just as selecting the right products is essential in the beauty industry.
Appropriate Roller Size
Choosing the right roller size is essential for achieving a smooth and even finish on your walls. Typically, a 9-inch roller works best for standard walls, while a 4-inch roller is perfect for tight spaces and trim work.
If you're covering large areas, consider using a larger roller, but be cautious around edges to maintain a clean line. For textured surfaces, opt for a roller with a thicker nap to guarantee proper paint application in all crevices.
Using a smaller roller allows you to cut in with precision, minimizing excess paint on adjacent surfaces. Don't forget to prepare and clean your roller before use to reduce lint transfer and enhance your overall painting experience! Additionally, using the right tools can improve your efficiency and ensure a smoother finish by minimizing imperfections.
Don't Skip the Primer
Though it might be tempting to skip the primer and jump straight to the paint, doing so can lead to a lackluster finish that doesn't hold up over time.
Here's why you shouldn't overlook this essential step:
- Enhances Paint Adhesion: A good primer guarantees your topcoat sticks effectively, preventing peeling or chipping.
- Creates a Smooth Surface: Primer helps achieve a more even finish, enhancing the final look of your walls.
- Reduces Paint Coats: By providing a uniform base, primer can minimize the number of paint coats needed, saving you time and resources.
Selecting the right primer compatible with your surface and paint type is vital for ideal results.
Don't skip this step if you want your DIY project to truly pop!
Apply Multiple Coats for Depth
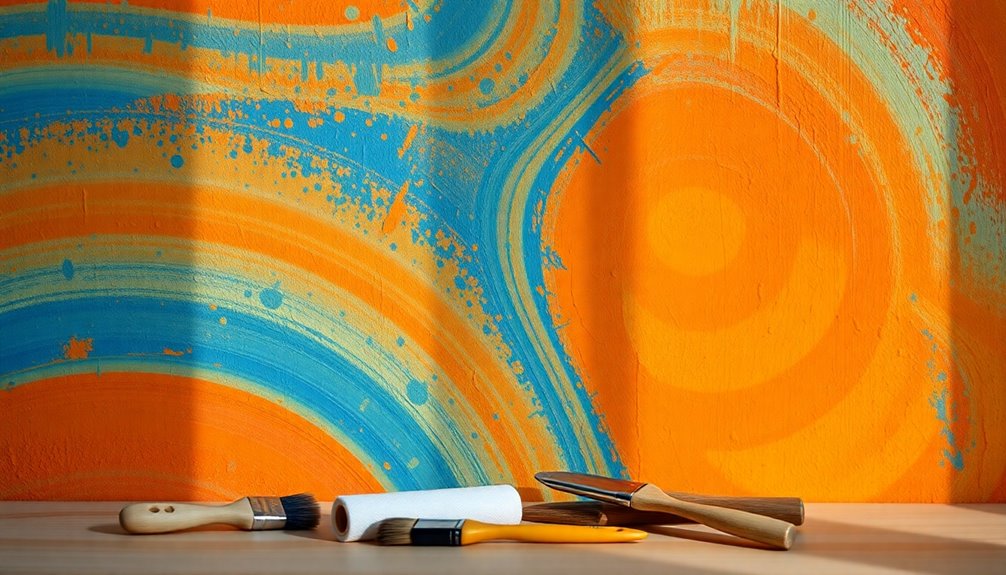
To achieve a rich, vibrant color on your walls, applying multiple coats of paint is key.
Each layer not only enhances color depth but also guarantees even coverage, hiding any imperfections beneath.
Just remember to let each coat dry completely before adding the next for the best results.
Importance of Even Coverage
When you want a vibrant and polished finish, applying multiple coats of paint is essential. This guarantees even coverage and helps you avoid the pitfalls of uneven application.
Here's why you should embrace those extra coats:
- Rich Finish: Two to three coats deliver depth and consistency, enhancing the overall look.
- Durability: Properly dried layers prevent future peeling or chipping.
- Splotch-Free: Address missed spots by applying additional coats, guaranteeing a flawless surface. Additionally, using a calming color scheme can further enhance the aesthetic appeal of your freshly painted walls.
Achieving Color Vibrancy
Achieving color vibrancy is essential for transforming your space, and applying multiple coats of paint is key to getting that depth you desire. Start by choosing a high-quality paint with strong pigment concentration; it'll showcase its true vibrancy when layered correctly.
Aim for two to three coats to guarantee consistent coverage across your walls. Remember to let each coat dry completely before adding the next, as this helps achieve an even finish and prevents issues like streaking or patchiness.
Additionally, don't overlook the importance of a good primer, as it enhances paint adhesion and overall appearance. Be patient during the process; rushing can lead to uneven color application and lower vibrancy in your final result.
Work Efficiently With a Cut Bucket

Using a cut bucket can dramatically improve your painting efficiency by allowing you to pour just the right amount of paint from the main can.
Here are three key benefits of using a cut bucket during your painting project:
- Minimizes spills and waste: You'll waste less paint and avoid messy cleanups.
- Keeps the main can clean: This guarantees the quality of your paint for future projects.
- Enhances precision: It makes cutting in around edges and corners easier, giving your work a professional finish.
Tackle Sections for Better Control

To achieve a smooth and even finish, tackling your painting project in manageable sections is vital. This method gives you better control over the painting process and helps maintain consistency in your paint colors. By breaking the job down, you can focus on one area at a time, guaranteeing even application without messy overlaps.
| Section | Benefits |
|---|---|
| Top Section | Less risk of drips |
| Middle Section | Easier to monitor drying |
| Bottom Section | Quick touch-ups possible |
| Final Check | Guarantees no missed spots |
Completing sections methodically allows you to spot inconsistencies and achieve a professional-looking outcome, making the entire experience more enjoyable.
Achieve Precision With a Paint Shield
- Versatility: Available in various sizes and shapes, it easily accommodates straight lines, curves, or intricate designs.
- Efficiency: By preventing paint from bleeding onto adjacent surfaces, you'll spend less time on touch-ups.
- Economical: Paint shields are reusable and easy to clean, making them a smart choice for both DIY enthusiasts and pros. Additionally, using a paint shield allows for more precise application of paint, ensuring a professional finish.
Clean Up for Future Projects
Cleaning up after a painting project is just as important as the painting itself. Start by washing your brushes and rollers thoroughly with soap and water to prevent paint from hardening.
Next, keep your workspace tidy during the project; it makes clean up easier and prepares you for future tasks.
Afterward, dispose of leftover paint following local regulations to guarantee responsible practices.
Store your painting supplies in a dry, dust-free area to maintain their quality.
For leftover paint, label and seal it in airtight containers to extend its lifespan, making it accessible for touch-ups later.
Frequently Asked Questions
How Do I Make My Paintings Pop?
To make your paintings pop, start by using high-quality paint with rich pigments. Incorporate contrasting colors and complementary shades to create depth and visual interest.
Experiment with techniques like ombre effects or geometric patterns for added uniqueness. Don't forget to use painter's tape for clean, sharp lines that enhance your design.
Finally, consider adding accents like painted borders or wall art to frame your work and create a cohesive look.
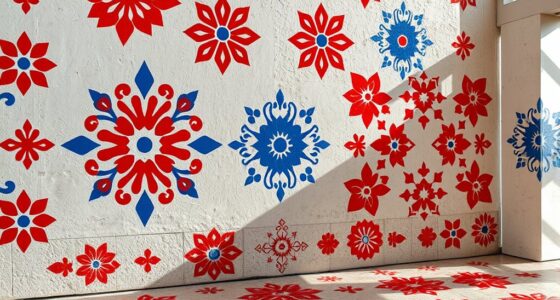
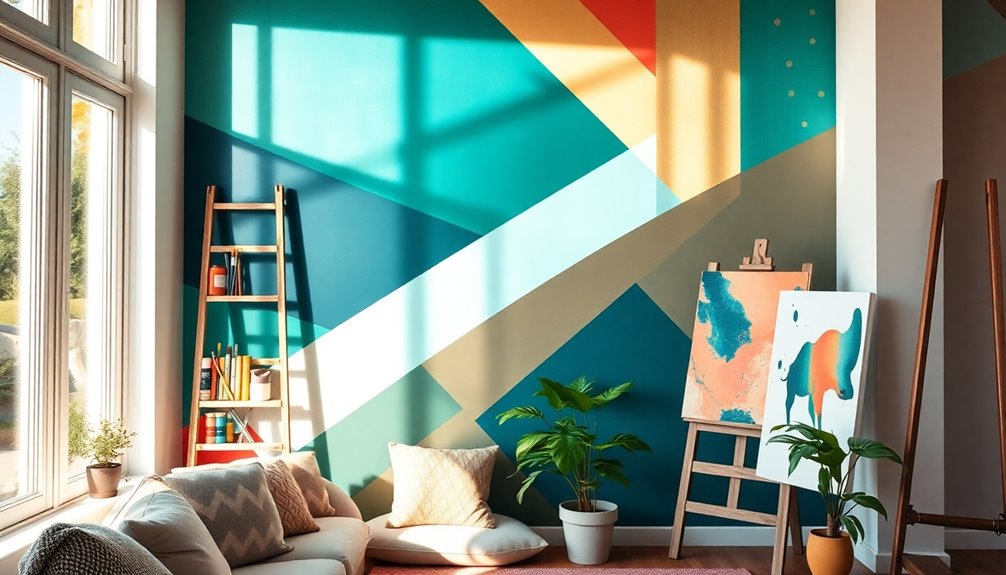
What Are the Techniques for Painting Walls in 2024?
In 2024, around 60% of homeowners are opting for bold wall painting techniques.
You can experiment with ombre effects, blending colors seamlessly for a stunning gradient.
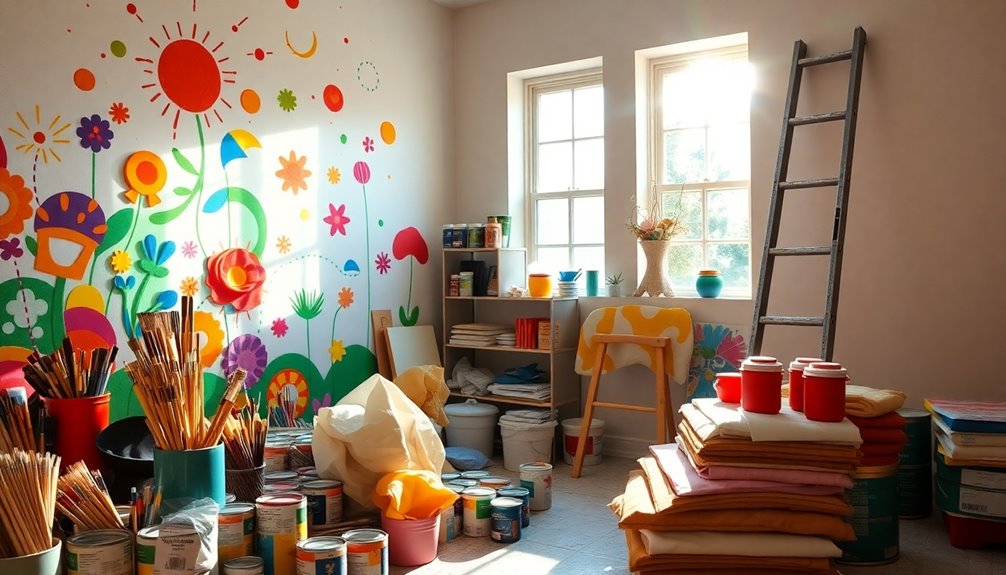
Try geometric shapes using masking tape for clean lines or create a DIY mural that showcases your personal style.
Don't forget about contrasting ceiling colors; they add a surprising twist.
Finally, color blocking with multiple hues can transform your space, making it feel fresh and inviting.
What Is the Fastest and Easiest Way to Paint Interior Walls?
The fastest and easiest way to paint interior walls is to start with high-quality paint and tools.
Clean and prep your walls, fill any imperfections, and apply primer for better adhesion.
Work in sections and use a cut bucket to minimize spills. A paint shield helps you achieve clean lines, while quality rollers and brushes cover more area quickly.
This approach not only saves time but also guarantees a smooth, professional finish.
How to Paint Your Walls Like a Pro?
Did you know that using a primer can improve paint adhesion by up to 20%?
To paint your walls like a pro, start by prepping the surface—clean, dry, and smooth. Choose high-quality paint and tools for an even finish.
Apply two to three coats, allowing proper drying time between each. Work in sections, cutting in with a smaller brush for crisp lines.
With these tips, you'll achieve a professional look in no time!
Conclusion
By diving into these DIY painting projects, you're not just revitalizing your walls—you're boosting your home's value, too! Did you know that a fresh coat of paint can increase a home's resale value by up to 5%? So grab your brushes and release your creativity. With the right colors and techniques, you'll transform your space into something truly special. Remember, each stroke brings your vision to life, making your walls pop and your home feel uniquely yours!