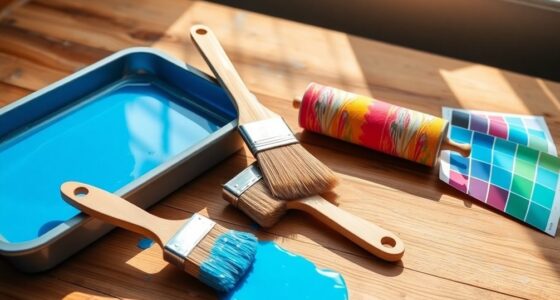

If you're looking for DIY wall painting ideas, you've got plenty of fun options! Consider creating an easy patterned wall with dashes or dots for a playful touch. You might enjoy painting a chalkboard wall for notes and sketches or opting for a chic ombre effect with blended colors. Adding a landscape mural can bring nature indoors, while contrasting walls and trim can enhance visual appeal. Keep exploring, and you'll uncover even more creative inspiration.
Key Takeaways
- Start with simple patterns like dashes or dots for a playful look; use a 1-inch angle brush for better control.
- Create an ombre effect by blending two or three shades of the same color, ensuring smooth transitions with a sponge or brush.
- Paint a chalkboard wall for an interactive space; condition it with chalk before use for optimal functionality.
- Consider adding a landscape design by sketching first and selecting a color palette that matches your desired mood.
- Use contrasting colors for walls and trim; ensure they harmonize for a cohesive look while using quality paint for durability.
Easy Patterned Wall
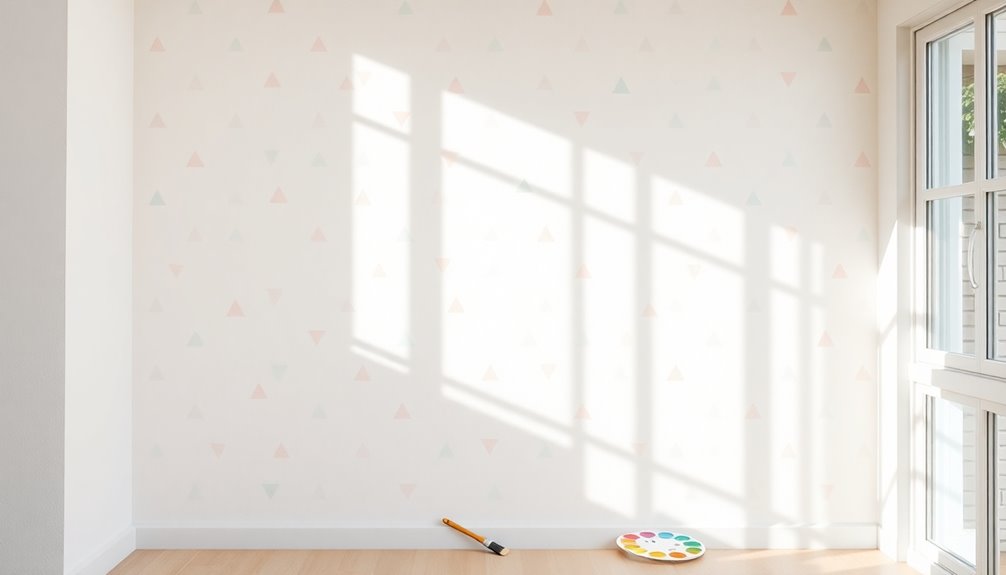
If you're looking to add a touch of personality to your walls without the hassle of intricate designs, creating an easy patterned wall is the way to go. You can use simple shapes like dashes, dots, and zigzags to achieve a playful look.
Grab a 1-inch angle brush for better control while applying your chosen paint colors. Start from an upper corner and work your way across and down, keeping a rhythm in your brushstrokes.
Embrace imperfection—uneven spacing and varied brushstrokes bring an organic feel to your DIY wall painting. This technique is beginner-friendly, so don't worry about advanced skills. Incorporating eco-friendly paints can enhance your project's sustainability while adding a fresh look to your space.
With just a little effort, you'll transform your space into something uniquely yours!
Add a Landscape

Adding a landscape mural to your wall can instantly transform your space into a serene escape or a vibrant scene.
Start by sketching your design on paper to visualize elements like trees, mountains, or water features. Choosing a color palette that reflects your desired mood is essential; soft pastels create calmness, while vibrant hues energize the room.
If you're hesitant about your artistic skills, consider hiring a professional muralist or using wallpaper with landscape patterns. Use quality paint with a matte finish for an authentic look, allowing colors to blend seamlessly.
Employ various techniques, such as sponging or stippling, to add depth and texture, enhancing the mural's visual appeal and making your wall truly stand out. Additionally, incorporating natural materials like stone can complement your mural and enhance the overall aesthetic of the space.
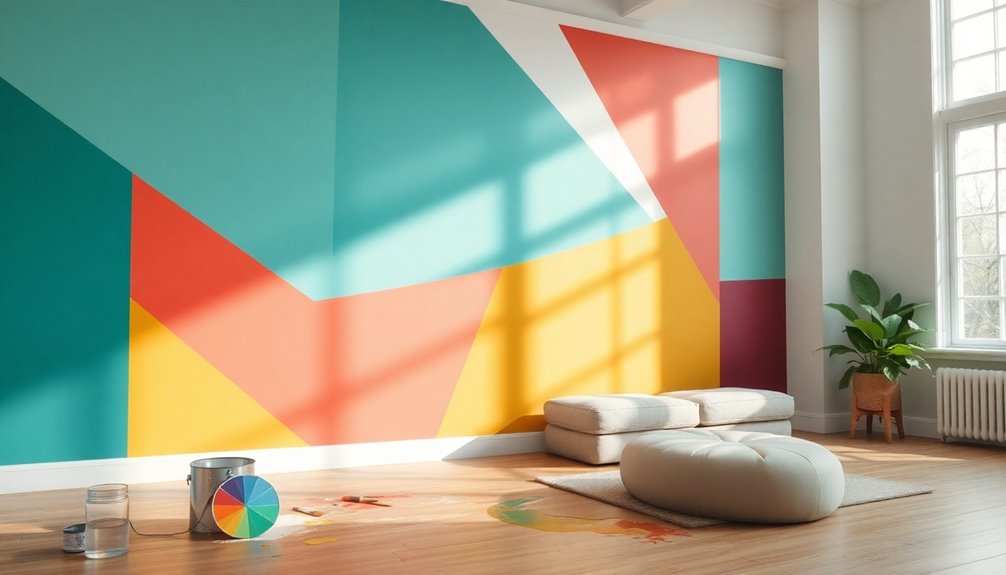
Contrasting Walls and Trim
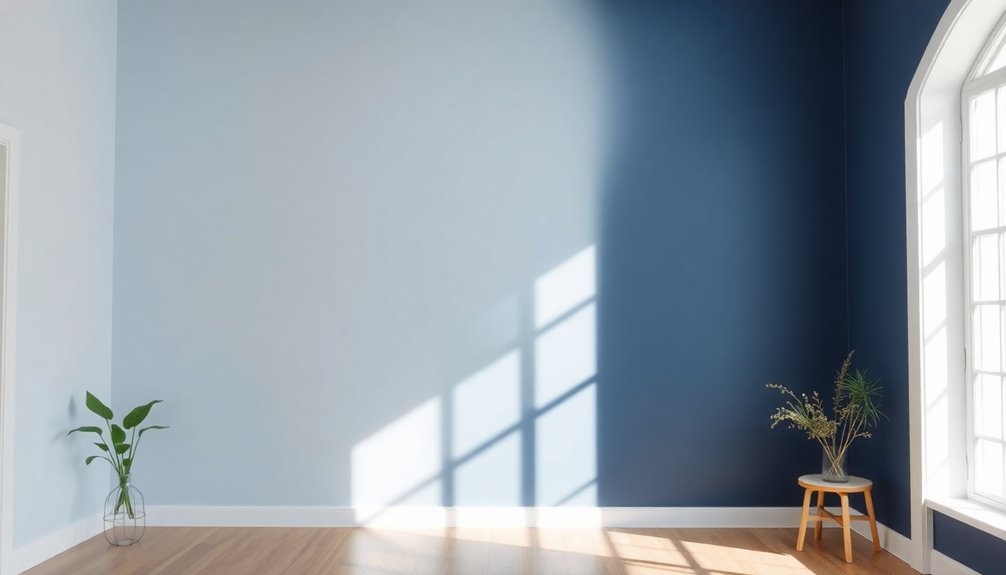
While many people stick to matching colors for walls and trim, opting for contrasting hues can dramatically enhance your space's visual appeal. A white base is a versatile choice that allows your colors to pop while maintaining a fresh look. Remember, various shades of white have unique undertones that can affect the room's aesthetic.
| Wall Color | Trim Color |
|---|---|
| Soft Gray | Charcoal |
| Light Blue | Crisp White |
| Pale Yellow | Navy Blue |
| Sage Green | Pure White |
For a cohesive design, guarantee that your contrasting walls and trim colors harmonize. Quality paint is essential for durability, especially in high-traffic areas, allowing your chosen palette to shine. Additionally, consider using energy monitoring features to keep track of your energy consumption while you enjoy your newly painted space.
Paint a Chalkboard Wall
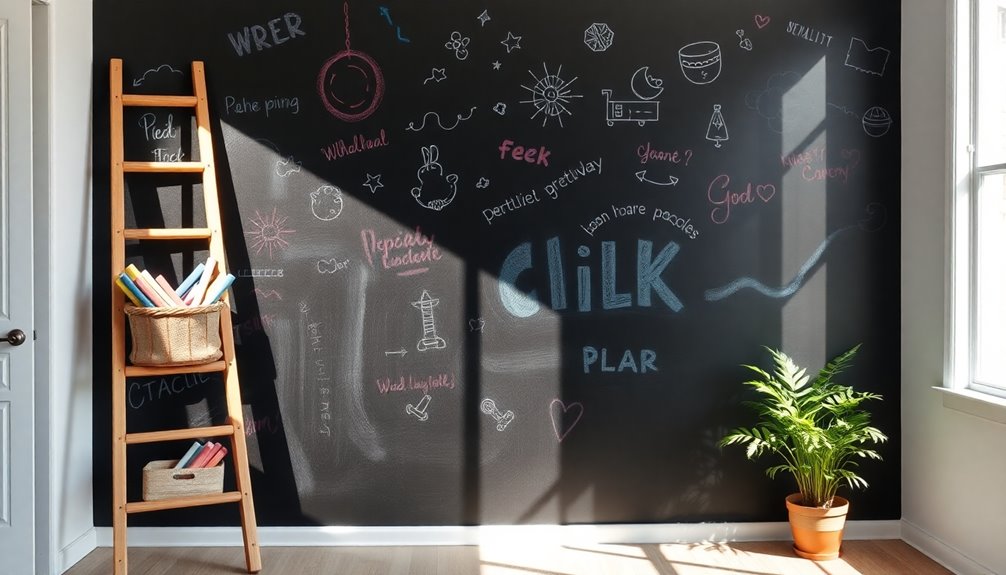
Contrasting colors can transform a room, but a chalkboard wall takes creativity to the next level.
To create a chalkboard wall, start with a smooth, clean surface. If needed, apply a primer for better adhesion of the chalkboard paint.
Choose high-quality chalkboard paint in your preferred color, and use a roller for larger areas or a brush for edges and corners. Allow the paint to dry for about 24 hours before using it.
To guarantee peak performance, condition your new chalkboard by rubbing the side of a chalk stick over the entire surface and wiping it off with a dry cloth.
Now, you've got a fun, interactive space for notes, drawings, and ideas that can easily be updated!
Thick Striped Wall
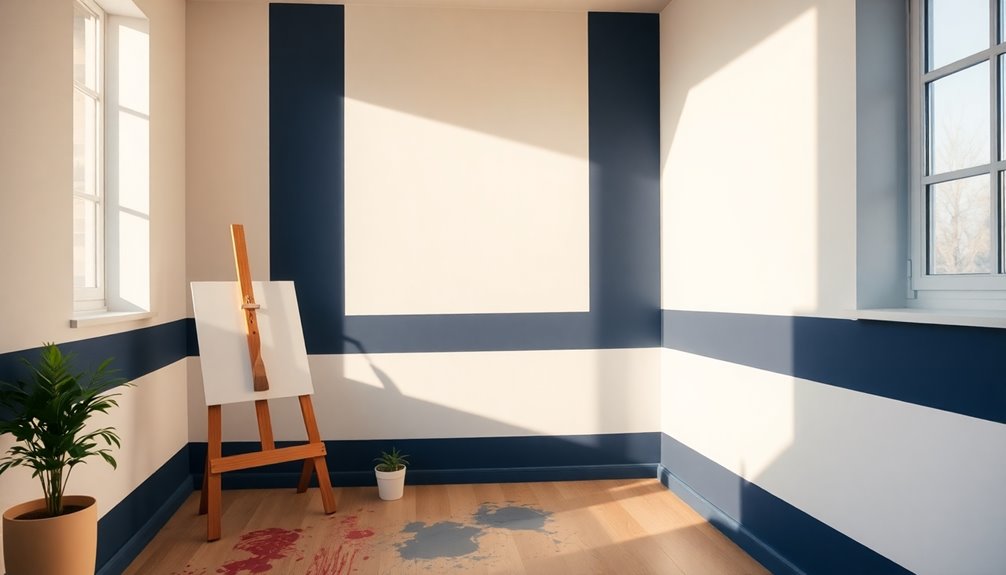
To start your thick striped wall project, you need to prepare your wall surface for a smooth finish.
Use painter's tape to mark off the sections, ensuring precision for clean lines.
Choosing the right techniques will set you up for success in achieving that bold look you want.
Preparing Your Wall Surface
Before diving into your thick striped wall project, it's essential to prepare the surface properly. Start by cleaning the wall thoroughly to remove dust and grime; this guarantees better paint adhesion.
Next, patch any holes or imperfections with spackle, allowing it to dry completely before sanding it smooth.
Once your wall is prepared, use painter's tape to mark off the areas where you want to create the stripes, pressing the tape firmly to prevent paint bleed.
If you're painting over a dark color or an unpainted surface, apply a primer to enhance the final color and coverage.
Finally, make certain the wall is completely dry before applying your first coat of paint for the best results.
Taping Techniques for Precision
With your wall surface prepped and ready, you can focus on achieving precision in your thick striped design.
Start by measuring and marking the desired width of your stripes with a level and pencil. Then, use painter's tape to create clean lines by pressing it firmly against the wall to prevent paint bleed.
Once the tape is in place, paint the exposed areas with your chosen shades of blue, using a roller for larger sections and a brush for edges. Allow the paint to dry completely before gently removing the tape at a 45-degree angle to reveal sharp lines.
For a fun pop of color, consider contrasting hues for the stripes and touch up any uneven spots afterward.
DIY Ombre Wall
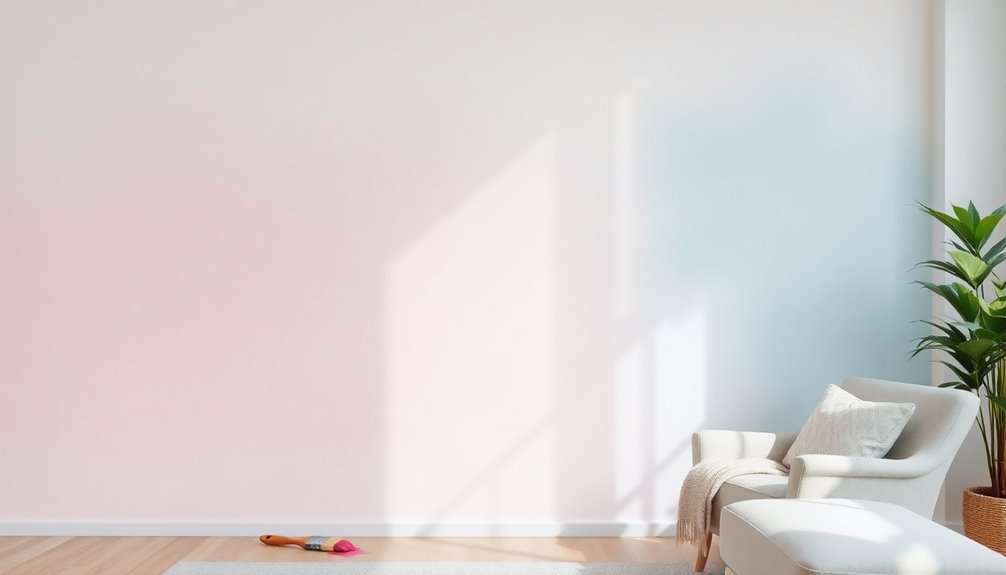
Creating a DIY ombre wall is all about choosing the right colors and mastering your blending techniques.
You'll want to select two or three shades of the same hue, ensuring a smooth shift from dark to light.
With the right application tools, you can achieve a stunning gradient that transforms your space.
Color Selection Tips
How do you choose the perfect colors for your DIY ombre wall? Start by selecting two or more shades of the same color for a harmonious gradient. Here are some tips to guide you:
- Choose your base color – Pick a wall color that complements your space.
- Select shades – Use a darker shade for the bottom and progressively lighter shades upward.
- Mix in-between colors – Combine equal parts of darker and medium shades for smooth alterations.
- Test the colors – Paint swatches on the wall to visualize how the shades blend in your space.
Blending Techniques Explained
To achieve a stunning ombre effect, you'll want to focus on blending the colors seamlessly.
Start by selecting two or more shades from the same color family—like a rich navy blue shifting to a soft light blue.
Begin with the darkest shade at the bottom and work your way up. Mix equal parts of your dark and medium shades to create a smooth gradient color.
Use blending techniques such as a sponge or brush, applying vertical strokes while the paint is still wet.
It's essential to work in small sections to maintain a wet edge, preventing harsh lines.
Once your accent wall is dry, consider adding a clear topcoat for added durability and depth.
Enjoy your beautiful ombre makeover!
Application Tools Needed
Achieving that beautiful ombre effect requires the right tools to make the process smooth and efficient.
Here's a quick list of essential application tools you'll need:
- High-Quality Paintbrush or Roller: For applying your base and gradient colors evenly.
- Sponge or Blending Brush: Perfect for blending colors together to create a seamless shift.
- Painter's Tape: Use this to mask off areas and guarantee clean edges around your ombre design.
- Paint Tray: Keeps your paint organized and easily accessible while you work.
Don't forget a ladder or step stool to reach higher areas safely.
With these tools in hand, you'll be well on your way to creating a stunning ombre wall!
Frequently Asked Questions
How to Paint Walls for Dummies?
To paint walls, start by prepping the room—remove furniture and use painter's tape to protect edges.
Lay down drop cloths to catch drips. Choose a satin or eggshell paint for durability.
Use a high-quality roller for larger areas and a brush for corners. If you're switching colors, apply primer first.
Allow 2-4 hours of drying time between coats. Follow the manufacturer's instructions for the best finish.
You'll achieve a great look with patience!
How to Make a Simple Wall Art?
To create simple wall art, start by choosing a design that resonates with you, like geometric shapes.
Use painter's tape to outline your chosen pattern for clean edges.
Select two to three complementary colors from your decor to keep it cohesive.
Apply the paint evenly with a quality brush or roller, and don't forget to touch up any spots once it's dry.
For added flair, consider incorporating textures or metallic accents!
How Do You Paint Over Already Painted Walls?
So, you've decided to refresh your walls? Start by cleaning the surface to remove any dirt or grease.
If you're switching colors, apply a primer first—it makes a big difference! Lightly sand the walls for a smoother finish, then choose a quality paint that fits your style.
Don't forget to apply at least two coats, letting each dry between applications. And, clean up any drips right away for a flawless look!
What Is the First Thing You Do When Painting a Wall?
When you're painting a wall, the first thing you do is prepare the surface. Make sure it's clean, dry, and free of any loose paint or wallpaper. You don't want any imperfections to ruin your finish.
Next, move or cover furniture and floors with drop cloths to protect them.
Finally, grab painter's tape to mask off edges and trim, ensuring you get those crisp lines in your final result.
Conclusion
Now that you've explored these fun DIY wall painting ideas, which one speaks to your creative spirit? Whether you choose a bold ombre effect or a playful chalkboard wall, each project offers a unique way to express your personality and transform your space. Remember, the only limit is your imagination! So grab your brushes, pick your colors, and get started on making your walls a true reflection of you. Happy painting!