To start DIY flooring installation, choose sustainable materials like bamboo or reclaimed wood for an eco-friendly, budget-friendly option. Gather basic tools such as a measuring tape, utility knife, spacers, and a saw, and prep your workspace by clearing and leveling the subfloor. Measure carefully, plan your layout, and follow manufacturer instructions for acclimation and gaps. Use spacers for alignment and take your time to ensure a professional finish. Keep these tips in mind to achieve great results step-by-step.
Key Takeaways
- Select sustainable materials like bamboo or cork for eco-friendly, cost-effective flooring options suitable for beginners.
- Prepare your workspace by cleaning and leveling the subfloor, and gather essential tools such as measuring tape, spacers, and a utility knife.
- Accurately measure and plan your layout, including staggered seams and expansion gaps, to ensure a professional-looking finish.
- Follow manufacturer instructions carefully, use spacers for alignment, and allow necessary acclimation time for materials.
- Finish with trim or molding, regularly check alignment, and avoid rushing to achieve a polished, durable result.
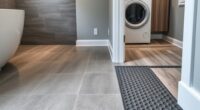
Installing your own flooring can be a rewarding project that saves money and gives you a sense of accomplishment. When choosing materials, consider sustainable options that are both eco-friendly and budget-friendly. Many sustainable materials, like bamboo, cork, or reclaimed wood, are excellent choices because they renew quickly, reduce environmental impact, and often come at a lower cost than traditional hardwoods. These options not only help you contribute to environmental conservation but also keep your project within a reasonable budget. Opting for cost-effective options doesn’t mean sacrificing quality; it means being smart about your choices. For example, vinyl planks or laminate flooring can mimic the appearance of real wood at a fraction of the price, and they’re easy to install for beginners. These materials are durable, low-maintenance, and readily available at home improvement stores, making them ideal for DIY projects.
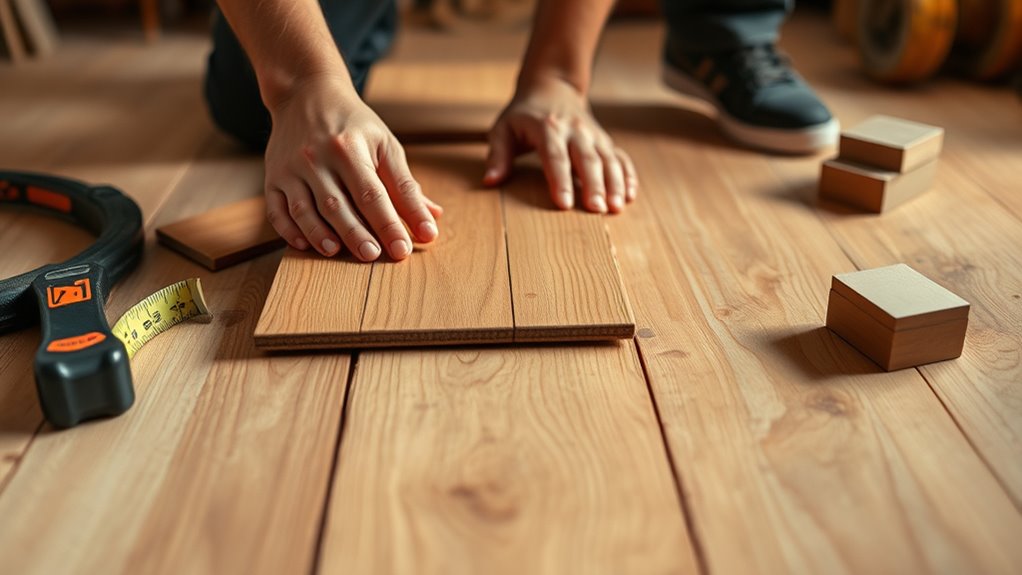
Before you start, make sure you gather the right tools. A basic toolkit should include a measuring tape, a utility knife, a rubber mallet, spacers, a chalk line, and a saw suitable for your chosen flooring material. Investing in quality tools can make the installation smoother and help you achieve professional-looking results. Also, prepare your workspace by clearing the room and ensuring the subfloor is clean, level, and dry. This step is essential because any imperfections in the subfloor can affect the final look and durability of your flooring.
Gather essential tools and prep your workspace for a smooth flooring installation.
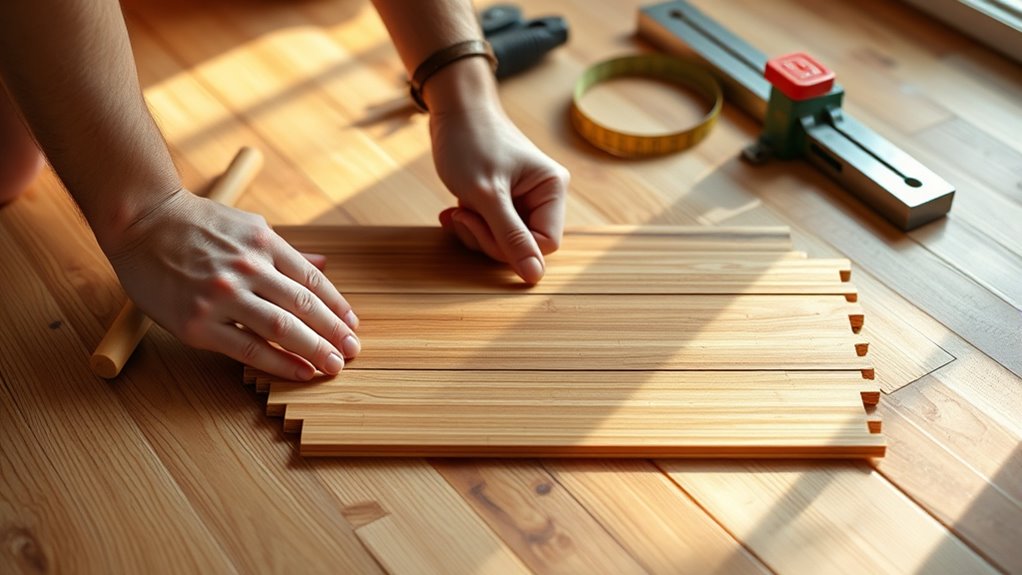
When it comes to installing, take your time measuring and planning your layout. Accurate measurements prevent waste and ensure a tidy, professional appearance. If you’re working with planks or tiles, stagger seams to create visual interest and increase stability. Carefully follow the manufacturer’s instructions for your chosen material, particularly regarding acclimation and expansion gaps. These gaps allow for natural movement in the flooring caused by temperature and humidity changes, preventing buckling or warping over time. Additionally, understanding the importance of material selection can help you choose the most suitable flooring for your environment and budget.
Lastly, don’t rush through the process. Patience is key to achieving a professional finish. Regularly check your work for straight lines and proper alignment. Once installed, finish off with the appropriate trim or molding to conceal edges and create a polished look. By choosing sustainable, cost-effective materials and following a methodical approach, you’ll not only save money but also enjoy a beautiful, eco-friendly new floor that you did yourself.
Frequently Asked Questions
How Long Does DIY Flooring Installation Typically Take?
DIY flooring installation usually takes anywhere from a couple of days to a week, depending on the space size and your experience. Timing estimates can vary, but proper preparation tips—like measuring accurately, gathering tools, and clearing the area—help accelerate the process. If you’re working alone, plan for extra time, especially for acclimating materials and finishing touches. Staying organized and patient ensures a smoother, quicker project.
What Are the Most Affordable Flooring Options for Beginners?
You should consider budget alternatives like vinyl planks, laminate, or carpet tiles, which are affordable for beginners. Material comparisons show that vinyl and laminate are easy to install, durable, and cost-effective, making them ideal choices. Carpet tiles offer comfort and quick installation, while hardwood tends to be pricier and more challenging for novices. Opt for these options to save money and simplify your DIY flooring project.
Can I Install Flooring Over Existing Surfaces?
Think of your floor as a canvas—you can often paint right over existing surfaces if you prepare properly. You’ll need to assess the existing floor’s condition, then lay down an underlayment to create a smooth base. Don’t forget moisture barriers if you’re installing over concrete or damp areas. Proper preparation guarantees your new flooring adheres well and lasts, making your project both simple and successful.
What Safety Equipment Is Recommended During Installation?
You should wear protective gear like goggles, gloves, and a dust mask to prevent injuries and inhalation of debris during installation. It’s also wise to have emergency preparedness items nearby, such as a first aid kit and a fire extinguisher, in case of accidents. Staying alert and using the right safety equipment minimizes risks, ensuring a safer, smoother flooring installation process. Prioritize safety to protect yourself and finish your project confidently.
How Do I Handle Uneven Subfloors Before Installation?
To handle an uneven surface, start with subfloor leveling by identifying high and low spots using a straightedge. Sand down high areas and fill low spots with a leveling compound, ensuring a smooth, even surface. Use a level to check your work frequently and let the compound dry completely before proceeding. Properly leveling your subfloor prevents flooring issues later, making your installation safer and more durable.
Conclusion
Don’t let fear hold you back—DIY flooring is totally doable with the right tools and patience. Even if you’re worried about mistakes, remember that practice makes perfect, and taking your time guarantees a great result. Plus, installing your own flooring can save you money and give you a real sense of accomplishment. So, go ahead, give it a try—you might surprise yourself with how awesome your space can look!