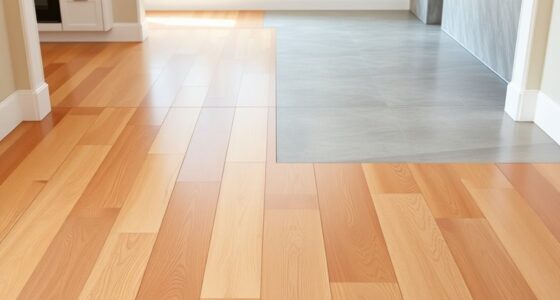

For a successful DIY flooring installation, start by removing all furniture and demoing existing flooring. Acclimate your planks for at least 48 hours, then guarantee your subfloor is clean and dry. Lay down an underlayment for added protection, and trim the bottom of door jambs for a flush fit. Consider doing a dry run with flooring pieces to plan your layout. Use tape to prevent splintering when cutting. There's more valuable advice to help you along the way!
Key Takeaways
- Clear and prepare the space by removing furniture and ensuring a clean, dry subfloor for better adhesion.
- Acclimate flooring planks for at least 48 hours in a controlled temperature environment to prevent warping.
- Install underlayment properly, ensuring it fits snugly without overlapping to provide cushioning and moisture protection.
- Use a jamb saw for precise door jamb trimming, ensuring clean cuts and a snug fit for laminate pieces.
- Maintain consistent gaps for transition strips and inspect all pieces for alignment to achieve a polished finish.

NAACOO Laminate Flooring Tools, LVP Installation Kit, Professional Vinyl Flooring Tools – Tapping Block with Handle, 10” Contour Gauge, Pull Bar, 2 in 1 Spacers, Double-Faced Mallet.
🔨【NAACOO Perfect Match Kit】Contour gauge with lock solves the installation difficulty of the odd-shaped floor. Tapping block with…
As an affiliate, we earn on qualifying purchases.
As an affiliate, we earn on qualifying purchases.
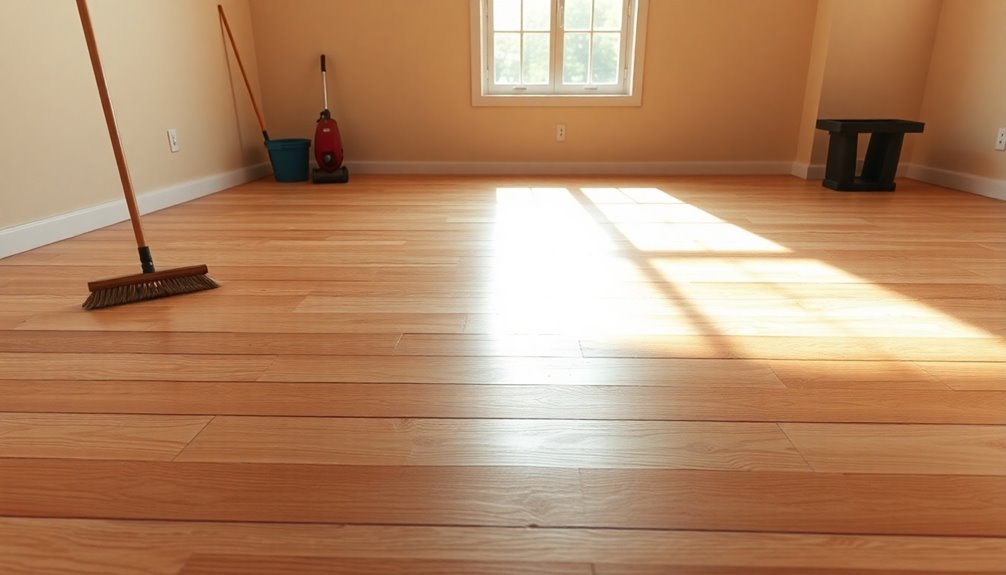
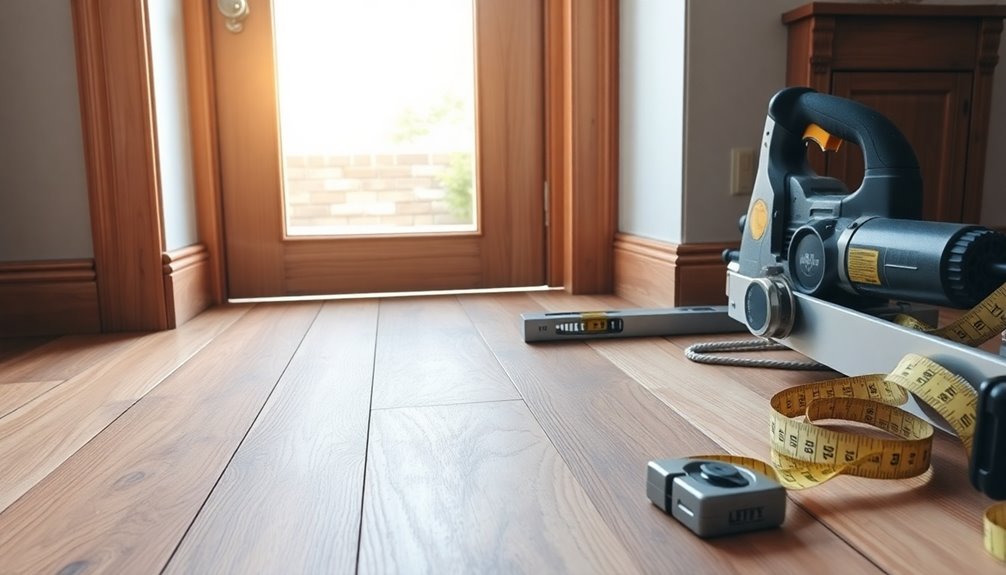
Demo Floor Area Before Beginning

Before you plunge into your flooring project, it's vital to clear the space thoroughly. Start by removing all furniture to create an unobstructed workspace.
Next, demo the floor area by taking out the existing flooring materials, such as carpeting and padding, along with any tack strips. Be careful during this process to avoid damaging the subfloor.
Use a utility knife to score the caulk or paint around the baseboards before gently removing them for potential reuse.
After everything's out, inspect the area to confirm it's free of debris, staples, or nails. A clean subfloor guarantees better adhesion and fitting of your new flooring, leading to a more professional-looking result.

800SQFT AMERIQUE 1.5MM Premium Flooring Padding 3-in-1 Heavy Duty Foam Blue, 200SF/Roll, Pack of 4 Underlayment, with Tape & Vapor Barrier
800SQFT AMERIQUE 1.5MM Premium Flooring Padding 3-in-1 Heavy Duty Foam Blue, 200SF/Roll, Pack of 4 Underlayment, with Tape…
As an affiliate, we earn on qualifying purchases.
As an affiliate, we earn on qualifying purchases.
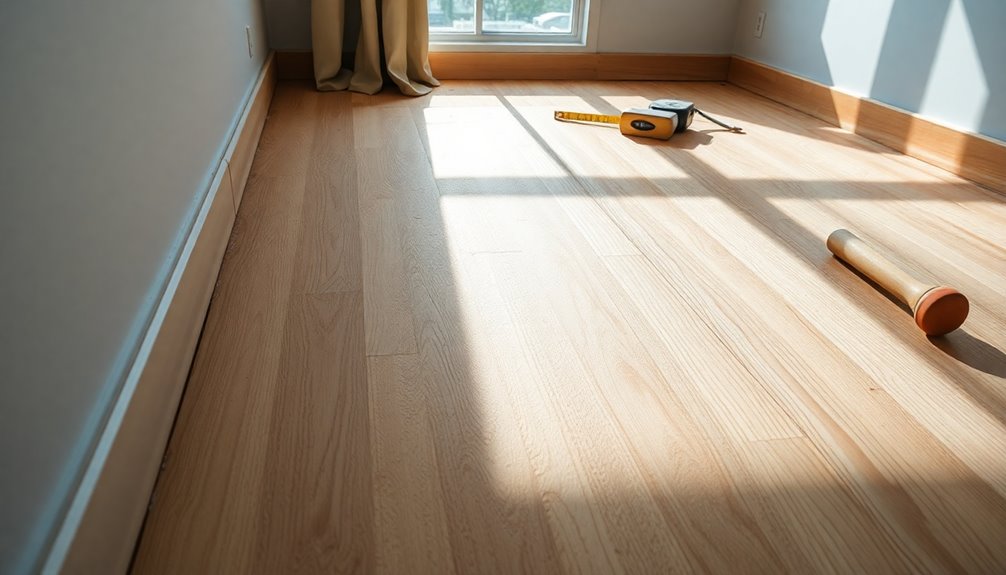
Acclimate Your Floor Planks
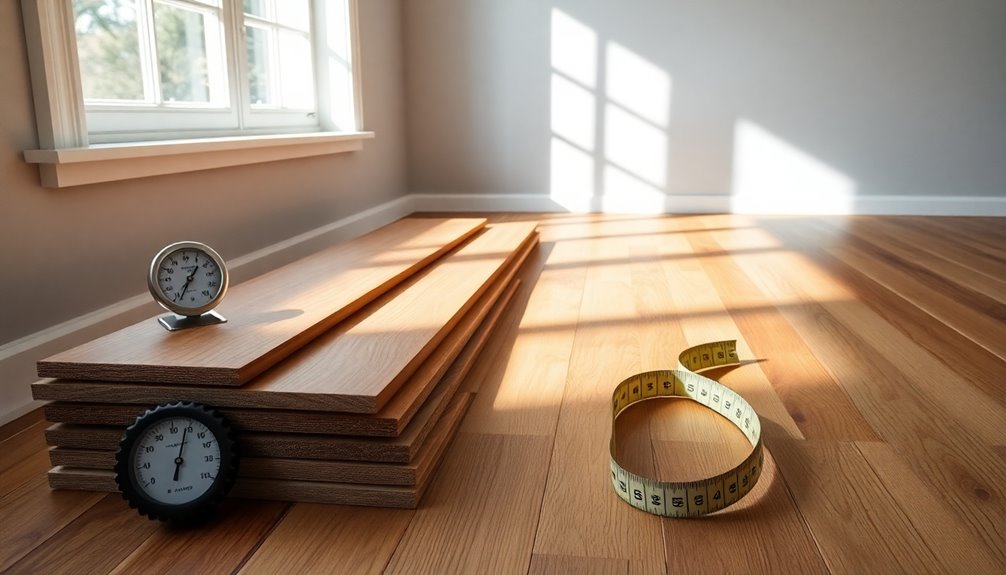
To guarantee your flooring planks perform their best, it is crucial to acclimate them to the room where they'll be installed. Acclimating laminate flooring planks for at least 48 hours allows them to adjust to the home's temperature and humidity levels, preventing future issues like warping and buckling. Place the boxes in the center of the room for even temperature distribution, and avoid touching or opening them during this time.
| Action | Details |
|---|---|
| Duration | At least 48 hours |
| Location | Center of the room |
| Temperature | Maintain between 60°F and 80°F |
| Disturbance | Don't touch or open boxes |
| Purpose | Prevent warping and buckling |

JORGENSEN 10" Dovetail Reversible Saw, Professional Cutting Jamb Saw, 13TPI Double Ground Teeth Flush Cut Saw Spring Loaded Design Cranked Soft Handle, Shorten Door Frame, Tile Installation and Prep
Reversible Blade: Our 10" dovetail jamb saw features a spring-loaded design that enables you to reverse the blade…
As an affiliate, we earn on qualifying purchases.
As an affiliate, we earn on qualifying purchases.
Start With Clean Subfloor
After your flooring planks have acclimated, the next step is ensuring your subfloor is clean and ready for installation.
Start by thoroughly vacuuming and sweeping the subfloor to remove any dust, debris, and loose particles that could affect your new laminate flooring.
Make sure the subfloor is completely dry, as moisture can lead to mold growth and compromise the flooring's integrity.
Inspect the subfloor for any protruding nails, staples, or damaged boards, and fix these issues before you lay down the new flooring.
If you're installing over concrete, check for nicks or gouges and patch them up to create a smooth surface.
Also, remember to remove air duct covers and clean around them for an unobstructed area.

Art3d Vinyl Floor Transition Strip – Laminate Floor Divider for Joining Gaps and Carpets, Brown (10 FT, 1.57in)
Excellent Materials: High-Quality PVC Floor Transition Strips, which is scratch-resistant, abrasion-resistant, dirt-resistant. Easy to clean, just use a…
As an affiliate, we earn on qualifying purchases.
As an affiliate, we earn on qualifying purchases.
Lay Down a Base That Will Protect New Flooring
To protect your new flooring, start by laying down foam sheeting for cushioning and sound absorption.
If you're in a humid area, don't forget to install a vapor barrier to prevent moisture damage.
Finally, make sure your underlayment sheets fit snugly together without overlapping for a smooth, even surface.
Foam Sheeting Benefits
When you're preparing to install new laminate flooring, laying down foam sheeting can make a significant difference in both comfort and durability.
Foam sheeting provides cushioning, helping to absorb sound and reduce noise transmission between floors. It acts as a moisture barrier, preventing dampness from the subfloor from affecting your laminate flooring above.
This insulation enhances overall comfort underfoot, making your flooring feel softer and more pleasant to walk on. Additionally, foam sheeting helps level minor imperfections in the existing floor, creating a smoother surface for your installation.
Vapor Barrier Importance
A solid vapor barrier is essential for protecting your new laminate flooring from moisture damage.
If you're installing laminate flooring, especially over concrete subfloors, you need to prioritize moisture control to prevent warping and mold growth.
Here are key tips for your vapor barrier installation:
- Use a polyethylene sheet at least 6 mils thick for ideal moisture resistance.
- Lay the vapor barrier directly over the subfloor before adding underlayment and laminate planks.
- Make certain seams are properly overlapped and sealed with tape to maintain integrity.
- Pay special attention in high humidity areas to safeguard against moisture seepage.
Proper Underlayment Installation
After ensuring a solid vapor barrier is in place, the next step is to install the underlayment.
Make sure the underlayment sheets are laid edge-to-edge without overlaps to create a smooth surface for your laminate flooring. If you're working in high humidity areas, adding a vapor barrier beneath the underlayment is essential to protect against moisture damage.
Trim any excess underlayment at the walls with a utility knife, keeping those expansion gaps intact for a neat finish. For added cushioning and sound absorption, consider using foam sheeting over old flooring.
Finally, confirm that your chosen underlayment is compatible with the laminate type and follow the manufacturer's recommendations for ideal performance.
Trim the Bottom of the Door Jamb for a Flush Fit Around Doors
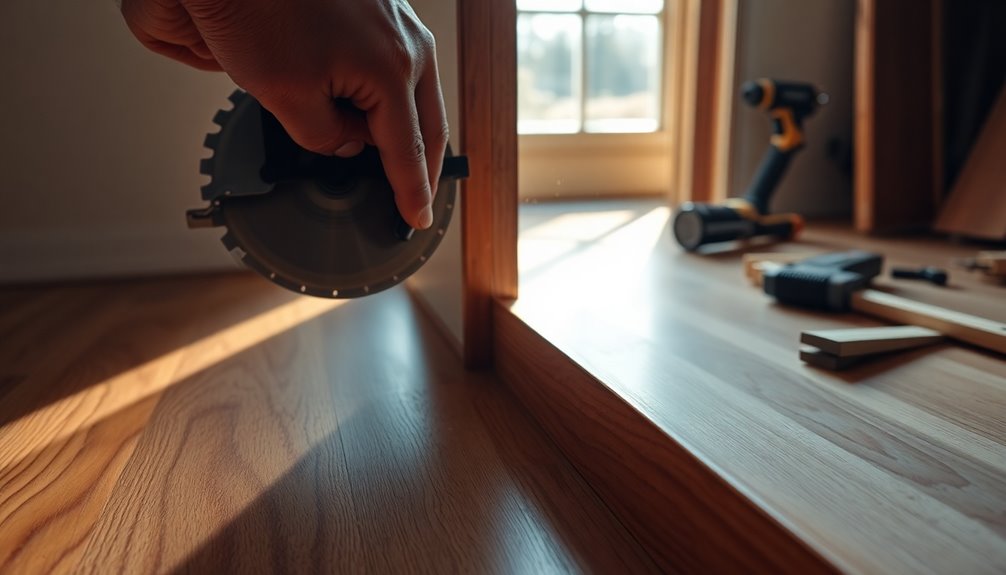
Trimming the bottom of the door jamb is essential for achieving a flush fit around doors when installing laminate flooring.
Using a jamb saw, you can easily create a seamless changeover between the flooring and the door trim. Here's how to do it:
- Measure the thickness of your laminate flooring to determine how much to trim.
- Mark the cut line on the jambs according to the height of the installed laminate.
- Make certain your cut is straight and even for the best results.
- This procedure not only simplifies installation but also enhances the aesthetic by preventing gaps, leading to a professional finish.
With these steps, you'll guarantee your flooring looks polished and well-fitted around your doors.
Do a Dry Run With Flooring Pieces to Strategize Layout
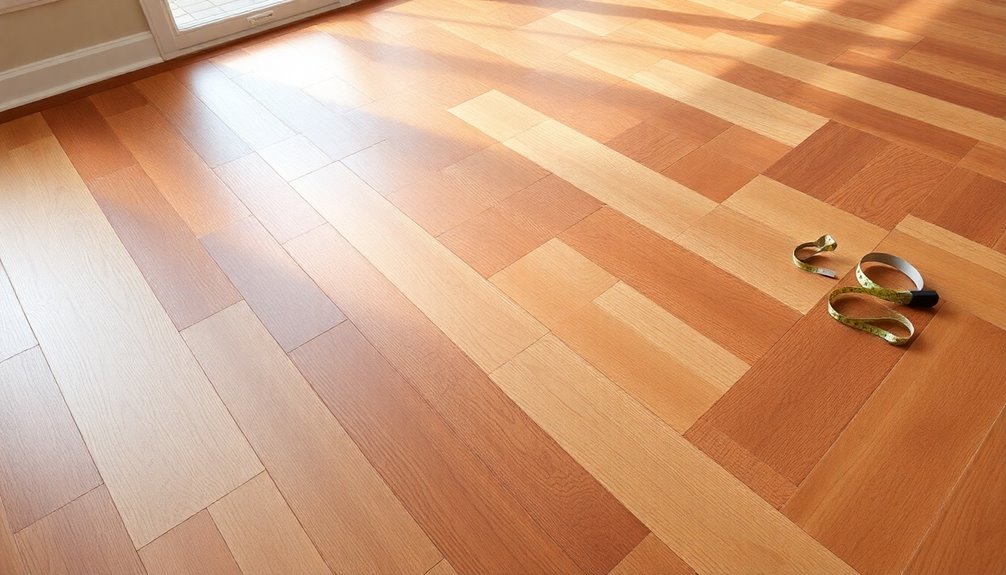
Before you start installing your flooring, do a dry run with the planks to see how they'll look in your space.
Lay them out in the desired direction, and try alternating patterns to achieve a more natural appearance.
This simple step can help you spot any potential issues and streamline your installation process.
Visualize Flooring Appearance
How can you guarantee your flooring will look just right? By conducting a dry run with your laminate planks, you can visualize the overall appearance and layout before installation. This step allows you to assess color patterns and spacing without committing to the final design.
Here's how to make the most of your dry run:
- Lay Out Planks: Arrange the planks in your desired direction without locking them together.
- Check Color Patterns: Observe how the colors interact in the space.
- Assess Spacing: Verify even spacing for a polished look.
- Adjust as Needed: Identify any potential fit issues and make necessary adjustments.
This careful planning can save you time and materials, verifying your flooring meets your aesthetic preferences.
Plan Alternating Patterns
While planning your flooring layout, incorporating an alternating pattern can greatly enhance the visual appeal of your space.
Before you start installing laminate flooring, do a dry run with the planks. Lay them out in your desired direction without locking them together. This allows you to visualize how they'll fit and flow in the room.
Use an alternating pattern during this process to create a more natural look. As you assess your layout, take note of any adjustments needed, especially around obstacles like doorways and corners.
This practice will help you identify where you may need to cut laminate flooring and prevent costly mistakes, ensuring each row aligns perfectly with the others.
Start Floor Installation Around Doorways
Starting your floor installation around doorways can simplify the process and improve the overall look of your flooring.
Begin at the wall with the most doorways to tackle challenging areas efficiently. Here are some tips to keep in mind:
- Cut the first piece of laminate to fit snugly under the door jamb for a seamless appearance.
- Slide the second piece just short of the doorstop, allowing for a clean changeover between rooms.
- Maintain a consistent gap for transition strips under doors to guarantee visual consistency and accommodate flooring movement.
- Adjust both the first and second pieces as needed so the door jambs cover the ends, achieving a polished finish.
With these steps, your installation will look professional and cohesive.
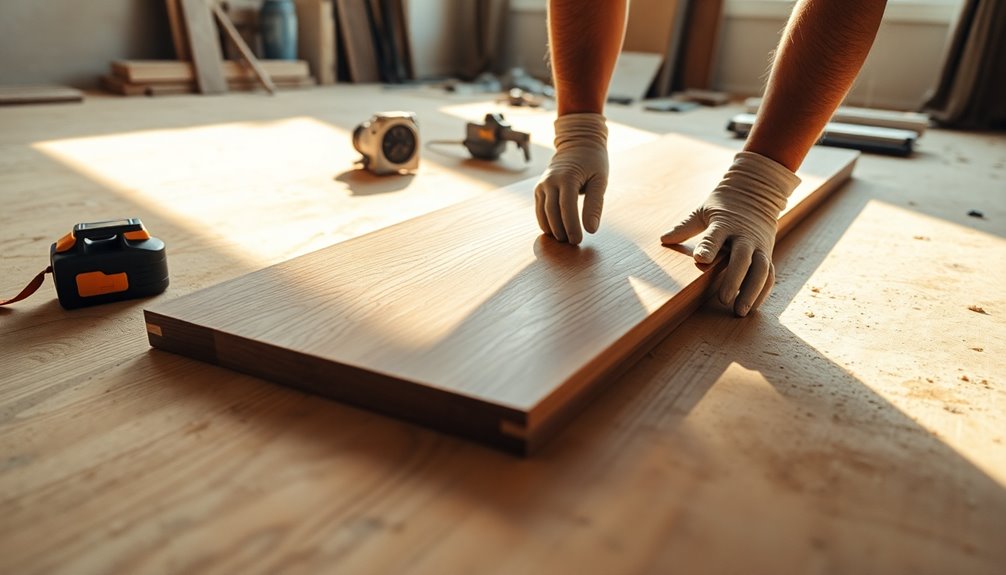
Use Tape to Prevent Splintering When Cutting Boards
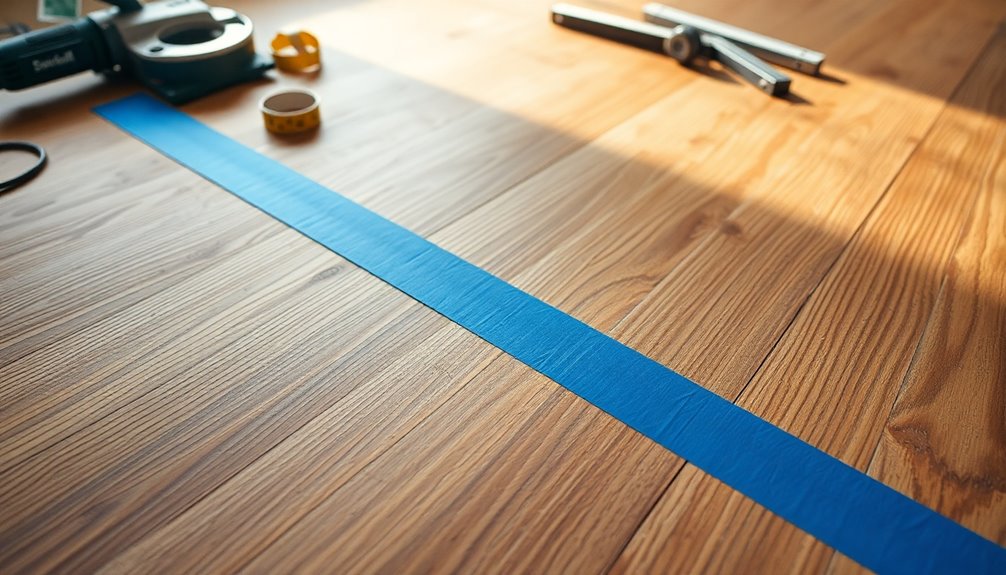
To achieve a clean cut and prevent splintering when working with laminate flooring, applying tape along the cut line is essential.
Use duct or painter's tape, placing it directly over the area you'll cut. Always position the finished side of the laminate board facing up; this guarantees you get the best visual results.
After taping, grab a sharp saw for cutting, as this minimizes the risk of chipping the surface.
Once you've made the cut, remove the tape immediately to reveal a polished edge that enhances the overall appearance of your flooring.
This technique is especially useful for achieving professional-looking results in visible areas of your installation.
Enjoy the satisfaction of a flawless finish!
Frequently Asked Questions
What Is the Easiest Flooring to Install by Yourself?
If you're looking for the easiest flooring to install by yourself, laminate flooring is a great choice. Its click-lock system lets you fit the pieces together without glue or nails, making it user-friendly.
Vinyl plank flooring is also simple, featuring peel-and-stick backing or interlocking edges. Engineered hardwood can be installed as a floating floor, while carpet tiles allow for customization and easy repairs.
All these options come with guides, so you'll feel confident tackling the project.
Can I Install Flooring Myself?
Yes, you can install flooring yourself! Many homeowners successfully tackle this project, especially with laminate flooring, which is designed for easy assembly.
You'll want to prepare your space by removing old flooring and baseboards. Make sure to measure accurately and allow your new planks to acclimate before starting.
Using the right tools will make the process smoother, and following step-by-step guides or tutorials can help you avoid common pitfalls. Happy installing!
Do You Cut the Tongue off the First Row of Laminate?
Yes, you should cut the tongue off the first row of laminate.
This step guarantees that the row sits flush against the wall, preventing unwanted gaps. Use a utility knife to trim the tongue from each board before laying them down.
Just remember to maintain an expansion gap of about 3/8 inch between the first row and the wall.
This approach will give you a solid starting line and a more professional-looking finish.
What Should I Lay Down Before Flooring?
Before you lay down flooring, you've gotta guarantee the foundation's as solid as a rock!
Start by cleaning and leveling the subfloor, then check for any protruding nails or damage.
Next, roll out a suitable underlayment—think of it as a cozy blanket for your floor.
It'll cushion sounds, regulate warmth, and protect against moisture.
If the existing floor's a wreck, consider adding plywood for extra stability.
You're on your way to a fantastic finish!
Conclusion
By following these DIY flooring installation tips, you're setting yourself up for success—like laying a strong foundation for a house. Just as every sturdy home needs a solid base, your new floor will thrive with careful preparation and attention to detail. Remember that time you built a LEGO masterpiece, piece by piece? Your flooring project is no different; take it step by step, and soon you'll be enjoying a beautiful new space that you created!