
If you're a beginner looking to tackle DIY home repair projects, start with painting, upgrading hardware, installing shelves, replacing window screens, and basic plumbing repairs. These projects not only improve your space but also build your skills and confidence. Get the essential tools, assess your skills, and establish a budget before diving in. You'll find success in these straightforward tasks and discover even more useful tips to elevate your DIY journey.
Key Takeaways
- Start with simple projects like painting to gain confidence and transform your space cost-effectively.
- Upgrade hardware for an easy refresh; measure carefully for a smooth installation.
- Install shelves to maximize storage in small rooms using basic tools and proper measurements.
- Replace torn window screens or patch minor damage to improve home aesthetics and functionality.
- Learn basic plumbing repairs, such as fixing leaky faucets, to save time and money on common issues.
Why Start With DIY Home Improvement?
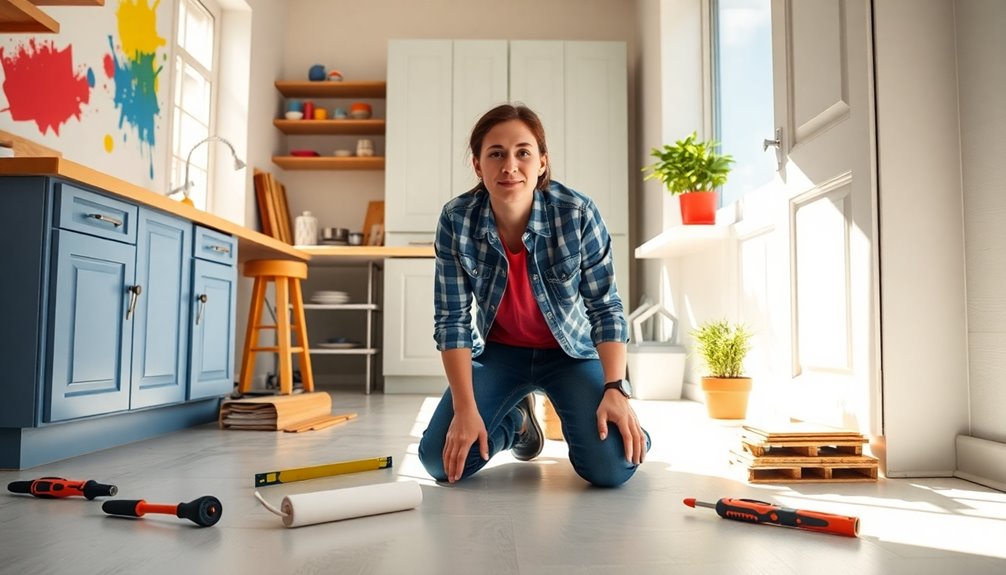
If you want to save money and gain valuable skills, starting with DIY home improvement projects is a great choice. By tackling repairs and upgrades yourself, you can save an average of 20-30% on labor costs.
Engaging in DIY not only boosts your skill set but also equips you with hands-on experience that's applicable to future tasks. Personalizing your living space through these projects fosters a sense of ownership, letting you create an environment that reflects your style.
Beginning with small DIY tasks builds your confidence and competence, setting the stage for tackling larger renovations later. Plus, minor upgrades can yield a return on investment of around 70-80%, enhancing your home's value while you save money.
Project 1: Painting
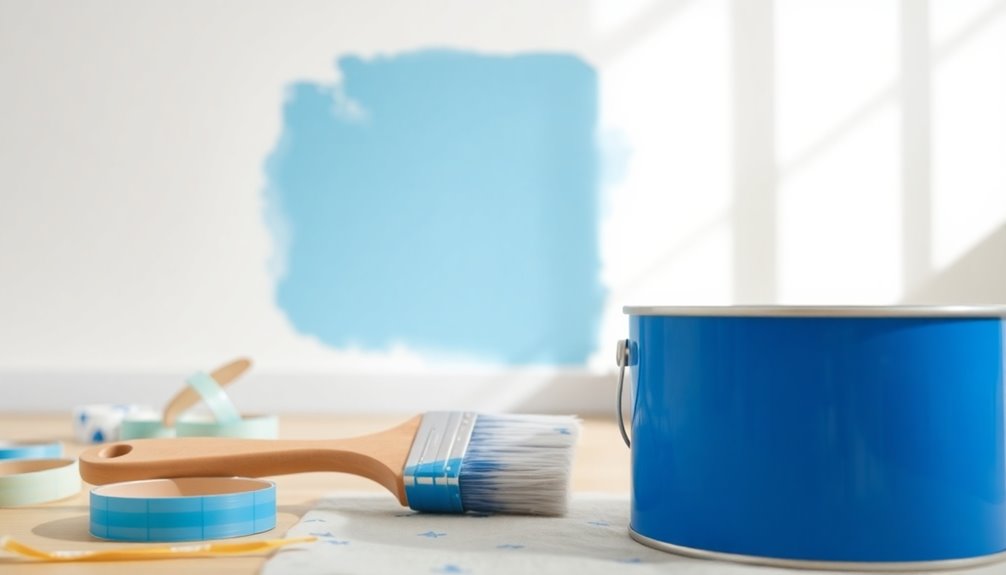
A fresh coat of paint can completely transform a room, making it one of the most rewarding DIY projects you can undertake. Painting is a cost-effective way to refresh your space, with paint averaging $15 to $50 per gallon.
Start by gathering essential tools like high-quality brushes, rollers, painter's tape, drop cloths, and a paint tray, all for under $50. Don't skip wall prep—cleaning, patching holes, and applying primer will enhance the final finish.
Choose light colors to make small rooms feel larger or darker shades for a cozy vibe. Remember to let each coat of paint dry completely, usually 2 to 4 hours, to achieve that smooth, even finish you're aiming for in your DIY home improvement project. Additionally, consider using eco-friendly paints that contribute to a healthier indoor environment.
Project 2: Upgrading Hardware
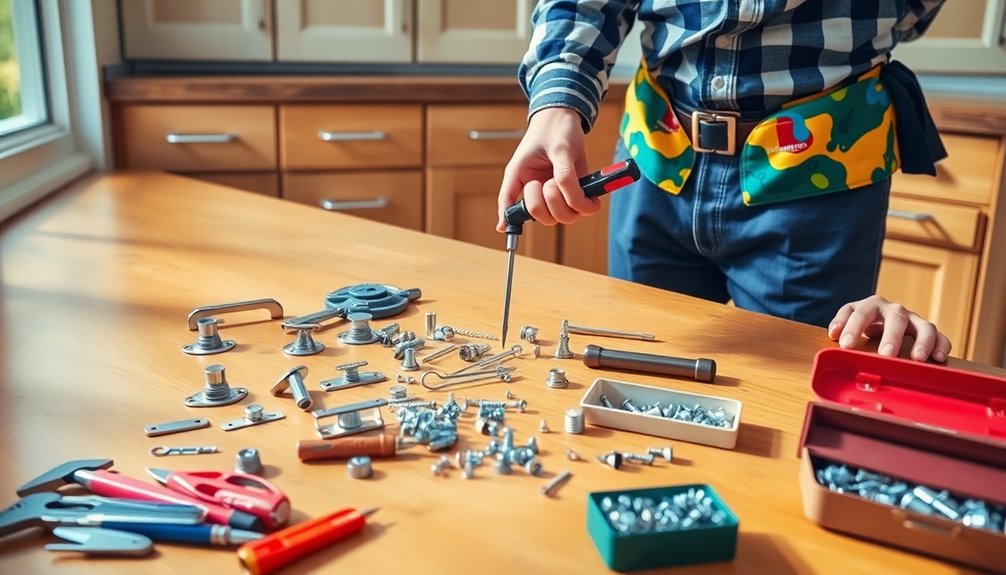
Upgrading hardware is an easy way to refresh your space, and you'll only need a screwdriver and some new knobs or pulls.
First, measure the center-to-center distance of your old hardware to guarantee a perfect fit.
Once you've got your tools and materials ready, you can follow a simple step-by-step process to complete the installation in no time. Additionally, consider how the new hardware can complement your smart home devices to enhance functionality and aesthetics.
Tools Required for Upgrade
When it comes to upgrading hardware, having the right tools on hand can make all the difference in guaranteeing a smooth installation process. Here's a quick list of essential tools required for upgrade:
| Tool | Purpose | Notes |
|---|---|---|
| New knobs or pulls | Cabinet hardware replacement | Choose styles that match your decor |
| Screwdriver | For removing old hardware | A flathead and Phillips are ideal |
| Cordless drill | For drilling new holes if necessary | Speeds up installation |
| Level | To guarantee hardware is straight | Enhances appearance |
Steps for Installation
To guarantee a successful installation of your new cabinet hardware, start by measuring the distance between the existing holes on the doors or drawers. This confirms your new hardware matches the old center-to-center measurements. Gather essential tools, including a screwdriver, drill (if you need new holes), and a level for proper alignment.
Next, remove the old hardware by unscrewing it from the existing fixture and clean the area to eliminate dirt or residue.
When installing the new hardware, consider using a template for consistent placement. Finally, tighten the screws securely, but avoid overtightening to prevent damage to the cabinet material.
Following these steps for installation will give your cabinets a fresh, professional look.
Project 3: Installing Shelves for Extra Storage
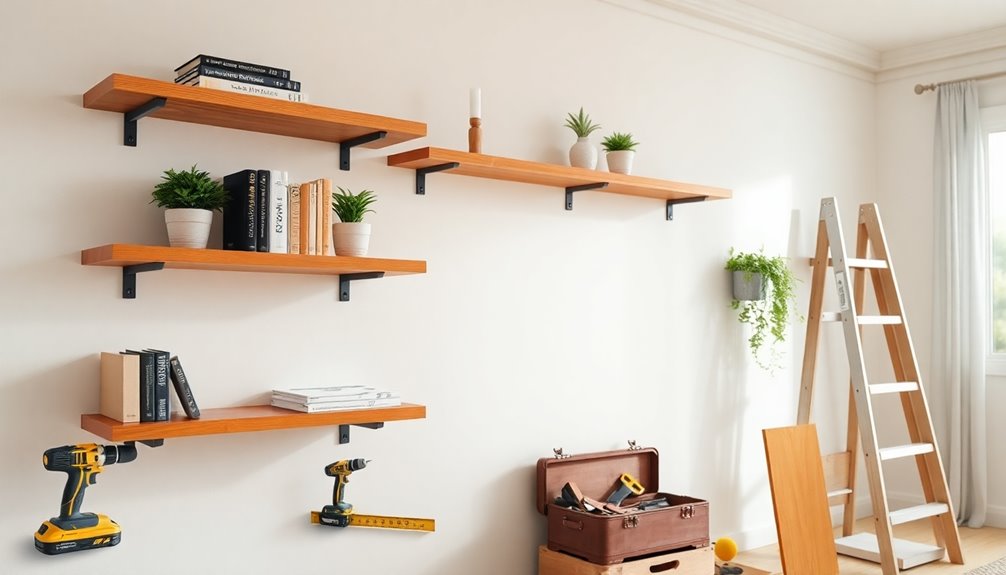
Installing shelves can transform your space by maximizing vertical area, especially in small rooms where storage is at a premium.
When you decide on installing shelves, consider various materials like wood or metal, and choose styles that match your decor. Vital tools for this DIY project include brackets, screws, a level, and a drill to guarantee a secure installation.
Proper measuring is essential; take your time to measure the wall space and shelf height accurately. This prevents shelves from being uneven, which can cause items to slide off or look misaligned.
Customize your shelves in size and spacing to fit everything from books to decorative objects, enhancing both storage space and the overall aesthetics of your room.
Project 4: Replacing a Torn Window Screen
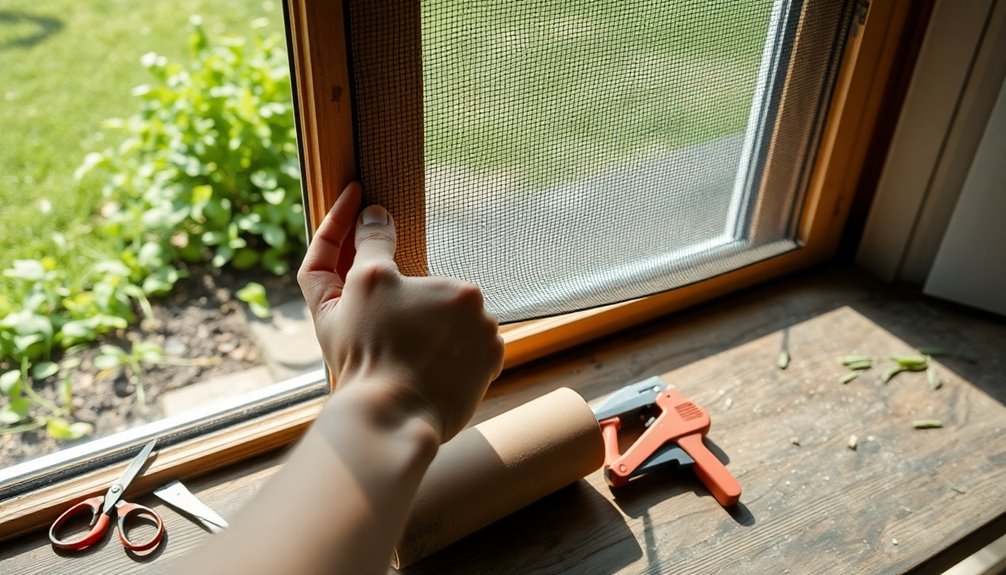
After maximizing your storage with shelves, it's time to address another common home issue: torn window screens.
Replacing a torn screen can be simple. If the damage is minor, you can patch it with a repair kit. For larger tears, you'll need to remove the entire screen frame. Carefully pry off the spline, lift out the old screen, and measure the frame for a new screen.
You can buy pre-made or custom window screens made from durable materials like fiberglass or aluminum. To install the new screen, stretch it taut across the frame, cut it to size, and secure it with a new spline, pressing it firmly into the groove for a snug fit.
Regular checks keep your home looking great.
Project 5: Basic Plumbing Repairs

Basic plumbing repairs can save you time and money, especially for common issues like leaky faucets or clogged drains. Tackling these repairs yourself not only improves water flow but also helps prevent costly professional services. Here's a quick guide to get you started:
| Issue | Common Fix | Estimated Time |
|---|---|---|
| Leaky Faucet | Replace washers/cartridges | Less than 1 hour |
| Clogged Drain | Use a plunger or snake | 30 minutes |
| Running Toilet | Replace flapper/float | 30 minutes |
| Water Heater Sediment | Flush tank | 1 hour |
Understanding these basic plumbing repairs empowers you to maintain your home efficiently, ensuring long-lasting fixtures and saving money in the process.
What Tools Do I Need?
When tackling home repair projects, having the right tools makes all the difference.
You'll want to start with essential basic tools, then consider advanced project tools for more complex tasks, and even decorative project tools if you're looking to add some flair.
Let's break down what you really need to get the job done effectively.
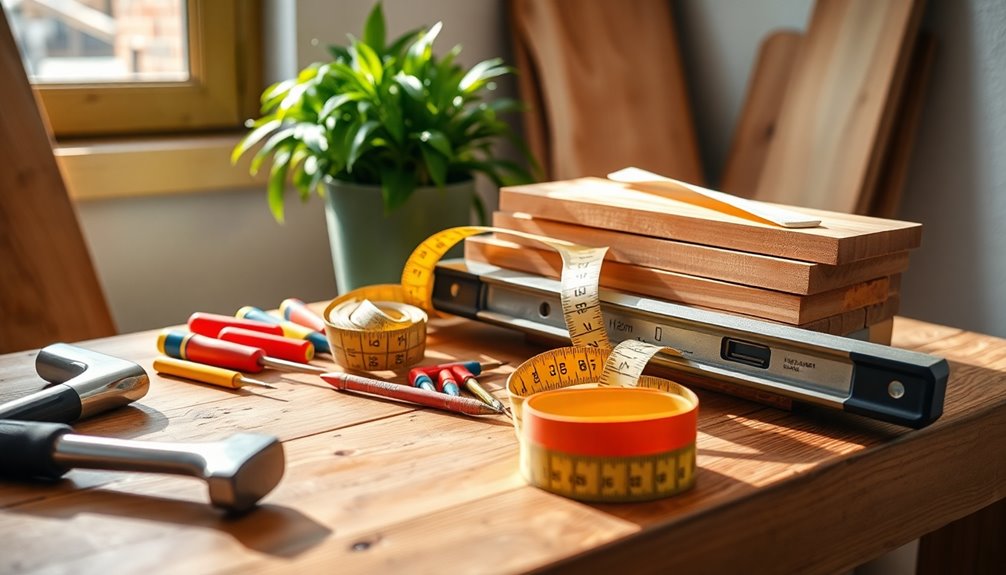
Essential Basic Tools
Having the right tools can make all the difference in your DIY home repair projects. Start with these essential basic tools to guarantee you're prepared for anything:
| Tool | Purpose | Why You Need It |
|---|---|---|
| Interchangeable Screwdriver | Tightening or loosening screws | Versatile for various tasks |
| Cordless Drill | Drilling and driving screws | Speeds up projects considerably |
| Tape Measure | Measuring lengths | Guarantees accuracy in installations |
| Claw Hammer | Driving nails | Essential for framing and repairs |
| Adjustable Wrench | Gripping and turning nuts/bolts | Adapts to different sizes easily |
Investing in these tools will empower you to tackle a range of projects confidently. Additionally, having a solid budget plan can help ensure you can afford these essential tools without financial strain.
Advanced Project Tools
For more advanced DIY projects, you'll want to expand your toolkit with specialized tools that enhance efficiency and accuracy.
A cordless drill is essential, allowing you to drill and screw without the hassle of cords. You'll find a circular saw invaluable for making precise cuts, perfect for building storage shelves or raised garden beds.
A quality caulk gun guarantees smooth application of caulk, preventing moisture damage around windows and in bathrooms.
Don't forget a stud finder; it helps you locate wooden beams behind drywall for secure shelving and artwork installation.
Finally, investing in a reliable level assures your installations are perfectly straight, giving your home a polished, professional look.
These advanced project tools will elevate your DIY skills considerably. Additionally, understanding the benefits of tiny house living can inspire creative storage solutions and efficient use of space in your projects.
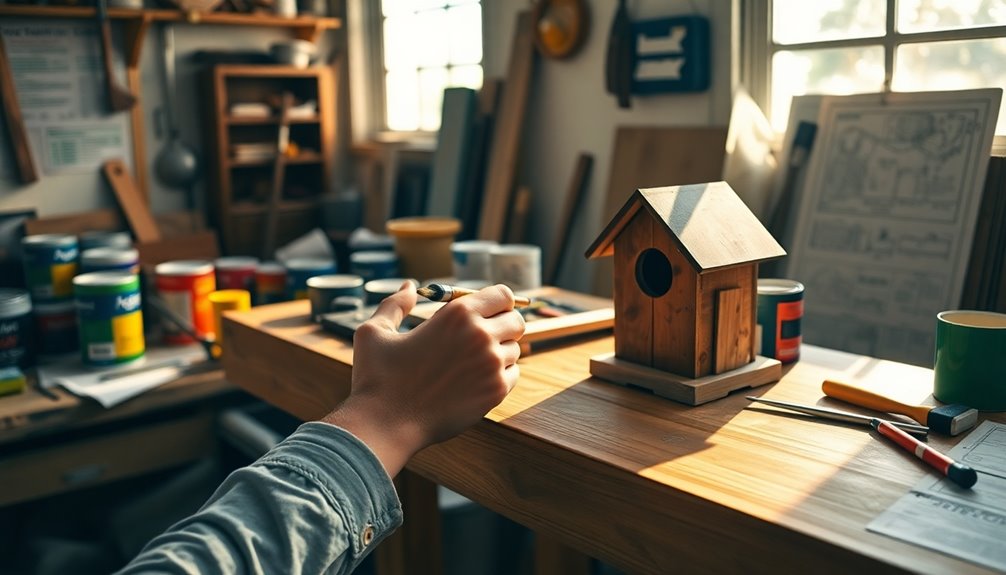
Decorative Project Tools
After mastering advanced project tools, you'll want to focus on those that enhance the aesthetic aspects of your home.
Start by investing in essential tools like an adjustable wrench, tape measure, and pliers; they'll help you tackle a variety of decorative projects effectively. A cordless drill is invaluable for installing shelves, hanging artwork, or assembling furniture.
For painting projects, grab paint trays, brushes, and rollers, along with painter's tape for clean lines. A quality caulk gun is vital for applying caulking around windows and doors, improving both appearance and energy efficiency. Additionally, consider using an airless sprayer for larger painting tasks, which can significantly reduce your painting time.
Finally, don't forget utility knives and levels to guarantee precision in cutting materials and achieving straight installations. With these tools, you'll elevate your home's decor effortlessly!
What Skills Do I Have?
What skills do you already possess that can help you tackle DIY home repair projects?
Start by evaluating your everyday tasks. You might find that you have valuable skills to leverage.
Here are some key areas to reflect on:
- Basic Cleaning: Keeping your space tidy demonstrates your ability to maintain order.
- Organizing: Sorting and arranging items shows you can plan and execute tasks effectively.
- Minor Repairs: Changing light bulbs or tightening screws indicates a knack for simple fixes.
- Familiarity with Tools: Knowing how to use screwdrivers, wrenches, and pliers builds confidence for bigger projects.
Additionally, understanding how to incorporate natural materials can enhance your DIY projects, much like creating a Montessori-inspired environment.
What Is My Budget?

Determining your budget is essential before diving into any DIY home repair project, as it helps you prioritize which tasks are feasible based on your financial situation.
Start by categorizing your costs into three tiers: under $50, $50 to $150, and over $150. This will guide you in selecting projects that fit your budget.
Don't forget to include all necessary expenses, like tools, materials, and hardware, to avoid unexpected costs. Factor in the time you'll need to learn new skills and finish the project, as this may influence your overall expenses.
If a project exceeds your budget, consider hiring a professional. Regularly adjust your budget as you gain experience, leading to better long-term savings on future DIY projects.
Frequently Asked Questions
What Home Improvement Should I Do First?
When you're deciding what home improvement to tackle first, think about a simple project that'll give you a big impact.
Painting a room can transform the space without breaking the bank. If you want a quick upgrade, replacing cabinet hardware is easy and effective.
You could also install shelving units to improve storage and practice measuring.
Whatever you choose, start small and enjoy the satisfaction of making your space better!
How Can I Learn Home Repair Skills?
To learn home repair skills, start with simple projects that pique your interest.
You can watch YouTube tutorials or read DIY blogs for step-by-step guidance. Joining local workshops or community classes can also help you gain hands-on experience.
Invest in a basic toolset to tackle various tasks, and practice by volunteering for projects with friends or family.
This way, you'll build confidence and develop your skills gradually.
What Is the Most in Demand Home Improvement?
The most in-demand home improvement is a kitchen remodel. Homeowners often seek to upgrade their kitchens for better functionality and aesthetics, typically recouping 60-70% of their investment when selling.
Bathroom renovations also rank high, yielding about 70-80% returns.
Energy-efficient upgrades, outdoor living spaces, and smart home technology are gaining popularity too, as they address rising energy costs and enhance convenience.
Focus on these areas to boost your home's value and appeal.
What Home Improvements Add the Least Value?
When considering home improvements, some projects add little value. For instance, installing a swimming pool can actually lower your home's worth due to high maintenance costs.
Similarly, while fresh paint can enhance curb appeal, bold colors may turn off potential buyers.
Landscaping upgrades, like elaborate gardens, often return only about 50% of your investment.
Finally, customizing garage doors with high-end materials mightn't appeal to all buyers, diminishing their value as well.
Conclusion
By diving into these DIY home repair projects, you're not just enhancing your space; you're also gaining valuable skills and confidence. Whether you're painting a room or tackling basic plumbing, each task brings a sense of accomplishment. Remember to assess your tools, skills, and budget before starting. Embrace the process, learn from any mistakes, and enjoy transforming your home one project at a time. Happy repairing!