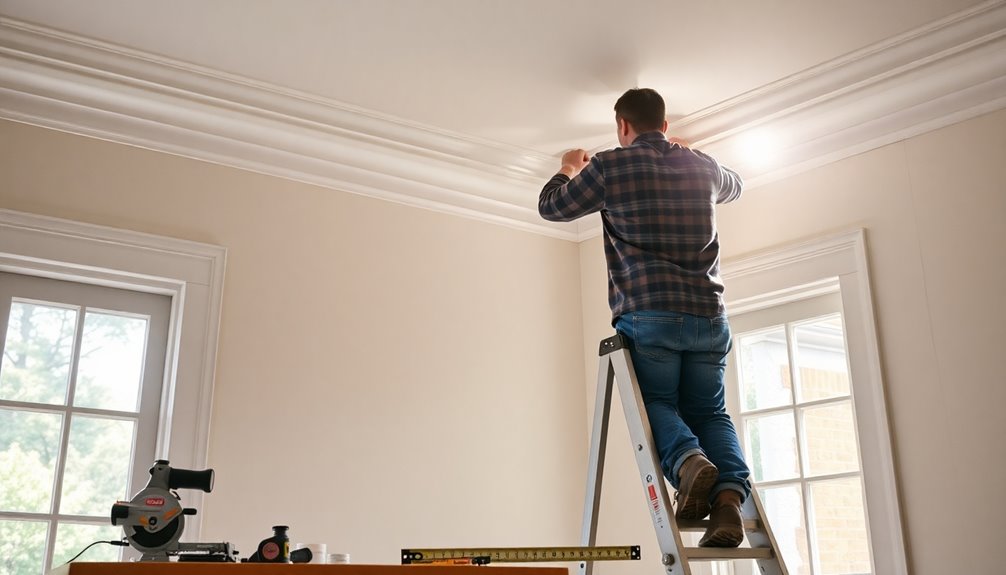

Installing crown molding can transform your space. Start by gathering your tools, like a miter saw and nail gun. Measure your room's perimeter and cut the molding at 45° angles for seamless corners. Fit the pieces together tightly, using wood glue for durability. Nail them in place with 23-gauge nails, filling any gaps with putty before painting. With these steps, you can achieve a professional finish. Continue for detailed insights on each stage of the process.
Key Takeaways
- Measure the room's perimeter accurately to determine the total length of crown molding needed for installation.
- Use a miter saw set to 45° to make precise angle cuts on the molding pieces.
- Align and fit miter cuts tightly before securing them with a nail gun and wood glue.
- Fill any gaps with putty and touch up with semigloss paint for a polished finish.
- Ensure proper nailing techniques to maintain the integrity of the crown molding throughout the installation.

AltitudeCraft Crown Stops for Miter Saw – Simplifies Compound Angle Cutting, Heavy Duty Crown Molding Jig Fits DEWALT DWS780 DW718 DW716 & Other DEWALT Models
Simplify Complex Cutting: Streamlines crown cutting by allowing for precise 45° miter cuts (nested method) without needing the…
As an affiliate, we earn on qualifying purchases.
As an affiliate, we earn on qualifying purchases.
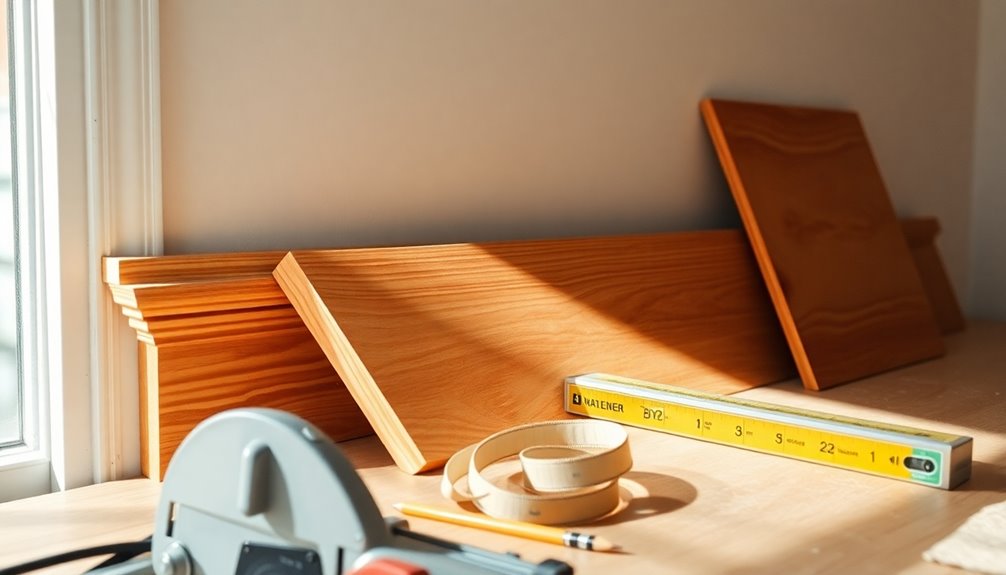
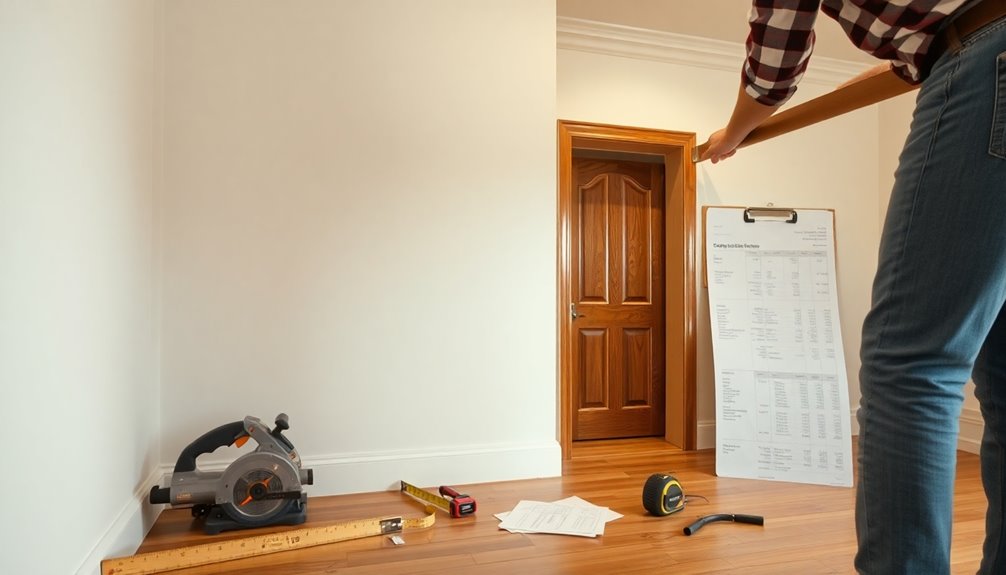
Tools & Materials Needed
When you're ready to tackle crown molding installation, having the right tools and materials is essential for a smooth process.
You'll need a miter saw for precise angle cuts and a nail gun for securing your molding efficiently. A Kreg Crown Pro will also be invaluable for making accurate angled cuts and joins.
For materials, choose your crown molding—wood or styrofoam works well—along with caulk for sealing any gaps and semigloss paint for finishing touches.
Don't forget a measuring tape and stud finder to get accurate measurements and locate wall studs securely. Clamps, especially Kreg clamps, will help hold pieces in place while nailing.
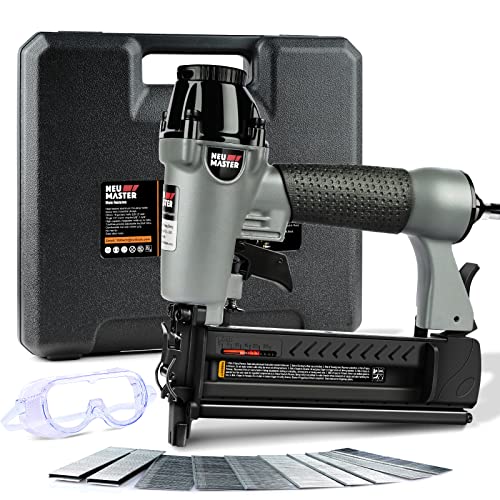
NEU Master Pneumatic Brad Nailer, 2 in 1 Nail Gun/Staple Gun Works with Air Compressor(Not Included), 18 Gauge 2 Inch Brad Nails and Crown 1-5/8 inch Staples with Carrying Case and Safety Glasses
2-IN-1 PNEUMATIC BRAD NAILER & STAPLER — Fires both 18GA brad nails (5/8"–2") and 1/4" crown staples (5/8"–1-5/8")…
As an affiliate, we earn on qualifying purchases.
As an affiliate, we earn on qualifying purchases.
Measuring and Cutting Crown Molding
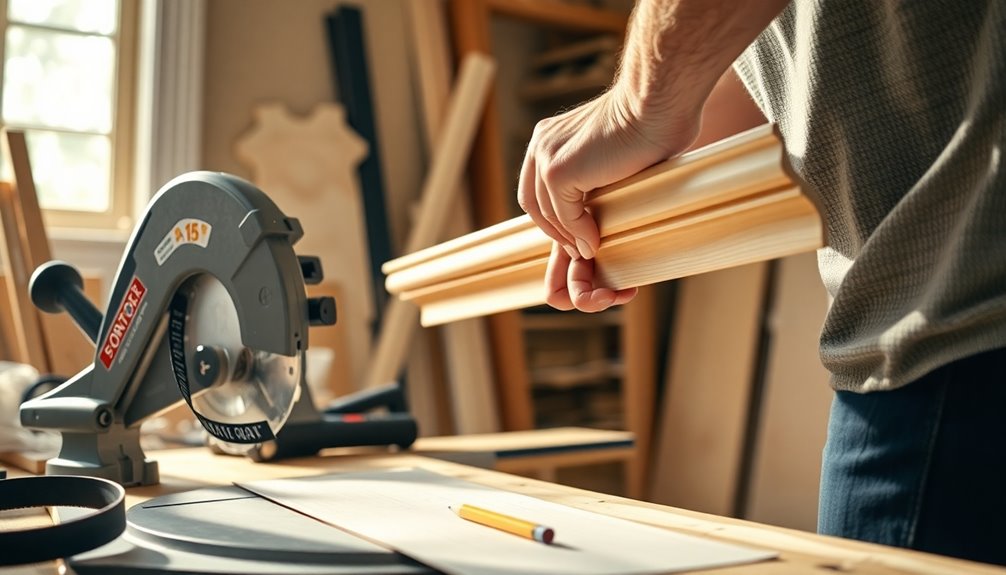
Accurate measuring and cutting are essential steps in crown molding installation.
Start by measuring the room's perimeter to determine the total length of crown molding you'll need, accounting for corners and joins.
When measuring for cuts, position the crown molding upside down, measuring from the wall to the corner, using a distance of 13 inches for accurate miter cut angles.
Set your miter saw to 45° for standard corners and guarantee the flat spot of the molding is flush against the saw fence.
Use a pencil to mark your cutting measurements clearly, and always measure twice before cutting to minimize errors.
Remember to slightly adjust measurements longer for miter cuts, allowing for precise fitting during installation.

Kreg KMA2800 Crown-Pro Crown Molding Tool
The Right Cut: Beautiful, seamless-fitting crown molding takes the guesswork out of crown molding
As an affiliate, we earn on qualifying purchases.
As an affiliate, we earn on qualifying purchases.
Fitting and Joining Pieces
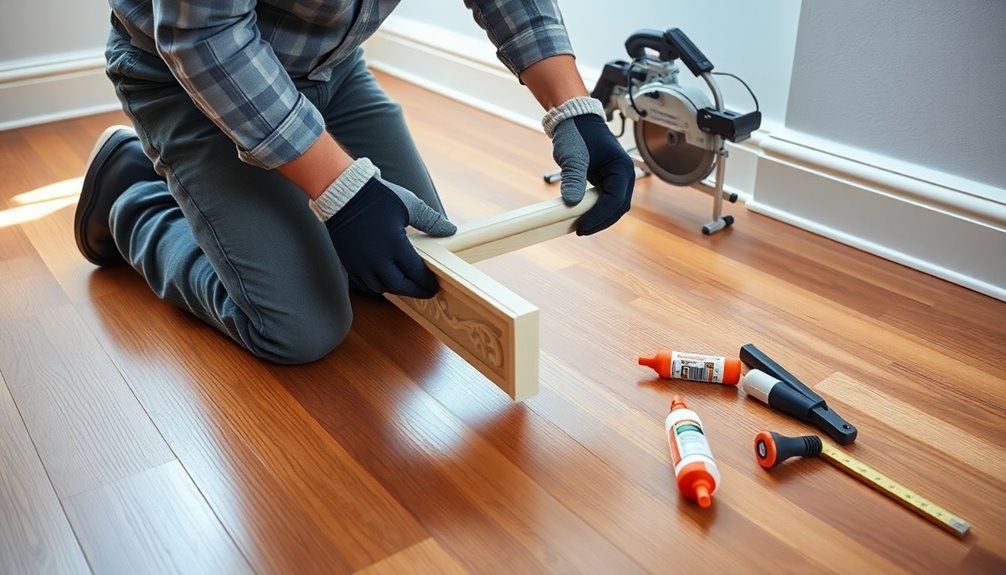
To guarantee a seamless fit when joining crown molding pieces, you'll want to align the miter cuts perfectly before securing them.
Start by lining up the pieces to check for tight fits and correct lengths. Trim the straight ends if necessary to achieve a snug fit.
For added durability, apply wood glue on the miter joints. Secure the first piece with a nail gun, but refrain from nailing the far end of the second piece until all cuts are confirmed. This prevents misalignment.
If you notice any gaps between the joints, fill them with putty for a smooth finish.
Finally, touch up with paint to enhance the overall appearance after fitting and joining pieces.
Kreg KMA2800 Crown-Pro Crown Molding Tool
The Right Cut: Beautiful, seamless-fitting crown molding takes the guesswork out of crown molding
As an affiliate, we earn on qualifying purchases.
As an affiliate, we earn on qualifying purchases.
Nailing and Finishing
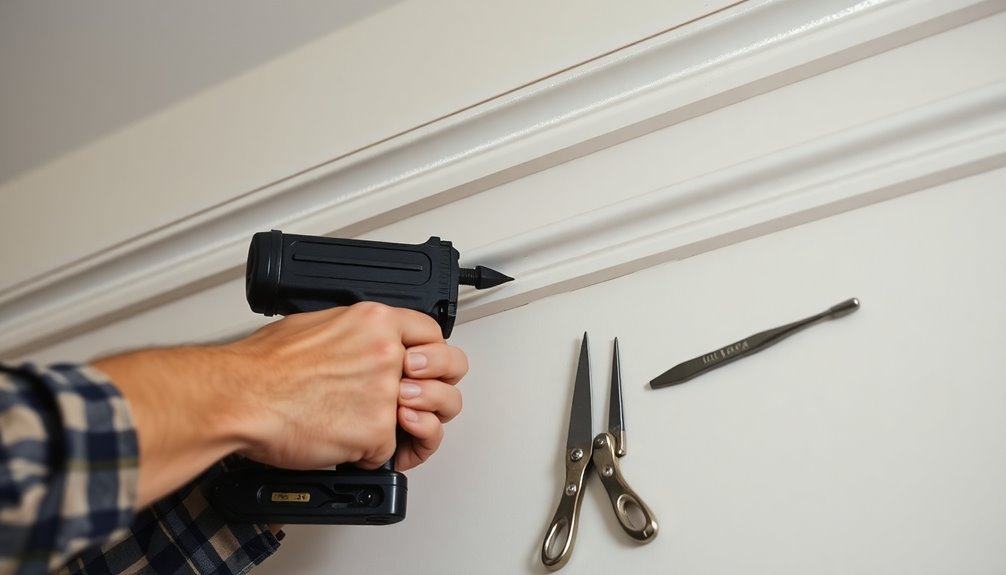
After ensuring a tight fit and securing the miter joints with wood glue, it's time to focus on nailing and finishing your crown molding.
Use 23-gauge nails for low visibility, securing the first piece firmly before moving to the next. Remember, don't nail the far end of the second piece until the next piece is cut for proper alignment. This step is vital to maintaining the integrity of your installation.
Once everything's nailed in place, fill any gaps with putty for a smooth finish. Finally, touch up with paint to enhance the professional look of your crown molding.
With careful nailing and finishing, your crown molding won't only look great but also stand the test of time.
Adjusting and Final Assembly
Before you finalize your crown molding installation, double-check all your measurements to verify everything fits perfectly.
If you find any pieces are slightly short, trim the edges where they meet the cabinets for a snug fit.
Don't forget to smooth out any rough joints to achieve a clean, professional look.
Final Measurements Check
Finalizing your crown molding installation requires careful attention to measurements. Start with a final measurements check using your tape measure to guarantee each piece fits snugly against the wall and ceiling.
If a piece is slightly too long, trim it from the edge that meets the wall, keeping it aligned with adjacent pieces. For intentionally cut short pieces, adjust by trimming carefully to achieve a perfect fit and make sure miter joints line up seamlessly.
After making adjustments, always remeasure to confirm that the lengths are accurate before nailing them in place. This step is essential to avoid misalignment.
Finally, sand any sharp edges after trimming, ensuring a smooth finish and preventing injuries during installation or future adjustments.
Edges and Joints Smoothing
With the pieces of crown molding securely measured and trimmed, it's time to focus on smoothing edges and joints for a polished look.
To guarantee a tight fit, intentionally cut one piece slightly short and adjust as needed. When joining mitered edges, apply wood glue for a strong bond, making sure everything aligns perfectly before nailing.
Once secured, fill any gaps or nail holes with putty; this is essential for edges and joints smoothing. If your edges are sharp, use a planer to soften them, enhancing the overall finish.
Finally, aim for uniformity in piece lengths and accuracy in miter cuts to maintain both stability and aesthetic appeal in your crown molding installation.
Total Crown Molding Project Cost
When you're planning to install crown molding, understanding the total project cost is essential for budgeting effectively. The average cost for your crown molding project typically hovers around $97, which includes materials and tools.
Here are key expenses to take into account:
- Crown molding materials: Prices vary by type, like wood or styrofoam.
- Essential tools: Renting or buying tools like a miter saw or nail gun can add to costs.
- Finishing supplies: Don't forget caulk and semigloss paint for sealing gaps.
- Labor costs: If you hire a pro, this could greatly increase your overall expenses.
Frequently Asked Questions
Do You Always Cut Crown Molding Upside Down?
You don't always have to cut crown molding upside down, but it's highly recommended.
Cutting it this way guarantees you get the angles right, allowing the flat edge to rest against the miter saw's fence. This method also helps you visualize the molding's profile better, leading to cleaner cuts.
Plus, measuring from the bottom of the piece makes your angles precise, assuring that the decorative edge faces outward when you install it.
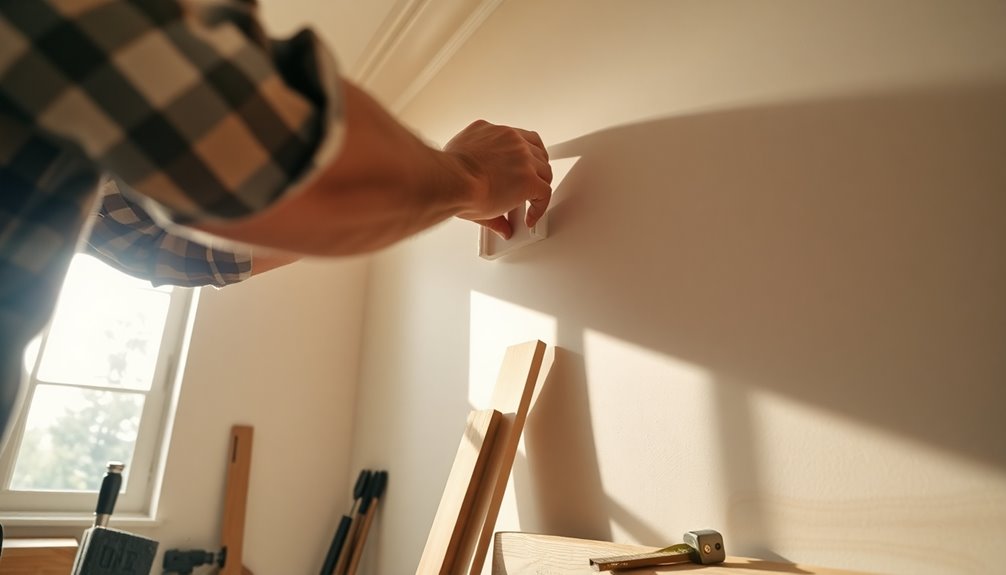
Does Crown Molding Need to Go Into Studs?
Crown molding doesn't always need to go into studs, but securing it that way adds extra stability.
If you're using heavier materials like wood, it's smart to find the studs with a stud finder. For lighter options like styrofoam, nailing into the drywall usually works just fine.
Just make sure to use two brad nails every 12-16 inches, and if your walls are uneven, anchoring into studs can help prevent sagging.
What Is the Best Way to Fasten Crown Molding?
To fasten crown molding effectively, use a nail gun with 2 18-gauge brad nails every 12-16 inches.
Start by securing the first piece before adding the next to maintain alignment.
For miter joints, apply wood glue alongside nailing for a stronger bond.
Avoid nailing the far end of the second piece until the next one is cut to guarantee a perfect fit.
Finally, fill nail holes with putty and touch up with paint for a polished look.
Which Side of Crown Molding Goes Against the Ceiling?
The side of crown molding that goes against the ceiling is the flat edge. This edge sits flush against the ceiling, providing a secure fit.
When you're installing it, make certain the angled side faces the wall to create that seamless passage between the wall and ceiling. Proper alignment is key, so guarantee everything fits tightly to minimize any gaps.
This'll help you achieve a clean, polished look in your space.
Conclusion
Installing crown molding can elevate your space with a touch of elegance. By following this step-by-step guide, you've learned how to measure, cut, fit, and finish your molding with confidence. Remember, patience and precision are key to achieving a professional look. Once you've completed the project, enjoy the transformation in your home. With the right tools and techniques, you'll find that adding crown molding isn't just a task—it's a rewarding DIY experience!