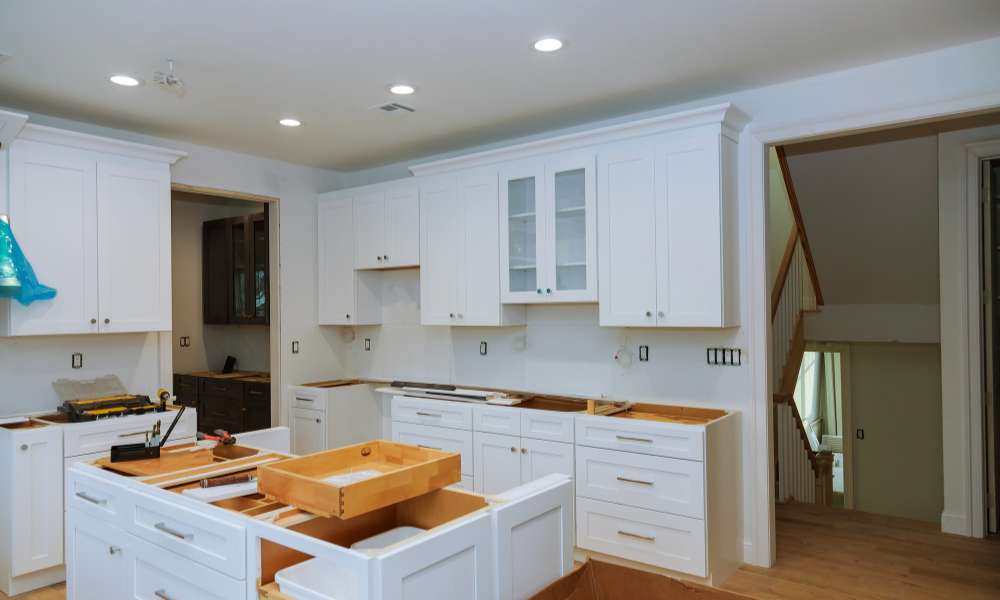
Are you tired Of reaching For your dish soap under the sink, Only to find it frozen solid? Or perhaps you’ve noticed that your pipes Are prone To freezing during those bitter winter months? If so, It’s time To learn how To insulate the area under your kitchen sink. Not only will this simple task ensure that your cleaning supplies remain in liquid form. But it Can also save you from potential plumbing disasters And costly repairs. In this article, We’ll guide you through the process Of properly insulating the space beneath your sink, Providing you with peace Of mind and convenience all year round.
What Is The Best Type Of Pipe Insulation?
Selecting the ideal type Of pipe insulation Is key when insulating beneath your sink. Foam pipe insulation is An economical And popular solution, providing optimal thermal resistance, Easy installation, And cost-effectiveness. Foam is widely available At hardware stores making choosing It both An effective And affordable option.
Why Insulation Matters Under The Kitchen Sink
Without proper insulation, The pipes under your sink Are vulnerable To temperature fluctuations, Which can lead To problems like frozen pipes And unnecessary energy consumption. By adding insulation, You create A thermal barrier that conserves energy And safeguards your kitchen.
Insulate The Kitchen Sink To Dampen Noise
Insulating under your Can also provide unexpected noise reduction benefits. A busy kitchen Can often become noisy With dishes clattering against each other. Running water rushing past pipes, And the impact Of items stored within cabinets create A cacophony that disrupts daily culinary adventures. By adding insulation beneath your sink you Can significantly lower this cacophony And create A quieter culinary space For daily explorations Of culinary adventures.
Materials You’ll Need
- Utility knife
- Measuring tape
- Gloves
- Safety goggles
- Marke
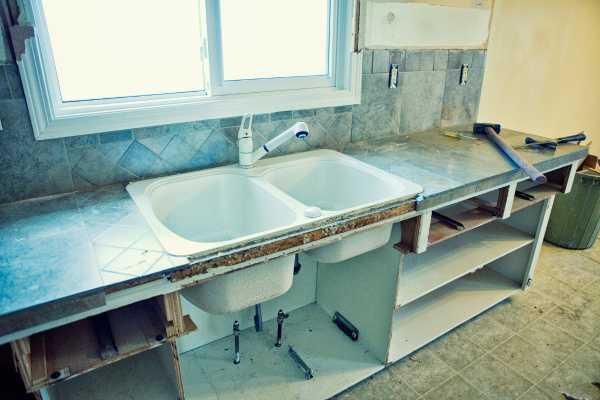
01. Measure The Size
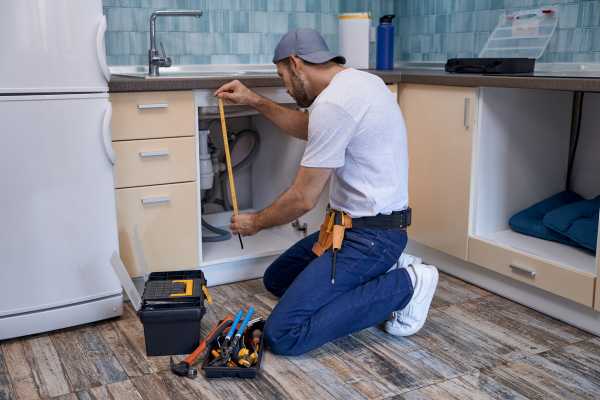
To begin insulate under your kitchen sink, Take precise measurements Of the cabinet space. Measure the length And width of the area, As well As the dimensions Of any pipes Or obstacles that need insulation. These measurements will be essential To ensure A snug And effective fit For your insulation materials.
02. Cut Plywood Or Foam Board
With your measurements in hand, It’s time To cut the plywood Or foam board To the appropriate size. Use the measurements you took And mark them On the material. Carefully cut the material with A utility knife To create A custom fit For the cabinet space. This base will provide support And a smooth surface For the insulation materials To rest On, Ensuring they work effectively in the area.
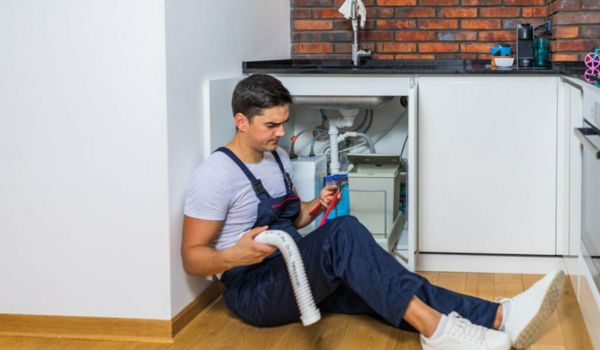
03. Install The Insulation
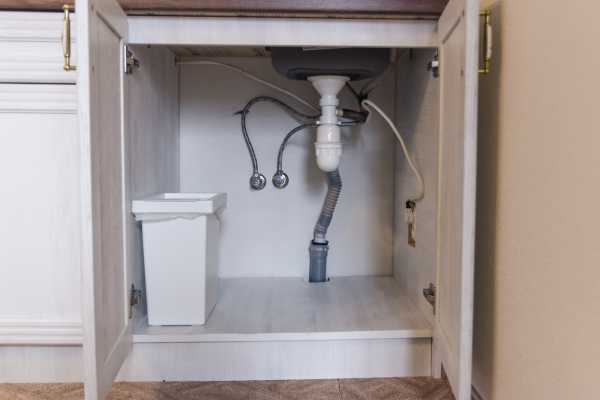
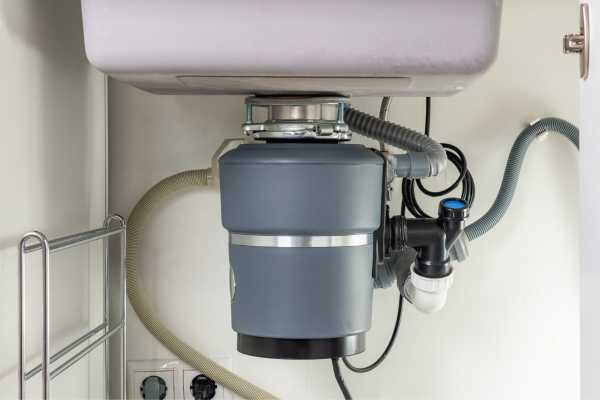
Once you have the insulation materials prepared, It’s time To install them under your kitchen sink. Place the foam pipe insulation around the pipes, Ensuring a snug fit. Then, lay the cut plywood Or foam board On the cabinet floor, Creating a smooth and supportive base For the insulation. Ensure the entire area under the sink Is adequately covered, providing A barrier against heat loss And cold drafts.
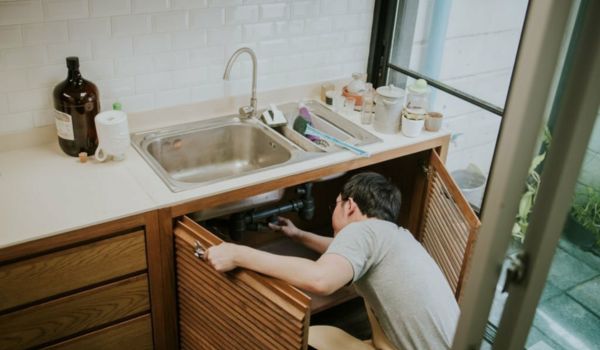
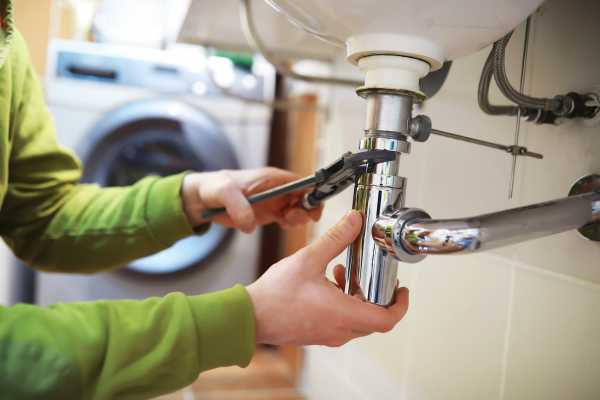
04. Seal Around Pipes
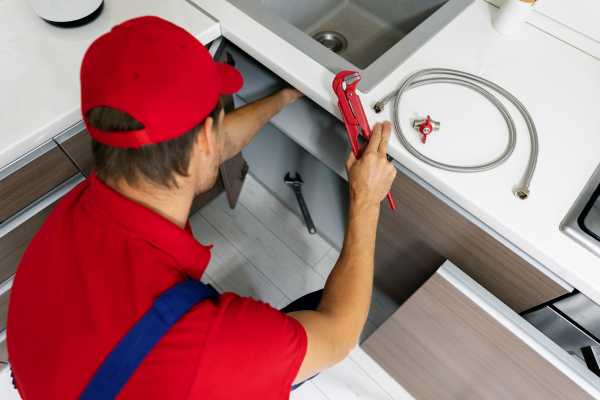
To further enhance the effectiveness Of your insulation, Seal around the pipes with appropriate sealing materials. Use sealant or caulk To fill any gaps Or openings where cold air could seep in.
05. Protect Against Moisture
Moisture can be A concern in the kitchen, So it’s important To protect your insulation against it. Consider adding A moisture barrier, Such as A vapor barrier Or moisture-resistant insulation, To prevent condensation And moisture buildup. This extra layer Of protection will help maintain the integrity Of your insulation And keep your sink area dry And efficient.
06. Cover With Cabinet Liner
After you’ve installed the insulation And sealed around the pipes. The next step is To cover the cabinet space with A cabinet liner. A cabinet liner not only adds An extra layer Of protection To your insulation But also enhances the overall appearance Of your kitchen area. Simply cut the liner To size And place it On top of the insulation And cabinet base. This liner will help keep your under-sink area clean And organized.
07. Secure Loose Cables And Wiring
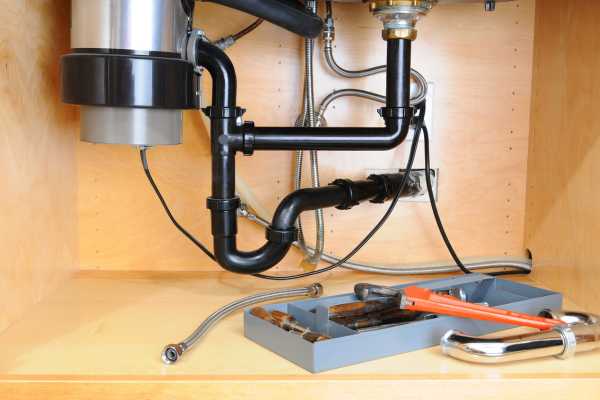
Take the opportunity To secure any loose cables And wiring. Use cable clips Or ties To neatly bundle And fasten any wires that may Be running through the cabinet. This step not only ensures A tidier and safer workspace. But also prevents accidental damage To cables And wiring when accessing the area in the future.
08. Benefits Of Under Sink Insulation
- Energy Efficiency: Under sink insulation helps To conserve energy By preventing heat loss And reducing the workload On your heating system.
- Prevents Frozen Pipes: Insulation protects pipes from freezing during cold weather, Preventing potential damage And costly repairs.
- Noise Reduction: Insulating the area dampens noise, creating A quieter And more peaceful kitchen environment.
- Moisture Control: It helps To prevent moisture buildup, Reducing the risk Of mold And mildew growth.
- Protects Belongings: Under sink It safeguards items stored in the cabinet from extreme temperatures And moisture.
- Improved Comfort: A well-insulated under-sink space creates A cozier And more comfortable kitchen.
- Savings on Utility Bills: Reduced energy consumption leads To lower utility bills, Providing long-term cost savings.
- Enhanced Safety: It can prevent pipes from overheating, Reducing the risk Of accidental burns Or scalds.
- Organized Space: Insulating the area allows for A more organized And visually appealing under-sink space.
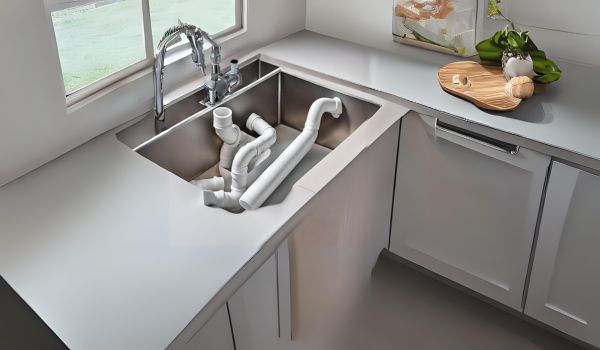
09. Stainless Steel Sink Insulation
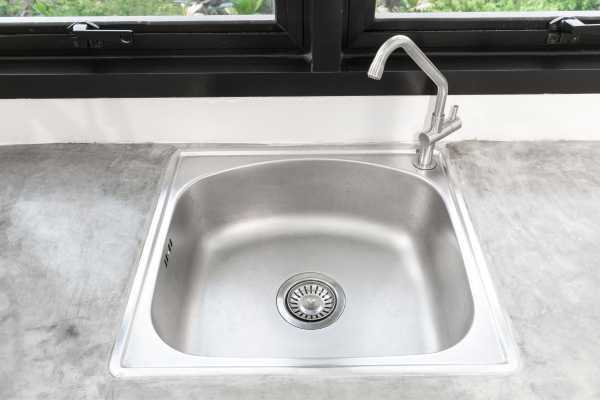
Stainless steel sinks are A popular choice in today’s kitchens due To their elegant design And remarkable durability. However, One drawback Is the noise they can generate during daily kitchen activities. To address this issue And enjoy the advantages Of a stainless steel sink without the unwanted noise, It is the key. Properly insulating your stainless steel sink Can significantly reduce the noise created when dishes and utensils come into contact With its surface.
Conclusion
Insulating the area under your kitchen sink is A simple and effective way To prevent heat loss And save energy. By following the steps outlined in this article, You can create A barrier that Will keep cold air out And warm air in, Reducing the strain On your heating system. Additionally, Insulating under your sink can help prevent pipes from freezing during winter months. So don’t wait any longer – Start insulating under today And enjoy A warmer, more energy-efficient home.
Faqs
Can You Insulate Under A Kitchen Sink?
Yes, You can insulate under. In fact, It’s a practical And beneficial home improvement project. Proper insulation Can help conserve energy, Prevent frozen pipes, And reduce noise in the kitchen, Creating a more comfortable And efficient space.
What Type Of Insulation Material Is Best For This Project?
The best insulation material For insulating under A sink is foam pipe. It offers excellent thermal resistance, Is easy To work with, And is cost-effective. This type Of insulation helps prevent heat loss, making It ideal For protecting pipes And conserving energy.
Can I Insulate The Area Around Plumbing Pipes Under The Sink?
Yes, it’s highly recommended To insulate the area around The plumbing pipes under the sink. Insulating the pipes helps prevent freezing during cold weather, Reduces heat loss, And conserves energy. Be sure To select the right material And properly seal any gaps around the pipes For maximum efficiency.
What Should I Do If I Encounter Mold Under The Sink Cabinet?
Begin by identifying the source Of moisture that’s causing the mold growth And fixing the issue. Then, Clean the affected area with A mold-killing solution, Such as A mixture Of water And white vinegar. Ensure proper ventilation To prevent future mold growth And consider using moisture-resistant materials To avoid further problems. If the mold issue Is extensive Or persistent. It’s advisable To consult A professional mold remediation expert For safe And effective removal.