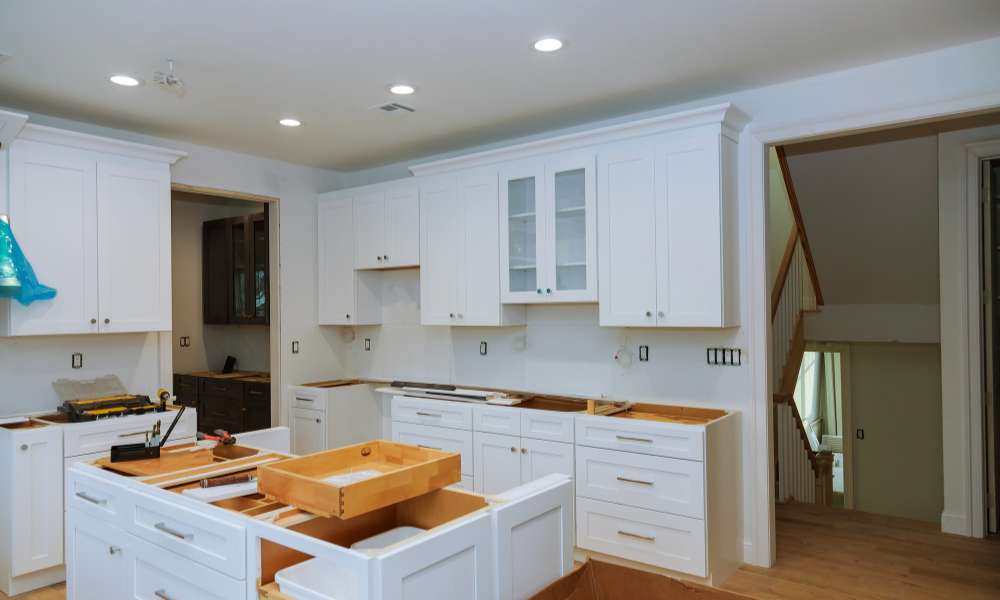
Facing a water-damaged cabinet beneath your sink Can be A homeowner’s nightmare. In our guide On “How To Repair Water Damaged Cabinet Under Sink,” We’re here To provide solutions To this common household challenge. Whether it’s A slow, Persistent leak or An unexpected flood, Understanding the damage extent And how to address it Is vital. Join us As we embark on A journey To provide practical insights And expert advice, Helping you restore your under-sink cabinet To its former glory. Say goodbye To the worries Of water damage As we guide you through the solution you’ve been seeking.
What Causes Water Damage Under The Sink?
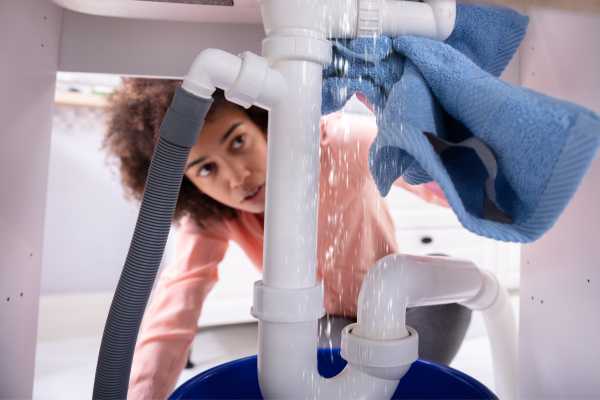
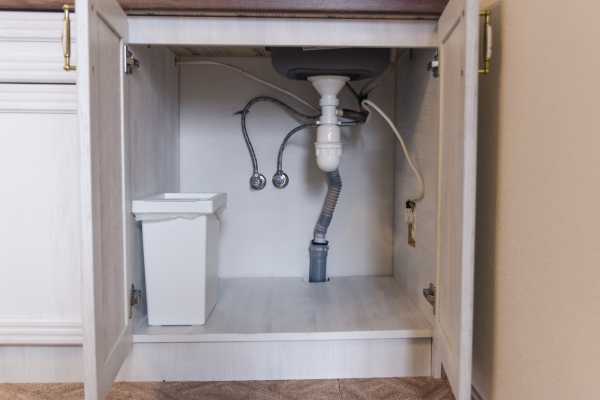
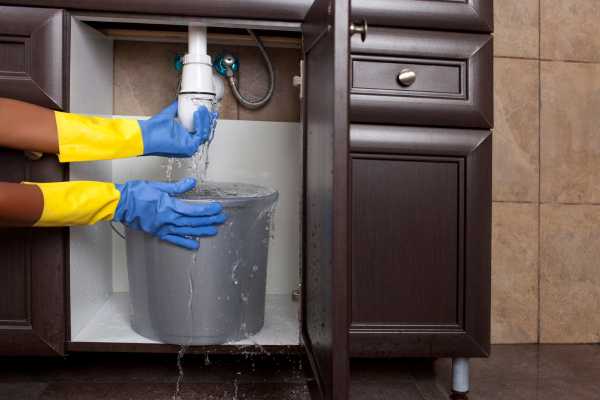
Water damage under the sink Can result from various factors, Making it crucial To understand the root causes. One common culprit Is plumbing issues, Such as leaking pipes Or faulty connections. These can gradually introduce water into the cabinet, Leading to damage over time.
Additionally, A clogged drain or A blocked garbage disposal Can cause water To accumulate in the sink, Which may seep into the cabinet below. Furthermore, Inadequate sealing around the sink Or countertop can allow water To infiltrate the cabinet’s interior during daily use. It’s also important To consider external factors like leaks from adjacent appliances Or even A roof leak that could travel down To the kitchen area.
Cost To Repair Water Damaged Kitchen Cabinets
Assessing the severity Of the damage is A key factor To consider. If the damage Is limited to A small area. The repair costs may Be relatively low, Involving minor fixes like resealing And refinishing. However, Extensive water damage that requires cabinet replacement Or significant structural repairs Can substantially increase the expenses. The type and quality Of the cabinets also play A role; High-end custom cabinets may be more costly To repair than standard ones. Additionally, labor costs, materials, And the region’s cost Of living can influence the final bill.
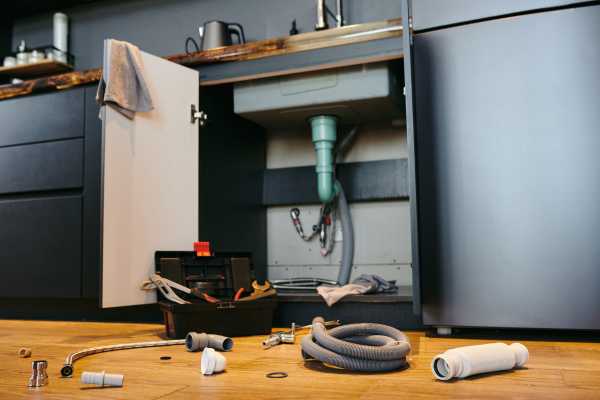
Gathering Tools And Materials
- Screwdriver
- Hammer
- Utility knife
- Pliers
- Putty knife
- Clamps
- Measuring tape
- Drill
- Sandpaper
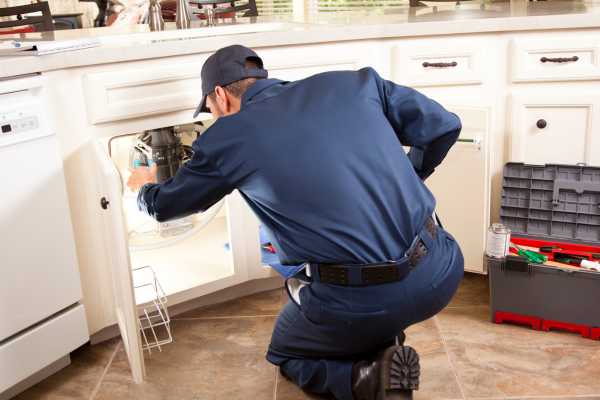
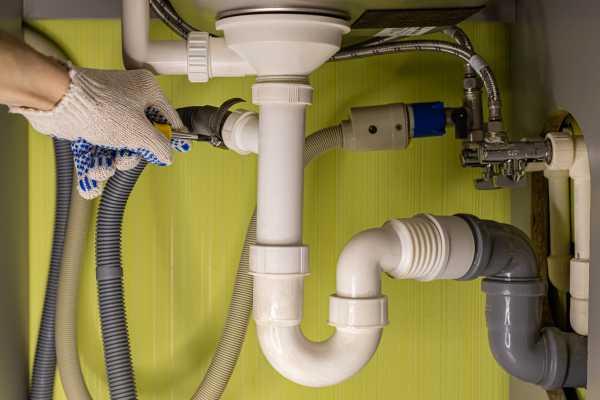
01. Inspect The Damaged Cabinets
Inspecting the damaged cabinets is A critical first step in addressing water damage in your kitchen. Start by carefully examining the affected cabinets, Looking for any signs Of deterioration, Warping, Or discoloration. Pay close attention To the areas where water has infiltrated, As well As adjacent surfaces And materials that may have been affected. If there Is any visible mold Or mildew growth, It’s Crucial To take note As this needs immediate attention. A thorough inspection will help you assess the extent Of the damage And plan For the necessary repairs.
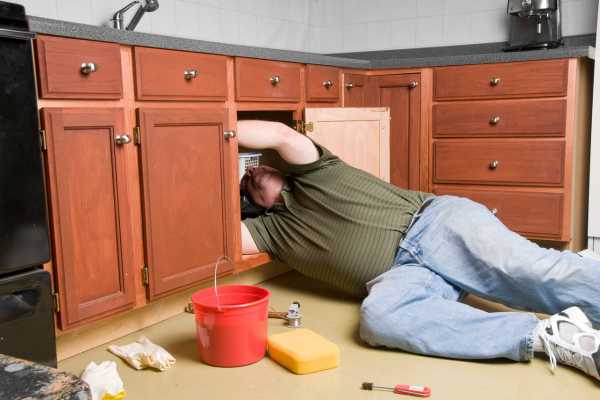
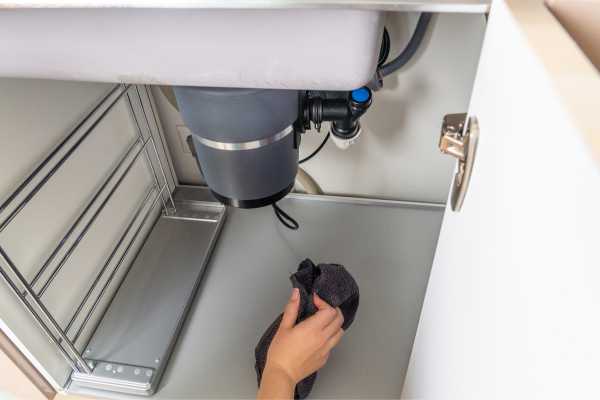
02. Remove Content And Moisture
The next crucial step is To remove both the affected content And excess moisture. Start by emptying the contents Of the damaged cabinets, Allowing you To assess And address the damage without obstructions. Once the contents Are removed, Focus on eliminating excess moisture from the cabinet’s interior. This can Be achieved by using towels, Rags, Or a wet/dry vacuum To soak up standing water. It’s vital To ensure the cabinet Is thoroughly dried To prevent further damage And the potential growth Of mold.
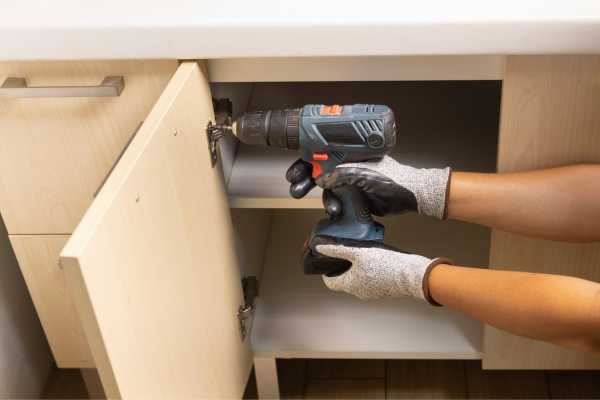
03. Remove The Base
This step allows for A more thorough assessment Of the damage And provides access To the affected areas that may require repair Or replacement. To do this, Start by carefully unscrewing And removing the base Of the cabinet from its position. By detaching the base, You can fully expose the underlying structures And evaluate the extent Of the water damage.
04. Build A Frame
Whether it’s A cabinet under the sink Or any other damaged element, A well-constructed frame Is essential For providing stability And support. During the repair, A new frame can Be necessary To replace one that has sustained water damage beyond repair. This frame serves As the structural backbone, Ensuring the cabinet or structure can withstand the demands Of daily use.
05. Primer On Both Sides Of The Cabinet Door
This primer acts as A foundational layer, Preparing the surface For subsequent paint Or finish applications. By applying primer To both sides Of the door, You ensure uniform protection And stability. This is particularly important in A potentially humid And moisture-prone environment like beneath A sink. The primer not only enhances adhesion But also acts as A barrier against future moisture exposure, Guarding against further water damage.
06. Apply Plastic Wood Filler If Necessary
This versatile filler serves as A crucial component in the restoration process. By carefully applying it To areas where the wood has become compromised, You can fill in gaps, Cracks, Or rotted sections. Once dried and sanded, The plastic wood filler restores the cabinet’s structural integrity And provides A solid surface For further finishing. This step not only repairs the damage but also ensures that the cabinet regains Its original strength And appearance.
07. Get Sanding That Cabinet Door
This meticulous task involves using sandpaper To smooth And prepare the surface For further treatment. By sanding the cabinet door, You not only remove imperfections, But also create An ideal canvas For paint, Stain, Or a protective finish. The process not only enhances the door’s appearance but also ensures that any repairs, Like the application Of plastic wood filler, Are seamlessly integrated into the wood. It looks refreshed And ready To withstand future challenges.
08. Installing Leak Detectors
By strategically placing leak detectors in areas prone To water damage. Such as beneath the sink Or near plumbing connections, You can quickly detect any signs Of leakage. This early warning system Can save you from future water damage by allowing you To address the issue promptly. preventing extensive cabinet damage And costly repairs. Installing leak detectors is A practical step in ensuring the long-term health Of your cabinet And overall peace Of mind in your home.
09. Using Water-resistant Materials
Using water-resistant materials is A wise strategy For preventing future damage. Opting for materials designed To withstand moisture, Such as water-resistant wood Or waterproof sealants. Can significantly enhance the cabinet’s durability in A potentially humid environment. These materials create A protective barrier that shields the cabinet from further water exposure, Reducing the risk of future damage.
10. Water Damaged Kitchen Cabinets Insurance
Many homeowners’ insurance policies provide coverage For water damage, But the extent Of that coverage can vary. It’s crucial To review your policy and, If needed, Discuss it With your insurance provider To clarify the specifics. Insurance typically covers water damage caused by sudden And unforeseen events, Such as burst pipes Or appliance leaks.
However, Gradual and long-term damage, Like that from A slow, Undetected leak, Might not be covered. Documenting the damage with photographs and A detailed record Of the incident can help streamline the claims process. Being aware Of your insurance coverage ensures you’re prepared To address water damage in your kitchen And minimize potential repair costs.
How To Repair Water-damaged Particle Board Cabinets
- Assess the Damage: Begin by thoroughly examining the extent of water damage, noting areas of swelling, warping, or discoloration.
- Remove Cabinet Contents: Empty the cabinet to access the damaged areas more effectively.
- Dry the Affected Areas: Use fans or a dehumidifier to dry the particle board, ensuring it’s completely moisture-free.
- Sand and Smooth: Gently sand the damaged areas to remove rough spots and create a smoother surface.
- Apply Wood Filler: Use a wood filler to fill in any deep gouges or holes in the particle board.
- Sand Again: After the filler dries, sand the surface once more to achieve a seamless finish.
- Prime and Paint: Apply a primer to seal the surface, followed by paint or a protective finish to restore the cabinet’s appearance.
- Consider Preventive Measures: To avoid future water damage, install a waterproof liner or seal the cabinet’s edges.
By following these steps, you can effectively repair water-damaged particle board cabinets, restoring both their functionality and appearance.
Conclusion
Repairing a water-damaged cabinet under the sink involves a methodical approach. Start by assessing the extent of the damage, followed by thorough drying to prevent mold growth. Replacing severely damaged parts is often necessary, while less affected areas can be restored with sanding and refinishing. Employ waterproof materials like silicone sealant to fortify against future leaks. Regular maintenance checks can preempt further damage, ensuring your cabinet remains in good condition. By following these steps, you can effectively repair and protect your cabinet, prolonging its lifespan and maintaining its functionality.
Faqs
Can I Repair A Severely Damaged Cabinet Myself?
Repairing a severely damaged cabinet On your own Is possible For some. But it largely depends On the extent Of the damage And your DIY skills. Minor repairs like cosmetic touch-ups Or small fixes can Be tackled by homeowners. However, For extensive structural damage Or intricate repairs, It’s advisable To consult A professional.
How Long Does It Take To Dry A Water-damaged Cabinet?
The time it takes To dry A water-damaged cabinet can vary based On the damage’s severity And the drying techniques employed. Generally, It may take several days to A week To ensure complete And thorough drying. The use of fans, Dehumidifiers, And proper ventilation can expedite the process.
Do I Need to Engage a Professional for Repairs?
Depends on the extent Of the damage And your own DIY capabilities. For minor cosmetic issues like repainting Or small fixes, Homeowners can often manage the repairs. However, When dealing with significant structural damage Or complex repair tasks, It’s recommended To seek the expertise of A professional.