To adjust your faucet handle stops, first, turn off the water supply under the sink. Remove the handle by unscrewing it, then check for alignment with the cartridge. Adjust the hot handle to the 9:00 position and the cold to the 3:00 position. Reattach the handle and turn the water back on. Test the faucet to guarantee smooth operation and proper temperature control. You'll soon discover more details on making adjustments effectively.
Key Takeaways
- Turn off the water supply by locating the shut-off valves under the sink and opening a nearby faucet to relieve pressure.
- Remove the faucet handle by unscrewing it, taking care to check for hidden screws under plastic caps.
- Align the hot water handle to the 9:00 position and the cold water handle to the 3:00 position for proper temperature control.
- Test the faucet's functionality by turning it on to ensure smooth operation and check for leaks after adjustments.
- Measure the flow rate to ensure it meets the ideal standard of 2.2 GPM, adjusting settings if necessary.
Understanding Faucet Handle Stops

Faucet handle stops play an essential role in your faucet's operation, helping you control the flow of hot and cold water.
These handle stops limit the handle's range of motion, ensuring you don't accidentally over-rotate and mix temperatures improperly.
In modern faucets, you can often adjust the handle stops by accessing the cartridge and repositioning the upper stem extension.
It's vital to align the hot water handle to the 9:00 position and the cold water handle to the 3:00 position for peak functionality.
If you notice misalignment, it might indicate issues like stripping or gear misalignment.
Regularly checking these handle stops can prevent unnecessary repairs and maintain smooth operation, making your faucet experience more enjoyable.
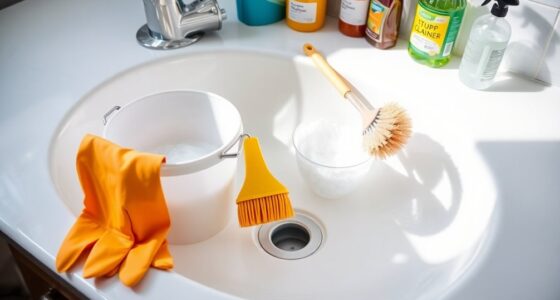
Tools Required for Adjustment
To successfully adjust your faucet handle stops, you'll need a few essential tools at your disposal. Start with pliers and a wrench for gripping and turning components effectively.
A flat-head screwdriver is vital for tightening or loosening screws that secure the faucet handle. If your faucet has plastic caps covering screws, a butter knife can help lift them off.
To protect the valve from scratches, keep a cloth handy when using channel locks or vice grip pliers. It's also wise to have replacement cartridges or parts on hand in case any internal components are damaged.
Finally, don't forget a flashlight to illuminate the workspace under the sink, ensuring you can see everything clearly while making adjustments.
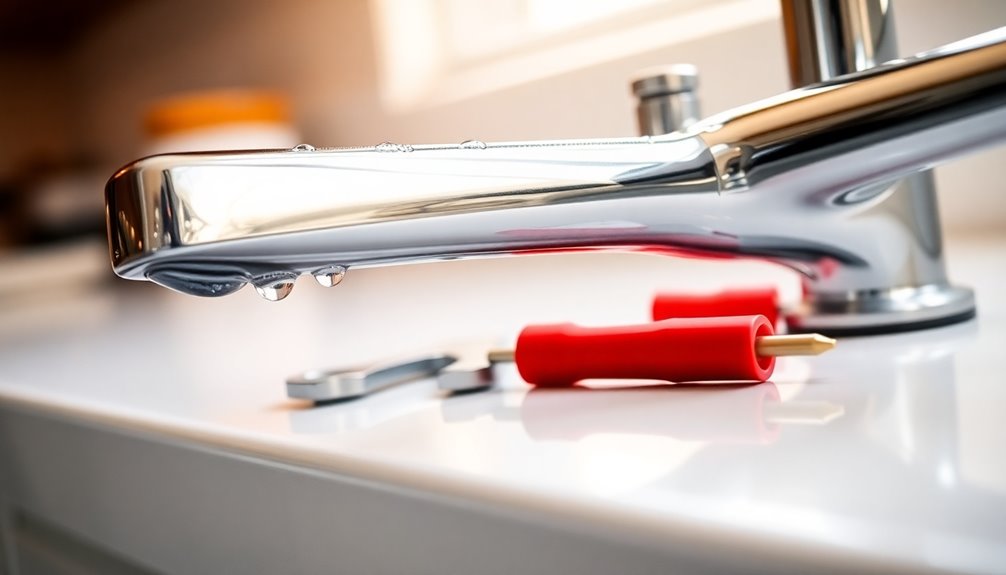
Turning Off the Water Supply

Before you start adjusting the faucet handle stops, it's crucial to turn off the water supply. Follow these steps to guarantee a smooth process:
- Locate the shut-off valves under the sink and turn them clockwise to close the water supply completely.
- If there are no individual shut-off valves, turn off the main water supply to the house to prevent any water flow during the adjustment.
- Open a nearby faucet to relieve any remaining pressure in the pipes.
Don't forget to keep a towel handy to catch any residual water that may spill out when disconnecting faucet components.
After you're done, always check for leaks when turning the water supply back on to confirm everything's secure.
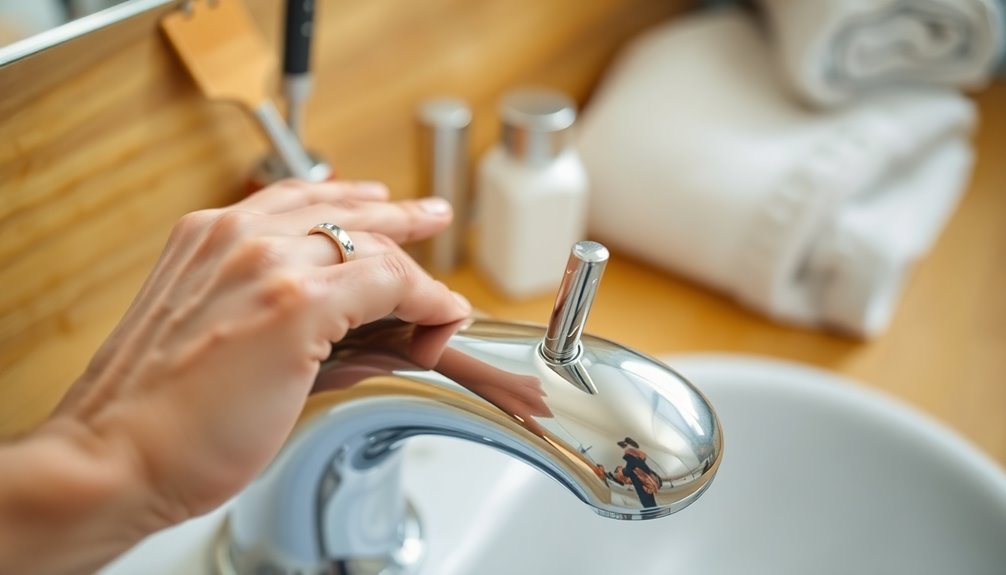
Removing the Faucet Handle
To remove the faucet handle, start by checking for any screws on the top, which might be hidden under a plastic cap.
If you find a cap, gently pry it off with a butter knife to expose the screw.
Once you've loosened the screw, you can lift and rotate the handle to take it off.
Identify the Handle Screws
Removing a faucet handle starts with identifying the handle screws, which are often the key to accessing the inner workings of the faucet. Here's how to find them:
- Check the Top: Look for a screw on the top of the handle, often hidden beneath a plastic cap. You can pop this cap off using a butter knife.
- Use a Screwdriver: Once the cap is off, use a screwdriver to remove the screw. This allows you to lift the handle off the faucet.
- Inspect for More Screws: Don't forget to check for additional screws on the side or underneath the handle that might also need removal for complete access during faucet installation.
Be careful when removing the handle to avoid damaging any components.
Remove Plastic Caps
Gently pry off the plastic caps on the faucet handle to uncover the hidden screws beneath.
Use a butter knife to lift the cap carefully, avoiding any damage to the handle or faucet finish.
Once the caps are removed, you'll see screws that secure the handle. Depending on your faucet, you may need a Phillips or flathead screwdriver to remove the screws.
After unscrewing, you can easily lift the handle off to access the internal components for adjustments.
If the handle feels stuck, check for any additional fasteners or caps that might be preventing you from removing the handle smoothly.
Taking your time guarantees you won't damage any parts during this process.
Lift and Rotate Handle
Lift the faucet handle straight off the stem after you've removed the screw. If the handle doesn't come off easily, check for any obstructions and verify the screw is completely out.
Once removed, inspect the handle for the D-shaped profile, which should align with the upper stem extension.
Follow these steps to verify proper alignment:
- Rotate the handle to the next gear tooth if it doesn't fit.
- Position the hot handle at the 9:00 position and the cold handle at the 3:00 position.
- Reinstall the handle by aligning the flat spots before tightening the set screw securely.
If issues persist, access the underside of the faucet for further adjustments.
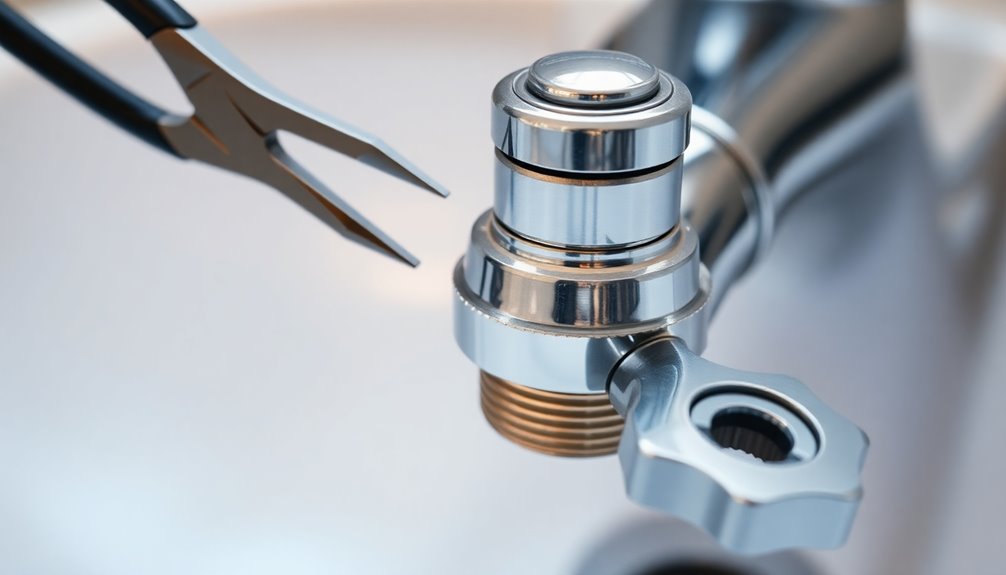
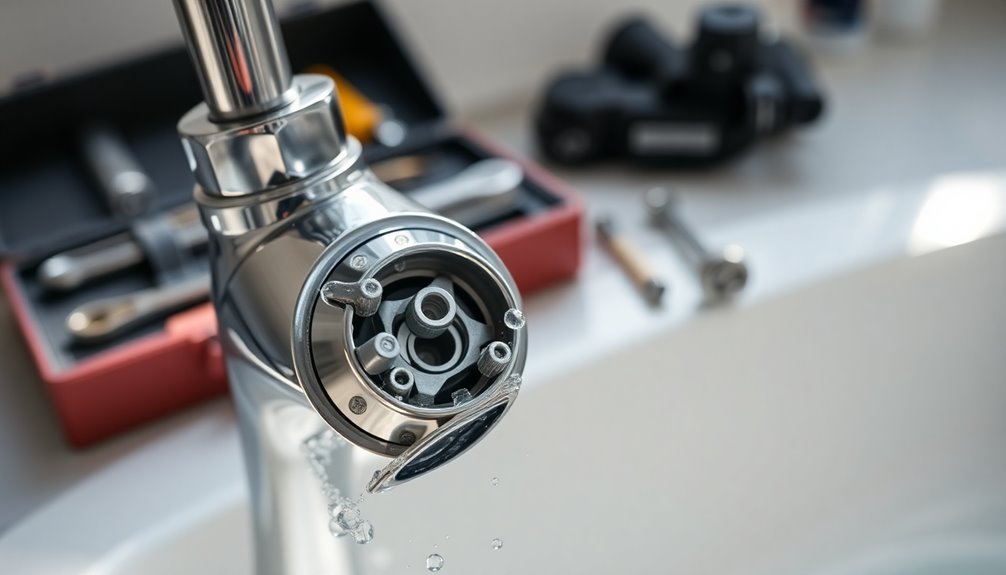
Inspecting and Adjusting the Stem
Inspect the faucet stem to confirm it's in good condition, as any damage can prevent the handle from stopping at the correct positions.
Check for a flat spot on the stem that aligns with a corresponding flat spot inside the handle for proper positioning.
If you notice any plastic or nylon inserts on the cartridge stem that are misaligned or damaged, these issues can hinder your handle's movement.
If your handle rotates too far and doesn't shut off properly, you may need to adjust the entire valve or the brass stem to confirm everything aligns correctly.
Once you've positioned the handle upside correctly, tighten the set screw to secure it in place and avoid further misalignment.
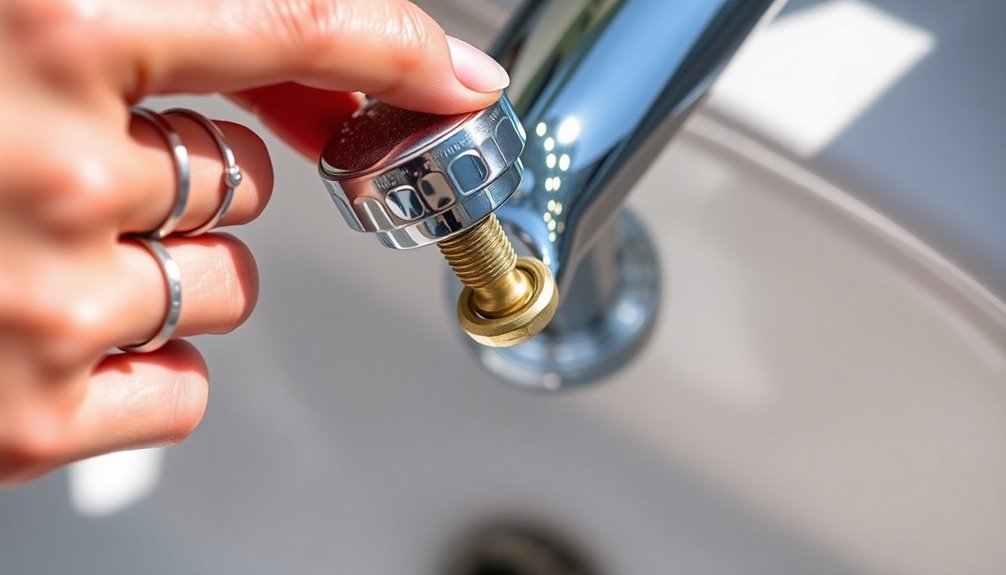
Reattaching the Faucet Handle
Once you've confirmed the water supply is turned off and all necessary adjustments are made, you can reattach the faucet handle with ease.
Follow these simple steps for a smooth home improvement project:
- Align the D-shaped profile of the upper stem extension with the corresponding slot in the handle.
- Position the hot handle at the 9:00 mark and the cold handle at the 3:00 mark for proper orientation.
- Tighten the cartridge nut carefully, using pliers after hand-tightening to guarantee a secure fit without cross-threading.
Finally, secure the handle with its screw, making sure it's firmly in place to prevent any movement during use.
With these steps, your faucet handle will be reattached correctly, ready for operation!
Testing the Faucet Functionality
Now that you've reattached the faucet handle, it's time to test its functionality.
Start by checking the handle alignment to guarantee it moves freely and smoothly.
Then, turn on the faucet to assess the water flow and see if it stops completely when you turn the handle off.
Check Handle Alignment
To guarantee your faucet functions correctly, check the alignment of the handles. Proper handle alignment is essential for smooth operation, with the hot handle set at the 9:00 position and the cold handle at the 3:00 position.
Here's how you can ascertain everything's in place:
- Inspect the upper stem extension for any misalignment; it may need adjustment.
- Look for the small teeth on the bottom of the extension, as they allow for fine-tuning without complete disassembly.
- After making adjustments, reinstall the handle and verify it turns smoothly without over-rotating.
If misalignment persists, you may need to inspect the valve assembly or replace the cartridge.
Proper handle alignment will enhance your faucet's performance.
Test Water Flow
With the handle alignment checked and adjusted, it's time to test the water flow to guarantee everything is functioning properly.
Start by ensuring both hot and cold water supplies are turned on. Activate your two-handle faucet and observe the flow rate and temperature for several seconds. Look for any irregularities like sputtering or reduced pressure, which may signal that further adjustments are needed.
To measure the flow rate, use a container to time how long it takes to fill 1 gallon; it should ideally meet the standard of 2.2 GPM.
Finally, turn the handle to its full range, ensuring the water stops completely in the 'off' position. If it continues to flow, check the cartridge and handle alignment again.
Frequently Asked Questions
How Do You Fix a Faucet Handle That Keeps Turning?
To fix a faucet handle that keeps turning, start by checking the alignment with the stem. Make certain the flat spots are aligned and tighten the set screw.
Inspect the cartridge for wear; a damaged cartridge needs replacing. If the handle rotates too far, adjust the upper stem extension to fit snugly with the handle.
Finally, verify all screws are tightened properly to prevent any further movement. If problems persist, consider a deeper inspection.
Why Is My Faucet Handle Turning Too Far?
If your faucet handle's turning too far, it's likely due to misalignment between the handle and the valve stem. This can happen from improper installation or wear over time.
A damaged cartridge or mispositioned insert on the cartridge stem might also cause over-rotation.
Regularly inspect and maintain your faucet's internal components to prevent these issues.
Taking these steps can help guarantee smoother operation and reduce the risk of further problems.
How to Adjust Rotational Limit Stop on Delta Faucet?
Imagine a pendulum, swinging too far, disrupting the harmony.
To adjust the rotational limit on your Delta faucet, start by removing the handle. Loosen the set screw beneath or on the side, then gently lift it off.
Locate the limit stop and turn it to your desired position. Reattach the handle, aligning the flat surfaces, and tighten the screw securely.
Test the faucet to guarantee the water flows just right, balanced and controlled.
How to Adjust Temperature Limit Stop?
To adjust the temperature limit stop on your faucet, first, remove the handle by loosening the screw underneath it.
Once the handle's off, find the temperature limit stop, which controls how far the handle turns.
Rotate it counterclockwise to allow more hot water or clockwise to reduce it.
After making your adjustments, reattach the handle, tighten the screw, and test the faucet to guarantee the temperature's just right for your needs.
Conclusion
By adjusting your faucet handle stops, you can easily control water flow and prevent leaks. Imagine a scenario where a dripping faucet keeps you up at night, ruining your sleep. After following these steps, you'll restore tranquility to your home, knowing you've solved the problem. With just a few tools and some patience, you can transform that annoying drip into a smooth, quiet flow. Enjoy the peace of mind that comes with a well-functioning faucet!