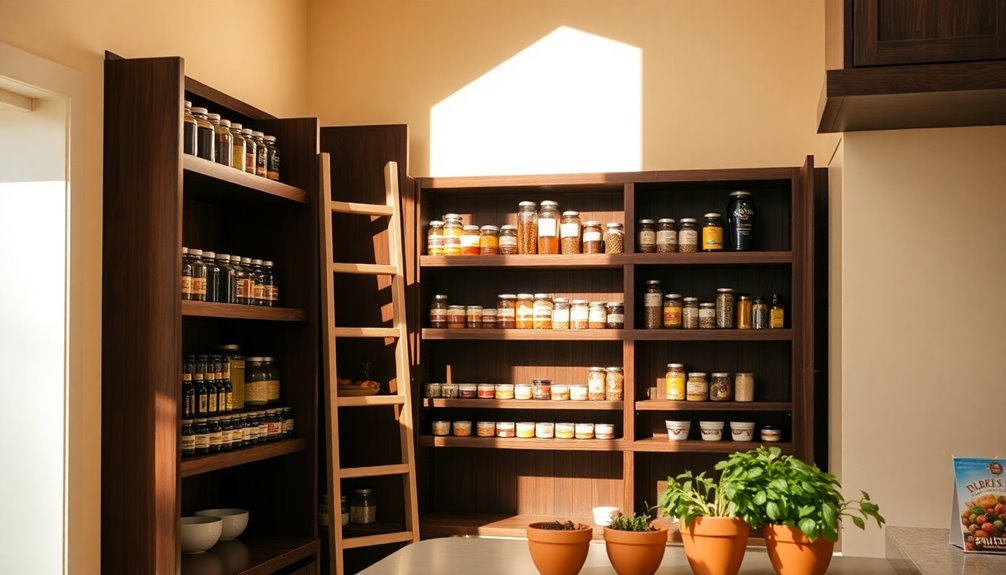
To build a corner pantry in your kitchen, start by clearing and preparing the space. Measure the corner area for an ideal footprint. Cut your wood pieces to size, stain them for a durable finish, and install wall supports securely. Add shelves at varying heights for organization, using labeled containers for ease of access. Finally, incorporate finishing touches like paint and trim for a polished look. There's much more to explore to perfect your pantry design.
Key Takeaways
- Clear the designated corner area and inspect walls for any damage before starting the pantry build.
- Measure the corner dimensions accurately and gather necessary tools and materials for construction.
- Use adjustable shelving and vertical storage solutions to maximize space and accessibility.
- Label containers and implement a color-coded system for organized storage and easy identification.
- Regularly reassess and maintain the pantry organization to adapt to changing needs and enhance usability.
Preparation for Building the Pantry
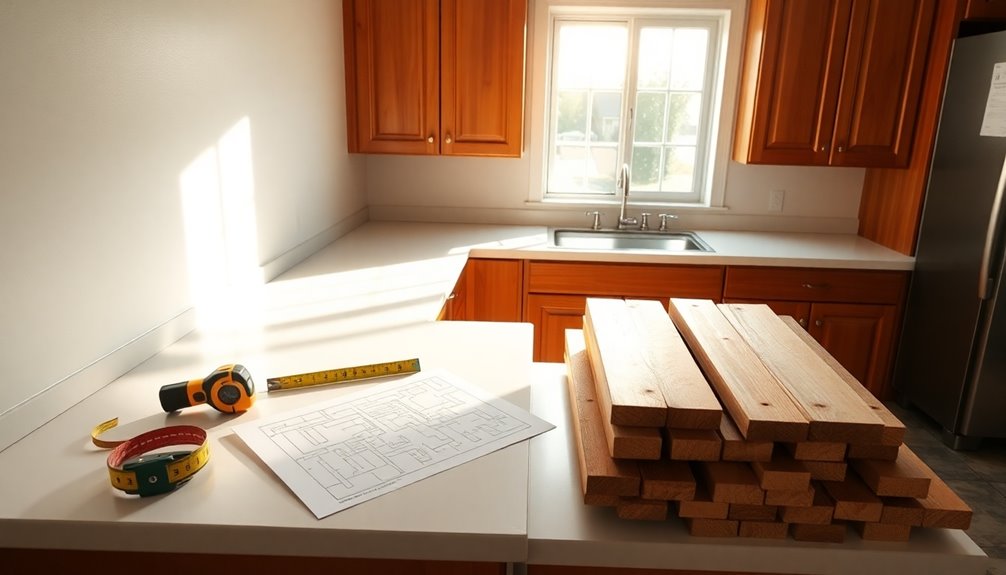
Before you immerse yourself in building your corner pantry, it's essential to prepare the space properly.
Start by clearing out the designated corner area, removing any existing shelving or obstructions to create a clean slate for your pantry build.
Next, inspect the walls for damage; fill larger holes with joint compound and smaller ones with spackle, then sand the filled areas for a smooth finish.
Carefully measure the corner's dimensions, noting the height, width, and depth available to guarantee your pantry size fits perfectly.
Gather all necessary tools and materials, including wood for framing and shelves, drywall for enclosing the pantry, and required hardware.
This preparation for building the pantry sets you up for success in the project ahead.
Designing the Corner Pantry Layout
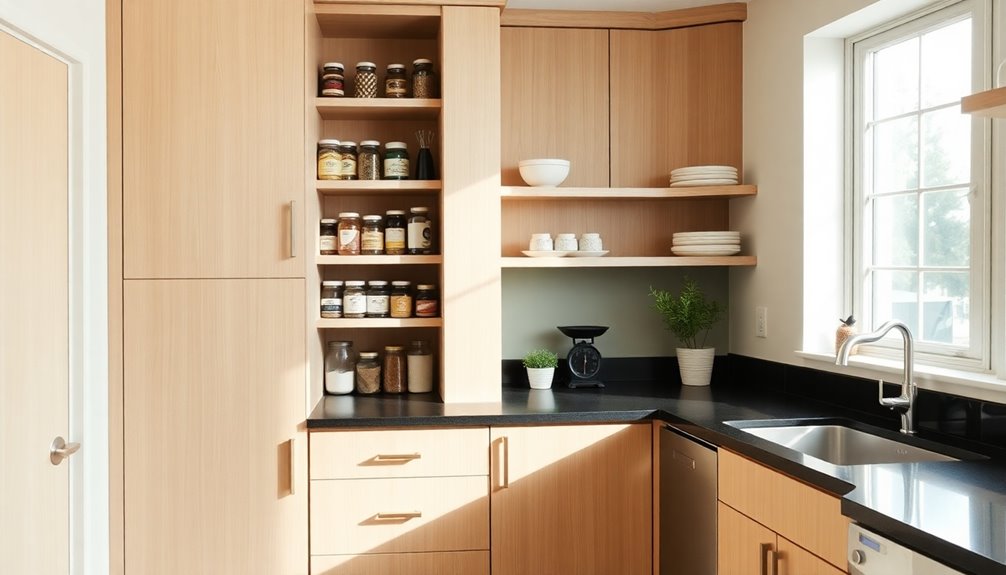
When designing your corner pantry layout, it's crucial to maximize the available space while making sure it blends seamlessly with your kitchen's flow. Aim for a 4 x 4 footprint, balancing storage capability and accessibility.
Utilize ceiling heights, which can reach up to 9 feet, by incorporating vertical storage and additional shelving to make the most of that corner space. Plan for adjustable shelving heights to easily access frequently used items at lower levels, while reserving upper shelves for less common goods.
Combine open shelves and enclosed storage, like cabinets, to keep your corner pantry organized and reduce visual clutter. Additionally, consider incorporating decorative elements like mason jars to add a touch of farmhouse charm to your pantry.
Finally, make certain your pantry's layout enhances kitchen functionality without obstructing movement or flow.
Cutting and Staining the Wood
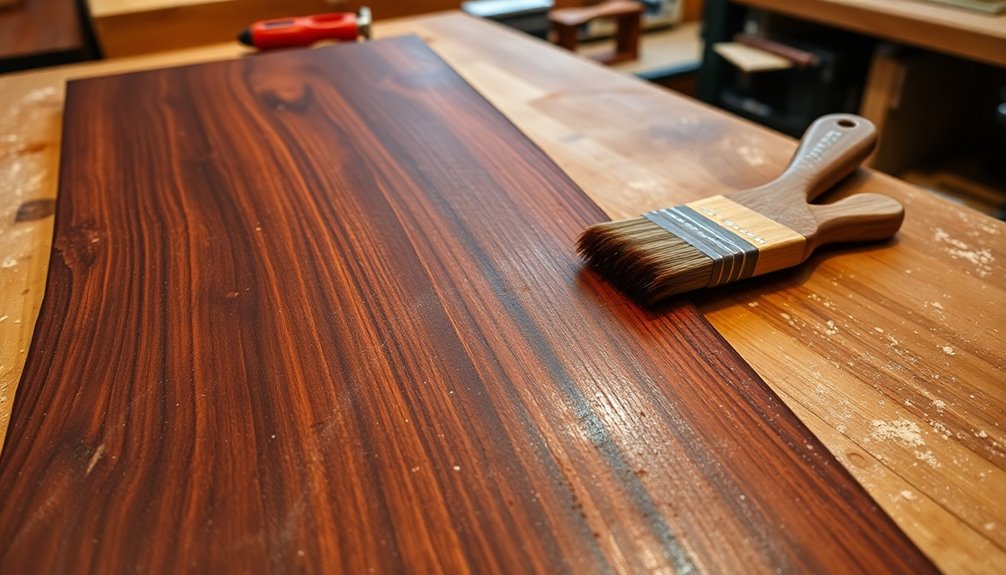
As you prepare to cut and stain the wood for your corner pantry, accurate measurements are essential for achieving a perfect fit. Use a miter saw or circular saw to cut wood boards to size. Opt for premium edge glued panels or 1x12s for the pantry walls, and cut 2x2s for sturdy support brackets.
| Wood Type | Cut Size | Stain Color |
|---|---|---|
| Premium Panels | 24" x 48" | Minwax Provincial |
| 1×12 Boards | 12" x 72" | Minwax Provincial |
| 2×2 Support | 2" x 24" | Minwax Provincial |
| Shelves | 12" x 36" | Minwax Provincial |
| Finishing Layer | N/A | Polyurethane |
After cutting, stain both sides and apply polyurethane for durability. Allow ample drying time for a smooth finish before installation.
Installing Wall Supports and Shelves
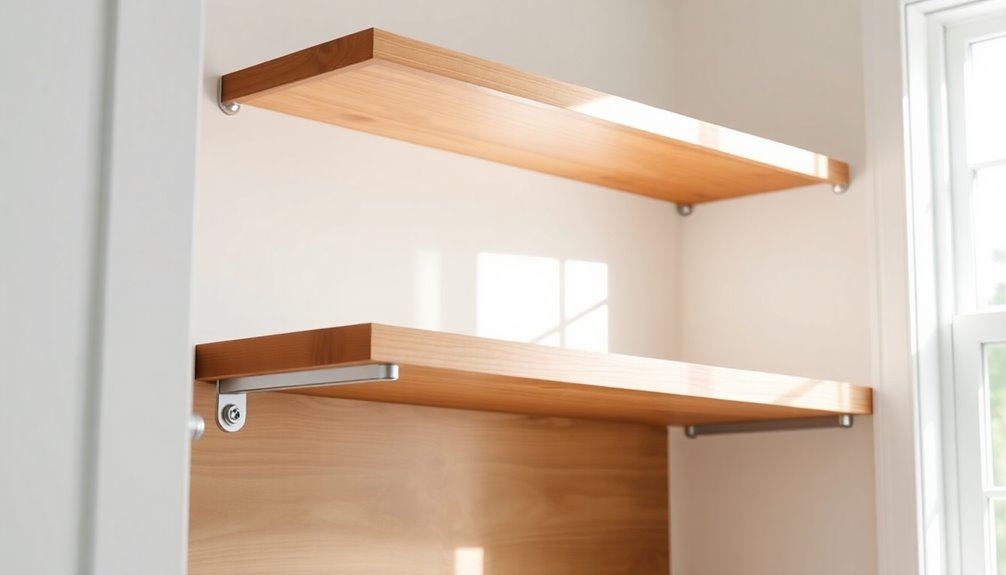
To start installing your wall supports and shelves, mark the desired heights on the wall based on your pantry's design and the items you'll store.
Next, secure the back wall supports to the studs for stability, using a level to keep everything straight.
Finally, install your wooden shelves, ensuring they're firmly attached for a sturdy and reliable corner pantry. This process can also contribute to a more organized environment, which is known to enhance focus and productivity.
Marking Shelf Heights
Before you start installing your shelves, accurately marking the shelf heights is essential for a well-organized corner pantry.
Begin by measuring the desired height for each shelf and marking those measurements on the wall with a pencil. This guarantees consistent spacing throughout your pantry. Use a stud finder to locate wall studs, marking their positions for secure anchoring points.
Here's what you'll love about marking shelf heights:
- Keeps everything organized
- Maximizes storage space
- Creates a polished look
- Makes finding items a breeze
Attach the back wall supports at the marked heights using a level for straightness. Secure them with brad nails and 3 1/2-inch screws, and don't forget to install side and middle supports as needed!
Securing Wall Supports
Once you've marked your shelf heights, it's time to secure the wall supports to guarantee your pantry is stable and functional.
Start by using a stud finder to locate the wall studs where you'll attach your supports. This assures maximum stability.
Attach the back wall supports first, using a level to keep them straight, and secure them with brad nails and 3 1/2-inch screws.
For the left and right supports, use wall anchors if studs aren't available, making sure they align correctly with your marked heights.
Finally, install middle support brackets using a Kreg Jig for pocket holes. This will provide additional stability and prevent sagging, assuring your pantry shelves can hold all your items securely.
Installing Wooden Shelves
With your wall supports securely in place, you're ready to install the wooden shelves.
Begin at the bottom and work your way up, ensuring each shelf support is level for a clean look. Use brad nails and 3 ½ screws to attach the back wall supports, and utilize wall anchors for side supports if needed.
For added stability, install middle support brackets with a Kreg Jig for pocket holes.
Remember:
- Your pantry deserves a sturdy foundation.
- Level shelves create an inviting space.
- Proper support prevents sagging under weight.
- A polished finish enhances your kitchen's charm.
- Color accuracy is key to ensuring your pantry's aesthetic matches the rest of your kitchen.
After placing the shelves, fill nail holes with spackle and touch up with paint for a seamless appearance.
Enjoy your beautifully organized corner pantry!
Adding Finishing Touches
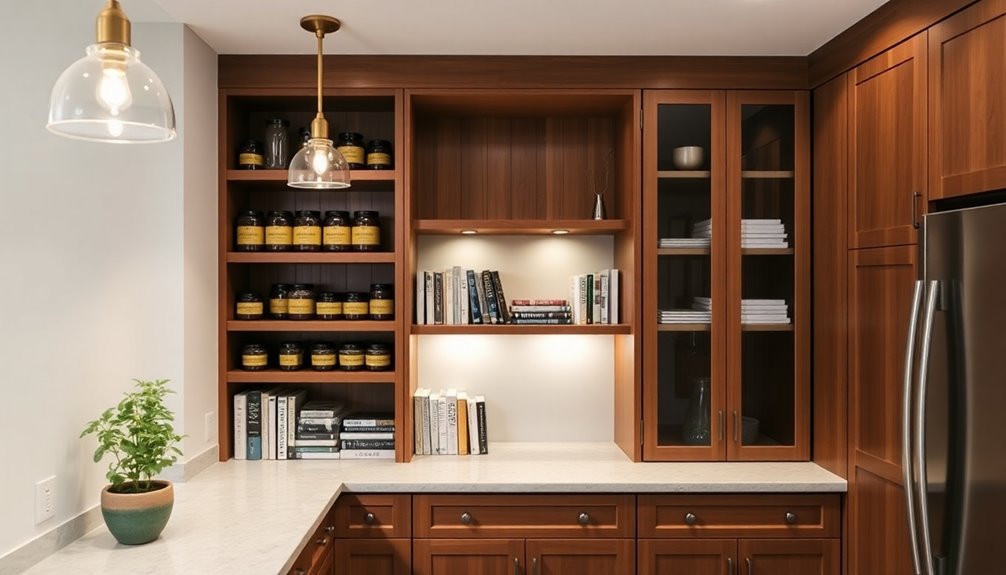
Now that you've installed your shelves, it's time to enhance your pantry's look with some finishing touches.
Consider applying a final coat of paint or stain, adding trim around the edges, and labeling your items for organization.
These small details can make a big difference in both functionality and style.
Final Paint Application
Applying the final coat of paint is essential for achieving a polished look for your corner pantry. Make sure all surfaces, including the wire shelving, are primed and painted in your chosen color, like BM Boothbay Gray, to match your kitchen.
Use a high-quality brush or roller for even application, and don't forget to paint the bottom of each shelf for a neat finish.
- Allow 1-2 hours of drying time between coats.
- Fill any nail holes with spackle for a seamless look.
- Sand imperfections before touching up with paint.
This final paint application transforms your pantry into a stunning focal point.
With these finishing touches, your corner pantry will truly shine in your kitchen!
Trim and Molding
To elevate the look of your corner pantry, adding trim and molding can make a significant difference. Use a combination of baseboards and crown molding to achieve a polished finish. Be sure to cut the trim at 45-degree angles with a miter saw for seamless corners. After installation, apply caulk along the edges to fill gaps and enhance the clean appearance.
| Trim Type | Color Options | Finishing Touches |
|---|---|---|
| Baseboards | White, Wood Tones | Paint or Stain |
| Crown Molding | Contrasting Colors | Protect with Finish |
| Corner Blocks | Matching Kitchen | Caulk for Clean Edges |
| Decorative Trim | Custom Options | Guarantee Durability |
Finish with paint or stain to protect the trim and maintain its beauty.
Labeling and Organization
Once you've created a beautiful corner pantry, organizing and labeling your items can enhance both functionality and aesthetics.
To achieve this, make sure to use a vinyl cutting machine to create clear, stylish labels in colors like #008eba and #b94b7c.
Organize your shelves strategically:
- Place frequently used items at eye level.
- Use transparent containers for small items for visibility.
- Implement a color-coded system for easy identification.
- Keep bulk items in a mobile container on wheels for convenience.
This thoughtful organization not only streamlines your cooking process but also adds a personal touch to your pantry. Additionally, maintaining optimal performance of your pantry space can contribute to a more enjoyable cooking experience.
Make sure everything has its place, and you'll love how inviting and functional your space becomes!
Organizing the Pantry Space
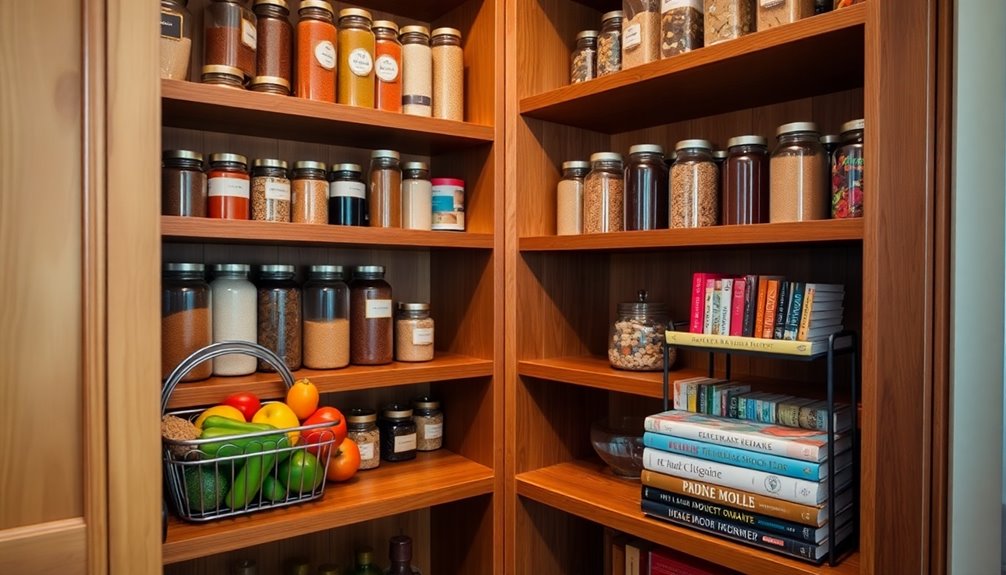
When organizing your corner pantry, it's essential to create a system that makes accessing your everyday items effortless.
Start by utilizing lower shelves for frequently used essentials while reserving upper shelves for less commonly accessed items. Incorporate labeled containers and bins to categorize your supplies, maximizing storage efficiency and minimizing clutter.
Consider installing adjustable shelving with a pilot hole system to accommodate varying heights and allow for easy reconfiguration. Clear storage bins are a great choice, as they let you spot contents at a glance.
Finally, position a special container on wheels for bulk items, like dog food, to guarantee easy access and movement within your pantry. This way, your corner pantry will be both functional and visually appealing.
Frequently Asked Questions
Are Corner Pantry a Good Idea?
Are corner pantries a good idea?
It really depends on your kitchen layout and storage needs. They can maximize space, especially in tight areas, but accessibility issues might be a concern.
If you prefer easy access to items, a reach-in pantry could be better for you.
Consider how a corner pantry will fit into your kitchen's design and whether it enhances the overall flow.
Ultimately, it's about what works best for your cooking habits.
What Size Should a Corner Pantry Be in a Kitchen?
When deciding on the size of your corner pantry, think about your kitchen's available space.
Ideally, it should measure between 4 to 6 feet in width to maximize storage. For height, utilize any ceiling space, especially if it's over 9 feet.
Aim for a depth of 24 to 30 inches, ensuring you can access items easily. Remember, you want the pantry to blend nicely with your kitchen design without overwhelming the area.
What Is a Blind Corner Pantry?
A blind corner pantry is a clever storage solution that maximizes your kitchen's corner space.
It features an accessible side and a hidden side, which can be tricky to reach. With bi-fold or pull-out doors, you can easily access items stored at the back.
To make the most of it, you'll want to organize your pantry thoughtfully, ensuring all your essentials are within reach, even those deeper in the corner.
How Do You Build a Pantry in a Small Kitchen?
To build a pantry in a small kitchen, you should maximize vertical space.
Install shelves that reach the ceiling and consider slim shelving units for better organization.
Use clear containers and labels to keep track of your items easily.
Don't forget to utilize corners effectively; they can provide valuable storage without taking up too much room.
Incorporate multifunctional furniture, like a pantry with a countertop, to enhance your kitchen's functionality.
Conclusion
As you step back, the corner pantry stands proudly, shelves brimming with colorful jars and neatly stacked spices, a warm, inviting haven in your kitchen. The wood gleams softly under the light, reflecting the effort you've poured into creating this cozy nook. Each item, perfectly organized, whispers of culinary adventures waiting to unfold. With this pantry, you've not just built storage; you've crafted a delightful corner filled with inspiration, turning your kitchen into a haven of possibilities.
