To install a vessel sink, start by preparing your vanity and ensuring it's at the right height. Remove the old vanity and countertop, then install the new vanity securely. Next, place the vessel sink on the countertop with silicone caulk for a seal, and connect the drain assembly. Install the faucet at an appropriate height, ensuring everything aligns properly. Finally, check all connections and test for leaks. You'll discover additional helpful tips as you continue!
Key Takeaways
- Ensure your vessel sink is compatible with the faucet and has a standard 1.5-inch drain hole.
- Secure the sink with silicone caulk for a watertight seal after placing it on the countertop.
- Insert the drain from above, applying plumber's putty as needed, then tighten the lock nut from below.
- Verify that there is adequate space between the sink and wall for faucet installation, checking reach and height.
- Follow the manufacturer's instructions closely during installation and check all plumbing connections for leaks before turning on the water.
Choosing the Right Vessel Sink and Faucet

When you're choosing the right vessel sink and faucet, it's essential to first consider the material of the sink, as options like glass, ceramic, and stone each offer different levels of durability and maintenance.
You'll want a material that resists scratches and stains for ease of upkeep.
Next, think about your countertop height, usually between 30-32 inches, to guarantee the vessel sink height suits your comfort.
Don't forget to select a sink faucet designed for vessel sinks; it should have a tall spout for adequate clearance.
Finally, confirm compatibility between the faucet and sink. Countertop-mounted faucets need enough space from the wall, while wall-mounted options give you more flexibility in height.
Preparing Your Vanity and Countertop
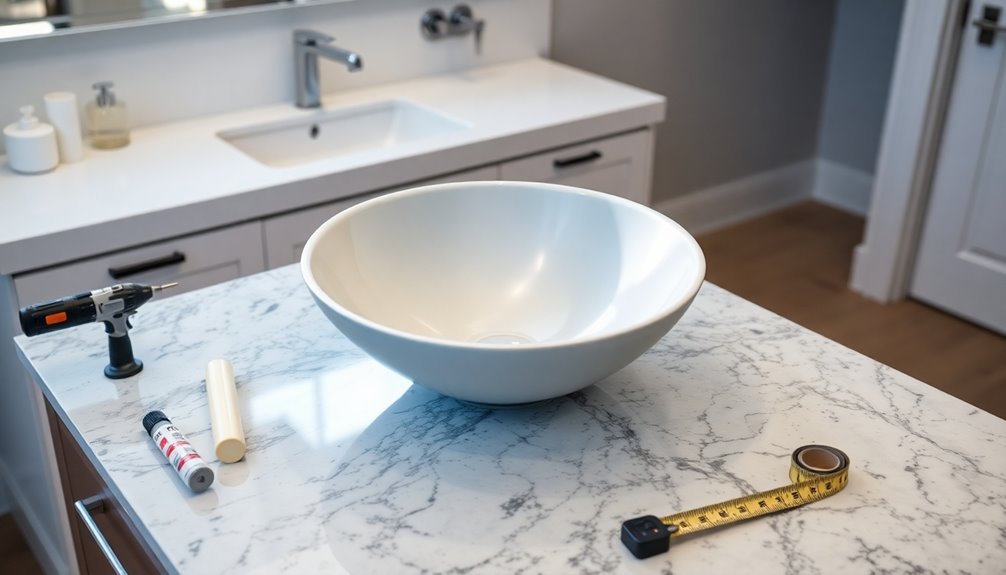
Before you get started, measure the height of your vanity to guarantee it fits well with the standard countertop height of 30-32 inches.
Choosing the right countertop material is essential, as it impacts both the aesthetics and functionality of your vessel sink setup.
With these considerations in mind, you'll set the stage for a successful installation.
Measure Vanity Height
To guarantee your vessel sink installation is both functional and comfortable, measuring the vanity height is essential.
Typically, the ideal height for a vanity to accommodate a vessel sink is around 36 inches to the top of the bowl, but this can vary based on your preferences and needs.
When measuring, consider the combined height of the vessel sink and faucet to verify ease of use.
It's also important to leave adequate space between the vessel sink and the vanity surface for proper drainage and maintenance.
If you're customizing your vanity height, take into account the average height of primary users for enhanced ergonomics.
Finally, always check local building codes for any specific requirements regarding vanity height and installation.
Choose Countertop Material
With the vanity height set, it's time to choose the right countertop material that complements your vessel sink and enhances your bathroom's style.
Popular options like granite, quartz, and laminate offer durability and aesthetic appeal. Make certain the countertop height aligns with the typical 36 inches for vessel sink installations, factoring in the sink's height for ideal comfort.
If you opt for a recessed installation, select a non-translucent material that can support the sink's weight. Before installation, pre-drill holes for the faucet and drain assembly to prevent cracking and guarantee a precise fit.
Finally, consider the maintenance requirements; some materials, like natural stone, may need regular sealing to protect against stains and moisture.
Removing the Existing Vanity
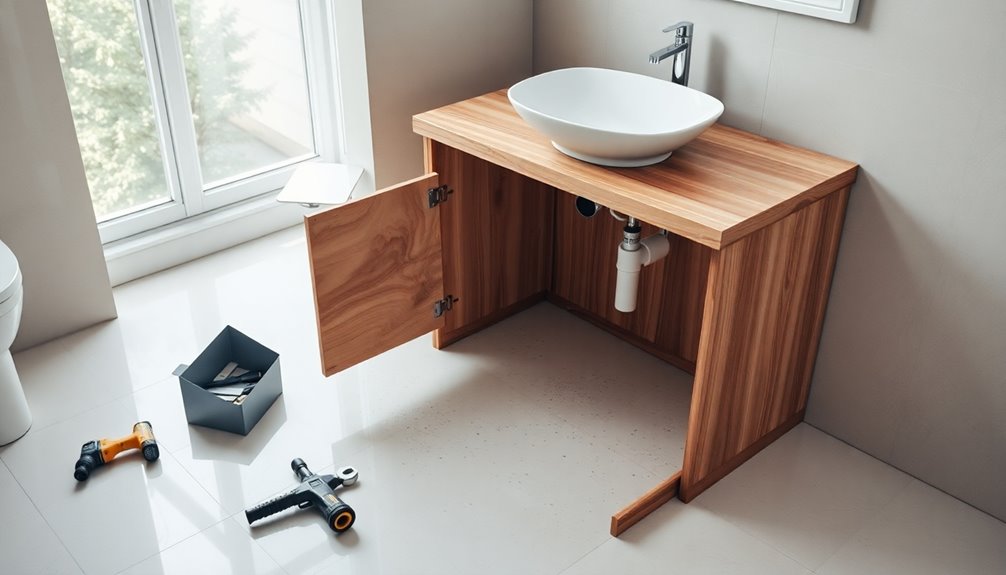
Before you start removing the existing vanity, make sure to turn off the water supply.
Next, disconnect the water lines from the faucet to prevent any spills.
With those steps done, you're ready to tackle the rest of the removal process.
Turn Off Water Supply
As you prepare to remove the existing vanity, it's crucial to turn off the water supply at the shut-off valves to prevent any leaks.
Once the water supply is off, relieve pressure in the plumbing system by turning on the faucet. This allows any remaining water to drain out, minimizing mess during removal.
Next, you'll need to disconnect the drain pipes by unscrewing the connections; be sure to catch any residual water in a bucket to avoid spills.
If the vanity top is separate, cut the sealant along the backsplash, then use a putty knife to separate the vanity top from the base.
Now you're ready to pull the entire vanity away from the wall.
Disconnect Water Lines
Disconnecting the water lines is an essential step in removing your existing vanity.
First, make sure the water supply is turned off and relieve any pressure by turning on the faucet until no water flows.
Use a bucket to catch any residual water from the plumbing parts when you disconnect the water lines and remove the drain pipes.
If the vanity top is separate from the base, cut the sealant along the backsplash for easier removal.
Carefully use a putty knife to separate the vanity top, and unscrew any fasteners securing the vanity to the wall.
Once everything's detached, gently pull the vanity out, ensuring you don't damage the surrounding walls or flooring.
Making Necessary Repairs

Guaranteeing your plumbing is in top shape is essential before diving into the installation of a vessel sink. Start by checking for leaks and replacing any worn components. If your new sink has different plumbing requirements, adjust the drain assembly accordingly. This is also a good time for plumbing repairs to avoid future issues. Don't forget to follow local building codes to guarantee compliance.
| Task | Importance | Action Required |
|---|---|---|
| Check for leaks | Prevent water damage | Inspect all connections |
| Adjust drain assembly | Guarantee compatibility | Modify pipes as needed |
| Replace worn components | Avoid future issues | Use new fittings |
| Follow building codes | Guarantee compliance | Research local regulations |
Installing the New Vanity
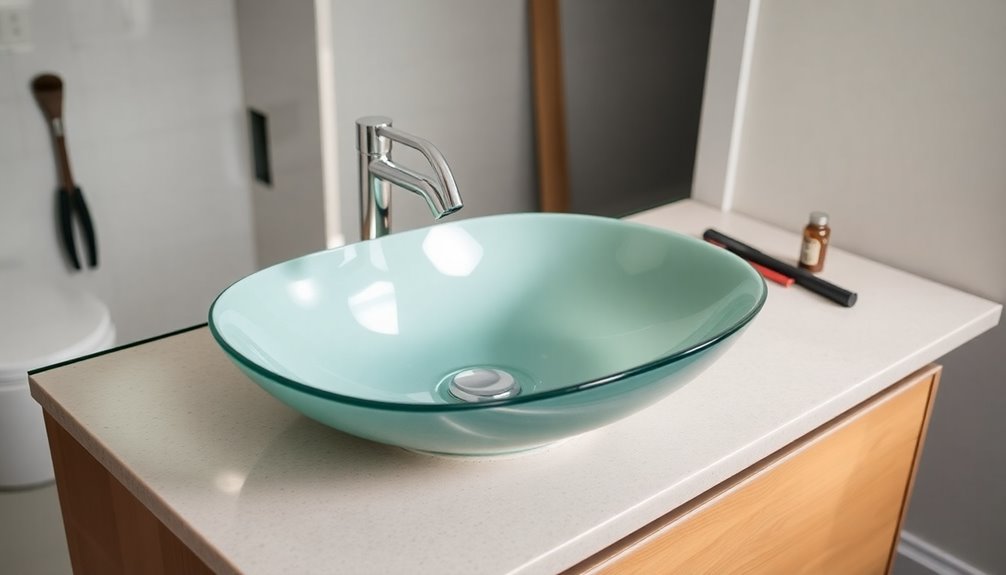
After you've completed any necessary plumbing repairs, it's time to install the new vanity. Start by measuring and marking the desired height, typically 36 inches, and width on the wall.
Use a stud finder to locate wall studs above your markings for secure attachment. Cut a hole in the wall for plumbing access, drilling a pilot hole to avoid splintering. Make sure the water supply lines won't interfere with any drawers in the vanity.
Once everything's lined up, level the vanity using shims if needed, and attach it to the wall with screws, using wall anchors for extra support if necessary. Energy efficiency evaluations can help ensure that your plumbing and installation practices are as effective as possible.
After securing the vanity, double-check that all plumbing repairs are complete before moving on to the sink and faucet installation.
Sizing and Cutting for the Sink
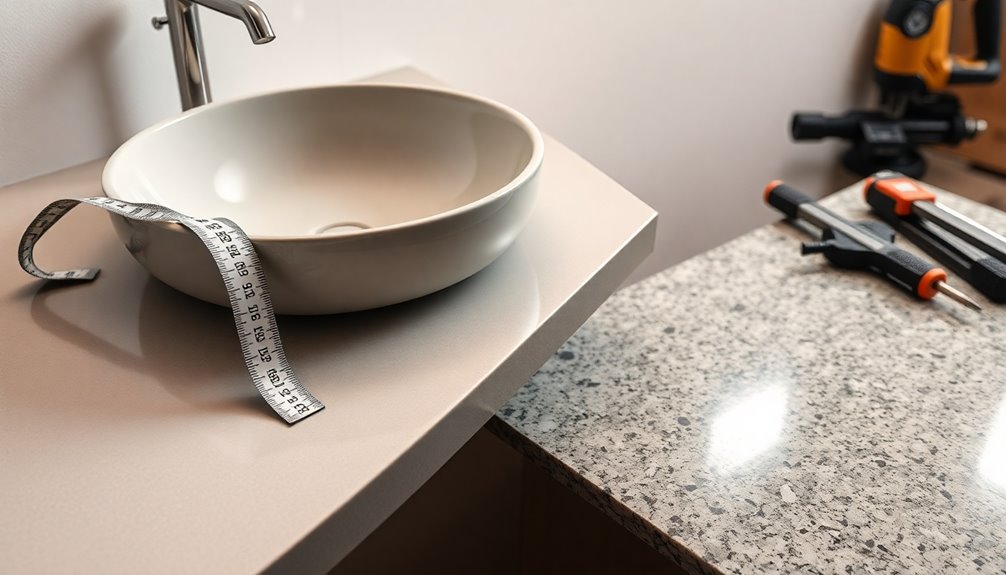
To get started with sizing and cutting for your vessel sink, you'll need to measure the sink's diameter to create a matching cutout in the countertop.
Make certain to cut the opening carefully, keeping it smooth and precise for a secure fit.
Finally, position the sink over the hole and check for levelness to guarantee proper alignment with the plumbing.
Measuring Sink Dimensions
When measuring sink dimensions, it's crucial to get accurate measurements for a proper fit. Start by measuring the width and depth of the sink bowl to determine the correct cutout size.
Follow these steps for precise measurements:
- Measure the width of the sink bowl to guarantee it fits within your countertop space.
- Determine the depth of the sink to maintain appropriate height above the countertop.
- Check the height to align with the desired countertop height, typically around 36 inches.
- Mark the drain hole, confirming it's at least 1.5 inches in diameter for proper drainage.
Cutting Countertop Openings
Cutting countertop openings for your vessel sink is a critical step that requires precision to guarantee a perfect fit.
Begin by measuring the sink's diameter and marking the center point on the countertop, ensuring it aligns with the faucet and drain locations.
For above-counter installations, use a template or compass to draw a circle that's 1-2 inches larger than the sink's diameter, which accommodates the lip of the sink.
When you start cutting, use a jigsaw or hole saw suited for your countertop material.
Drill pilot holes first to guide your tool and prevent splintering.
Always wear safety goggles and a mask, and clean the edges after cutting to eliminate any rough spots before you install a vessel.
Ensuring Proper Alignment
Guaranteeing proper alignment is essential for a successful vessel sink installation, as misalignment can lead to leaks and instability.
To achieve the right alignment, follow these steps:
- Measure the sink's diameter and cut the countertop opening at least 1 to 2 inches larger for support.
- For above-counter installations, drill a 1.5-inch hole for the drain; recessed installations need a precise circle cut.
- Use a jigsaw or hole saw, marking cutting lines clearly and drilling pilot holes to avoid splintering.
- After cutting, always check the sink's alignment with the drain hole to guarantee it sits properly without gaps.
With these steps, you'll guarantee your sink is stable and leak-free, providing a beautiful and functional addition to your space.
Installing the Vessel Sink
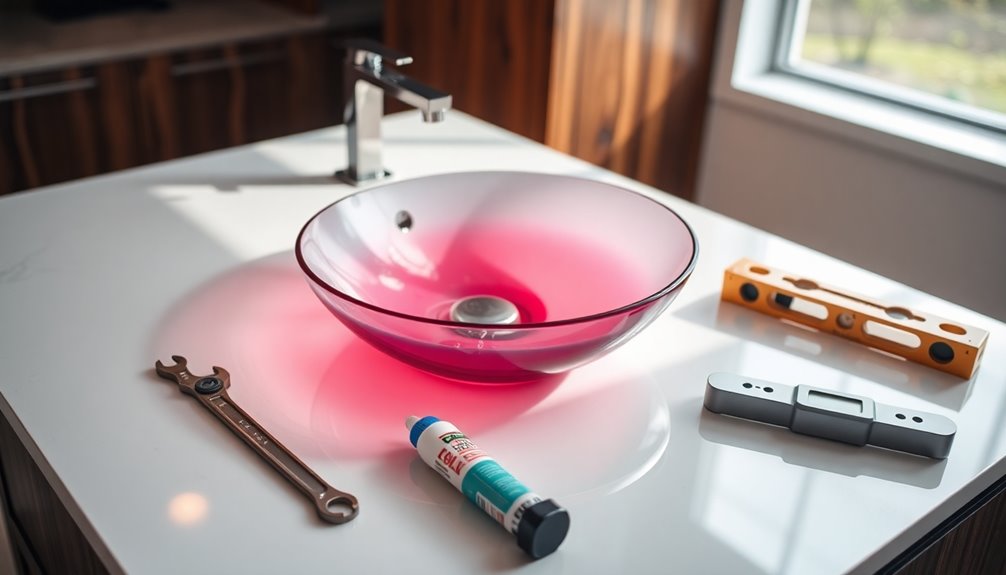
Start by securing the vessel sink to your countertop with silicone caulk, creating a watertight seal around the base. For above-counter installations, drill a 1.5-inch hole for the drain and make sure the sink is positioned correctly before securing it. If you're opting for a recessed installation, cut the countertop to match the sink's diameter for stability.
| Step | Action |
|---|---|
| 1. Secure Sink | Use silicone caulk |
| 2. Drill Hole | 1.5-inch for the drain |
| 3. Cut Countertop | Match sink's diameter |
| 4. Insert Drain | Apply plumber's putty if needed |
| 5. Check for Gaps | Confirm no leaks |
Finally, tighten the drain assembly carefully to avoid damage while maintaining a proper supply of water.
Connecting the Drain Assembly
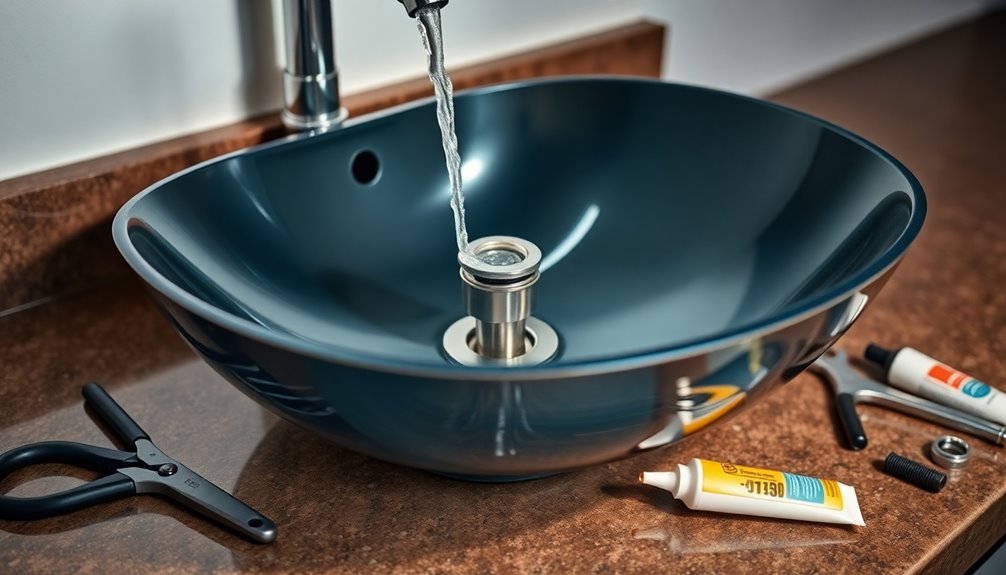
Once you've secured the vessel sink in place, it's time to connect the drain assembly. Follow these steps to guarantee a proper installation and prevent water from leaking:
- Check the Drain Hole: Verify the sink's drain hole is the standard 1.5-inch diameter.
- Insert the Drain: Place the drain through the sink from above, applying plumber's putty or silicone under the flange for a watertight seal.
- Add a Rubber Gasket: Use a compatible rubber gasket beneath the sink to minimize leaks.
- Tighten the Lock Nut: Secure the drain with a lock nut from below, tightening by hand first, then gently with a tool—avoid overtightening to prevent damage.
After assembly, connect the drain pipe to existing plumbing and check for leaks.
Faucet Installation Steps

Installing a faucet can be straightforward if you follow a few essential steps. First, verify there's enough space between the sink and the wall for a countertop or deck-mounted faucet, allowing for easy access and maintenance.
If you're using a wall-mounted faucet, position it for ideal reach. Next, carefully pre-drill holes according to the manufacturer's specifications to avoid damage to your countertop.
During faucet installation, follow the manufacturer's instructions closely and secure all plumbing connections to prevent leaks. Once the faucet is attached, check all connections, and turn on the water supply to verify everything is functioning properly.
Make any necessary adjustments before finalizing your installation.
Final Adjustments and Testing for Leaks
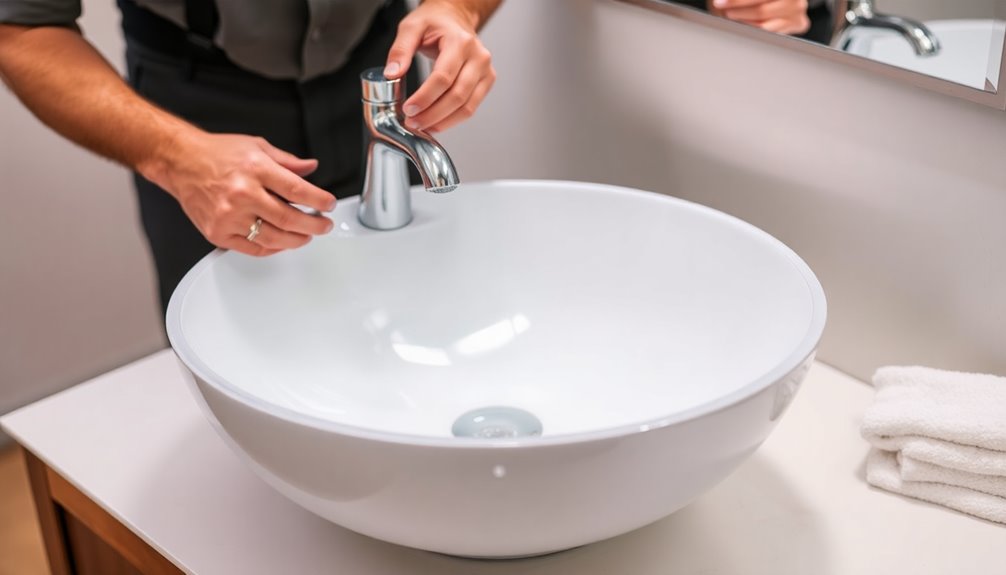
After you've successfully installed the faucet, it's time to focus on final adjustments and testing for leaks. Follow these steps to guarantee everything's watertight:
- Turn on the water supply and check for leaks around all plumbing connections, including the drain and faucet.
- Allow the silicone sealant to cure fully according to the manufacturer's instructions before testing for leaks.
- Inspect the sink and drain assembly for any signs of water pooling or moisture after your initial test run.
- If you spot leaks, gently tighten any connections but avoid overtightening to prevent damage.
If leaks persist, disassemble the connections and check gaskets and seals for proper placement. This guarantees your vessel sink functions perfectly without any leaks.
Frequently Asked Questions
What Holds a Vessel Sink in Place?
A vessel sink's stability comes from several key components.
You'll find that a bead of silicone caulk around the base secures it to the countertop. Beneath the sink, a rubber gasket creates a watertight seal, preventing leaks.
The drain assembly, which connects to the sink's drain hole, adds further support with a locknut and gasket, ensuring everything stays in place.
If your sink is heavy, consider using additional brackets for extra stability.
Are Vessel Sinks Easy to Install?
Yes, vessel sinks are generally easy to install, especially for those with basic plumbing skills.
You'll typically need just a few tools and some silicone caulk to secure the sink to the vanity.
However, you should pay close attention to the alignment with the drain assembly to avoid leaks.
Also, consider the sink's height and faucet choice for comfortable use.
With careful attention, you can achieve a secure and neat installation.
What Is the Best Adhesive for Vessel Sinks?
When it comes to the best adhesive for vessel sinks, silicone caulk reigns supreme!
It's like the superhero of adhesives, creating a waterproof seal that flexes with movement! You'll want to apply it generously around the rim—no skimping allowed—to keep those pesky leaks at bay.
Remember, plumber's putty works wonders for the drain, but don't even think about epoxy; it's a recipe for disaster!
Always check manufacturer guidelines to confirm you're on the right track!
Can You Put a Vessel Sink Over an Existing Sink Hole?
Yes, you can put a vessel sink over an existing sink hole, but you need to check the dimensions first.
Make sure the hole's diameter is smaller than the base of your vessel sink for stability. If your new sink's heavier, reinforce the area around the hole to prevent issues.
Finally, verify the plumbing lines up with the drain placement, and use silicone caulk for a secure, leak-proof fit.
Conclusion
Now that you've successfully installed your vessel sink, you can sit back and admire your handiwork. Remember, a job well done is worth its weight in gold, and you've transformed your space into something special. Don't forget to check for leaks one more time and make any final adjustments. With a little patience and effort, you've turned a simple bathroom upgrade into a stunning focal point that'll impress anyone who steps foot in your home.
