
To install an undermount sink to granite, start by clearing your workspace and accurately measuring the sink cutout area. Use a diamond-tipped blade to cut the granite, then apply epoxy adhesive around the sink's rim. Position the sink beneath the cutout and secure it with sink clips. After ensuring everything's level, seal the edges with silicone caulk. For more detailed installation tips and maintenance advice, keep going for the full guide.
Key Takeaways
- Measure and mark the sink cutout area accurately, typically 33 x 22 inches, for proper installation in the granite countertop.
- Cut the granite using a diamond-tipped blade to create smooth edges for the undermount sink.
- Apply an even layer of epoxy adhesive around the rim of the sink to ensure a strong bond with the countertop.
- Position the sink under the cutout, align the sink clips, and tighten them uniformly for secure installation.
- Seal the edges with silicone caulk to create a watertight seal after confirming the sink is level.
What Is an Undermount Sink?
An undermount sink is a sleek and stylish choice for your kitchen, installed beneath the countertop for a seamless look. This design simplifies cleanup, allowing you to wipe debris directly into the sink.
Compatible with materials like granite countertops and solid surfaces, undermount sinks enhance kitchen aesthetics. When considering installation, you can choose from styles like positive reveal, where the sink rim is visible, or negative reveal, where the rim is hidden, each offering a distinct visual effect.
For peak functionality, these sinks typically measure about 10 inches deep, accommodating larger items. A proper installation guarantees a watertight seal, preventing leaks and maintaining the integrity of your beautiful countertops.
Benefits of an Undermount Sink
Installing an undermount sink not only elevates the look of your kitchen but also offers practical benefits that make daily tasks easier. Its seamless look enhances aesthetics, creating a modern vibe that complements granite and other stone countertops. You'll appreciate how an undermount sink simplifies cleaning; spills and crumbs can be wiped directly into the sink without any lip to catch debris. Additionally, these sinks are typically deeper, averaging about 10 inches, providing ample space for washing dishes, accommodating small pets, and maximizing functionality. While they may require a higher investment than topmount sinks, their durability and ease of maintenance often justify the cost for homeowners.
| Benefit | Description |
|---|---|
| Seamless Look | Enhances kitchen aesthetics |
| Simplified Cleaning | Wipes spills directly into the sink |
| Increased Depth | Offers more space for washing dishes |
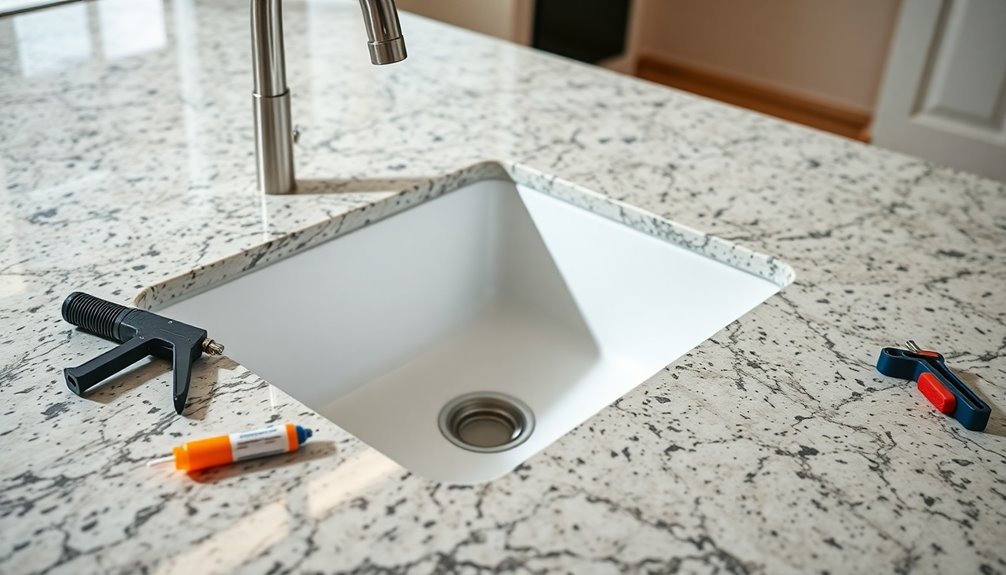
Preparing for Installation

Before diving into the installation of your undermount sink, it's crucial to prepare your workspace properly to guarantee a smooth process.
First, make sure your workspace is clear of debris. Clean the sink edges and granite countertop thoroughly to promote ideal adhesive bonding.
Next, measure and mark the sink cutout area accurately, keeping in mind the standard size of 33 x 22 inches. Perform a dry fit to verify proper sizing and alignment.
Gather all necessary tools and materials, including sink clips, epoxy adhesive, and cleaning supplies, to avoid interruptions.
Don't forget to turn off the faucet and shut off the main water supply lines, and remove any existing plumbing fixtures and old silicone sealant to prep the area for installing an undermount sink.
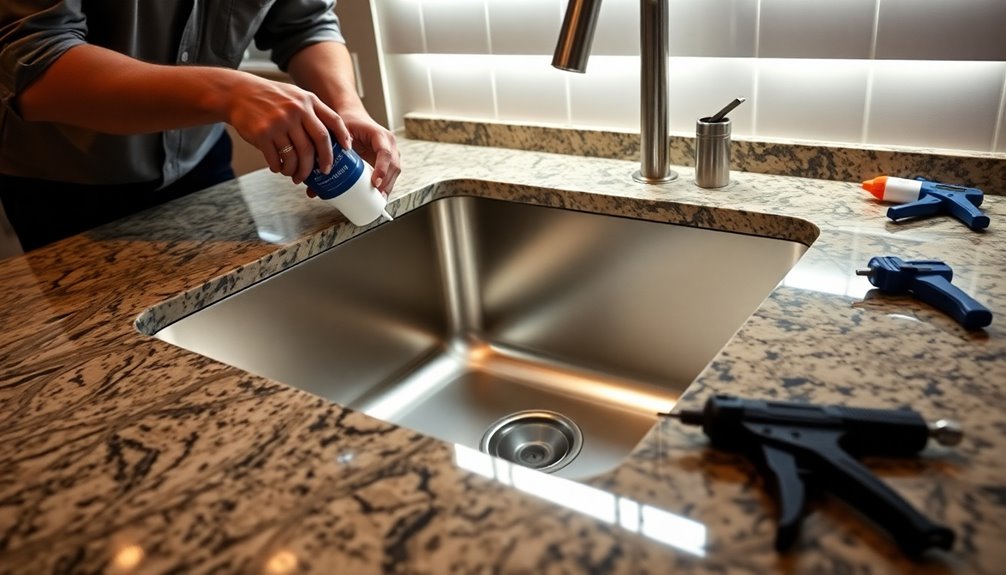
Step-by-Step Installation Process

Once you've prepared your workspace, it's time to plunge into the step-by-step installation process for your undermount sink.
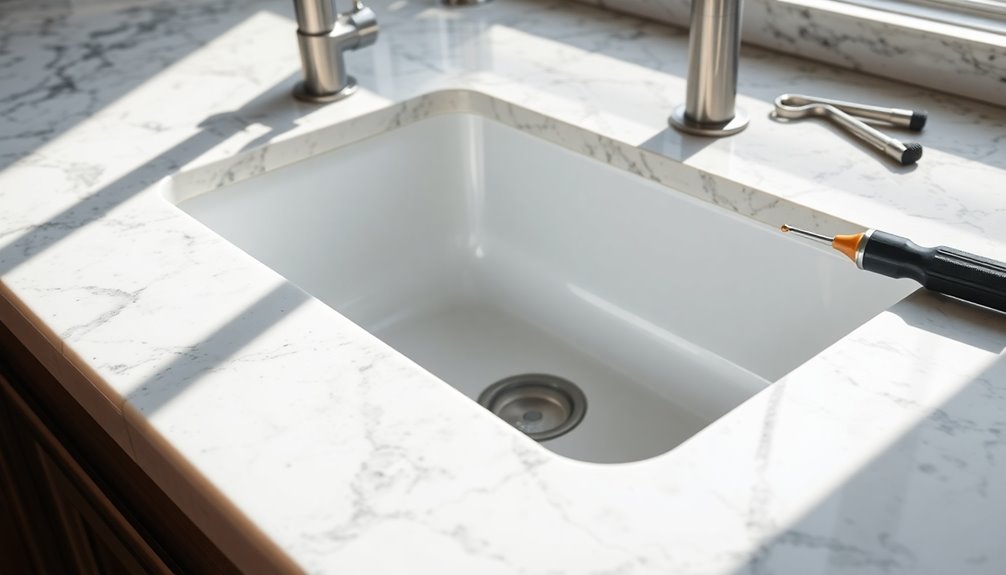
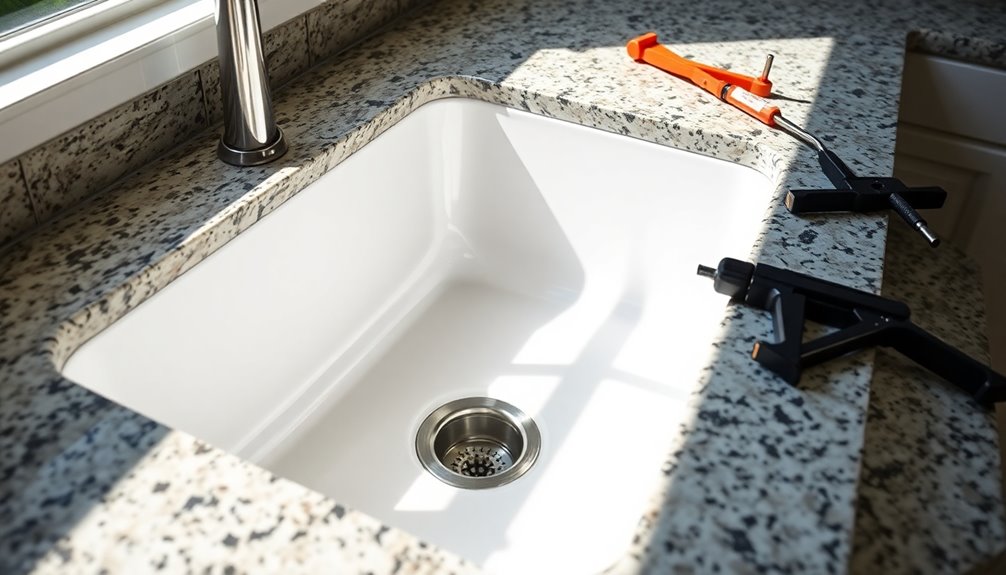
Start by measuring the sink cutout area in your granite countertop, ensuring it accommodates the new sink securely. Use a diamond-tipped blade to cut the granite, ensuring smooth, precise edges.
Next, apply an even layer of epoxy adhesive around the sink's rim for a strong bond. Position the sink under the cutout, carefully align sink clips to secure the sink, and tighten them uniformly.
After confirming the sink is level and flush with the countertop, let the adhesive cure.
Finally, apply silicone caulk around the edges to create a watertight seal, completing your installation process.
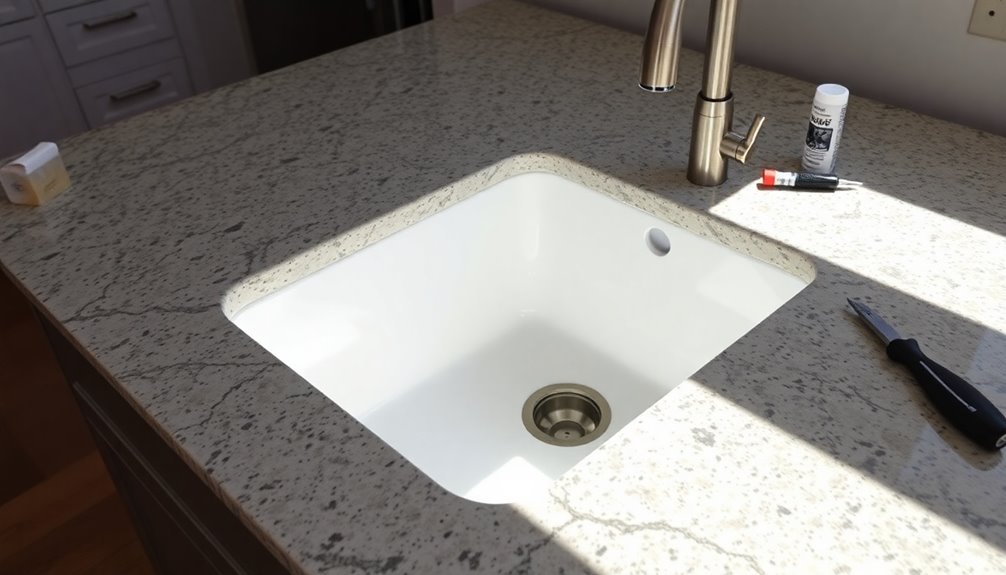
Finalizing the Installation
After confirming your undermount sink is securely positioned and level with the countertop, it's time to finalize the installation.
First, check the alignment to confirm it's level and flush. Once satisfied, allow the adhesive to cure according to the manufacturer's instructions.
After the setting time, apply silicone caulk around the edges to create a watertight seal. Smooth it out for a neat appearance, using a caulking tool or your finger, and be sure to remove any excess caulk with a damp cloth.
Finally, conduct a final inspection to confirm there are no gaps or misalignments. Once everything looks good, allow the caulk to set fully before using your sink to avoid any potential leaks.
Maintenance Tips for Undermount Sinks
To keep your undermount sink looking great and functioning well, regular maintenance is essential. Here are some important maintenance tips to follow:
| Task | Frequency |
|---|---|
| Wipe down sink and granite | Daily |
| Clean up spills immediately | As needed |
| Regular sealing of granite | Every 1-3 years |
Use a soft cloth and mild soap for cleaning, avoiding abrasive cleaners that can damage your sink and granite countertops. Protect the sink's bottom with sink mats or grids to prevent scratches and dents. Finally, schedule regular sealing to safeguard against moisture and stains, ensuring your sink and countertops maintain their integrity for years to come.
Common Installation Issues
Maintaining your undermount sink is important, but addressing common installation issues is just as vital for long-term satisfaction.
First, confirm your measurements for the sink cutout in granite are accurate; incorrect dimensions can lead to fitting problems. Always smooth the edges to avoid misalignment.
Insufficient support can cause your sink to sag, so use the right brackets or clips for reinforcement.
When it comes to sealing, thorough application of silicone caulk is essential after installation to prevent water damage.
Finally, double-check the alignment of your sink within the cutout before finalizing; any misalignment can create significant issues down the line.
Frequently Asked Questions
How to Secure an Undermount Sink to Granite?
To secure an undermount sink to granite, start by applying a high-quality epoxy adhesive around the sink's lip.
Position the sink beneath the countertop cutout, ensuring it covers evenly for a strong bond.
Then, use 6-8 sink clips or brackets to attach the sink flange to the granite's underside, tightening them for extra support.
After the adhesive cures, seal the perimeter with silicone caulk to prevent water seepage into the cabinet below.
Can You Install Undermount Sink After Granite Is Installed?
Yes, you can install an undermount sink after your granite countertops are in place.
However, you'll need to make precise cuts in the granite, which requires specialized tools and skills.
It's essential to guarantee the granite is properly supported around the cutout to prevent sagging.
You should also use proper sealing techniques to avoid leaks.
Consulting a professional is often a smart move to guarantee a seamless and effective installation.
What Holds an Undermount Sink in Place?
Think of an undermount sink as a sturdy boat tethered to a dock; it needs reliable connections to stay in place.
To hold your sink securely, mounting clips or brackets fasten it to the countertop's underside. You'll also use sink rails for heavier models and apply silicone sealant around the rim for a watertight fit.
Properly installed cabinet brackets provide extra support, keeping everything steady and preventing sagging over time.
What Is the Best Adhesive for Undermount Sink to Granite?
When you're looking for the best adhesive for an undermount sink to granite, you need a high-strength epoxy specifically designed for stone surfaces.
It offers a durable bond that can handle moisture and weight. Choose an epoxy that's waterproof and resistant to heat and chemicals.
Make certain to follow the manufacturer's instructions for mixing and curing times, and allow ample time for it to cure before using the sink.
This guarantees a strong, lasting bond.
Conclusion
Installing an undermount sink to granite can transform your kitchen into a sleek, modern space. As you step back to admire your work, you might notice the sunlight reflecting off the polished surface, illuminating the seamless beauty of the sink and countertop. Just like that perfect coincidence of light and design, your effort in the installation process will pay off. With a little maintenance, your new sink will be the centerpiece of countless family gatherings and memorable moments.