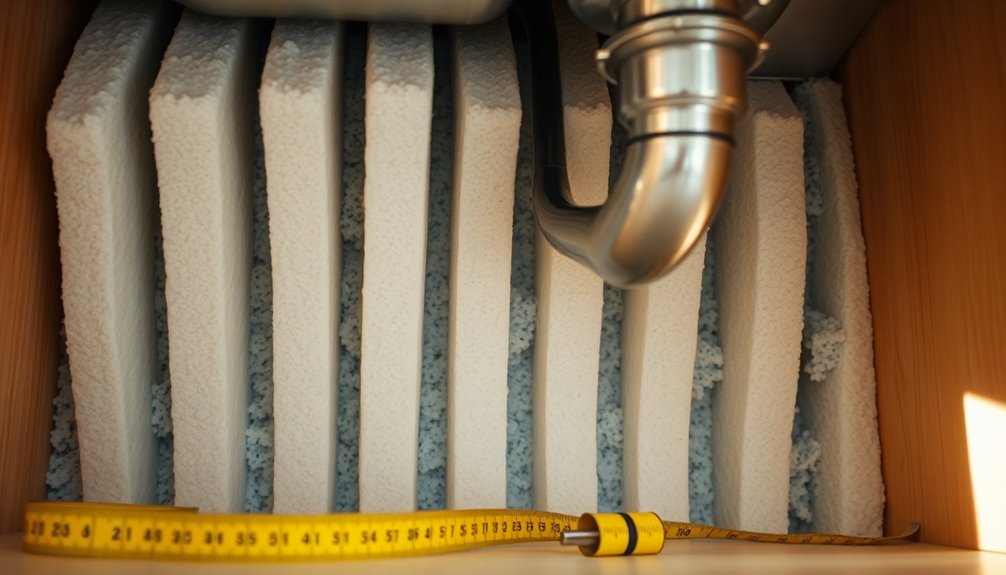
To insulate under your kitchen sink, first identify gaps around pipes and cold surfaces indicating inadequate insulation. Use flexible mineral wool for thermal insulation, sealing around pipes with expanding foam to prevent drafts. After filling in gaps, cover the insulation with plywood for a clean look. Guarantee proper airflow by leaving small gaps at the top of kick-boards. Regular maintenance is key to longevity, and there's more you can do for peak efficiency.
Key Takeaways
- Inspect and seal gaps around pipes with expanding foam to prevent cold air drafts and heat loss.
- Use flexible mineral wool insulation to fill spaces under the sink for thermal efficiency.
- Install blue insulation boards to act as a barrier against cold air while providing structural support.
- Cover insulation with plywood or luan for protection and a finished appearance.
- Maintain easy access through removable kick-plates for future insulation checks and adjustments.
Assessing Heat Sources and Cold Air Entry
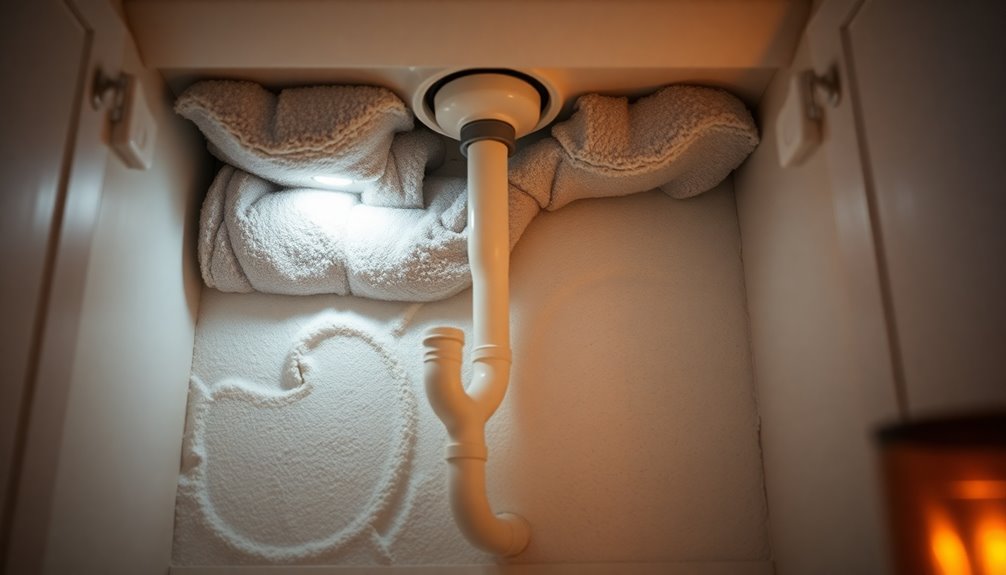
When you assess heat sources and cold air entry under your kitchen sink, start by examining any gaps around pipes and insulation.
Look for cold air seeping in from these openings, especially if the pipes run through exterior walls. Cold surfaces, like the wall, pipes, and floor, often indicate inadequate insulating.
Heat sources, such as hot water pipes, can contribute to temperature fluctuations, so it's crucial to insulate them properly.
Using foam insulation or insulation boards to cover gaps will help minimize heat loss and improve energy efficiency.
Regularly check for drafts and verify proper sealing around plumbing fixtures to maintain a comfortable environment and prevent cold air from entering your kitchen sink area. Additionally, ensure that proper ventilation standards are met to avoid potential hazards associated with inadequate airflow.
Choosing the Right Insulation Materials
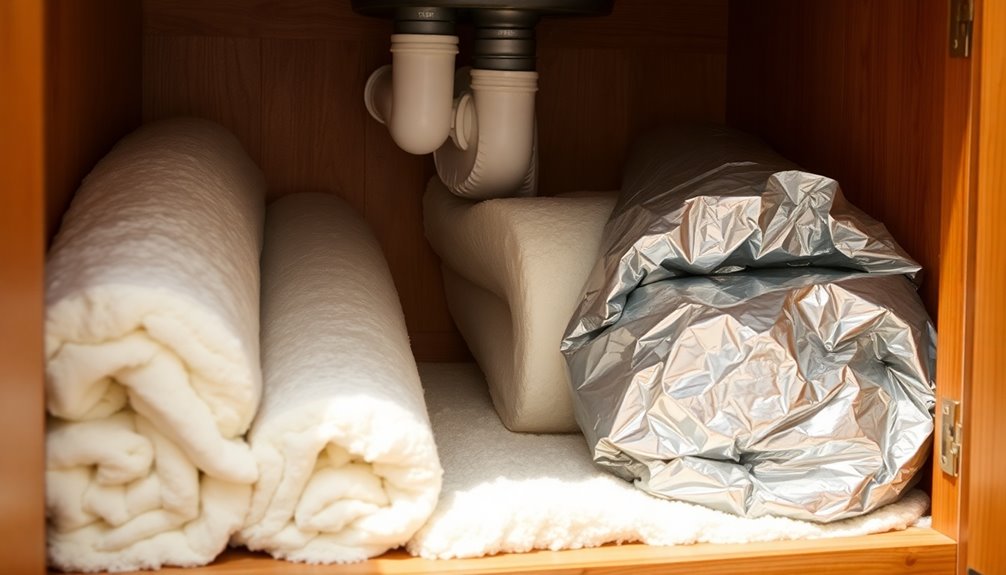
Selecting the right insulation materials is key to effectively insulating under your kitchen sink.
Start with flexible mineral wool, like Knauf Loftroll, which offers excellent thermal and acoustic insulation.
Consider using foam insulation, specifically spray foam, to fill gaps; just be cautious, as it can expand and potentially damage cabinetry.
Blue insulation boards are another great option, creating a barrier against cold air while providing structural support.
For snug fitting, fiberglass insulation can be cut to fit behind cabinets, ensuring complete coverage and minimizing heat loss.
If you have larger cavities, blown cellulose insulation works well to fill those spaces, effectively blocking cold air intrusion.
Choose wisely to maximize your insulation efforts.
Step-by-Step Insulation Process
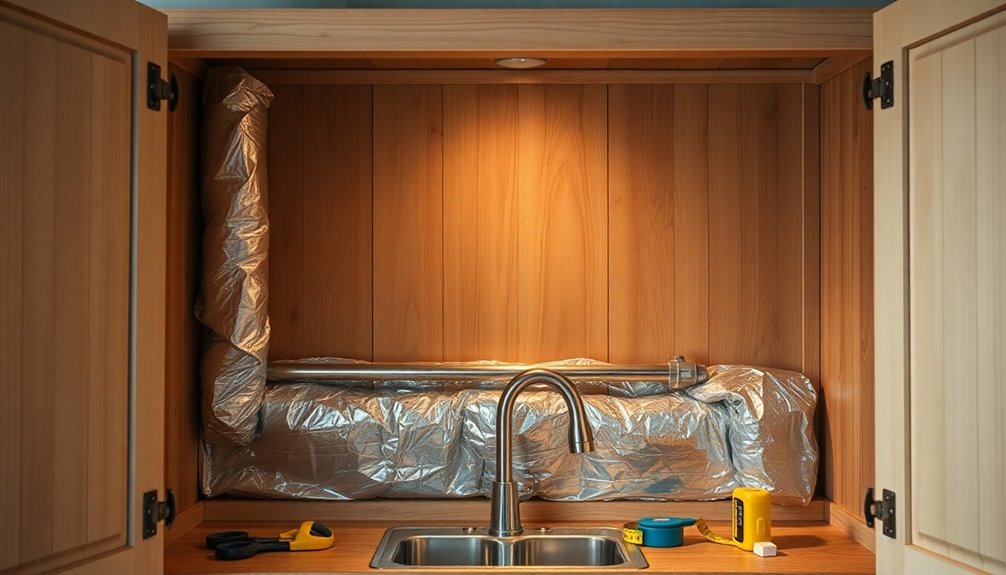
To insulate under your kitchen sink effectively, start by removing the kickboard, which typically takes about 10-15 minutes.
Next, use flexible mineral wool insulation, like Knauf Loftroll, to fill any gaps between the kitchen cabinet and the walls. This insulation has excellent thermal conductivity, helping to keep your space energy-efficient.
After placing the insulation, consider covering it with plywood or luan for protection and a clean look.
Don't forget to seal any gaps around pipes with expanding foam insulation, which prevents drafts and keeps cold air from entering.
Regularly check the insulation and surrounding areas for moisture or pest activity, and maintain easy access through removable kick-plates for future adjustments.
Managing Airflow and Ventilation
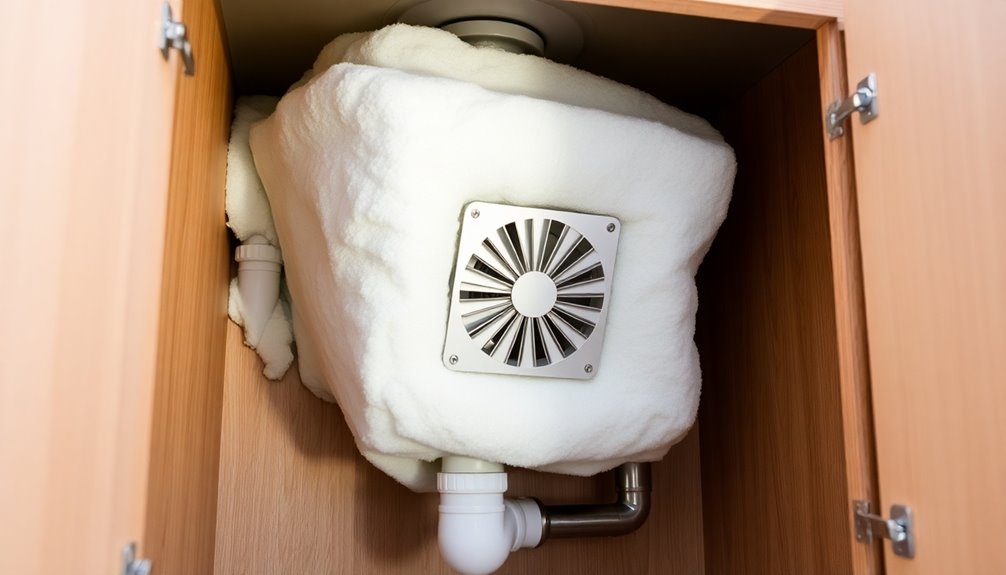
While insulating under your kitchen sink is vital for energy efficiency, managing airflow and ventilation is equally important. Proper airflow prevents heat buildup from appliances like water heaters, which can raise energy consumption and create discomfort.
Installing a vent helps dissipate excess heat while guaranteeing adequate circulation, protecting your plumbing and insulation. Remember, you need a balance between insulation and ventilation; too much insulation without airflow can trap heat and moisture, leading to mold growth and structural damage.
When insulating, leave gaps at the top of kick-boards for natural ventilation, maintaining a thermal barrier against cold surfaces. Regularly check your setup to confirm unobstructed airflow and that insulation materials aren't blocking essential ventilation channels.
Maintenance Tips for Long-lasting Insulation
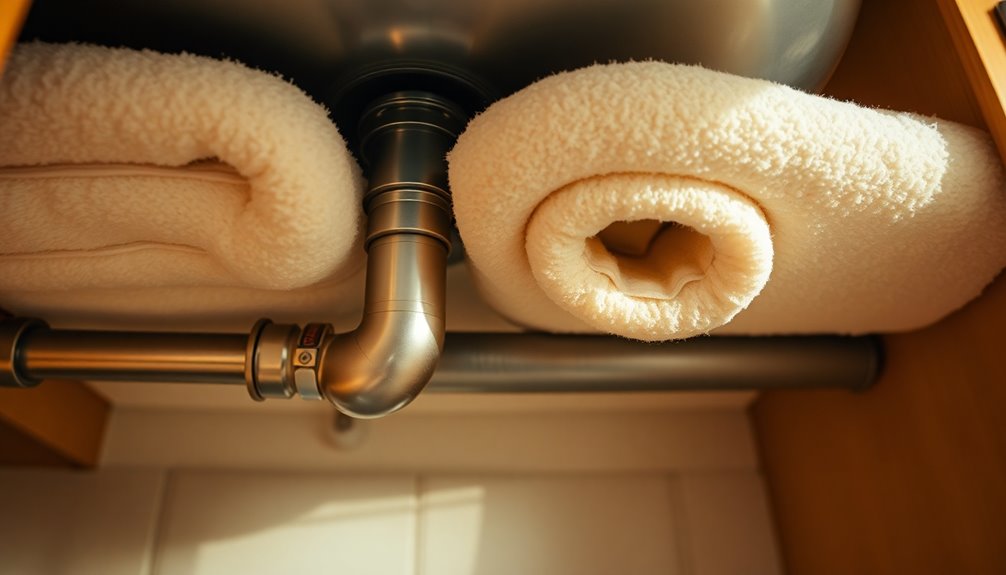
Maintaining insulation under your kitchen sink is essential for ensuring it remains effective and lasts long. Regular inspection is key; look for signs of moisture or pests that can compromise your insulation.
Use removable kick-plates for easy access during maintenance. Here are some tips to keep your insulation in top shape:
- Clean the area thoroughly before installing or renewing insulation to prevent mold.
- Seal any gaps around plumbing and pipes with expanding foam or caulk to enhance insulation effectiveness.
- Schedule periodic checks to assess the condition of the insulation, replacing or adding materials as needed.
Frequently Asked Questions
Should You Wrap Pipes Under a Kitchen Sink?
Yes, you should definitely wrap pipes under your kitchen sink.
It considerably reduces heat loss and prevents condensation, which can lead to mold and damage. Insulating the pipes helps maintain water temperature, minimizing freezing risks in colder months.
Plus, it's a simple, cost-effective solution that only takes a few minutes to install.
Just make sure the insulation fits snugly around the pipes to maximize thermal protection and keep your home energy-efficient.
How Do I Stop Moisture Under My Sink?
Did you know that about 30% of households face humidity issues due to leaks?
To stop moisture under your sink, start by inspecting for leaks and fixing them promptly. You can also place moisture-absorbing products like silica gel nearby.
Keep your cabinet doors open occasionally for ventilation, and apply a waterproof sealant on surfaces.
Finally, make it a habit to clean and dry the area regularly to prevent mold growth.
How to Fix Cold Air Coming From Under Kitchen Cabinets?
To fix cold air coming from under your kitchen cabinets, start by wrapping exposed pipes with foam insulation to prevent heat loss.
Next, add blue insulation board against the exterior wall behind the sink for better thermal efficiency.
Install flexible mineral wool insulation under the cabinets, and seal any gaps around plumbing and the sill plate with expanding foam to block drafts.
Regularly check your insulation to guarantee it remains effective.
Should You Silicone Under a Kitchen Sink?
Yes, you should silicone under your kitchen sink. Doing so seals gaps, preventing drafts and moisture issues.
Make certain you use a waterproof silicone sealant to protect against mold and guarantee a tight fit. Before you apply it, clean and dry the surfaces well for better adhesion.
Regularly check the sealant over time, as it can wear out and might need reapplication to maintain its effectiveness and prevent leaks.
Conclusion
By insulating under your kitchen sink, you're not just saving energy; you're also protecting your plumbing from the unexpected chill of winter. It's funny how a little effort can prevent a big mess—like that time your neighbor's pipes froze and burst! With the right materials and a bit of know-how, you'll keep your kitchen cozy and efficient. So, grab your tools, and let's get started—because who wants to deal with a cold surprise under their sink?
