To make driftwood sink faster, try a few effective techniques. First, boil the wood to release trapped air and open its pores. Soak it fully in water for ideal absorption, and consider adding weight like rocks to help it sink. You can also drill holes for better water penetration and use suction cups or fishing lines to secure it. If you tie the driftwood with plants, it can further promote stability. Discover more helpful tips ahead!
Key Takeaways
- Drill holes in driftwood to enhance water absorption and release trapped air, aiding in sinking.
- Boil driftwood for 2-10 hours to open pores and eliminate tannins, improving buoyancy reduction.
- Soak driftwood in water, ensuring full submersion, and weigh it down for optimal waterlogging.
- Use heavy objects like lead weights or slate tiles to add balance and stability to driftwood.
- Integrate aquatic plants to entwine with driftwood, providing natural support and promoting gradual sinking.
How To Make Driftwood Sink Faster: 9 Proven Tips
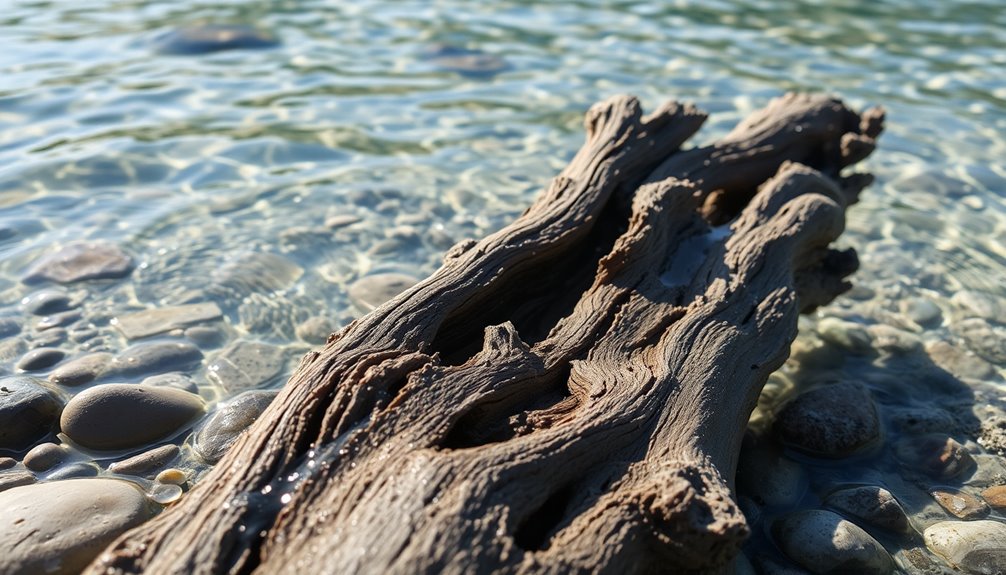
If you want to make your driftwood sink faster, there are several effective techniques you can try.
One way is to drill holes into the driftwood, allowing it to absorb water more quickly. You can also attach slate tiles or rocks for immediate ballast, keeping it submerged until it's fully waterlogged.
Using suction cups to secure the driftwood to your aquarium base prevents floating while it absorbs water.
Weighing it down with heavy objects like aquarium rocks helps balance its position, encouraging a natural sinking process.
These methods not only speed up the water absorption but also guarantee that your driftwood stays where you want it, helping you make driftwood sink faster with ease.
By Boiling The Driftwood

Boiling the driftwood is another effective method to guarantee it sinks quickly and stays submerged in your aquarium. This process helps open the pores of the wood, allowing for better water absorption. Typically, you should boil driftwood for 2 to 10 hours, depending on its size and density, to remove tannins, harmful bacteria, and parasites. If you notice dark water, that's a sign of tannins, and you may need to re-boil until the water clears up.
Here's a quick reference table for boiling times:
| Driftwood Size | Boiling Time | Tannins Indicator |
|---|---|---|
| Small | 2-4 hours | Light discoloration |
| Medium | 4-6 hours | Moderate discoloration |
| Large | 6-10 hours | Dark discoloration |
By Soaking Driftwood In The Water
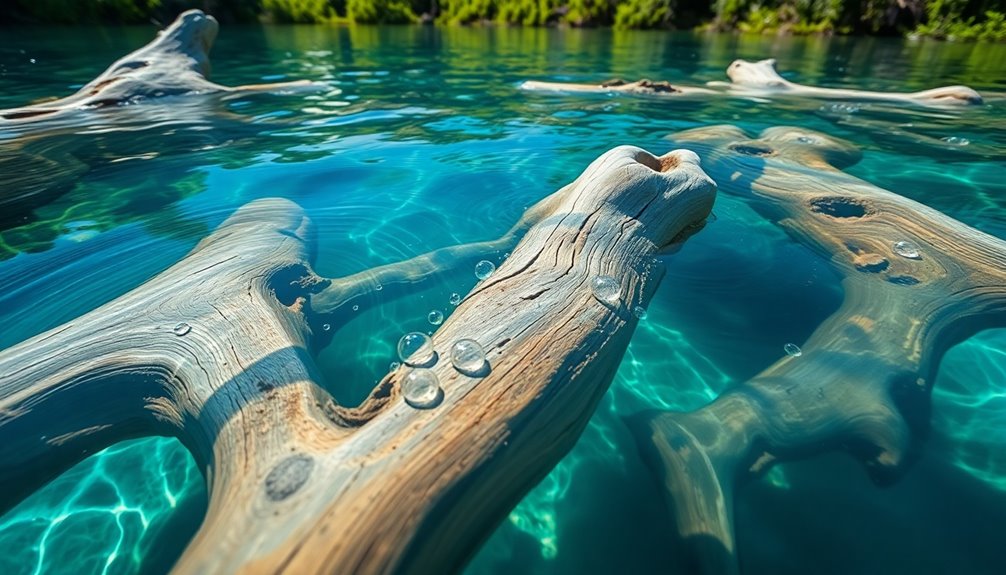
Soaking driftwood in water is a straightforward way to guarantee it becomes waterlogged and sinks effectively in your aquarium.
To start, verify the driftwood is fully submerged, allowing trapped air bubbles to escape for ideal water absorption. The soaking duration varies based on the type, shape, and size of the driftwood; smaller pieces usually need less time than larger ones.
Regularly check its saturation progress, as some pieces may take weeks or even months to become fully waterlogged. Using conditioned water for soaking not only prepares the driftwood for aquarium use but also helps minimize initial tannin release.
You might consider weighing down the driftwood with a heavy object to keep it submerged and expedite the process.
By Adding Weight On Driftwood
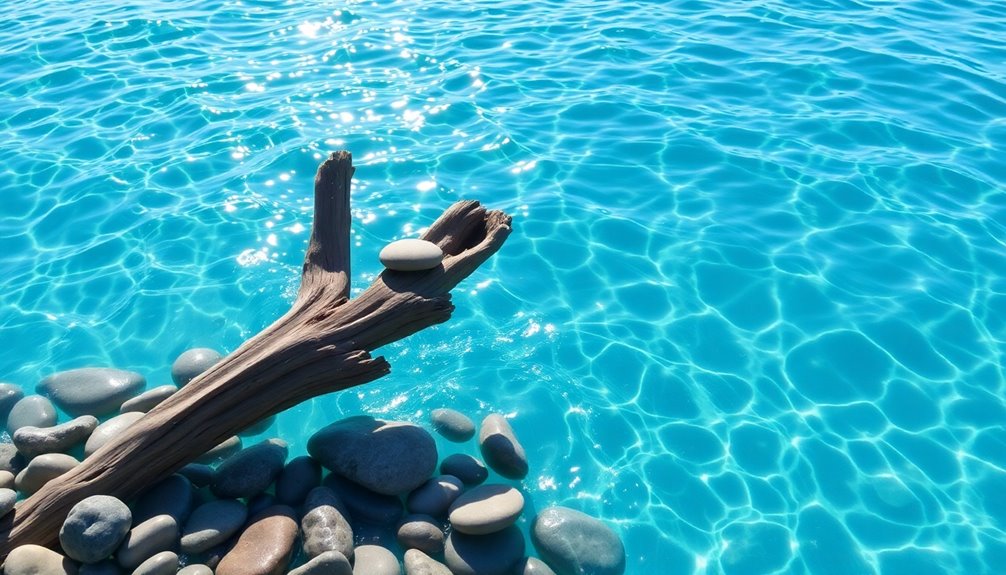
To make your driftwood sink, you'll want to add weight effectively.
Use heavy objects like aquarium rocks or lead weights, ensuring they're balanced to avoid tipping.
Once the driftwood absorbs enough water, gradually remove the weights as it should start sinking on its own.
Effective Weight Options
Adding weight to driftwood is an essential step in guaranteeing it sinks properly in your aquarium. Effective weight options include placing heavy objects like aquarium rocks or slate tiles on top of the driftwood. This method works well until the wood becomes waterlogged.
Make sure the weight is balanced and evenly distributed to avoid putting too much pressure on any single spot of your aquarium glass. You might also consider using lead weights hidden within the substrate or attached to the driftwood for a more discreet solution.
For larger pieces, combining multiple weights or a mix of rocks and slate tiles can guarantee effective anchoring. Keep an eye on the driftwood, and once it sinks naturally, you can remove the added weight.
Ensure Balanced Weighting
Balanced weighting is essential for guaranteeing your driftwood sinks properly and remains stable in your aquarium. To achieve this, evenly distribute heavy objects like aquarium rocks across the driftwood. This prevents tipping or breaking glass in your tank.
If your driftwood is particularly buoyant, don't hesitate to use a combination of weights; it might take more than one heavy object for balanced weighting. Always monitor the driftwood regularly, and remember that once it's sufficiently waterlogged, you can remove the weights for a natural aesthetic.
Verify that the materials used are aquarium-safe to avoid introducing harmful substances. Also, consider the shape and size of your driftwood, as irregularly shaped pieces may need creative placements of weights for ideal balance.
Remove Weights After Sinking
Once your driftwood is properly weighted and has absorbed enough water to sink, it's time to gradually remove the weights you've used.
Start by carefully taking off one weight at a time, making sure the driftwood remains stable without additional support.
Monitor the driftwood closely during this initial period. If you notice any signs of buoyancy or if it begins to rise, you may need to leave the weights on a bit longer for complete saturation.
When you remove weights after sinking, do so gently to avoid disturbing the substrate or other tank decor.
Over the next few days, keep an eye on the driftwood to make certain it stays settled and doesn't require re-weighting.
By Using Suction Cups
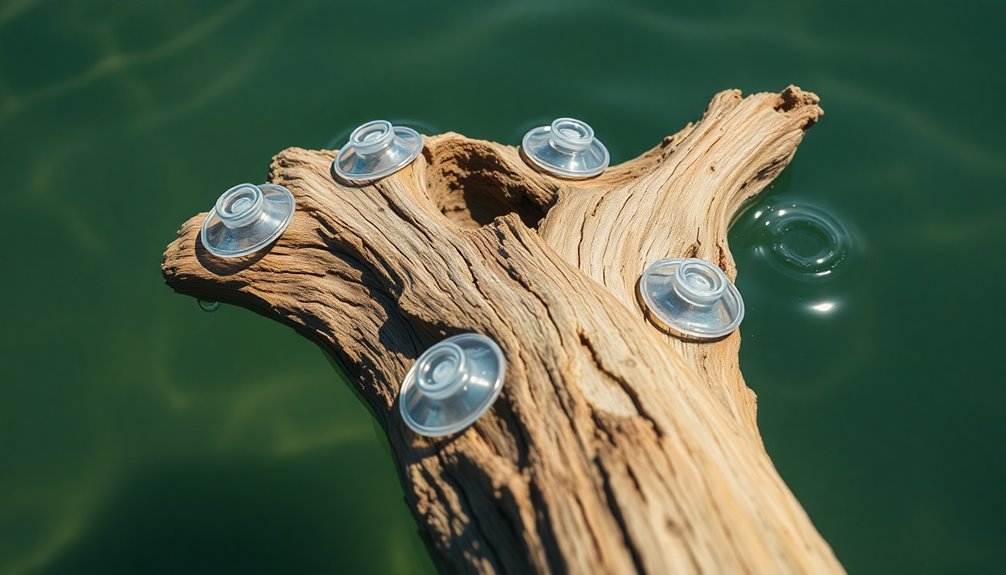
To successfully anchor driftwood in your aquarium, you'll want to utilize marine-grade suction cups specifically designed for underwater use. Verify these suction cups can support the weight of your driftwood while submerged. For peak adhesion, attach them to a flat surface on the driftwood, making it easier to secure. Depending on your driftwood's size and shape, you might need multiple suction cups for stability.
| Tip | Details |
|---|---|
| Suction Cup Type | Use marine-grade suction cups |
| Surface Requirement | Attach to flat surfaces for better grip |
| Check Regularly | Inspect suction cups periodically for effectiveness |
Avoid using suction cups on sand substrates, as they may not adhere well. Adjust your substrate accordingly for better results.
By Using Slate Tiles

Using slate tiles is an effective way to secure driftwood in your aquarium, as they provide a solid foundation that helps the driftwood sink. To start, choose heavy slate tiles to guarantee they offer enough ballast to keep the driftwood submerged.
Attach the driftwood securely to the slate tiles using rust-proof screws for a stable setup. If you drill holes in the driftwood before attachment, it'll improve water absorption and aid the sinking process.
Once you've secured the driftwood, cover the slate tiles with substrate to enhance your aquarium's visual appeal while keeping the setup discreet.
By Making Holes In It
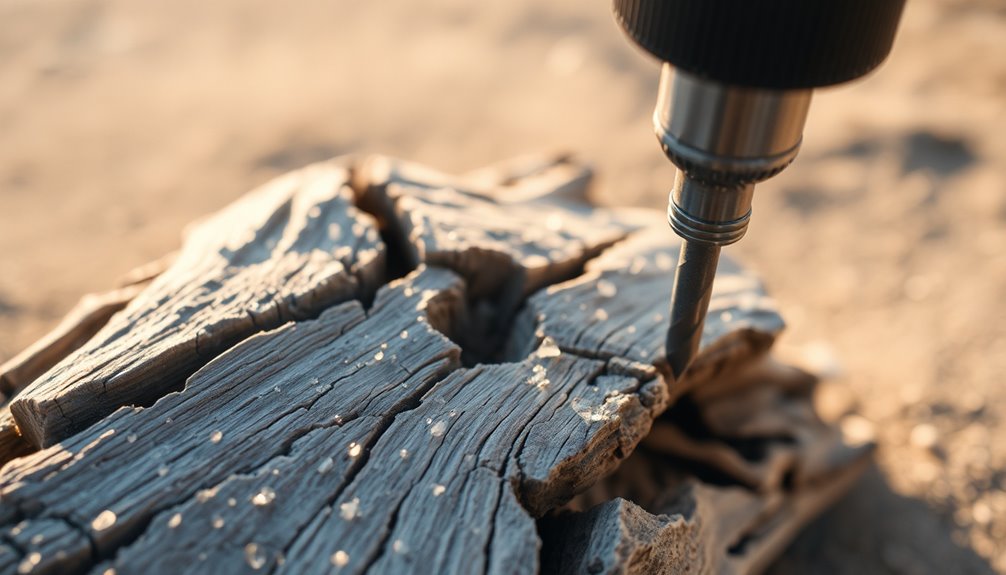
Drilling holes in driftwood can greatly enhance its ability to sink in your aquarium. By allowing water to penetrate more easily, these holes aid in the sinking process.
When you're drilling holes in driftwood, be strategic about the size and placement to maintain its aesthetic appeal while maximizing water entry. Avoid excessive or overly large holes, as they can compromise the wood's structural integrity.
Additionally, the drilled holes help release trapped air bubbles, further facilitating the waterlogging process. To optimize this method, use a drill bit that matches the density of the wood, ensuring quicker saturation.
With careful drilling, you'll enhance your driftwood's functionality without sacrificing its natural beauty.
By Glueing It Down
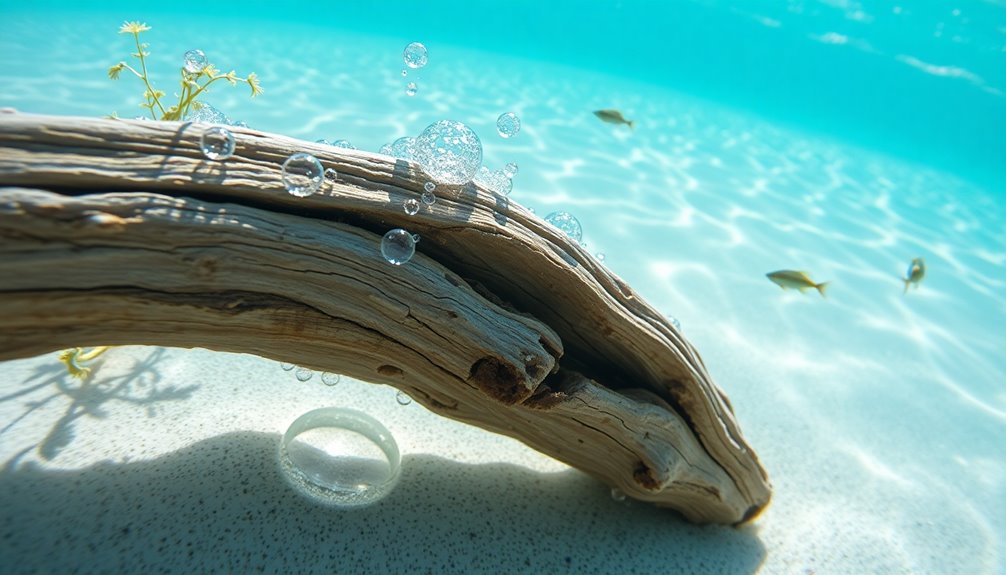
One effective method to guarantee your driftwood sinks in the aquarium is by gluing it down securely.
Use underwater epoxy or silicone specifically designed for aquariums, as these create a strong, permanent bond. Avoid superglue, since it won't hold up in water.
For added convenience, consider gluing it down to a slate base, making it easier to move or change later without harming the tank.
Position the driftwood to enhance your aquarium's aesthetic while ensuring it remains stable after gluing.
Don't forget to allow sufficient curing time for the adhesive before introducing water or aquatic life, ensuring everything stays securely in place.
With careful gluing, your driftwood will be anchored beautifully in your tank.
By Entangling Wood In Plants
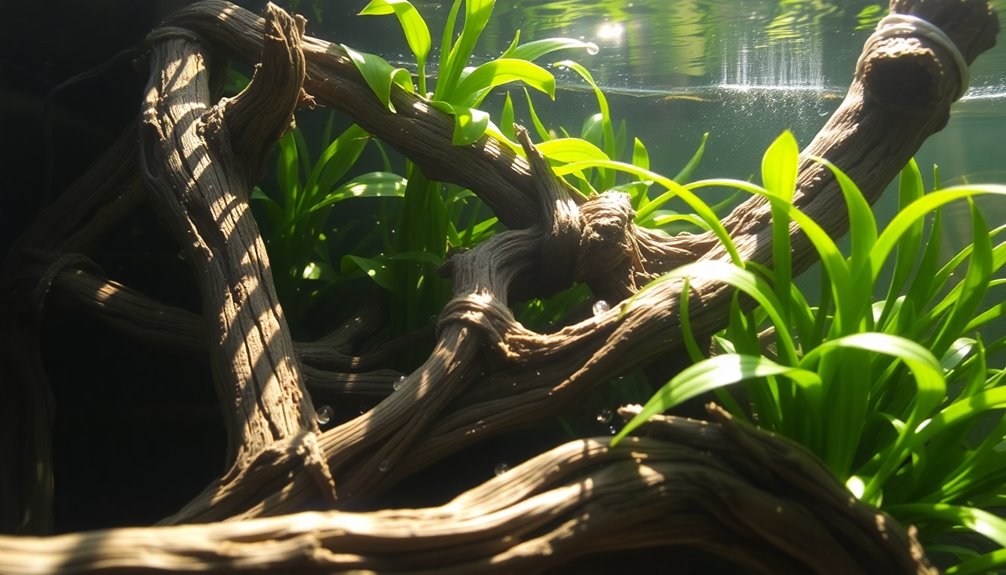
Entangling driftwood in live plants gives you a natural way to keep it submerged.
As the roots grow around the wood, they not only provide support but also enhance your aquarium's aesthetics.
Over time, the wood will gradually waterlog, creating a secure setup that looks great.
Natural Support From Roots
As you explore methods to make driftwood sink, consider how aquatic plants can provide natural support through their roots.
By entwining small driftwood pieces in healthy plant roots, you can create a stable environment that keeps the wood submerged as it waterlogs. The roots effectively anchor the driftwood, allowing it to gradually sink without needing extra weight.
This method not only aids in the sinking process but also promotes a natural look in your aquarium. Healthy, robust plants improve their ability to hold the driftwood in place until it becomes sufficiently saturated with water.
Eventually, as the driftwood absorbs enough moisture, it will sink naturally, benefiting from the natural support from roots surrounding it.
Enhancing Aquarium Aesthetics
Combining driftwood with aquatic plants not only helps keep the wood submerged but also elevates the visual appeal of your aquarium.
By strategically placing small pieces of driftwood among fast-growing plants, you allow their roots to secure the wood until it becomes fully waterlogged. This integration creates a naturalistic look that enhances the overall aesthetic, making your tank more inviting.
Plus, it reduces the need for putting a stone or other unsightly weights, leading to a cleaner setup. As the plants grow around the driftwood, you foster a vibrant habitat that mimics natural ecosystems, providing hiding spots and nesting areas for your fish.
This dynamic environment contributes to the health and well-being of your aquatic inhabitants.
Gradual Waterlogging Process
To effectively facilitate the gradual waterlogging process of driftwood, consider intertwining it with aquatic plants. This method helps keep the driftwood submerged, allowing it to absorb water over time.
The roots of the plants provide stability, preventing the driftwood from floating while enhancing the overall aesthetic of your aquarium. Smaller pieces of driftwood work best, as they can easily integrate with plant roots without disrupting your tank's layout.
As the driftwood becomes waterlogged, it gradually loses buoyancy and becomes less reliant on plant support for stability. Not only does this technique aid in sinking the driftwood, but it also creates a visually appealing habitat for your aquarium fish, blending natural elements harmoniously.
By Tying Driftwood Using Fishing Lines
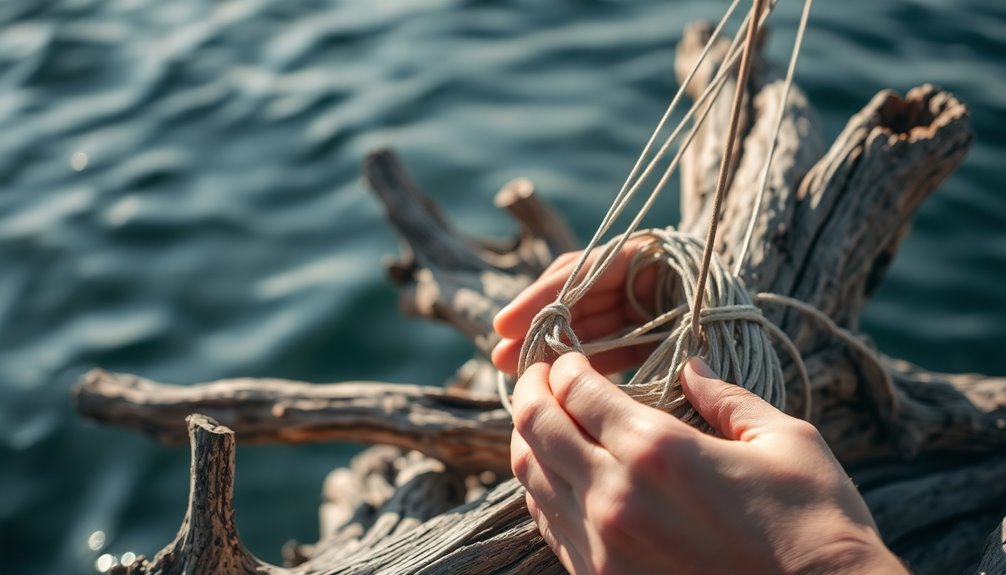
One effective method for ensuring your driftwood stays submerged in your aquarium is by tying it down with strong fishing line.
Choose a fishing line that has a sufficient weight capacity to withstand any water movement and prevent the driftwood from floating upwards. When tying, aim for discreet knots to keep the fishing line's visibility low, maintaining a natural aesthetic in your tank.
As the driftwood becomes waterlogged, you can easily adjust its placement by untying and retying the fishing line as needed. It's important to monitor the driftwood regularly, as it may take weeks to fully sink.
Once it's adequately waterlogged, you can safely remove the fishing line to enhance your aquarium's appearance.
Frequently Asked Questions
How Do You Make Driftwood Not Float?
To make driftwood not float, you can try a few different methods.
Soak it in water for weeks to let it absorb moisture. Boil it for up to 10 hours to open its pores, speeding up this process.
If you need immediate results, attach slate tiles or heavy rocks for ballast. Drilling holes in the wood can also help with water penetration.
You can temporarily use fishing line to secure it until it sinks on its own.
How Long Can It Take for Driftwood to Sink?
The time it takes for driftwood to sink can vary quite a bit. You might find smaller pieces sinking within a few days to a couple of weeks, while larger ones could take several weeks or even months.
Softer woods generally absorb water faster, but denser hardwoods may resist sinking longer. Soaking or boiling can speed up the process, but don't be surprised if your driftwood still floats for a while.
How Long Does It Take for Driftwood to Become Water Logged?
Driftwood can take anywhere from a few days to several months to become waterlogged, depending on its type, size, and density. Softer woods absorb water quickly, while denser hardwoods might need more soaking time.
Smaller pieces often achieve saturation within a week, but larger ones can take weeks or even months. Keep an eye on the buoyancy during soaking, as some may float longer before becoming fully waterlogged.
How to Make a Bogwood Sink?
Imagine your bogwood as a ship waiting to dive beneath the waves. To make it sink, start by boiling it for several hours to open its pores and remove tannins.
Then, soak it in water, ensuring it stays submerged. You can also attach heavy rocks or slate tiles for immediate weight.
Drilling holes enhances water absorption, and using fishing line can keep it secure until it's waterlogged enough to sink naturally.
Conclusion
In making driftwood sink, you're balancing nature and creativity; the weight you add contrasts with the beauty of the wood. While boiling or soaking enhances its density, tying it down with fishing lines keeps it secure yet allows for movement. Each method you choose showcases your unique style, whether it's the simplicity of suction cups or the intricate dance of plants entangling the wood. Embrace the process, and watch as your driftwood transforms into an underwater masterpiece.
