
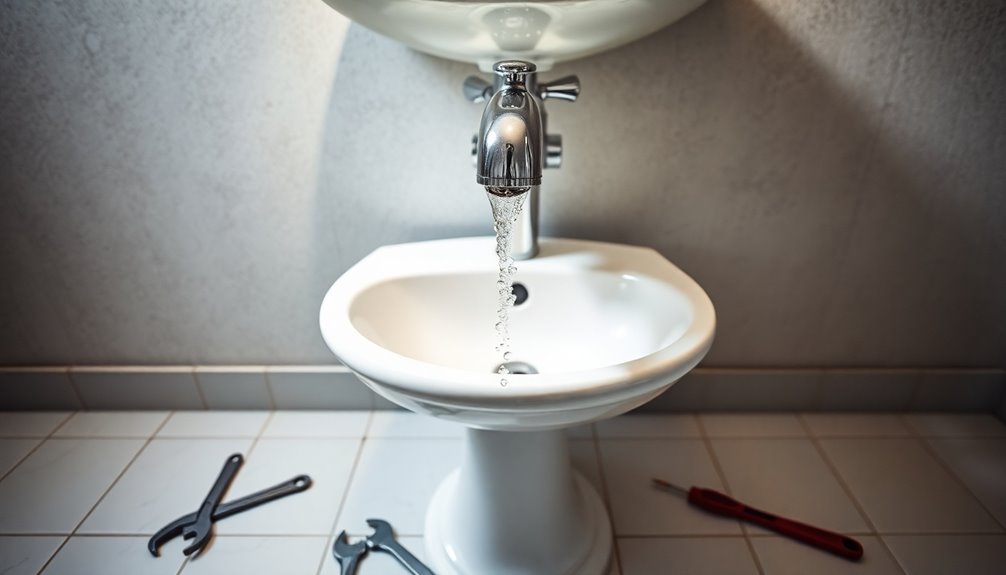
To remove a pedestal sink, start by turning off the water supply and disconnecting the supply lines. Next, cut through any caulking and loosen the mounting bolts at the back. Carefully lift the sink off the pedestal and set it aside. Don't forget to remove the pedestal base by unscrewing it from the wall and floor. Finally, clean up any residual caulk and inspect the plumbing. There's more to guarantee a smooth removal process, so keep going!
Key Takeaways
- Turn off the water supply by locating and turning the shut-off valves clockwise before starting the removal process.
- Disconnect the hot and cold supply lines using an adjustable wrench, having a bucket ready for any residual water.
- Cut through the caulking around the base of the pedestal sink with a utility knife to prepare for removal.
- Unscrew the drain nut and carefully lift the sink out of the drain pipe, ensuring no damage occurs.
- Clean the area by removing old caulk and debris, and check for any leaks or damage before finalizing the removal.

WORKPRO 2-Piece Adjustable Wrench Set, 6-Inch & 10-Inch Wide Jaw Black Oxide Wrench, Cr-V Steel, Metric & SAE Scales, Max Jaw Opening 15/16" & 1-5/16", for Home Repairs, Plumbing, Garage Work
DUAL-SIZE SET FOR VERSATILE USE: This 2-piece set includes 6-inch and 10-inch adjustable wrenches, designed for everyday household…
As an affiliate, we earn on qualifying purchases.
As an affiliate, we earn on qualifying purchases.
Preparing for the Removal
Before diving into the removal of your pedestal sink, it's crucial to prepare properly to avoid any mishaps.
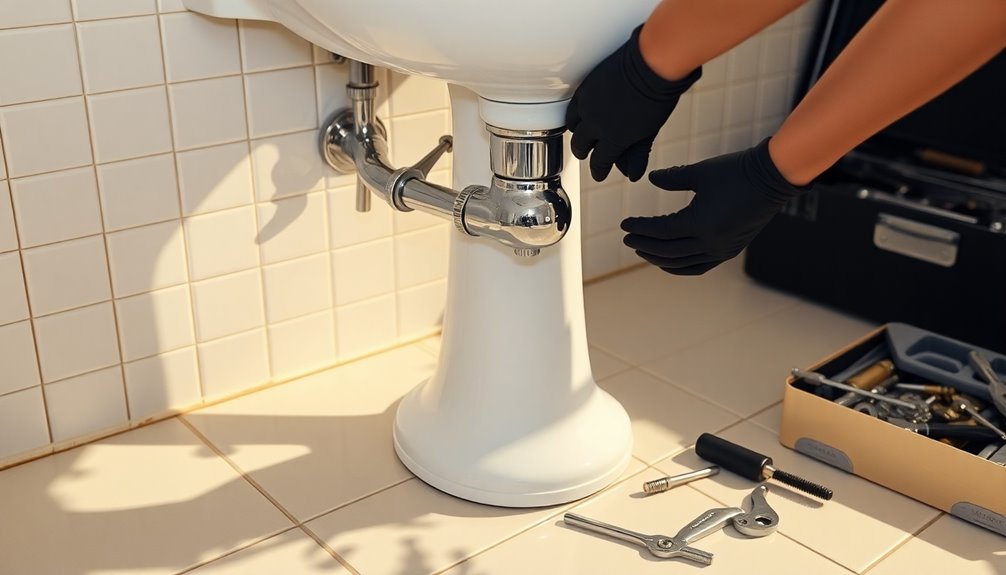
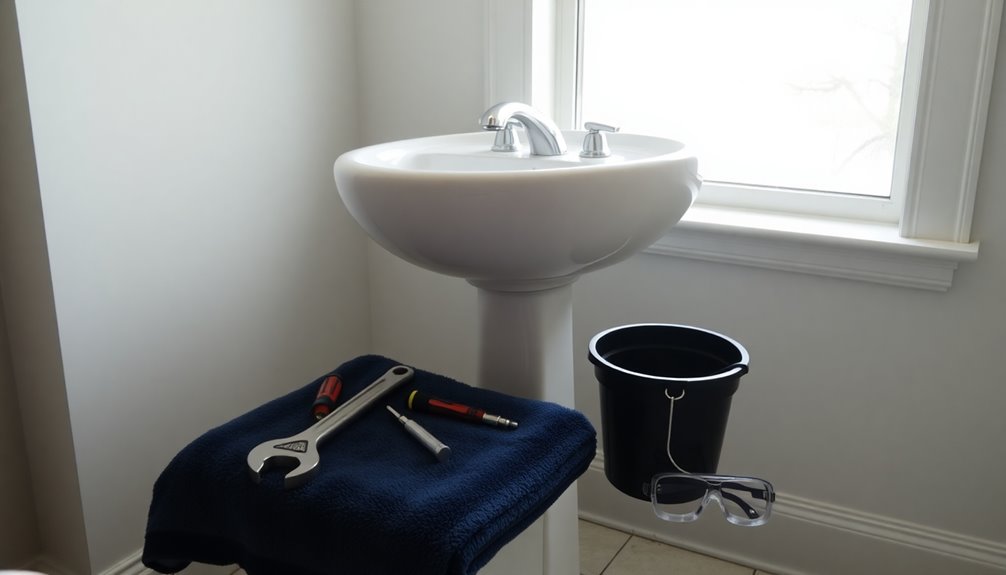
Start by gathering your tools, including an adjustable wrench, a utility knife, and a bucket. Make sure you have a helper on standby, as these sinks can be bulky and heavy.
Next, check for any caulking around the base of the sink and use the utility knife to cut through it. This'll make the removal process smoother.
Have your bucket ready to catch any residual water when you disconnect the water supply lines using the adjustable wrench.
Finally, be mindful of the drain assembly; you'll need to unscrew the drain nut and lift the sink out of the drain pipe carefully.

The HYDE® Dig-It™ Removal and Scraping Tool, Push or Pull scraping. Caulk Remover Tool, Paint Scraper, Putty Knife Scraper, Grout Removal Tool, Convienent size perfect for tool box, or tool bag.
Quality & Craftsmanship you can count on: Sturdy high carbon steel blade riveted for strength. Custom comfort handle…
As an affiliate, we earn on qualifying purchases.
As an affiliate, we earn on qualifying purchases.
Turning Off the Water Supply
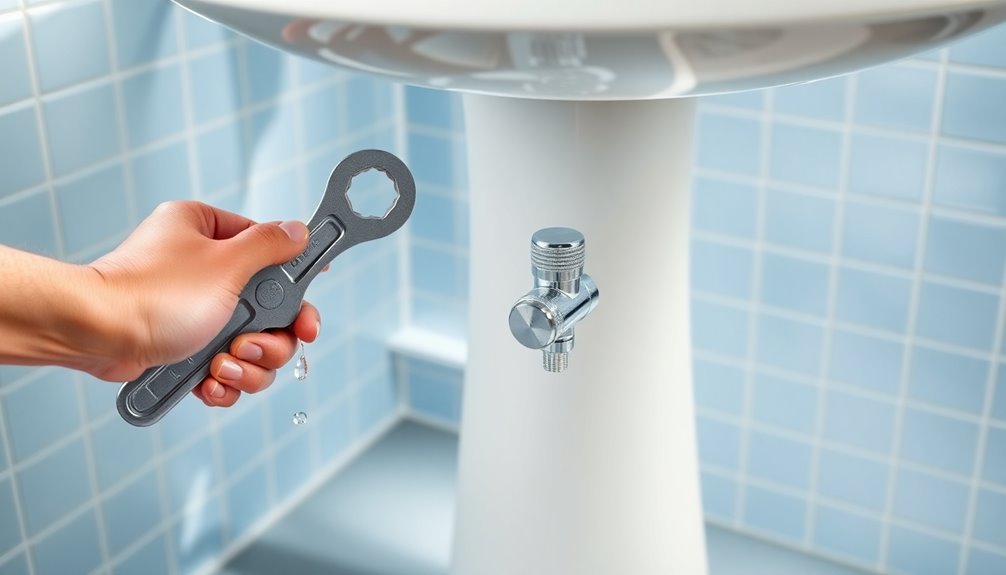
Before you start removing your pedestal sink, you need to turn off the water supply.
Locate the shut-off valves beneath the sink and turn them clockwise to stop the flow.
Once that's done, test the faucet to make sure no water is coming out before moving on.
Locate Water Shut-Off Valve
Finding the water shut-off valve is essential when you're ready to remove a pedestal sink. Typically, you'll find this valve under the sink, near the wall or floor. Most shut-off valves are either a round knob or a lever; turning the knob clockwise or positioning the lever perpendicular to the pipe will stop the water flow.
If you can't locate the valve under the sink, you might need to turn off the main water supply to your home, usually near the water meter. Once you've shut off the water, open the faucet to relieve any residual pressure in the pipes.
It's a good idea to keep a bucket or towel nearby to catch any leftover water when disconnecting the plumbing.
Drain Remaining Water Lines
Once you've turned off the water supply, it's time to drain any remaining water from the lines.
Start by opening the faucet to allow any leftover water to flow out. This step is essential to minimize spills during disassembly.
Use a bucket or towel to catch any residual water that may drain from the pipes when you disconnect the supply lines.
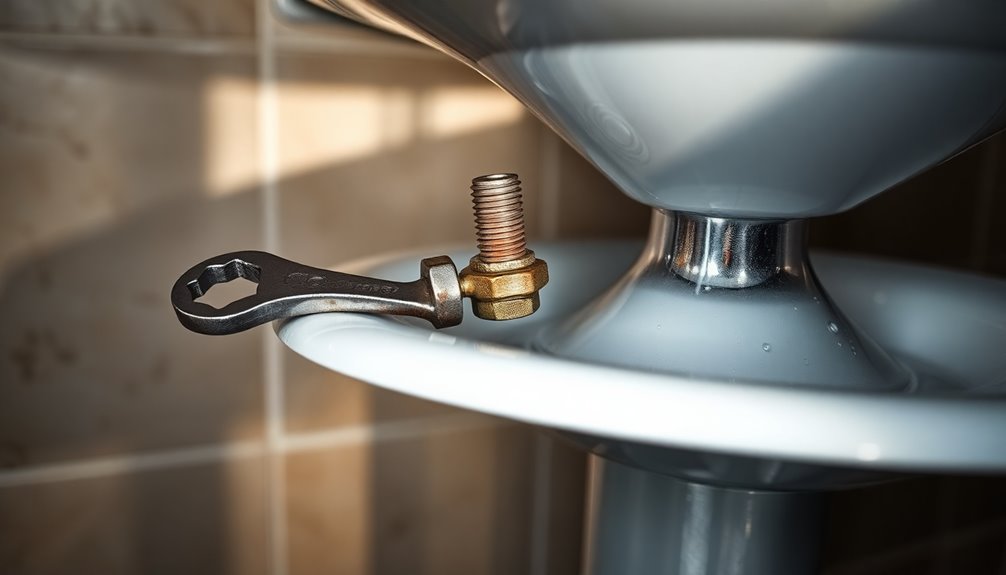
Next, take an adjustable wrench and carefully disconnect the hot and cold water supply lines from the faucet, turning the nuts counterclockwise.
Be gentle to avoid damaging the fittings.
After disconnecting, check for any leaks and confirm the shut-off valves are fully closed.
This will help prevent water damage as you proceed with removing the pedestal sink.

Prime-Line RP77325 4 Sided Pop-Up and Drain Strainer Wrench (Single Pack)
Prevents Drain Rotation: Holds the pop-up drain securely in place during installation to ensure proper alignment and a…
As an affiliate, we earn on qualifying purchases.
As an affiliate, we earn on qualifying purchases.
Disconnecting Supply Lines
Now that you've turned off the water supply, it's time to identify the supply lines.
You'll need an adjustable wrench or pliers to disconnect them, so grab those tools and get ready.
Make sure to have a bucket or towel handy to catch any water that might spill out.
Identifying Supply Line Locations
When tackling the task of disconnecting supply lines from a pedestal sink, it's crucial to first guarantee that the water supply is turned off.
Locate the shut-off valves beneath the sink or at the main supply.
Next, identify the two supply lines:
- Hot water line, typically on the left side of the faucet
- Cold water line, usually on the right side
Make sure you have a bucket or towel ready for any residual water.
Check for signs of wear or damage on the supply lines.
Using a basin wrench, carefully loosen the nuts securing the supply lines to the faucet, turning counterclockwise.
This preparation will help facilitate a smoother disconnection process.
Using Proper Tools
Using the right tools is essential for disconnecting supply lines from a pedestal sink efficiently. First, turn off the water supply at the shutoff valves. Then, grab an adjustable wrench to loosen the nuts connecting the supply lines to the faucet by turning them counterclockwise. If space is tight, a basin wrench is ideal for those hard-to-reach spots. To catch any water, place a bucket or towel underneath. If you encounter corroded or stuck lines, applying penetrating oil can help ease removal.
| Tool | Purpose | Tips |
|---|---|---|
| Adjustable Wrench | Loosening nuts | Turn counterclockwise |
| Basin Wrench | Accessing tight spaces | Ideal for under sinks |
| Penetrating Oil | Loosening stuck connections | Let it sit for a few minutes |
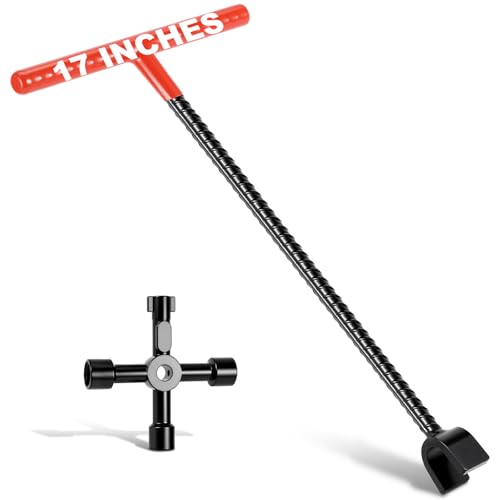
Rkiiqii 17 In Professional Water Meter Key Shut off Tool with 4-Way Utility Keys, Sturdy Water Meter Keys, Wrench T-handle & U-Head for Curb Main and Water Meters, Underground Stop/Waste Valves
Upgraded Water Meter Keys: The Rkiiqii water shut-off tool has been extended to 17in and comes with 4…
As an affiliate, we earn on qualifying purchases.
As an affiliate, we earn on qualifying purchases.
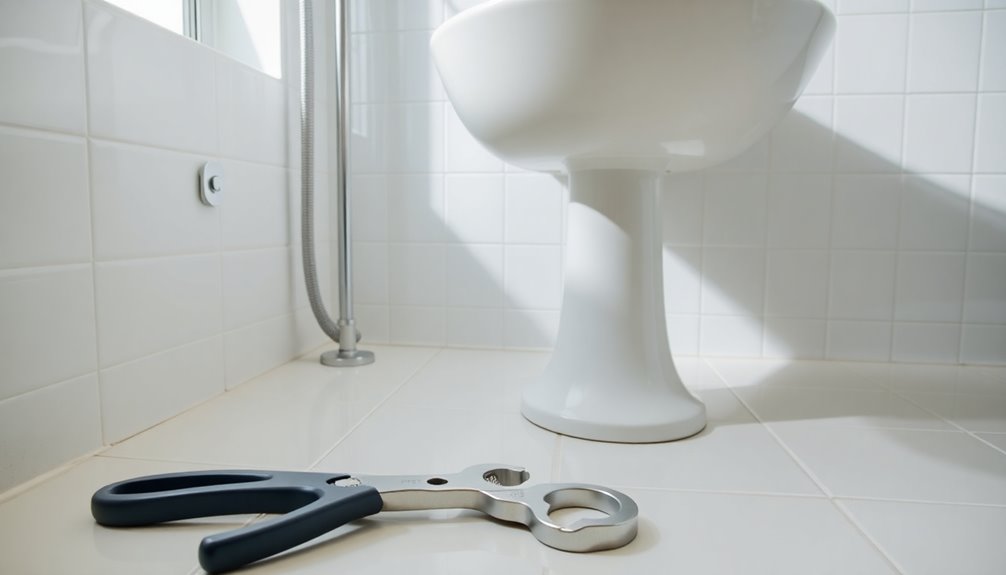
Loosening Mounting Bolts
To successfully loosen the mounting bolts of a pedestal sink, you'll first need to locate them, usually found at the back where the sink connects to the wall.
Once you've found the bolts, consider these steps:
- Apply penetrating oil if they're rusty or stuck, letting it sit for 10-15 minutes.
- Grab a ratchet wrench or a basin wrench for better leverage in tight spaces.
- Wear protective gear like gloves and safety goggles to stay safe.
- If the bolts resist, use a heat gun to expand the metal and break the corrosion seal.
Lifting the Sink From the Pedestal
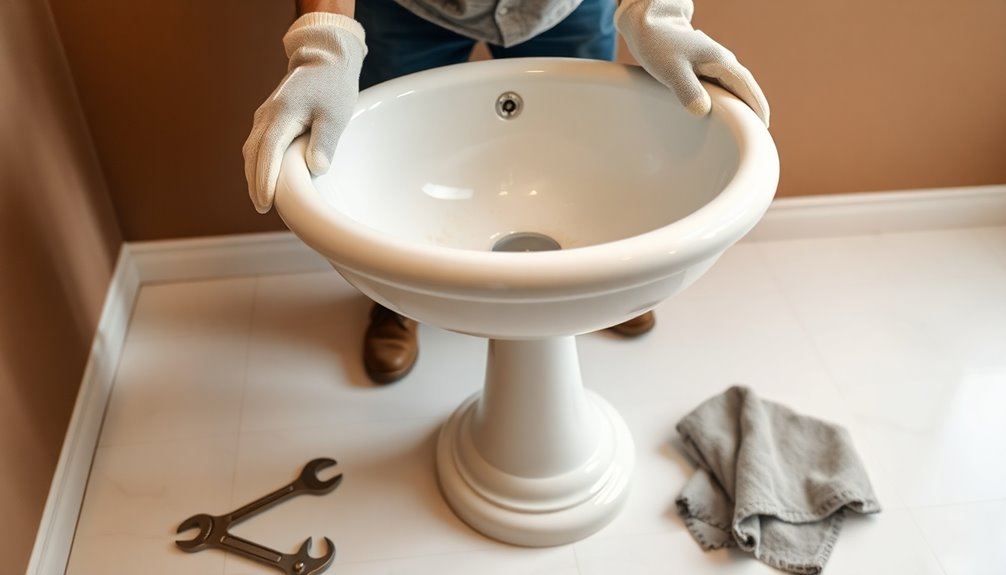
Carefully lift the sink straight up from the pedestal, ensuring you've turned off the water supply and disconnected the drain to avoid spills.
Before you begin, use a wrench to loosen and remove any mounting bolts or screws securing the sink to the wall, if there are any.
Gently lift the sink upwards and off the pedestal, being mindful not to damage any plumbing or the wall during the process.
If the sink feels heavy, it's a good idea to have a second person assist you; this will help stabilize the sink as you remove it.
Once the sink is lifted, inspect the pedestal for any remaining connections or debris that may need to be addressed before you proceed with removing it completely.
Removing the Pedestal Base
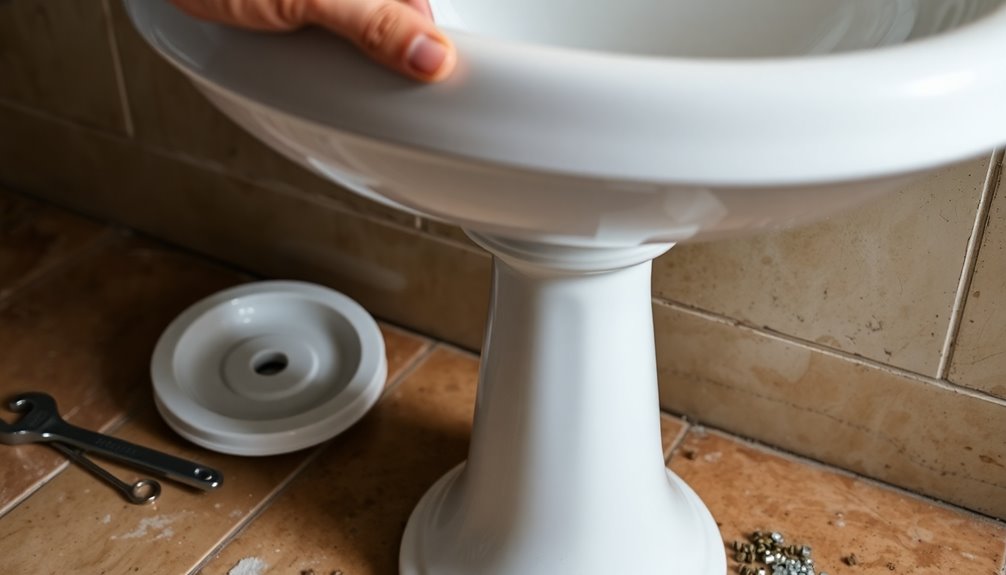
Next, you'll want to focus on detaching the pedestal base from the floor. Start by locating the screws securing the pedestal. Using a socket wrench, gently unscrew them. Be careful not to strip the screws.
Here's what you'll notice as you work:
- The cold, hard floor beneath the pedestal
- The faint scent of old plumbing
- Dust collecting around the base
- The satisfying sound of metal loosening
Once the screws are removed, lift the pedestal straight up, ensuring you don't tip it over.
With the pedestal free, double-check that all plumbing connections are capped off or sealed to prevent any leaks. Now you're ready to dispose of the sink and pedestal safely!
Cleaning Up Residual Caulk

Once you've removed the pedestal sink, you'll need to tackle the residual caulk that's left behind.
Start by using a utility knife or razor blade to carefully scrape away the old caulk, being mindful not to damage the sink or surrounding surfaces. If the caulk proves stubborn, applying a caulk remover or solvent can soften it, making removal easier.
A putty knife or plastic scraper can also help lift off tough pieces without scratching the underlying material. After you've cleared most of the caulk, wipe the area with a damp cloth to clean up any lingering debris.
Remember to wear protective gloves and guarantee the area is well-ventilated when using caulk removers, as fumes can be harmful.
Inspecting Plumbing and Wall
After clearing away the residual caulk, it's important to inspect the plumbing and wall behind the pedestal sink.
First, turn off the water supply valves beneath the sink to prevent any leaks.
Then, closely examine the plumbing connections, noting whether they're threaded, slip-joint, or glued.
Check the wall for any signs of damage or mold that may need repair.
Don't forget to look for wall-mounted brackets or anchors securing the sink; you'll need to unscrew or remove them carefully.
Make sure you have the right tools on hand:
- Adjustable wrench
- Screwdriver
- Flashlight
- Towel
This preparation will save you time and prevent potential issues later on.
Preparing for New Installation

As you prepare for the new sink installation, it's vital to guarantee everything is set up for a smooth process.
First, turn off the water supply by locating the shutoff valves beneath the sink, ensuring the faucets are off to prevent leaks.
Gather your tools, including a basin wrench, adjustable wrench, screwdriver, and a bucket for any residual water.
Clear the area around the sink and place a drop cloth on the floor to protect it from debris or spills.
Measure the existing plumbing and the new sink to ensure proper alignment.
Finally, review the manufacturer's installation instructions to familiarize yourself with any specific requirements or recommendations for a successful setup.
This preparation will pave the way for a hassle-free installation.
Frequently Asked Questions
How Do You Remove a Sink Pedestal?
To remove a sink pedestal, start by checking for any screws or bolts securing it to the floor. If there are, use a drill or wrench to unscrew them.
Next, gently rock the pedestal back and forth to loosen it from any adhesive or caulk.
Once it's free, lift it straight up to avoid damaging surrounding areas.
Finally, clean up any debris or residue left behind for a neat finish.
Are Pedestal Sinks Attached to the Wall?
Yes, pedestal sinks are typically attached to the wall for added stability.
You'll find brackets or screws securing them, which prevents tipping or shifting when weight is applied. This wall attachment is essential, especially since the sink's slender base lacks structural integrity.
Be aware that plumbing connections might also be fastened to the wall, making any disconnection a bit more complex. Always check for caulking or adhesive that could complicate the removal process.
Can You Remove a Utility Sink?
Removing a utility sink is like unraveling a tightly wound ball of yarn; it takes a bit of patience.
First, you'll want to turn off the water supply.
Next, disconnect the drain pipe and supply lines using a wrench.
If it's wall-mounted, unscrew any brackets holding it in place.
Finally, carefully lift the sink away, making sure to handle any plumbing connections with care.
You've got this!
How to Remove a Bathroom Sink That Is Glued Down?
To remove a bathroom sink that's glued down, start by turning off the water supply.
Disconnect the faucet and drain assembly to avoid leaks.
Use a utility knife to cut through any caulk or adhesive around the sink.
If it's still stuck, a heat gun or hairdryer can help soften the glue.
Gently pry the sink away using a putty knife, and clean up any leftover adhesive before installing a new sink.
Conclusion
Now that you've successfully removed your pedestal sink, you might find yourself staring at that empty space, imagining a sleek new fixture already in place. Coincidentally, this could be the perfect opportunity to upgrade your bathroom's style! As you prepare for the new installation, take a moment to envision how your refreshed space will enhance your daily routine. With a bit of creativity and effort, you'll transform your bathroom into the stylish oasis you've always wanted.