
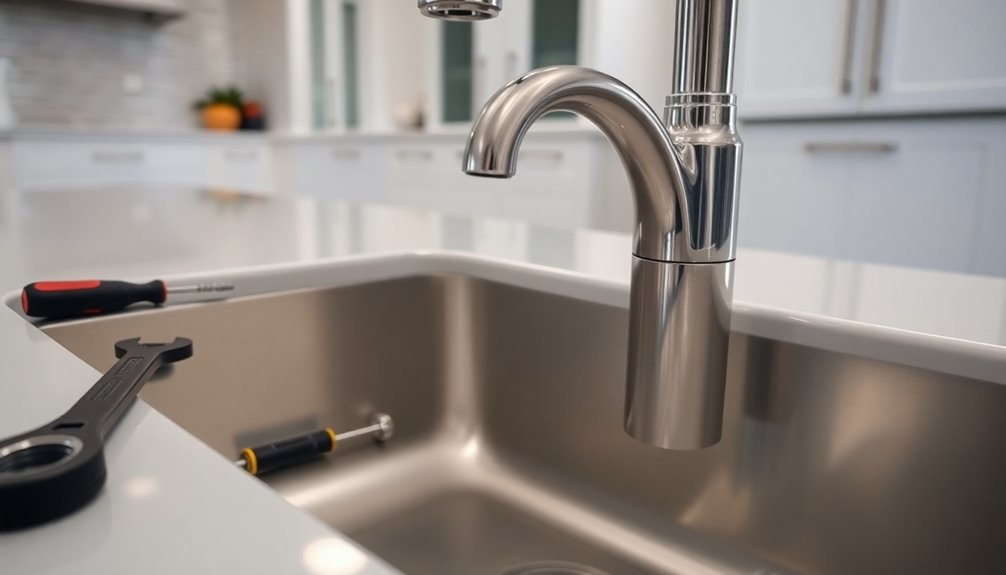
To remove your kitchen faucet with a U-shaped bracket, you first need to turn off the water supply and clear the area under the sink. Use an adjustable wrench to detach the supply lines and disconnect the sprayer hose. Unscrew the U-shaped bracket from underneath using a basin wrench, then gently lift the faucet out. Make sure to clean the sink's surface before installing a new faucet. There's more to learn about troubleshooting and maintenance tips for your sink!
Key Takeaways
- Turn off the water supply and place a bucket under the sink to catch any water during the removal process.
- Disconnect the water supply lines using an adjustable wrench, allowing any residual water to drain into the bucket.
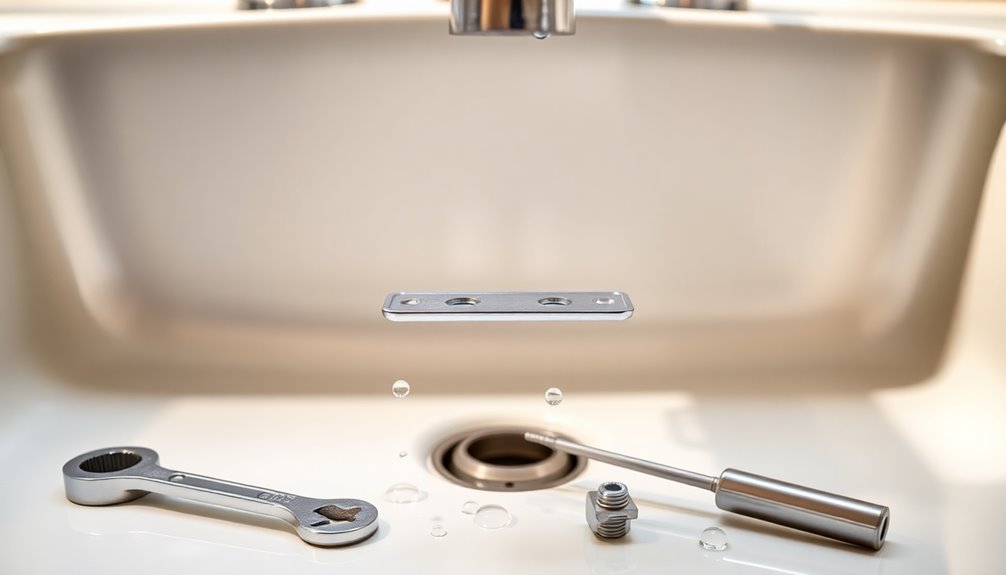
- Locate and detach the U-shaped bracket beneath the sink, unscrewing the threaded nut with a basin wrench.
- Gently lift the faucet out of the sink once the U-shaped bracket is removed, checking for any remaining debris.
- Clean the installation area thoroughly before installing the new faucet to ensure a proper seal and alignment.

RIDGID 57003 EZ Change Plumbing Wrench Faucet Installation and Removal Tool
EZ CHANGE WRENCH: Multifunctional plumbing tool is ideal for under-sink faucet installation and removal and compatible with common…
As an affiliate, we earn on qualifying purchases.
As an affiliate, we earn on qualifying purchases.
Assessing the Kitchen Faucet Setup
How do you know if your kitchen faucet setup is ready for removal? First, check for a U-shaped bracket beneath your sink. This bracket typically secures the faucet in place with a threaded nut. If you can identify this setup, you're on the right track to remove the kitchen faucet.
Next, verify you know the faucet manufacturer, like Moen or Kohler, as different brands may have unique components and removal processes.
Before proceeding, you'll likely need to disconnect the hot and cold water lines, usually attached via copper pipes. Using a basin wrench can be beneficial for getting leverage on the threaded nut, making disassembly smoother.
Once you've assessed these elements, you're ready to tackle the removal process.

DURATECH 11" Basin Wrench, Sink Wrench, Adjustable Tap Nut Spanner Basin Spanner, Capacity of 3/8" to 1-1/4" for Fixing Back and Union Nuts Under Sink
ADJUSTABLE JAWS: The 11 " basin wrench for tight spaces has spring-loaded jaws, which can adapt to different…
As an affiliate, we earn on qualifying purchases.
As an affiliate, we earn on qualifying purchases.
Tools Needed for Removal
Before you start removing your kitchen faucet, you'll need some essential tools to make the job easier.
Having the right wrenches and safety equipment on hand can save you time and frustration.
Let's look at the must-have tools for this task.
Essential Tools Overview
Removing a kitchen faucet requires the right tools to make the job easier and more efficient.
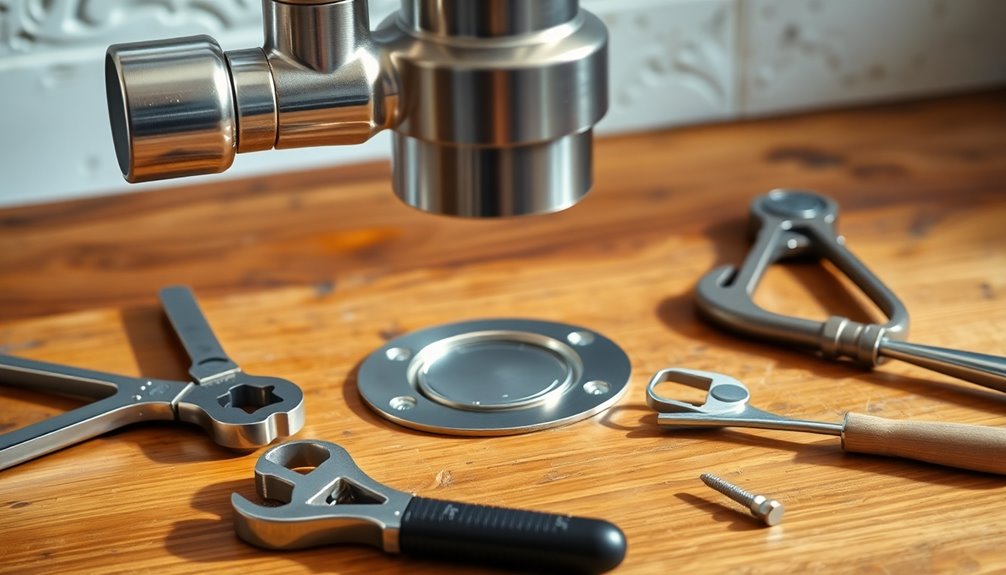
You'll need a basin wrench to grip and unscrew the threaded nut beneath the U-shaped steel bracket, especially since access is limited.
Make sure you have a set of adjustable wrenches to tackle various sizes of nuts and bolts, particularly those with the common 10mm heads found in metal lines.
If you encounter a stubborn nut, a Dremel tool can help cut through resistance, allowing you to remove it more easily.
Additionally, keep a screwdriver or pliers handy for any clamps or hoses connected to the faucet.
A flashlight will improve visibility under the sink, helping you locate the bracket and components.
Recommended Wrench Types
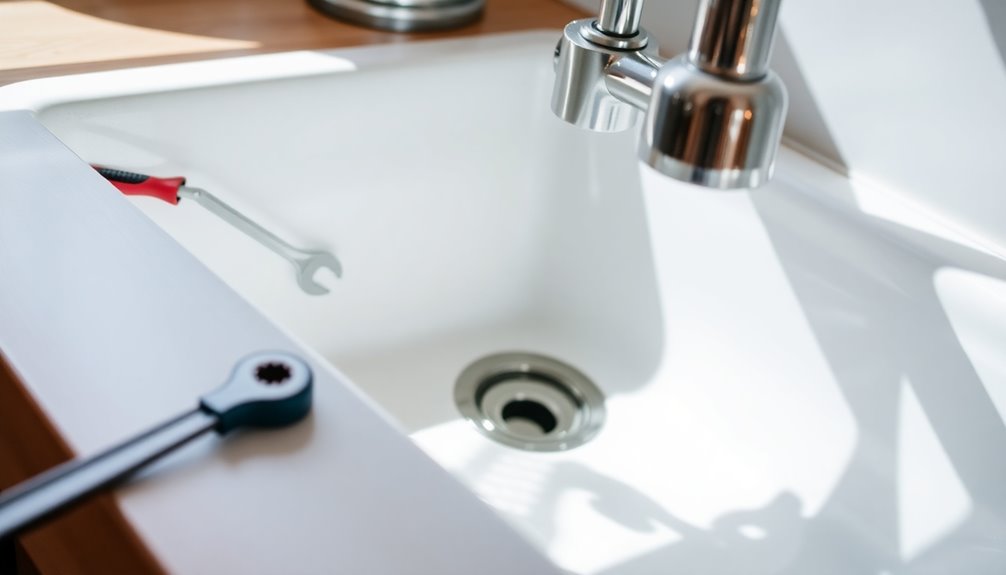
When tackling the removal of a kitchen faucet, choosing the right wrench can make all the difference. A basin wrench is your best bet for loosening the threaded nut beneath a U-shaped bracket, as it offers excellent grip and maneuverability in tight spaces.
While adjustable wrenches can work, they may not fit as securely around the nut, so a basin wrench is preferable. If you encounter stubborn nuts that resist unscrewing, having a Dremel tool can help you cut through them for easier removal.
For limited spaces, a socket wrench with the appropriate size socket can also be effective. Verify you have the correct size and type of wrench ready to avoid delays during the removal process.
Safety Equipment Suggestions
Having the right safety equipment is essential for a smooth faucet removal process.
Start by wearing safety goggles to protect your eyes from debris, especially when using a Dremel tool. This tool is invaluable if you encounter a stubborn nut that needs cutting for easier removal.
You'll also want to have adjustable pliers on hand, as they help loosen any interconnected components that may complicate the process.
Don't forget to place a bucket or towel under the faucet area to catch any water that might leak out during disassembly.
Having a basin wrench ready will also provide you a better grip on the threaded nut beneath the U-shaped bracket, making unscrewing much easier.

Amazon Basics Plumbing Adjustable Wrench with Soft Grip, Wide Mouth, 6.34 x 2.83 x 0.59 inches (LxWxH)
6 inch (150mm) wide jaw adjustable plumbing wrench with inch/metric measurement scale
As an affiliate, we earn on qualifying purchases.
As an affiliate, we earn on qualifying purchases.
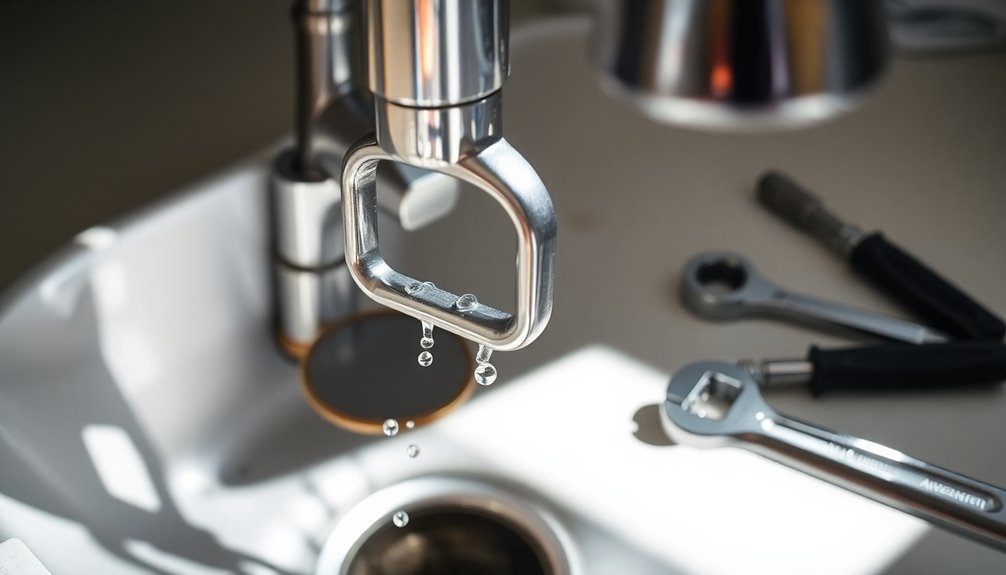
Step-by-Step Removal Process
To successfully remove your kitchen faucet, start by disconnecting the sprayer hose and locating the U-shaped bracket that secures the faucet beneath the sink.
Next, find the threaded nut beneath the U-shaped bracket. Use a basin wrench to unscrew it, which will allow the bracket to slide down easily.
If the nut's stubborn, you can carefully use a Dremel to cut into it, taking care not to damage surrounding components.
Once the nut is removed, detach the U-shaped bracket from the faucet.
With these steps, you'll have effectively disassembled the faucet, making way for the installation of your new faucet.
Confirm the new faucet is securely attached with the appropriate mounting hardware.

BBLFU 36Pcs Faucet Aerator Kit with 5 Sizes Aerator Key Removal Tools, Replacement Sink Tap Flow Restrictor Inserts for Bathroom and Kitchen, M16.5 M18.5 M21.5 M24 mm
Complete Faucet Aerator Set – 36 Pieces: Includes 10×M16.5mm, 8×M18.5mm, 10×M21.5mm, and 8×M24mm faucet aerators, compatible with most…
As an affiliate, we earn on qualifying purchases.
As an affiliate, we earn on qualifying purchases.
Troubleshooting Common Challenges
Removing a kitchen faucet can sometimes lead to unexpected challenges, especially if you're dealing with stubborn components.
When working with a U-shaped bracket, having a basin wrench handy is vital for gripping and unscrewing the threaded nut beneath. If you find the nut resistant, a Dremel tool can help cut into it gently, but be cautious to avoid damaging surrounding fixtures.
Remember, this process might take over 30 minutes, so patience is essential. Additionally, if other components, like hot and cold water lines, are still attached, you'll need to disconnect those first.
Finally, always check the specific design of your faucet model, as newer versions may have different attachment techniques that complicate removal.
Installing the New Faucet

Once you've successfully removed the old faucet, it's crucial to clean the mounting area thoroughly to guarantee a proper seal for your new installation.
Position the new faucet just like the old one, ensuring the hot and cold water lines align with their respective connections. If there's any plastic piece from the old setup, try to remove it to make room for the new fixture.
Secure the faucet with the provided U-shaped bracket made of shaped steel, tightening the threaded nut underneath with a basin wrench to prevent leaks.
Connect the sprayer hose, ensuring it's fastened tightly and free of kinks.
Finally, turn on the water supply and check for leaks around the connections, making adjustments as needed for a watertight fit.
Cleaning and Preparing the Area

Before you start removing the faucet, clear your workspace to make the process smoother.
Gather all the necessary tools, like a basin wrench, so you can easily access the components.
This preparation helps you avoid any delays or confusion while you work.
Clear Work Space
Creating a clear workspace is essential for a smooth faucet removal process. Start by ensuring you have enough room to maneuver and access all components.
Follow these steps to prepare your area:
- Remove Items: Clear the area beneath the sink, taking out any items stored there.
- Turn Off Water Supply: Make sure the water supply is turned off and drain any residual water from the lines.
- Protect the Floor: Lay down a drop cloth or towel to catch any debris or spills during the disassembly.
- Organize Tools: Gather and arrange your tools nearby for easy access, including a basin wrench and Dremel tool.
Gather Necessary Tools
With your workspace cleared and ready, it's time to gather the tools needed for the faucet removal. You'll need a basin wrench, adjustable wrench, and screwdriver to tackle the task. If you encounter stubborn nuts, a Dremel might come in handy.
| Tool | Purpose | Emotion Evoked |
|---|---|---|
| Basin Wrench | Reach tight spots | Relief |
| Adjustable Wrench | Grip varying sizes | Confidence |
| Screwdriver | Unscrew faucet components | Empowerment |
Before you jump in, make sure the water supply is off and place a towel or basin under the sink for any drips. Organize and label parts as you go to prevent losing pieces. Happy fixing!
Tips for Future Faucet Maintenance

To keep your kitchen faucet in top shape, regularly inspecting the connections and hoses is key, as this helps catch any signs of wear or leaks early on.
Here are some tips for future faucet maintenance:
- Clean aerators and sprayers periodically to maintain water flow and prevent clogs.
- Use plumber's tape on threaded connections for a tight seal, minimizing the risk of leaks.
- Lubricate moving parts like handles and cartridges with silicone grease to extend the faucet's lifespan.
- Familiarize yourself with your faucet brand's components and installation methods to ease future repairs.
Frequently Asked Questions
How Do You Remove the U Bracket From a Kitchen Faucet?
To remove the U bracket from your kitchen faucet, start by disconnecting the sprayer hose.
Next, locate the threaded nut beneath the bracket. Use a basin wrench to unscrew the nut; it might take some effort due to tightness.
If it's really stubborn, consider using a Dremel to cut through it carefully.
Once you get the nut off, you can slide the U bracket down and detach it from the faucet assembly.
How to Remove a Faucet Handle That Doesn't Have a Set Screw?
Ever tried removing a faucet handle without a visible set screw?
First, check for a decorative cap; it might hide a screw underneath.
If there's no cap, gently twist and pull the handle up to see if it loosens.
If it's stuck, apply penetrating lubricant around the base and tap it lightly with a rubber mallet.
Still stuck? Consider using a handle puller tool for a safe removal.
How to Remove a Center Mount Kitchen Faucet?
To remove a center mount kitchen faucet, start by disconnecting the water supply lines and removing the sprayer hose for better access.
Next, locate the bracket underneath the sink. Use a basin wrench to unscrew the nut holding it in place. If it's tough, consider using a Dremel to carefully cut it.
Once the nut's off, slide down the bracket to detach the faucet from the sink.
Make sure your new faucet fits before reinstalling!
How Do You Remove a Kitchen Faucet Cap?
To remove a kitchen faucet cap, start by inspecting it for visible screws or clips, usually found on the top or sides.
If you don't see any, try gently twisting or pulling it to check for a friction fit.
For stubborn caps, use a flathead screwdriver to pry it off carefully, avoiding damage to the surrounding area.
Sometimes, hidden screws beneath the handle need to be removed first.
Always refer to your faucet's manual for specific instructions.
Conclusion
Now that you've successfully removed your kitchen faucet with that tricky U-shaped bracket, you're ready to install your new one and invigorate your space. Just like a refreshing change can invigorate a room, a new faucet can transform your kitchen. Remember to keep the area clean and maintain your faucet regularly to avoid future headaches. With a little care, your new fixture will shine like a star for years to come.