To repair kitchen cabinets with water damage, start by evaluating the damage for visible signs like bubbling or soft spots. Remove items and make sure the area is dry. Use wood filler and epoxy for surface repairs, then sand and finish to match. For severely damaged parts, consider replacing them with durable plywood. Finally, take steps to prevent future damage, such as sealing gaps and monitoring humidity. Keep going to uncover more tips for effective repairs and prevention strategies.
Key Takeaways
- Inspect cabinets thoroughly for signs of water damage, including soft spots and peeling veneer, and remove all items for a clear workspace.
- Repair minor damage with wood filler and epoxy, ensuring to sand and finish to match the original surface.
- Replace severely damaged components, measuring and cutting new parts to fit, using high-quality materials like plywood for durability.
- Seal gaps around sinks and fixtures with silicone caulk to prevent future water damage and regularly inspect for leaks.
- Consider hiring a professional for a comprehensive assessment, especially for hidden mold or structural issues that may require specialized tools.
Assess the Damage
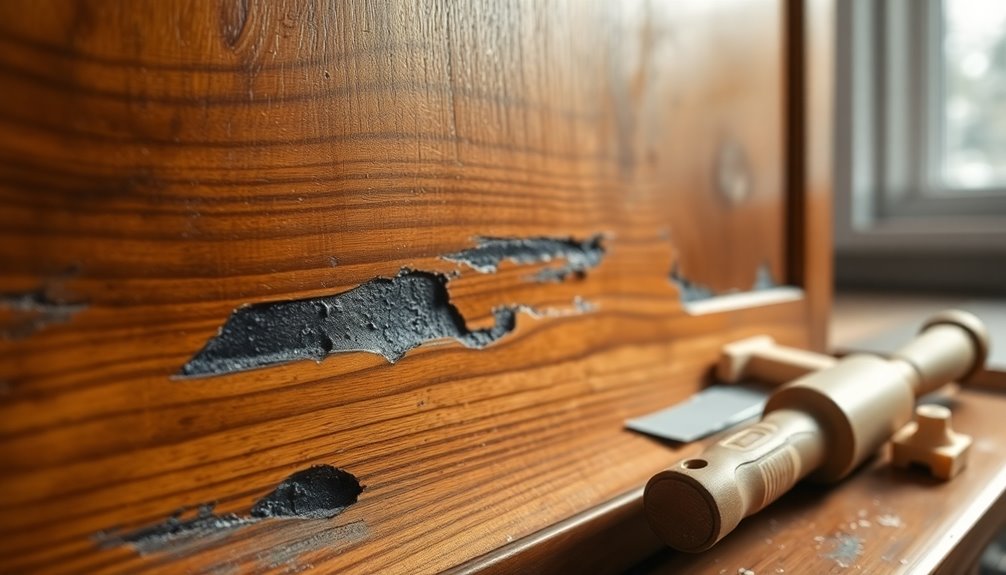
Before you plunge into repairs, it's important to assess the damage to your kitchen cabinets.
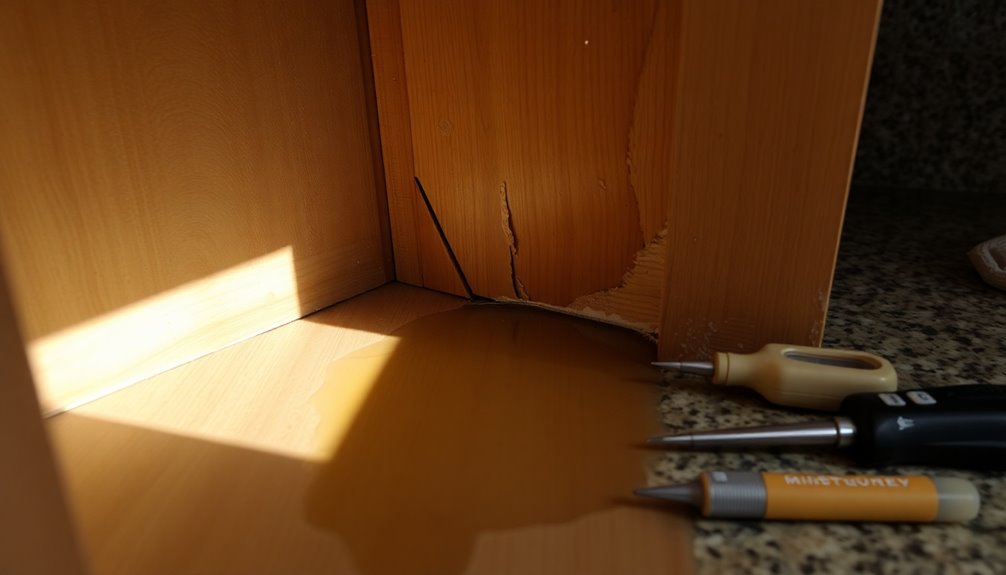
Start by examining them for visible signs of water damage, like bubbling, peeling veneer, or soft spots. These indicators often reveal moisture infiltration from water leaks.
Don't forget to inspect all sides of cabinet doors and drawers, including the interiors and undersides, to uncover hidden damage.
Pay special attention to areas near plumbing fixtures, as leaks and splashes are common culprits of water damage.
If you spot extensive damage, such as mold or rot, you might need to think about cabinet replacement instead of repairs.
In cases of significant damage, reaching out to a kitchen remodeling contractor for a professional assessment could be your best option.
Prepare for Repairs
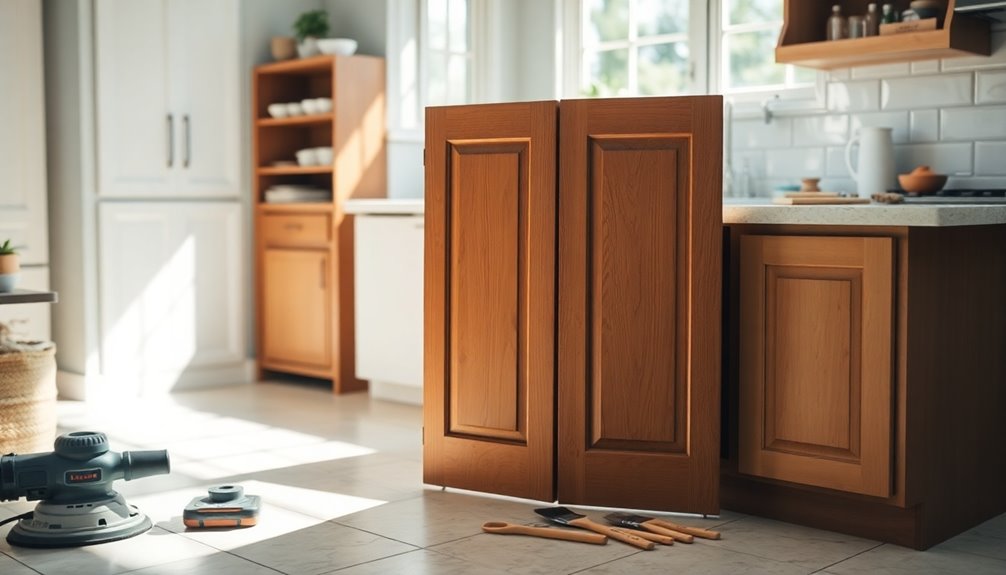
Before you start repairs, remove all items from your cabinets to protect them and give yourself easy access.
Don't forget to turn off any water supply lines connected to the cabinets to prevent further leaks.
This preparation will set you up for a smoother repair process.
Remove Cabinet Contents
To kick off the repair process, start by removing all items from your kitchen cabinets. This step is essential to protect your belongings from further water damage and to guarantee a clear workspace for repairs.
While you're at it, check for moisture or spoilage in food items and discard anything that's damaged.
Protect surrounding surfaces by covering countertops and floors with drop cloths or plastic sheeting to prevent debris or moisture from causing additional damage.
Use labeled containers or bags to organize the removed cabinet contents, making it easier to return everything once your repairs are complete.
Turn Off Water Supply
With your cabinet contents safely removed and organized, it's time to focus on preventing any further water issues during your repairs.
First, you'll need to turn off the water supply to avoid leaks and additional damage. Follow these steps:
- Locate the main shut-off valve in your home or the localized shut-off valves under the sink.
- Turn off the water supply completely and check all faucets to drain any residual water in the pipes.
- Communicate with other household members about the water being off to prevent accidents.
Once repairs are done, remember to turn the water supply back on gradually and check for leaks before resuming normal usage.
This guarantees a smooth repair process and protects your kitchen.
Repair Products

When tackling kitchen cabinet repairs due to water damage, you'll want to have the right repair products on hand.
Start with wood filler to fill gouges and holes, ensuring a smooth surface. For more severe damage, wood epoxy is your go-to for restoring rotted or cracked areas.
To prepare for repainting, use grain fillers to smooth open wood pores, creating a uniform finish that blends with your existing cabinets.
Don't forget sandpaper; a range from 100 to 220 grit is essential for sanding down repairs and achieving a seamless look.
Finally, apply two coats of clear polyurethane or paint to seal your repairs and match the finish, enhancing durability in your water-damaged kitchen.
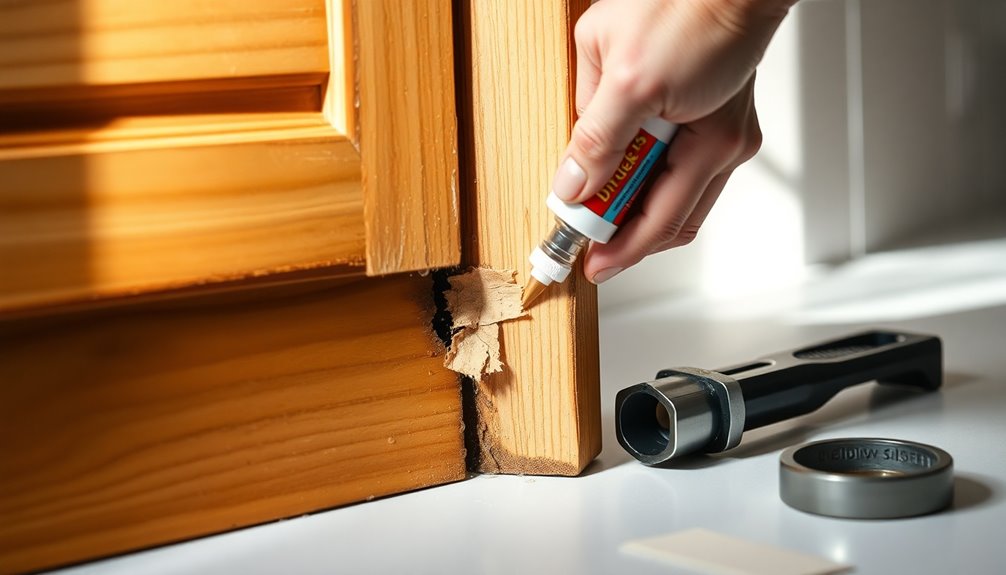
Repair Cabinet Surface Damage
Before diving into repairs, it's crucial to prepare the area effectively to guarantee a smooth finish.
To repair cabinet surface damage from water damage, follow these steps:
- Use painter's tape to mask off undamaged areas, ensuring clean lines.
- Sand the damaged areas down to bare wood with 100 to 180 grit sandpaper for a smooth surface.
- Apply wood filler as per package instructions, allowing it to dry fully before sanding for an even finish.
Once you've achieved a smooth surface, clean the repaired areas thoroughly to ensure proper adhesion.
Finally, seal the surface with two coats of clear polyurethane or repaint to match your cabinets. This will provide a flawless appearance, making your cabinets look as good as new.
Repair Joint Separation
Joint separation can happen when your kitchen cabinets are exposed to moisture, weakening the adhesive bonds.
To tackle this issue, you'll need to understand the causes, apply effective repair techniques, and learn how to prevent future problems.
Let's explore the best ways to restore those joints and guarantee your cabinets stay sturdy and intact.
Identify Joint Separation Causes
Have you ever wondered what causes joint separation in your kitchen cabinets? This issue often stems from prolonged moisture exposure, which weakens the adhesive in the joints.
Here are three common causes of joint separation you should be aware of:
- Water leaks from plumbing fixtures can create persistent dampness.
- High humidity levels in the kitchen can cause wood to swell and contract.
- Inadequate ventilation prevents moisture from escaping, leading to a buildup.
When these factors combine, you may notice visible gaps at the joints, compromising your cabinets' structural integrity.
Regular maintenance and inspections can help you catch these issues early, allowing you to address moisture problems before they escalate into significant joint separation.
Repair Techniques Overview
Addressing joint separation is essential for maintaining the integrity of your kitchen cabinets, especially after water damage has occurred.
Begin by evaluating the stability of the joint; look for signs of warping or instability. If the joint is compromised, apply a high-quality wood glue to the affected area.
After applying the glue, use clamps to hold the joint together for 24 hours. This guarantees the adhesive cures properly, creating a strong bond.
Once dry, lightly sand the repaired joint to achieve a smooth surface. Finally, apply a matching finish or paint to blend the repair with the rest of the cabinet.
Regular checks and maintenance will help prevent future water damage and joint separation, keeping your cabinets secure and functional.
Prevent Future Separation Issues
To prevent future separation issues in your kitchen cabinets, it's crucial to guarantee that all joints are securely adhered. Here are three steps you can take to address water-damaged cabinets effectively:
- Use high-quality wood glue to tightly bond all joint areas, restoring stability and preventing movement.
- Apply clamps to separated joints after gluing, maintaining pressure for 24 hours until the adhesive cures completely.
- Reinforce joints with screws or dowels, especially in areas prone to moisture, enhancing structural integrity.
Additionally, regularly inspect joint areas for signs of moisture and maintain low humidity levels in your kitchen with exhaust fans and dehumidifiers. Make sure to also ensure proper ventilation to prevent dangerous gas buildup, which can contribute to humidity issues in the kitchen.
Replace Damaged Parts
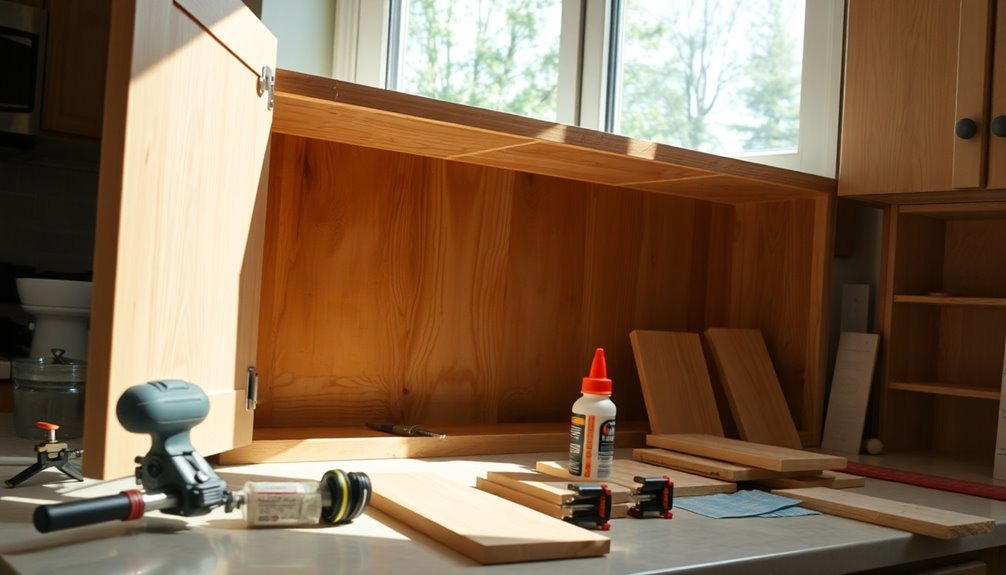
When dealing with water-damaged kitchen cabinets, replacing damaged parts is essential for restoring their integrity.
First, identify components that are beyond repair, like sagging shelves or warped doors. Measure and cut new parts to match the original size and style for a seamless fit.
Opt for high-quality materials, such as plywood or solid wood, to guarantee durability and prevent future water damage.
Once you've got the new pieces, securely fasten them using screws or wood glue, making sure they align well with existing components.
Finally, sand and finish the replacements to blend with your cabinetry, maintaining a cohesive look throughout your kitchen.
Prevent Future Water Damage

Preventing future water damage to your kitchen cabinets requires proactive measures that protect against leaks and moisture. Here are three effective strategies to help you achieve this:
- Seal all areas around sinks and fixtures with silicone caulk to stop water from seeping into cabinet seams.
- Install a waterproof backsplash behind sinks to shield your cabinets from splashes and moisture build-up.
- Use rug pads under appliances like dishwashers and refrigerators to absorb any escaping moisture.
Regularly inspect and dry cabinet surfaces and doors after kitchen activities to minimize moisture retention.
Additionally, consider installing water sensors in areas prone to leaks; they can alert you to issues before significant damage occurs, helping you prevent future water damage effectively.
Get a Professional Opinion

Even with strong preventative measures in place, water damage can still occur, making it wise to get a professional opinion on the condition of your kitchen cabinets.
Hiring an expert guarantees they'll thoroughly assess any hidden mold and structural integrity issues that you might miss. They utilize specialized tools to evaluate moisture levels and material degradation, giving you a clear picture of the damage.
A professional opinion can help you decide whether repairs or full replacements are necessary, potentially saving you from costly mistakes. Plus, engaging professionals can expedite your insurance claims, as they provide detailed reports and documentation.
Ultimately, they can recommend tailored preventative measures to enhance your cabinets' longevity and resilience against future water damage.
MDF vs. Plywood: What's the Difference?

How do MDF and plywood stack up against each other regarding durability and water resistance? When choosing between them, consider the following differences:
- Composition: MDF is made from bonded wood fibers, making it denser and smoother, but more susceptible to moisture. Plywood consists of layered wood veneers, offering better strength and resistance to warping.
- Water Resistance: MDF absorbs water easily, leading to swelling and crumbling. Plywood can buckle under severe water exposure but generally holds up better.
- Repairability: Once damaged by water, MDF is harder to restore, often showing delamination. Plywood can sometimes be salvaged by replacing individual layers.
Ultimately, if water damage is a concern, plywood is the wiser choice for your kitchen cabinets. Additionally, it is important to select non-combustible materials for any cabinetry near heat sources to ensure safety and longevity.
Frequently Asked Questions
Can Water-Damaged Cabinets Be Repaired?
Yes, you can often repair water-damaged cabinets if the damage isn't extensive.
If it's just delamination or surface issues, you can glue and clamp the affected areas or replace any water-logged parts.
Sanding down the surfaces for refinishing can also help restore their appearance.
However, if the damage is severe, it's best to consult a professional who can assess the situation and guarantee your cabinets are safe and sound.
How Do You Repair Water-Damaged Laminate Cabinets?
To repair water-damaged laminate cabinets, start by evaluating the damage. Look for bubbling, peeling, or soft spots.
If the laminate's peeling, reattach it with wood glue or contact cement, applying pressure until it's flush.
For extensive damage, gently sand the area to remove residue and prepare for a new layer.
If the wood's warped, you may need to replace sections with plywood or MDF before reapplying laminate for a fresh look.
Does Homeowners Insurance Cover Kitchen Cabinets?
If your kitchen cabinets got damaged when a pipe burst, you might be wondering if homeowners insurance covers it.
Generally, if the damage results from a sudden incident, like that burst pipe, it's likely covered. However, you'll need to check your specific policy for details.
Remember, documenting the damage with photos and repair estimates is essential for filing your claim.
Don't wait too long; contact your insurance provider to kickstart the process!
How Do You Fix Water-Damaged Particle Board Cabinets?
To fix water-damaged particle board cabinets, start by removing the doors and hardware.
Assess the damage—if it's minor, use wood glue to bond any delaminated layers, clamping them until the glue sets.
For severe damage, you'll need to replace sections with new particle board or more water-resistant materials like plywood.
After repairs, seal everything with a water-resistant finish to safeguard against future moisture damage.
Conclusion
Don't let water-damaged cabinets ruin your culinary kingdom! With a little elbow grease and the right tools, you can transform those soggy monstrosities into stunning features that'll have your guests gasping in awe. You're not just repairing cabinets; you're staging a triumphant comeback! So roll up your sleeves, release your inner DIY superhero, and show that water who's boss. Your kitchen deserves the royal treatment, and you're just the hero to give it!