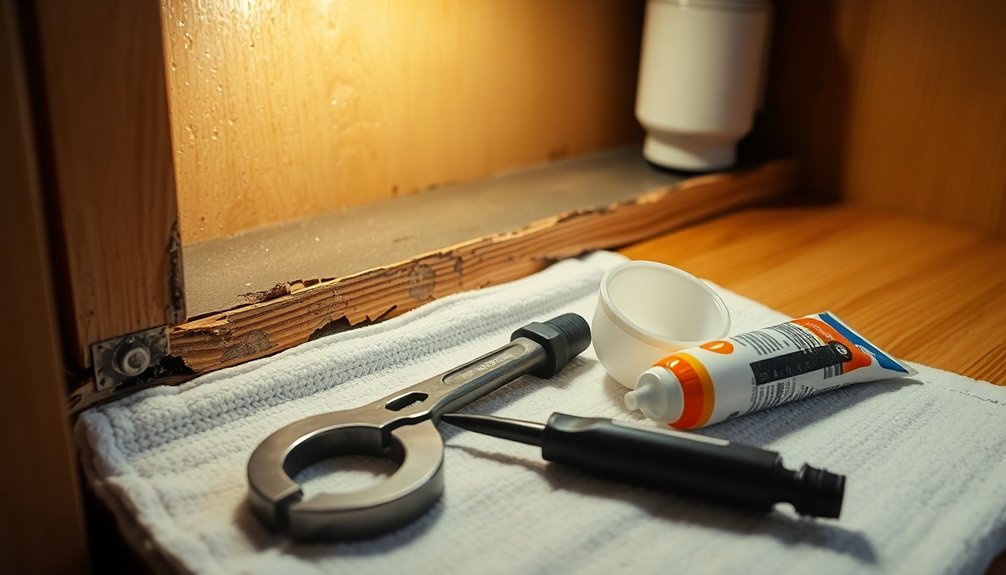
To repair water damage under your kitchen sink, first identify any signs like discoloration or mold. Shut off the water supply and fix any leaks. Remove damaged materials using a saw, then measure and cut new plywood or solid wood to replace it. Seal the edges with caulk and guarantee good ventilation afterward. Regular inspections can help prevent future issues, and there's much more you can do to keep your kitchen safe and dry.
Key Takeaways
- Inspect for discoloration, warping, or mold to assess the extent of water damage under the sink.
- Shut off the water supply and repair any leaks from pipes or connections.
- Remove damaged materials, such as particle board or cabinet base, using a saw.
- Cut and install new plywood or solid wood, sealing edges with caulk for protection.
- Ensure proper ventilation in the area after repairs to prevent future moisture buildup.
Identifying Signs of Water Damage Under the Sink
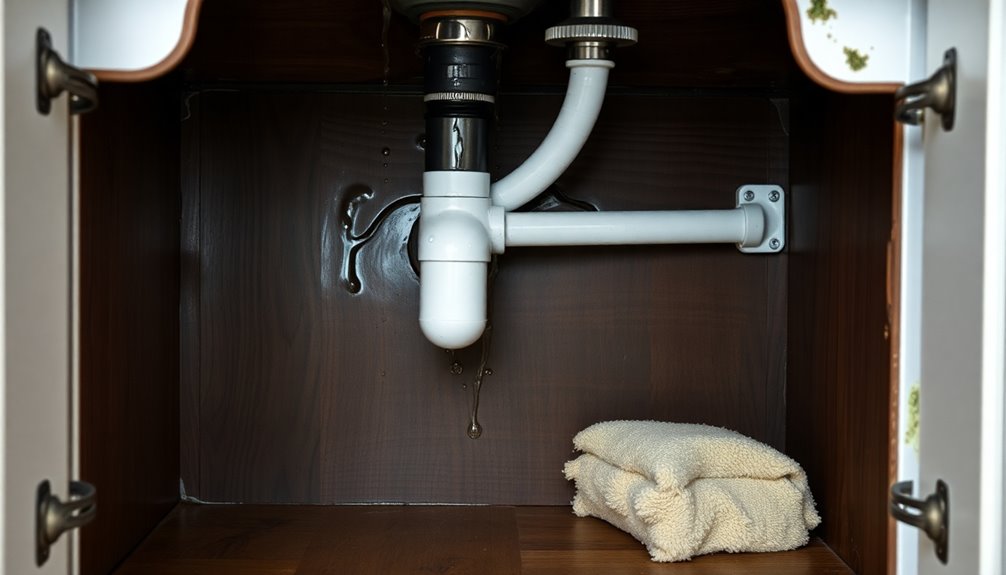
When you notice discoloration or staining on the cabinet floor, it's often a clear sign of water damage under your sink.
These signs include a musty or damp smell that suggests moisture buildup, leading to potential mold growth. You might also see warping or buckling of the cabinet floor, indicating prolonged exposure to water.
If you spot mold or mildew, it's a serious indication that you need to act quickly to address both the damage and the source of moisture. Ignoring these signs can result in further deterioration, including rotted wood and costly repairs.
Make it a priority to identify the source of the leak to prevent additional damage and safeguard your kitchen's integrity.
Common Causes of Water Damage Under the Kitchen Sink

Water damage under the kitchen sink often stems from a few common culprits. One major issue is leaky pipes, which can occur due to wear and tear or loose connections. These water leaks can lead to significant structural damage if not addressed promptly.
Additionally, condensation on cold water pipes can create moisture buildup, leading to dampness in the cabinet under the kitchen.
Improper drainage or clogged drains can also cause water to overflow, leaking into that same cabinet area.
Finally, sealant failure around the sink or faucet can allow water to seep below, contributing to damage.
Regular inspections and timely repairs are essential for maintaining the integrity of your kitchen cabinets and preventing these problems.
Step-by-Step Guide to Repairing Water Damage
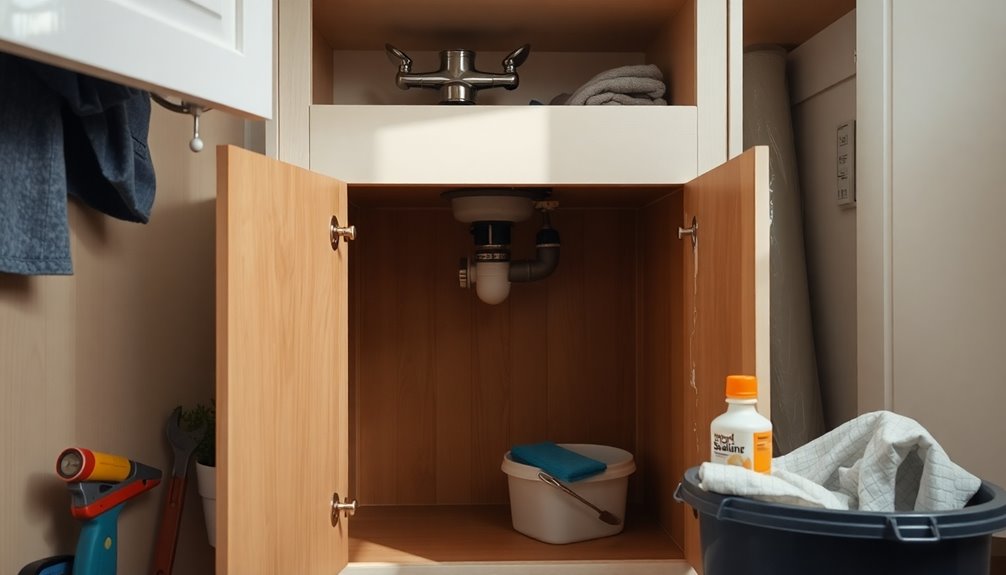
To effectively tackle water damage under your kitchen sink, start by evaluating the extent of the problem. Look for signs like discoloration, warping, or mold on the cabinet bottom.
Next, shut off the water supply and fix any leaks to prevent further damage.
- Carefully remove damaged particle board or cabinet base using a saw.
- Measure and cut a new piece of plywood or solid wood to fit the space.
- Secure the new piece with nails or liquid nails, using blocks for support.
- Seal the edges with caulk to prevent moisture infiltration.
After installation, guarantee proper ventilation to minimize future water damage risks.
These steps will help restore your kitchen cabinet and maintain its integrity.
Preventive Measures to Avoid Future Water Damage
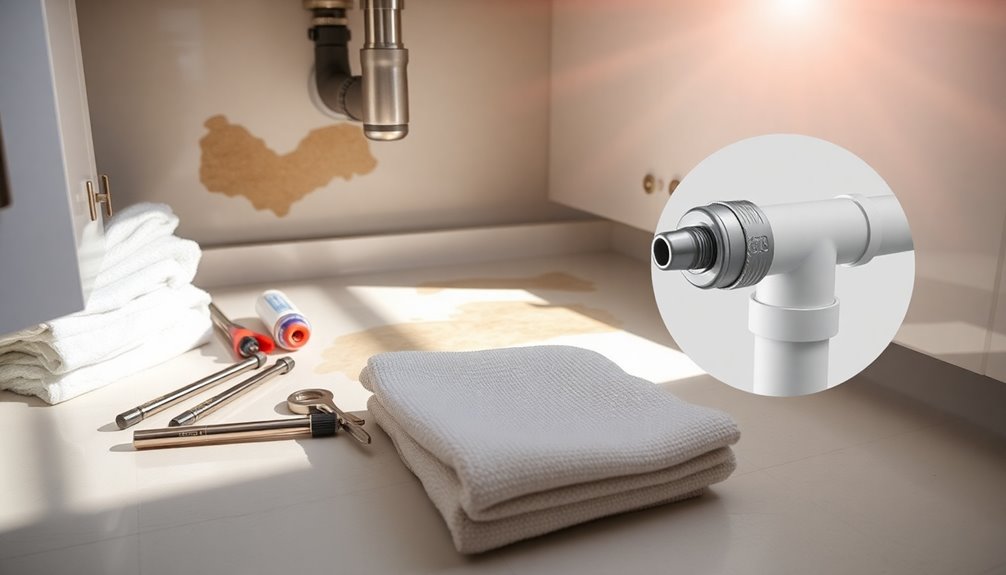
Although you may think your kitchen sink is safe, taking preventive measures can save you from future headaches caused by water damage.
Start by regularly inspecting your plumbing connections for leaks, tightening or replacing any worn fittings promptly. Apply a waterproof sealant to the seams and edges of your sink and countertop to guard against water seepage.
Use waterproof materials, like marine-grade plywood or moisture-resistant boards, for the cabinet base under the sink, ensuring it withstands any exposure to water.
Additionally, maintain good ventilation in the cabinet area by leaving the doors slightly open when not in use or installing a small fan to reduce moisture buildup.
These steps can help keep your kitchen safe and dry.
When to Seek Professional Help for Water Damage Repairs
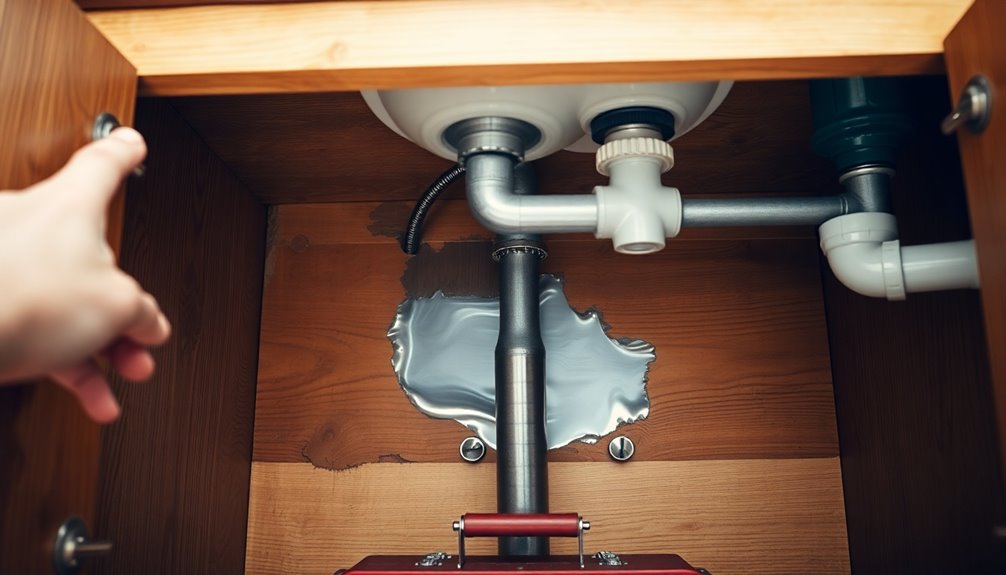
When dealing with water damage, knowing when to call in professionals can be essential for your home's safety and integrity.
If you notice any of the following, it's time to seek professional help:
- Extensive mold growth that poses health risks.
- Significant damage to structural elements, like beams or flooring.
- A lack of tools or experience to handle repairs effectively.
- Health concerns arising from prolonged exposure to dampness.
Professionals can assess hidden damage that DIY fixes might miss, ensuring a thorough repair.
They'll also provide valuable advice on the best materials and methods to use.
If you're facing serious issues, don't hesitate—getting expert help can save you time and prevent further complications from water damage.
Frequently Asked Questions
How to Treat Water Damage Under a Kitchen Sink?
To treat water damage, start by inspecting the area for signs like discoloration or mold.
Remove any damaged materials carefully, ensuring you don't harm surrounding structures.
Treat the remaining wood with a wood hardener to prevent future issues, then fill gaps with wood filler for a smooth finish.
Replace the damaged sections with new wood, securing it well.
Finally, apply a waterproof sealant and keep an eye on the area for any signs of moisture.
How to Dry Out Particle Board Under Sink?
Imagine a soggy sponge, full and heavy, dragging you down.
To dry out particle board under your sink, start by clearing the cabinet for air to flow freely.
Use a fan or dehumidifier to whisk away moisture, like a gentle breeze on a hot day.
If it's only damp, let it sit for hours.
For severe cases, soak up excess water with towels.
Finally, seal it to shield against future spills.
How Much Does It Cost to Replace an Under Sink Cabinet Floor?
Replacing an under sink cabinet floor typically costs between $100 and $500, depending on the damage and materials you choose.
Plywood sheets range from $30 to $60, while solid wood can be pricier.
If you hire a handyman, expect to pay $50 to $100 per hour, with most jobs lasting 2 to 4 hours.
For serious issues like mold, costs can exceed $1,000, but DIY options can save you money by targeting just the damaged areas.
How to Fix a Water Leak Under the Sink?
You've got a mini Niagara Falls under your sink, and it's time to stop the deluge!
First, identify the leak's source—faulty pipes or loose connections could be the culprits.
Turn off the water supply to halt the chaos.
Tighten any loose fittings, and swap out worn washers for a snug fit.
If it still leaks, consider replacing damaged pipes.
Once fixed, inspect for water damage to keep your kitchen safe and dry!
Conclusion
So, you've bravely tackled the water damage under your kitchen sink, only to realize it's a never-ending battle against the plumbing gods. You might as well start charging rent for all that mold. But hey, keep your spirits up! With a little diligence and some preventive measures, you can outsmart the leaks. Just remember, when in doubt, call in the pros before your kitchen turns into a swamp. After all, who needs a water feature in their home?
