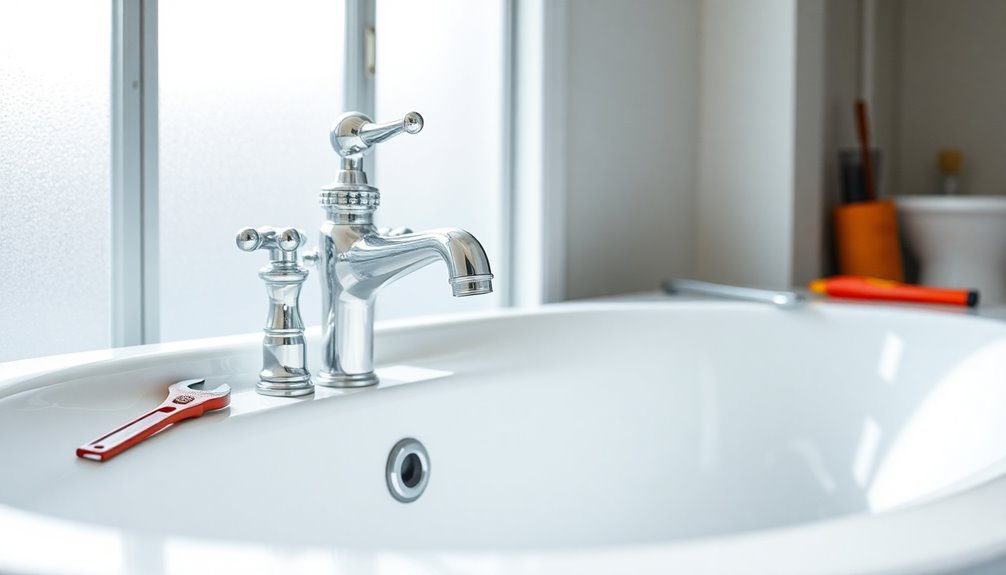

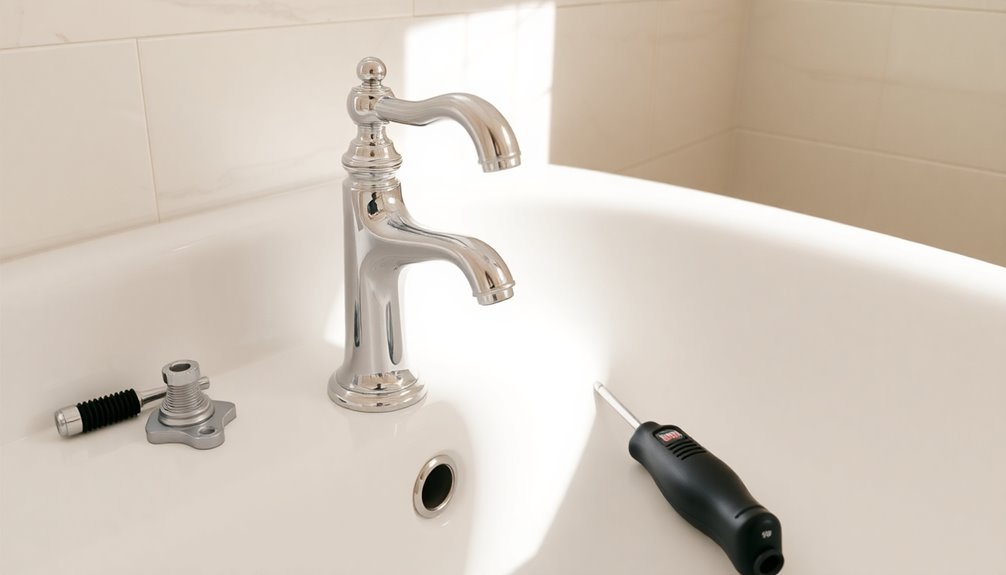
To replace a Roman tub faucet without an access panel, gather tools like a basin wrench, screwdriver, and utility knife. Shut off the water supply, then remove the old faucet by disconnecting supply lines. Clean the mounting surface thoroughly. Install the new faucet by aligning it with existing holes, tightening the nuts securely. Finally, reconnect the water supply, ensuring all connections are watertight. If you're unsure, there's more to learn about this process to help you succeed.
Key Takeaways
- Shut off the water supply and gather essential tools: basin wrench, screwdrivers, and utility knife for the job.
- Assess the area behind the tub for potential access holes to reach the faucet connections.
- Disconnect the old faucet by using a basin wrench and remove supply lines carefully, catching any spills with a bucket.
- Install the new faucet by positioning it accurately and securing it with mounting nuts using the basin wrench.
- Check for leaks and ensure all connections are watertight after the installation is complete.
Preparing for the Replacement
Before you plunge into replacing your Roman tub faucet, it's essential to gather a few important tools.
You'll need a basin wrench, a screwdriver, and possibly a utility knife for cutting through any surrounding materials. Familiarize yourself with your specific faucet model to understand the installation process and unique requirements.
If your tub lacks an access panel, assess the layout behind it to determine the best spot for cutting an access hole, making sure you avoid any plumbing lines.
Confirm you have a watertight gasket and sealing materials ready, as these are critical for preventing leaks after your new faucet is installed.
Finally, plan for potential complications—having a backup strategy, like contacting a plumber, can save you a headache if things get tricky.
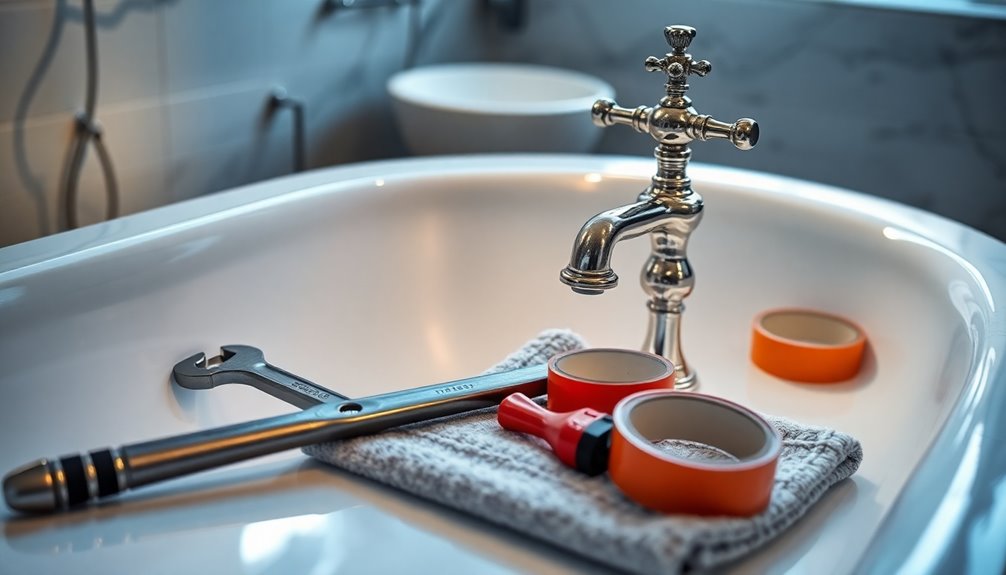
Tools and Materials Needed
Before you start replacing your Roman tub faucet, you'll need a few essential tools and materials.
Grab a basin wrench, adjustable wrenches, and a screwdriver set to help you access the plumbing connections.
Don't forget to have your new faucet and sealing materials ready for a smooth installation process.
Essential Tools Required
Replacing a Roman tub faucet requires a few vital tools to make the job easier and more efficient.
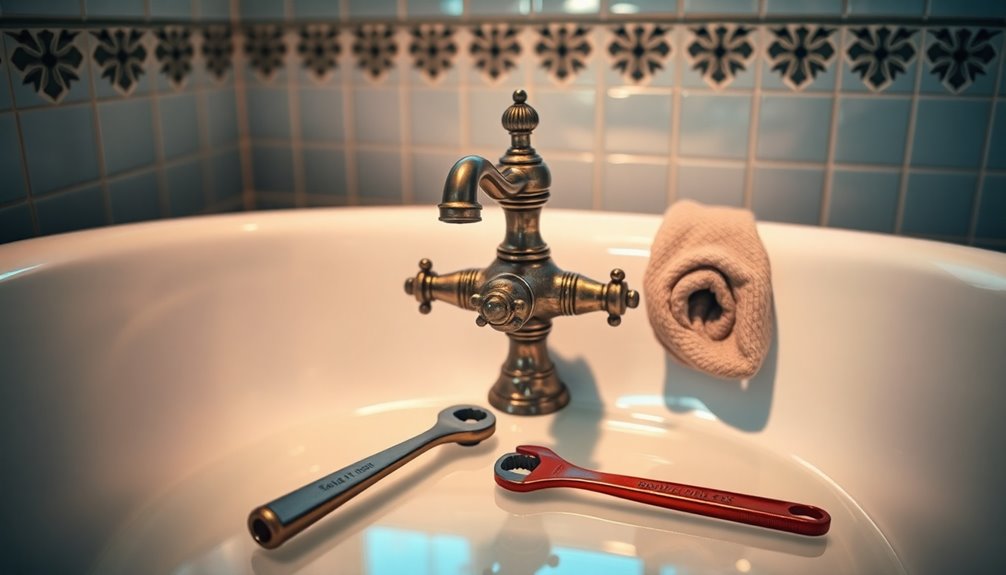
First, you'll need a basin wrench to reach and loosen the faucet nuts in those tight spaces. A screwdriver set, including both Phillips and flathead screwdrivers, is necessary for removing the faucet handles and escutcheons.
If you encounter any materials that need cutting, a utility knife or reciprocating saw might come in handy. Don't forget a bucket or towel to catch any water spills during the process.
Finally, plumber's putty will be vital for resealing connections and preventing leaks after you've completed the replacement.
With these tools, you're set to tackle the job smoothly!
Necessary Materials Overview
When you're ready to tackle the replacement of a Roman tub faucet, gathering the necessary materials is essential for a smooth process.
Start with a new faucet kit that's compatible with your existing plumbing. You'll also need plumber's tape to seal the threads and a watertight gasket to prevent leaks.
If you plan to cut into the wall or tub structure, consider getting an access door kit from a home improvement store for future maintenance. It's wise to have clear silicone sealant on hand for sealing any cuts or openings.
Finally, don't forget a bucket or towels to catch any water that might spill during the replacement. Having everything ready will make the job much easier!
Steps to Remove the Old Faucet
To start removing the old faucet, you'll need to identify the model to guarantee you have the right replacement.
Next, gather the necessary tools, including a basin wrench and screwdrivers, to make the process smoother.
Finally, don't forget to disconnect the water supply to prevent any leaks while you work.
Identify Faucet Model
How can you guarantee you've accurately identified your faucet model before starting the replacement process?
First, check for any brand markings or model numbers on the faucet's body or handle. You might need to remove the handle for a clearer view.
If you can't find any markings, take detailed photos from multiple angles; these can help you identify the faucet model online or in-store.
If it's a Moen faucet, look for a stamped number on the underside of the spout or handle.
Additionally, consider consulting the manufacturer's website or customer service with your photos and any visible markings.
Finally, make certain you have the correct measurements and specifications for the replacement faucet to verify compatibility.
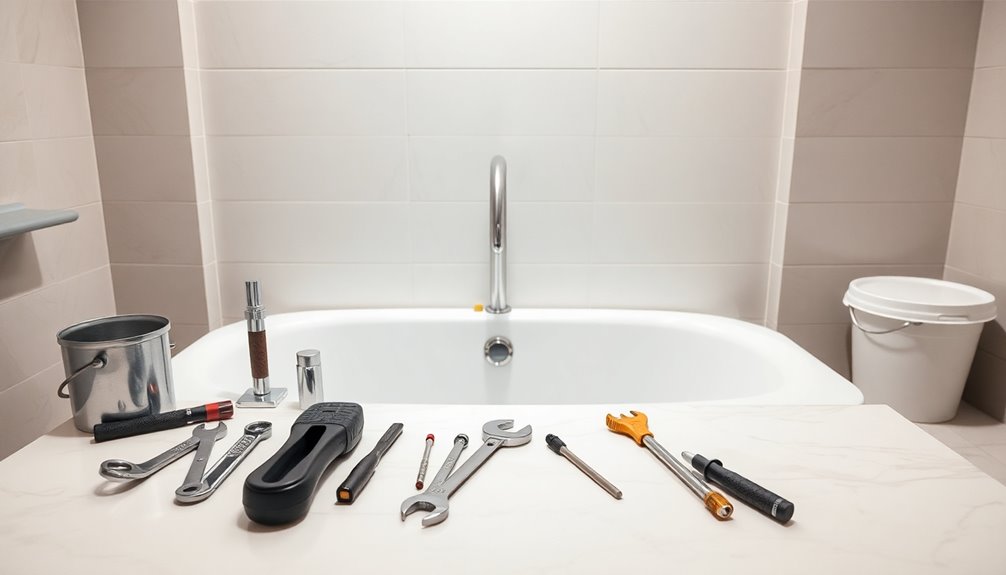
Gather Necessary Tools
After confirming you've got the right faucet model, it's time to gather the necessary tools for the replacement process.
You'll need a basin wrench, screwdriver, utility knife, and plumber's putty to guarantee everything goes smoothly.
If your faucet's secured with screws, grab the appropriate screwdriver to remove the handle and escutcheon, setting them aside safely.
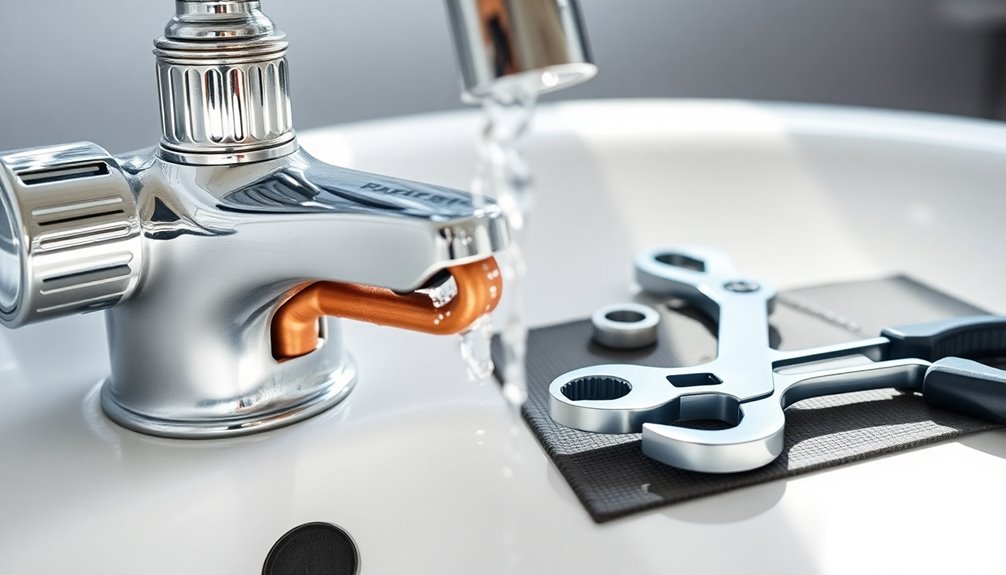
The basin wrench is essential for reaching those pesky nuts under the tub in tight spaces.
Don't forget an adjustable wrench for detaching the water supply lines—have a bucket or towels ready to catch any residual water.
After removing the old faucet, clean the mounting surface thoroughly to prepare for your new faucet installation.
Having these tools ready will make the job much easier!
Disconnect Water Supply
Before you plunge into removing the old faucet, it's crucial to shut off the water supply to prevent any unexpected leaks.
Look for the shut-off valve, usually located behind the access panel or in the basement if there isn't one. Once you've turned off the water, grab a basin wrench to disconnect the supply lines from the old faucet.
Make sure you have a bucket handy to catch any residual water that may spill out. Next, remove any trim or handles from the faucet by unscrewing them from the top.
If the faucet's mounted underneath, you might need to carefully cut an access hole in the wall or ceiling below to reach those mounting nuts.
Check for leaks before moving on!
Installing the New Faucet
Once you've created the access hole, you can begin installing the new faucet. Start by securing the valve to the tub, ensuring all connections are tight to prevent leaks.
Here are three essential steps to follow:
- Attach the Valve: Position the new faucet's valve beneath the tub and align it correctly with the existing holes.
- Tighten Connections: Use a basin wrench to tighten the mounting nuts securely, ensuring a snug fit.
- Seal the Access Panel: Once everything's in place, seal the access panel with a watertight gasket to maintain a proper seal.
After installation, test the new faucet for functionality and leaks. If everything operates smoothly, you're on your way to enjoying your newly installed Roman tub faucet!
Reconnecting the Water Supply
As you prepare to reconnect the water supply, make certain the valves leading to the tub are fully turned off to avoid any leaks during the process.
Position your new faucet correctly, then use a basin wrench or adjustable pliers to securely tighten the water supply lines.
If you're replacing a Moen faucet, double-check that all washers or gaskets are properly installed to guarantee a watertight connection.
If you're using flexible supply lines, confirm they're the right length to prevent excessive bending or strain.
Finally, keep an eye on each connection as you tighten them to avoid leaks. Confirming everything is secure now will save you time and trouble later on.
Testing for Leaks
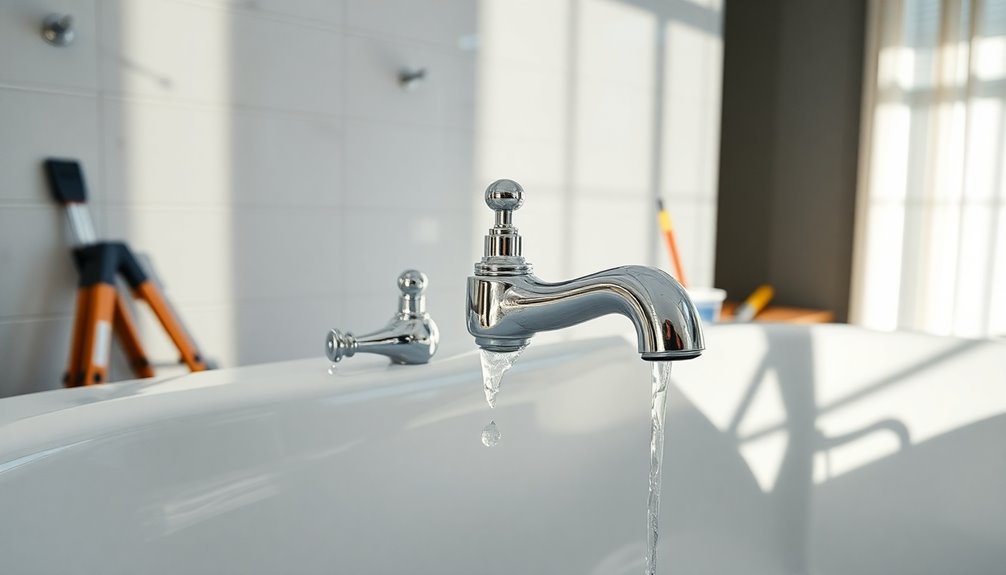
After securely reconnecting the water supply, it's time to check for leaks. Start by visually inspecting all connections for any signs of water escaping.
Here are three effective methods for testing for leaks:
- Wipe Down: Use a dry cloth to clean the area around the faucet and connections. After running the water for a few minutes, check for moisture.
- Check Handle Movement: Apply pressure to the faucet handles. If they shift excessively, it may indicate an improper seal, which could lead to leaks.
- Monitor Water Flow: Verify the water flow rate matches the expected output. A significant drop might suggest a leak in the system.
Additionally, consider using food coloring in the water to detect slow leaks.
Frequently Asked Questions
Are Roman Tub Faucets Interchangeable?
Roman tub faucets aren't universally interchangeable.
You'll need to check the specific design and specifications of your current faucet against potential replacements.
While some manufacturers offer interchangeable parts, mixing brands can lead to compatibility issues.
Make sure to match the mounting hole configuration, spacing, and dimensions for a proper fit.
It's a good idea to take your existing faucet or its details to a hardware store for help in finding the right replacement parts.
How to Remove Moen Roman Tub Spout?
To remove a Moen Roman tub spout, start by locating the set screw underneath the spout.
You'll need a 1/8-inch Allen wrench to loosen it. Once you've done that, gently slide the spout off the tub's spout pipe.
If it's stuck from mineral buildup, apply some penetrating oil to help loosen it.
Remember to check the O-ring on your new spout before installing to guarantee a proper fit and prevent leaks.
Can I Replace My Roman Tub Trim?
Yes, you can replace your Roman tub trim!
Start by ensuring you've got the same model for compatibility.
Then, unscrew the handles and escutcheon from above, which is usually straightforward.
Once you've got the new trim in place, make sure to tighten everything securely to prevent leaks.
If you're only changing the trim, you won't need to access the underside of the tub.
Enjoy your updated faucet!
Can You Change a Bathtub Faucet Without Changing the Valve?
Yes, you can change a bathtub faucet without changing the valve, as long as the existing valve is in good shape and compatible with your new faucet.
Before you start, check the valve and connections for any wear or damage. If you're only updating the trim, you can usually handle it from above, making the job simpler.
Just make sure the new faucet's installation instructions confirm it's a match for your existing valve.
Conclusion
As you wrap up your faucet replacement journey, remember that just like this project, life's challenges can be tackled with patience and the right tools. You've transformed a small corner of your home, bringing fresh functionality to your space, much like breathing new life into an old story. So, step back and admire your handiwork, knowing that with a little effort and determination, you've turned the tide on an obstacle and created something beautiful.