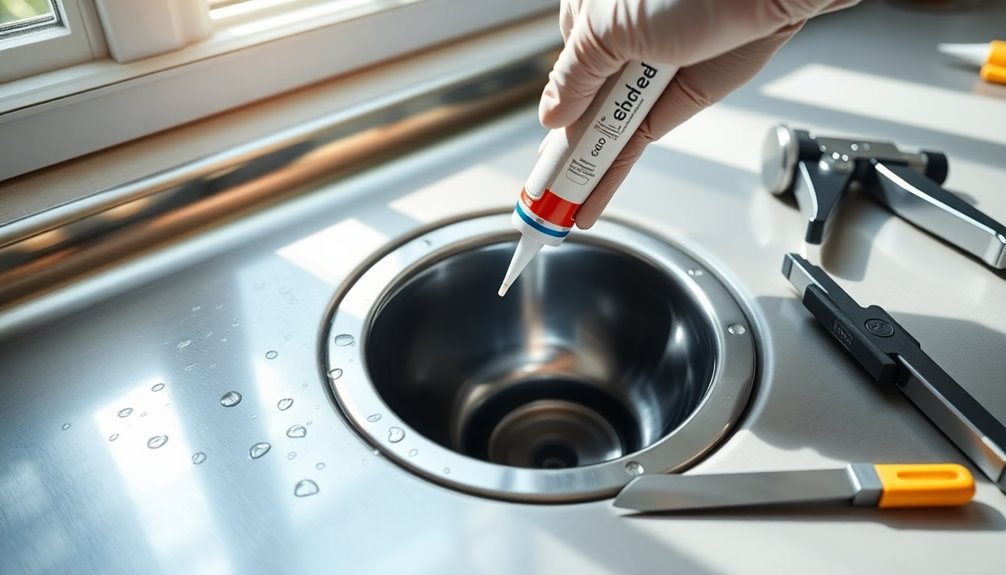
To seal your kitchen sink drain, start by cleaning the drain flanges and sink hole thoroughly. Apply a generous amount of 100% silicone sealant, like Loctite, to the underside of the drain flange. Reinsert it snugly and remove any excess sealant. Let the sealant cure for at least 24 hours. Don't forget to inspect for leaks afterwards. Keeping up with maintenance is essential, and you can discover more tips to guarantee a long-lasting seal.
Key Takeaways
- Clean the drain flange and sink hole thoroughly to ensure proper adhesion before applying sealant.
- Use 100% silicone sealant, like Loctite, for a durable and waterproof seal.
- Apply sealant generously to the underside of the drain flange before reinserting it snugly.
- Allow the sealant to cure for at least 24 hours to ensure effectiveness.
- Regularly inspect seals and components for wear and leaks to maintain a proper seal.
Choosing the Best Sealant for Your Kitchen Sink Drain
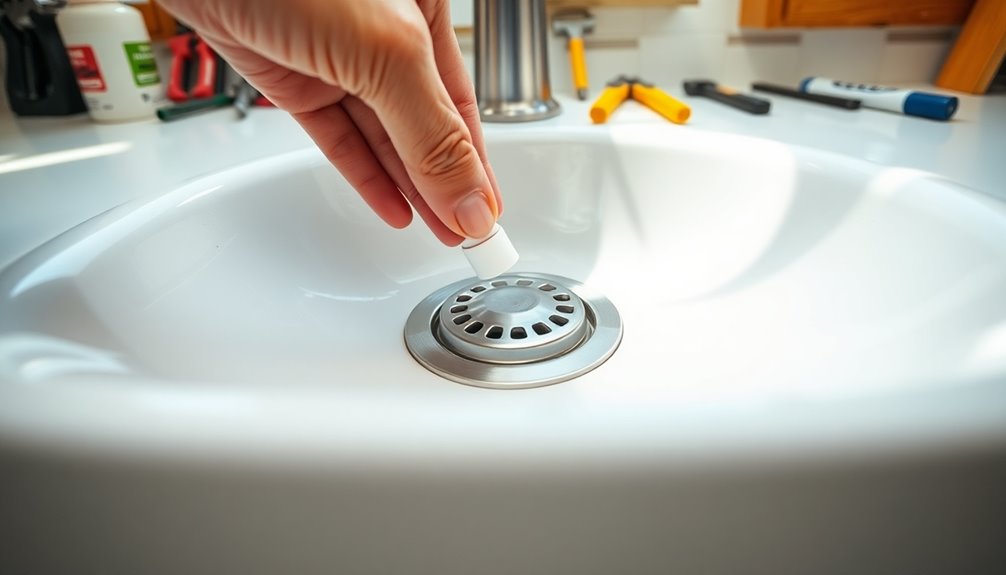
When you're sealing your kitchen sink drain, choosing the right sealant is crucial for preventing leaks.
Opt for a 100% silicone sealant, like Loctite 100% Silicone, as it's durable and resistant to mold and mildew. While plumber's putty has been a traditional choice, it can degrade over time, leading to more maintenance.
Before applying your sealant, make certain the surfaces are clean and dry to promote ideal adhesion. This step guarantees your kitchen sink drain is watertight and can withstand water pressure.
Remember to prioritize proper ventilation and wear gloves during application for safety and comfort.
Step-by-Step Guide to Sealing Your Kitchen Sink Drain
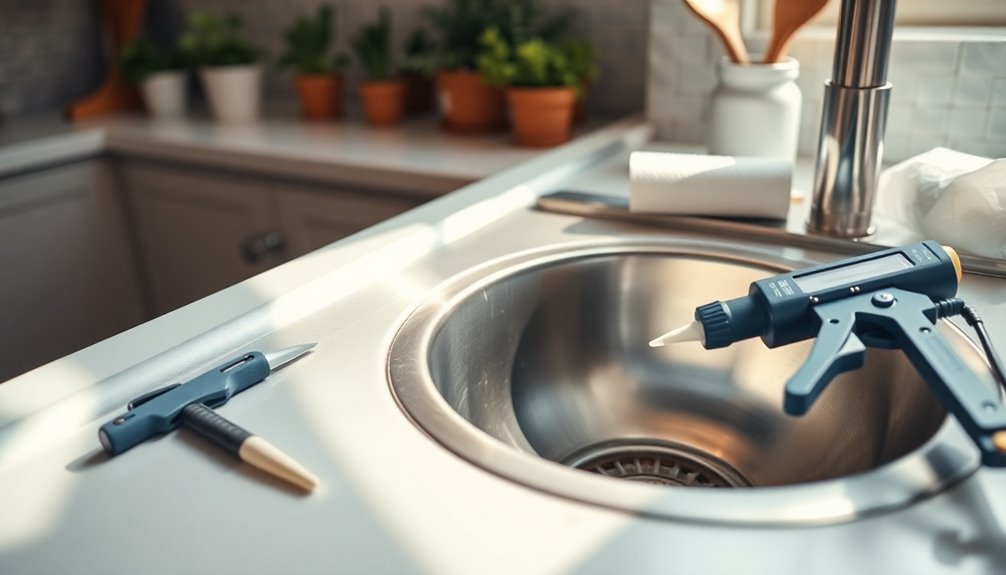
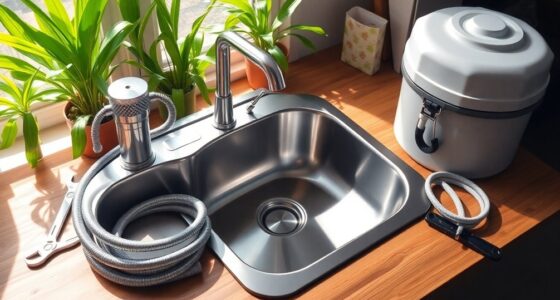
Before you begin sealing your kitchen sink drain, it's vital to gather all the necessary tools and materials.
You'll need silicone sealant, a caulking gun, and a utility knife.
First, remove the sink drain flange by loosening and unscrewing the pipe beneath the sink.
Clean any existing sealant from both the flange and sink hole to guarantee a proper seal.
Next, apply Loctite 100% Silicone sealant to the underside of the drain flange and reinsert it into the sink hole.
Make sure to remove any excess silicone for a neat finish.
Allow the silicone sealant to cure according to the manufacturer's instructions, usually at least 24 hours, and regularly check for leaks to maintain the integrity of your sink drains.
Recommended Products for Effective Sealing
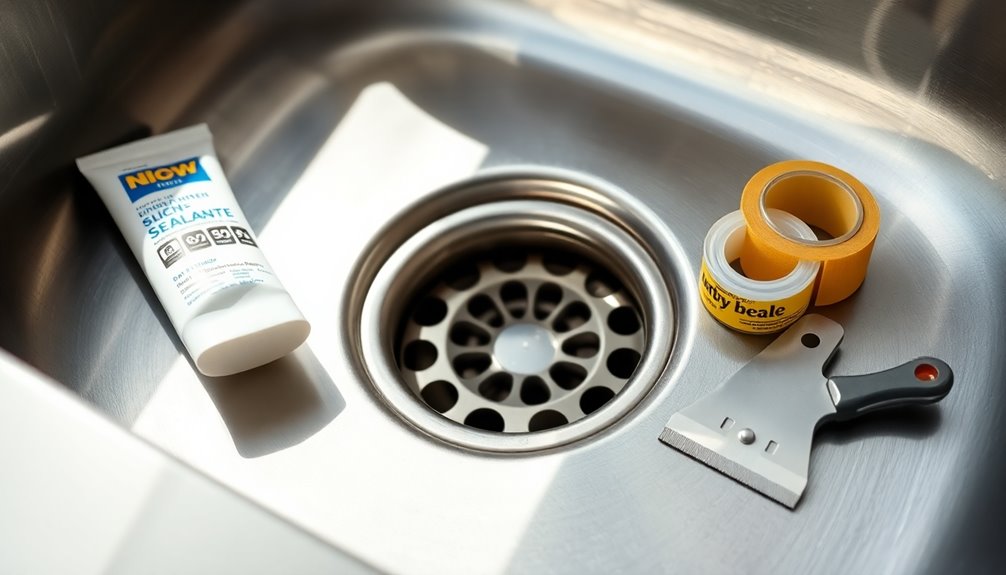
When sealing your kitchen sink drain, choosing the right products makes all the difference.
You'll find that silicone sealants, like Loctite 100% Silicone, offer lasting durability and a strong waterproof seal.
If you're considering alternatives, it's worth knowing the pros and cons of plumbers putty too.
Top Sealant Recommendations
Choosing the right sealant for your kitchen sink drain is essential for a leak-proof installation. One of the top recommendations is Loctite 100% Silicone. It offers durability, watertight integrity, and resistance to mold and mildew. Unlike traditional plumbers putty, silicone sealant provides a long-lasting seal that's ready for water exposure in just 2 hours.
| Sealant Type | Key Features | Recommended Use |
|---|---|---|
| Loctite 100% Silicone | Durable, mold-resistant | Kitchen sink drains |
| Plumbers Putty | Easy to use, not waterproof | Temporary seals |
| Gorilla Clear Sealant | Flexible, waterproof | General sealing needs |
Make sure to clean surfaces thoroughly before application for the best adhesion, and always follow the manufacturer's instructions. Regular leak inspections will help maintain the integrity of your seal.
Benefits of Silicone Sealants
Silicone sealants, like Loctite 100% Silicone, offer numerous advantages that make them a standout choice for sealing kitchen sink drains. They provide strong, watertight seals resistant to mold and mildew, ensuring your sink remains leak-free.
Unlike traditional plumbers putty, silicone sealants stay flexible and durable over time, reducing leak risks from degradation. Plus, their quick-drying formula allows for water exposure in as little as 2 hours, minimizing downtime during repairs.
You'll appreciate their versatility, as silicone sealants work effectively on various materials, including metal, plastic, and ceramic. By regularly using silicone sealants in your plumbing projects, you can achieve longer-lasting results, decreasing the need for frequent repairs and enhancing the overall reliability of your kitchen sink.
Plumbers Putty Alternatives
For effective sealing around your kitchen sink drain, exploring alternatives to traditional plumbers putty can make a significant difference.
Silicone sealants, like Loctite 100% Silicone, offer strong, watertight seals and resist mold and mildew. Unlike plumbers putty, which may soften in water, silicone maintains its integrity and cures quickly.
Here are three effective alternatives to evaluate:
- Loctite 100% Silicone – Durable and versatile for various applications.
- Rubber Gasket – Provides a reliable seal, especially for flanged connections.
- Epoxy Sealants – Great for permanent fixes, ideal for high-stress areas.
Remember to verify proper ventilation when using silicone and regularly check for leaks to maintain the integrity of your sink installation.
Common Issues and Leak Sources in Sink Drains
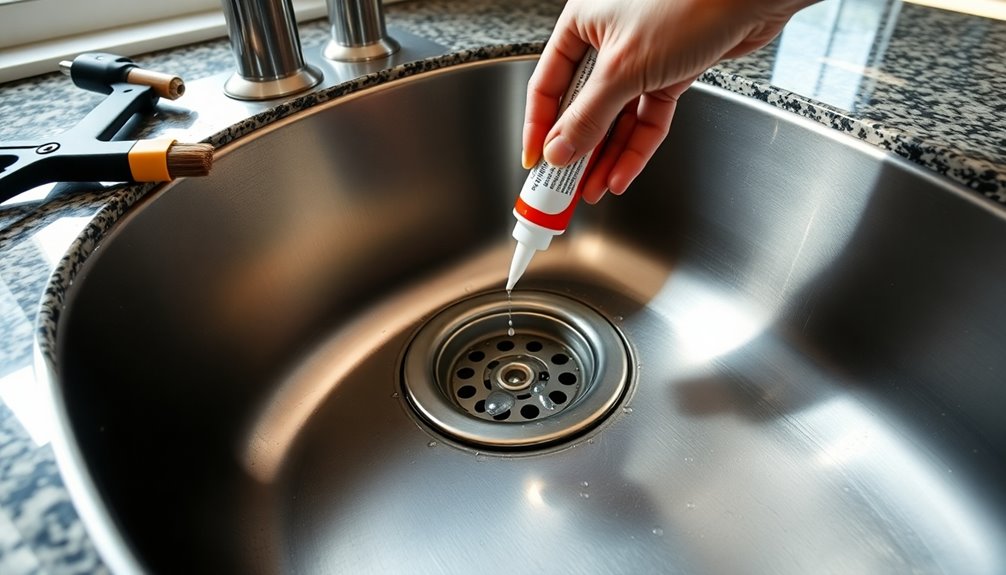
When sealing your kitchen sink drain, you might encounter some common issues that can lead to leaks.
Misaligned components, deteriorating gaskets, and poor seal quality are frequent culprits that can compromise your efforts.
Identifying these problems early can save you from frustrating water damage down the line.
Misaligned Components
Misaligned components in your kitchen sink drain can lead to frustrating leaks, especially if you don't catch them early.
If you're dealing with a leaky sink, here are a few common issues to check:
- Plastic Fittings: Verify parting lines align properly; misalignment can prevent a snug fit and cause leaks.
- P-Trap Joints: These are frequent leak points, so double-check their positioning for a secure seal.
- Old Metal Pipes: If you've disassembled them, realigning them correctly is crucial; otherwise, they may leak upon reassembly.
A quick visual inspection of your sink drain assembly can help identify any misalignments, preventing future leaks and maintaining a watertight seal.
Address these issues promptly to keep your kitchen dry and functional.
Deteriorating Gaskets
Deteriorating gaskets can silently cause significant issues in your kitchen sink drain, leading to frustrating leaks that interrupt your daily routine.
Often made of rubber, gaskets can age or wear out, allowing water to seep between drain components. Misalignment of the sink drain assembly puts uneven pressure on gaskets, resulting in premature failure.
If you don't replace old gaskets during installations, you're likely to encounter leaks as they degrade with time and pressure. Additionally, old metal pipes may leak after being disassembled and reassembled due to gasket damage.
Regularly inspecting and replacing gaskets helps prevent leaks between the drain basket and the sink, ensuring a proper seal and maintaining your plumbing system's integrity.
Poor Seal Quality
A proper seal is essential for your kitchen sink drain, as even minor issues can lead to significant leaks. You might face poor seal quality due to various factors.
Here are common sources of leaks:
- Misaligned Joints: Check the connections under water pressure; misalignment can cause leaks.
- Deteriorated Components: Old metal pipes may leak upon reassembly due to wear, so inspect them closely.
- Ineffective Sealing Materials: If plumbers putty softens in water, it indicates poor quality or incompatibility, leading to weak seals.
To prevent leaks, always use high-quality materials and guarantee proper installation techniques.
Regularly inspect the area between the drain basket and the sink, as well as P-trap joints, to maintain a reliable seal.
Maintenance Tips for Long-Lasting Seals

To guarantee your kitchen sink drain seals last, it's crucial to perform regular inspections for any visible leaks. Checking around the drain basket can help you catch issues early, preventing costlier repairs later.
Always clean surfaces thoroughly before applying sealants to guarantee proper adhesion; dirt can compromise your seal's effectiveness. Use high-quality sealants, like Loctite 100% Silicone, which resists mold and mildew, promoting longevity.
During installation, check the alignment of all components—misalignment can stress seals and lead to leaks. Don't forget to replace old or worn-out gaskets and washers promptly, as their deterioration greatly reduces sealing effectiveness.
Expert Advice on Plumbing Sealants and Techniques

When it comes to sealing kitchen sink drains, choosing the right sealant and technique can make all the difference in preventing leaks.
For a durable, watertight seal, use 100% silicone, like Loctite 100% Silicone. Here's what you need to do:
- Clean Thoroughly: Verify the drain flange and sink hole are free from debris to maximize adhesion.
- Apply Silicone: Generously apply silicone to the underside of the drain flange, then snugly reinsert it, removing any excess to avoid gaps.
- Consider Teflon Tape: Use Teflon tape on threaded connections to enhance sealing and prevent leaks.
Regularly inspect your seals and address any leaks promptly to prolong the lifespan of your sink drain installation.
Frequently Asked Questions
What Do You Use to Seal a Kitchen Sink Drain?
To seal a kitchen sink drain, you'll want to use either plumber's putty or silicone sealant.
Silicone's durability makes it a top choice, with products like Loctite 100% Silicone offering strong, watertight seals.
Start by cleaning the drain flange, then apply the sealant to the underside before reinserting it.
Make sure there's no excess silicone left.
After installation, regularly check for leaks to maintain your sink's integrity and prevent future issues.
Should I Use Silicone or Plumbers Putty for Sink Drain?
Think of your sink as a fortress, needing the right materials to keep it watertight.
When deciding between silicone and plumber's putty, you should lean towards silicone. It's like a reliable shield against moisture, offering durability and resistance to mold.
Plumber's putty can be effective, but it might soften over time, risking leaks.
Should I Use Silicone or Caulk for a Kitchen Sink?
When deciding between silicone and caulk for your kitchen sink, you should lean towards silicone.
It's more durable and resistant to mold and mildew, ensuring a long-lasting seal. While caulk might seem easier to apply, it often can't handle water pressure and temperature changes like silicone can.
Using 100% silicone, such as Loctite, will give you a reliable, waterproof seal that stands the test of time, reducing the chance of leaks in your kitchen.
How Do I Stop My Kitchen Drain Pipe From Leaking?
To stop your kitchen drain pipe from leaking, start by checking all fittings to confirm they're tight but not overtightened.
Inspect the rubber washer or gasket for any signs of wear; if it's damaged, replace it.
During installation, use plumber's putty or silicone sealant for a watertight seal.
Regularly check for leaks, especially after pressure changes.
If leaks persist, disassemble the drain, clean surfaces, and reapply sealant or replace damaged parts.
Conclusion
Sealing your kitchen sink drain doesn't have to be a hassle. With the right sealant and a bit of know-how, you can tackle leaks before they become a bigger problem. It's funny how a small step like this can save you from a weekend of water woes, isn't it? So grab your tools and get started—your kitchen will thank you later, and you'll enjoy peace of mind knowing everything's sealed up tight!
