
To winterize your outdoor faucet without a shut-off valve, start by disconnecting and draining any hoses. Then, open the faucet fully to let any remaining water flow out. Insulate the faucet and exposed pipes with foam or fiberglass insulation for added protection. Consider using heating tape for extreme cold. Check regularly for frost buildup and stay proactive to prevent plumbing issues. You can learn more techniques and options for effective winterization in the sections ahead.
Key Takeaways
- Disconnect and drain any attached garden hoses to prevent trapped water from freezing in the spigot.
- Open the outdoor faucet fully to allow any remaining water to drain out completely.
- Insulate the faucet and exposed pipes with foam or fiberglass to protect against freezing temperatures.
- Wrap the faucet in heating tape for additional warmth during extreme cold conditions.
- Regularly check the insulation and faucet functionality throughout winter to ensure proper protection.
Understanding the Importance of Winterization

When winter rolls around, understanding the importance of winterizing your outdoor faucet can save you from costly repairs.
If you don't winterize outdoor faucets properly, trapped water can freeze, leading to frozen pipes that might burst and cause significant water damage. To prevent this, you should drain the water from the faucet and the connected pipes before the temperatures drop.
Insulating exposed pipes and faucets also acts as a barrier against harsh winter conditions, minimizing the risk of freezing. Regular maintenance and winterization practices not only protect your plumbing system but also guarantee it lasts longer.
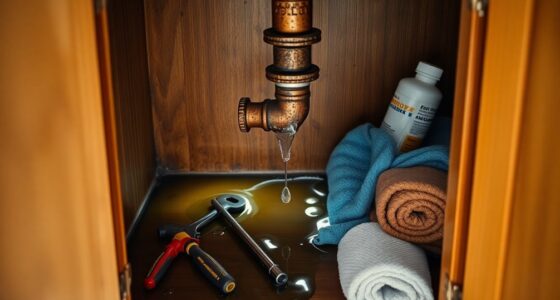
Identifying the Right Tools for Winterizing

To winterize your outdoor faucet effectively, you'll need a few essential tools on hand.
Start with an adjustable wrench to loosen any fittings and an old rag to catch any dripping water. If the faucet handle is stuck, a lubricating spray like WD-40 can help ease movement, allowing for a complete shut-off.
You'll also want a bucket or container to collect any water remaining after you open the faucet. This minimizes spills and guarantees all water is expelled.
Finally, having insulation material, such as foam or fiberglass, is vital for protecting the faucet from freezing temperatures once you've drained it.
These tools will set you up for a successful winterization process.
Step-by-Step Guide to Winterizing Your Faucet
To winterize your outdoor faucet, start by identifying the type of faucet you have, as this will guide your insulation techniques.
Next, you'll want to wrap the faucet and any exposed pipes to protect them from freezing temperatures.
Finally, make sure to drain any remaining water to minimize the risk of ice forming inside the pipes.
Identify Faucet Type
A crucial first step in winterizing your outdoor faucet is identifying its type. Check if you have a plain sill cock or an anti-freeze sill cock.
Plain sill cocks are more susceptible to freezing, while anti-freeze versions feature a longer stem that helps keep the valve mechanism insulated from the cold.
Next, inspect the faucet for any visible shut-off valve; if you don't find one, you'll need to take extra precautions.
Use outdoor faucet covers and insulating materials like foam or fiberglass to wrap the faucet and exposed pipes completely.
Remember to keep the faucet open during winter to drain any remaining water, as trapped water can expand and cause damage.
Proper maintenance guarantees your faucet stays safe from freezing.
Insulation Techniques
Once you've identified your faucet type, it's time to focus on insulation techniques to protect it from winter's chill.
Start by wrapping your outdoor faucet with materials like Styrofoam, fiberglass insulation, or heating tape. Make certain the insulation covers all exposed areas of the faucet and any visible pipes leading to it; this helps retain heat and prevents ice formation.
Consider using a cold-weather faucet cover designed specifically to shield against cold temperatures. Additionally, maintain a proper slope for any piping to guarantee effective drainage, which can reduce the risk of freezing.
Regularly check your insulation and coverings throughout the winter, especially during extreme cold snaps, to make sure they remain intact and continue to prevent damage.
Drain Water Properly
Winterizing your outdoor faucet involves a few essential steps to guarantee it's protected against freezing temperatures.
One key task is to properly drain any remaining water to prevent issues. Follow these steps:
- Detach and drain any garden hoses connected to the outdoor spigot.
- Open the faucet fully to allow the water supply valve to drain any residual water from the pipes.
- Insulate the faucet and exposed pipes with Styrofoam or fiberglass to create a barrier against cold.
- If needed, apply heat tape to the pipe leading to the faucet for extra protection.
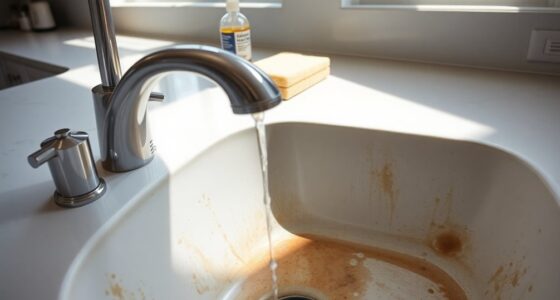
How to Properly Drain Your Outdoor Faucet

Properly draining your outdoor faucet is essential to prevent damage from freezing temperatures. Start by detaching any hoses and allow them to drain completely.
Next, open the outdoor faucet fully to drain any remaining water in the pipes. This step guarantees you remove as much liquid as possible from your outdoor plumbing system. If you notice water still trapped, you might want to gently shake the faucet to encourage it to flow out.
After draining, consider winterizing your outdoor faucets by insulating them and any exposed pipes with Styrofoam or fiberglass insulation. This extra layer of protection will help safeguard against freezing conditions, keeping your outdoor faucet in good condition throughout the winter months.
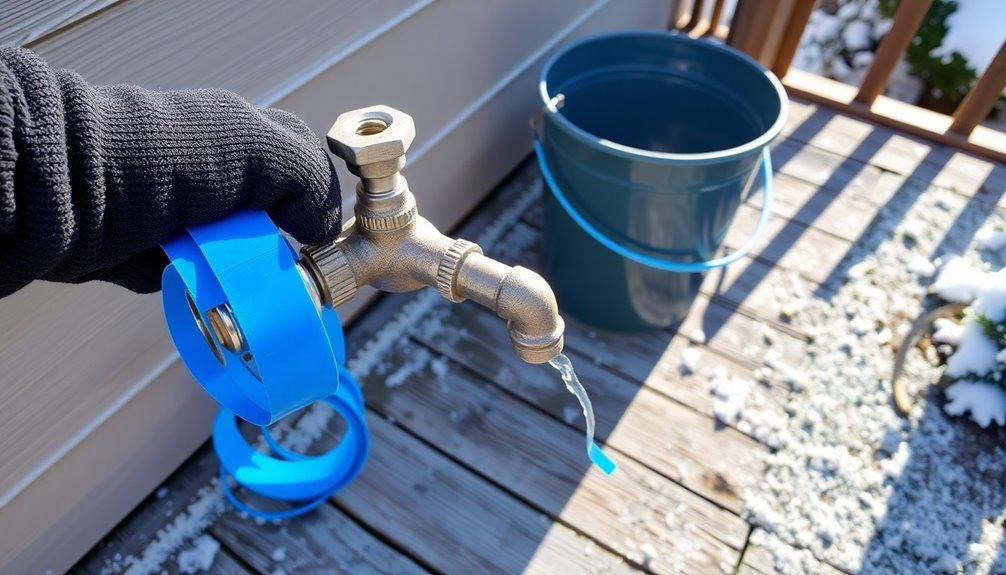
Insulating Your Faucet for Maximum Protection

To keep your outdoor faucet safe from freezing temperatures, insulating it's vital. Proper insulation can prevent freezing that leads to pipe bursts.
Here are some effective ways to insulate your faucet:
- Use Styrofoam: Wrap the faucet and exposed piping with Styrofoam for excellent insulation.
- Apply Fiberglass: Consider fiberglass insulation for added protection against the cold.
- Install Heating Tape: Use heating tape around the faucet and pipe to maintain a consistent temperature.
- Get Insulated Faucet Covers: Invest in specialized covers for outdoor spigots to provide an extra layer of insulation that's easy to remove when not needed.
Regularly check your insulation to guarantee your faucet stays protected from the harsh winter freeze.
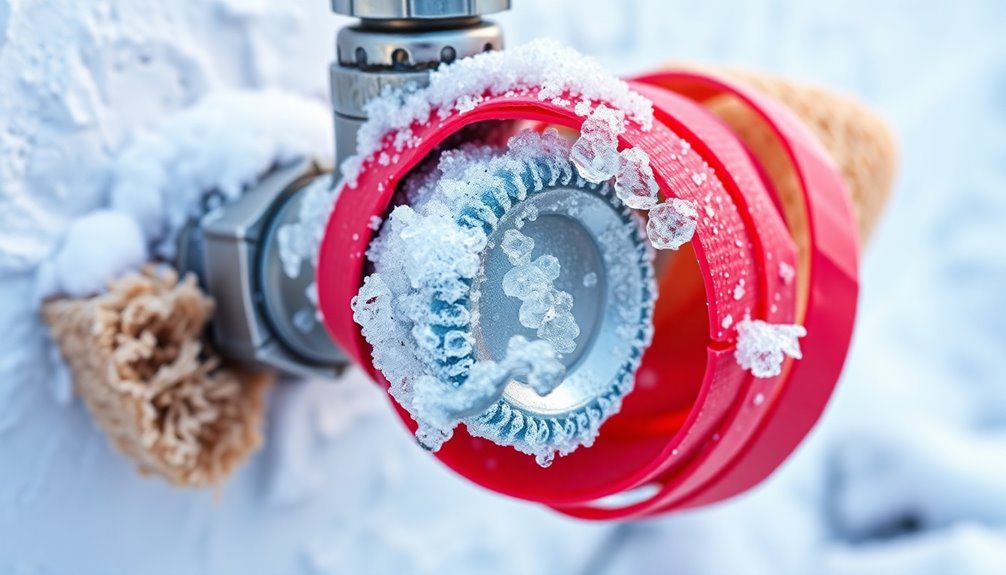
Signs of a Frozen Faucet and How to Address Them

As temperatures drop, you might notice signs that your outdoor faucet is at risk of freezing. A frozen faucet often leads to no water flow, along with unusual noises like whistling or banging.
You may also spot visible frost on the faucet or nearby pipes, and leaks could appear due to cracks from expanding ice. If you suspect a frozen faucet, gently warm the pipe using a hair dryer or heat tape—never use an open flame—to thaw the blockage.
Keep a close eye on this process to avoid damage from pressure buildup. If water flow returns but leaks persist, your faucet may need repair or replacement.
Regularly check outdoor spigots to winterize them effectively before the cold sets in.
Preventive Measures for Future Winters

While winter may seem far off, taking proactive steps now can save you from the hassle of dealing with frozen outdoor faucets later.
Here are some effective preventive measures you can implement:
- Insulate your faucets and exposed pipes with foam or heating tape to prevent freezing.
- Install a freeze-proof spigot that keeps its valve deeper in the wall, away from cold temperatures.
- Check for proper drainage slope from your building to guarantee no residual water is left in the pipes.
- Add a secondary shut-off valve near the faucet for easier winterization and maintenance.
Exploring Alternative Faucet Options

When winterizing your outdoor faucet, consider alternative options that can enhance protection.
You might install a frost-free sillcock or retrofitting your current faucet with insulated covers.
These choices not only prevent freezing but also guarantee your outdoor plumbing remains functional throughout the cold months.
Insulation Techniques for Protection
One effective way to protect your outdoor faucet from winter's chill is by implementing insulation techniques.
These methods can help prevent freezing and keep your water flowing smoothly:
- Insulated Covers: Wrap the faucet and exposed pipes with insulated covers specifically designed for outdoor faucets.
- Styrofoam or Fiberglass: Use materials like Styrofoam or fiberglass to insulate the faucet and surrounding pipes effectively.
- Heating Tape: Apply heating tape to the pipe leading to the faucet to provide warmth during extreme cold.
- Regular Checks: Keep an eye out for frost or ice on the faucet and pipes, adding more insulation as needed.
Consider upgrading to a freeze-proof faucet in the future for added protection against harsh winter conditions.
Alternative Faucet Types
If you're looking for ways to winterize your outdoor plumbing, considering alternative faucet types can make a significant difference.
Frost-free sillcocks are designed to prevent freezing, keeping the valve mechanism insulated from cold temperatures. They're a great choice if you don't have a shut-off valve.
Another option is a freeze-proof spigot, which features a longer stem that places the valve deeper inside your home, where it's warmer.
You might also install anti-siphon valves, which not only prevent freezing but also protect against contamination from backflow.
To further safeguard your faucet, use insulated faucet covers to add an extra layer of protection.
Finally, opt for durable materials like brass or stainless steel for long-lasting performance.
When to Call a Professional Plumber

Wondering whether to tackle winterizing your outdoor faucet yourself or call in a professional plumber? Here are some situations where it's best to seek help:
- You lack the experience or tools to properly insulate the outdoor faucet.
- Your faucet is exposed and you need advice on the best insulation methods to prevent freezing issues.
- You suspect your outdoor plumbing has frozen and need a professional to safely thaw the pipes and check for damage.
- You're unsure about the plumbing layout or can't locate a shut-off valve, and need assistance improving your system.
In these cases, hiring a plumber can save you time and protect your home from potential water damage.
Tips for Maintaining Your Outdoor Plumbing

To keep your outdoor plumbing in top shape, focus on insulation techniques for pipes and regular faucet inspections.
You should always check for leaks and signs of frost, especially during colder months.
Additionally, having emergency freeze prevention tips on hand can save you from costly damage when temperatures drop.
Insulation Techniques for Pipes
As winter approaches, taking steps to insulate exposed pipes leading to your outdoor faucet is crucial for preventing freezing. Effective insulation can greatly reduce the risk of your pipes bursting.
Here are some techniques to take into account:
- Foam Pipe Sleeves: Wrap your pipes with foam sleeves for easy installation and effective insulation.
- Fiberglass Insulation: Use fiberglass for extra protection, especially in colder regions.
- Heating Tape: Apply heating tape to provide continuous warmth to vulnerable areas.
- Dark-colored Materials: Opt for dark insulation that absorbs heat during the day, helping retain warmth.
Also, confirm proper drainage from your building to avoid trapped water, and regularly check for wear on insulation. Regular home cleaning can also contribute to maintaining your plumbing by keeping the surrounding areas free from debris that can block drainage.
Protect your outdoor plumbing this winter!
Regular Faucet Inspections
Regular inspections of your outdoor faucet can prevent costly plumbing issues and protect your home from winter damage.
Start by checking for leaks, frost, or ice buildup—these signs can warn you of potential freezing risks that require immediate attention.
Confirm that exposed pipes leading to your outdoor faucet are well-insulated with foam or fiberglass to guard against freezing temperatures.
Don't forget to assess the slope of the piping; improper drainage can trap water, increasing the risk of freezing.
Periodically test the faucet's functionality by turning it on and off to avoid rust or corrosion.
Finally, consider investing in frost-free faucets or insulating covers for enhanced winterization and added protection against the cold.
Emergency Freeze Prevention Tips
When temperatures plummet, taking immediate action can save your outdoor plumbing from freezing damage. Here are some emergency freeze prevention tips to keep your outdoor faucet water flowing and frost free:
- Insulate the faucet and exposed pipes with Styrofoam or fiberglass to shield against harsh conditions.
- Wrap the faucet in heating tape for consistent warmth and to minimize ice formation.
- Use a space heater nearby if extreme cold is forecasted, adding extra heat around the faucet area.
- Check regularly for frost or ice build-up; early detection is key to preventing severe freezing issues.
Frequently Asked Questions
Do All Houses Have Shut-Off Valves to Outdoor Faucets?
Not all houses have shut-off valves for outdoor faucets. Many older homes lack these valves because builders focused on convenience and insulation rather than strict code compliance.
You might find that some homes do have these valves located indoors, possibly behind walls or in hard-to-reach areas.
It's a good idea to check your plumbing layout to see if you have one, as their absence can lead to freezing and damage during winter.
How Do I Find the Shut off Valve for an Outdoor Faucet?
Seeking the shut-off valve? Start by scanning the space where the faucet's pipe travels.
Trace that tubing back into your home, and you'll likely spot the valve along its journey. Look in likely locations like basements, utility rooms, or under sinks.
If you can't find it, consider consulting a plumbing pro. Staying savvy about your system helps avoid winter woes!
Don't forget, a secondary valve can be a smart solution.
How Do You Winterize an Outside Faucet?
To winterize your outside faucet, start by insulating the faucet and any exposed pipes.
Use materials like Styrofoam or fiberglass insulation to keep the cold at bay.
Open the faucet to let any leftover water drain out, reducing the chance of ice forming inside.
Consider wrapping the spigot and pipe with extra insulating material.
Keep an eye on winter temperatures and add more insulation if severe cold is expected.
Can I Wrap My Outside Faucets With a Towel?
You can wrap your outside faucets with a towel, but it's not the best long-term solution against freezing.
While it provides some insulation, towels can absorb water, which might lead to ice formation if not drained properly.
Instead, consider using specialized outdoor faucet covers designed for this purpose.
Just make sure you drain the faucet completely before wrapping it and regularly check for any moisture buildup during those chilly spells.
Conclusion
In the grand scheme of winter prep, giving your outdoor faucet a little TLC can save you from a chilly surprise come spring. By winterizing properly, you're not just preventing potential plumbing headaches; you're ensuring your home stays cozy and worry-free. So, don't let the frost catch you off guard! With a bit of effort now, you can enjoy peace of mind all winter long, knowing your plumbing is snug as a bug in a rug.