If your faucet won't turn off, start by shutting off the water supply under the sink. Next, check the handle for tightness. Inspect the cartridge and valves for wear or damage. If they're worn out, replace them accordingly. Clean any debris from the faucet parts and reassemble everything tightly. Finally, restore the water supply and test the faucet. If problems persist, there are further steps and tips that can help you resolve the issue effectively.
Key Takeaways
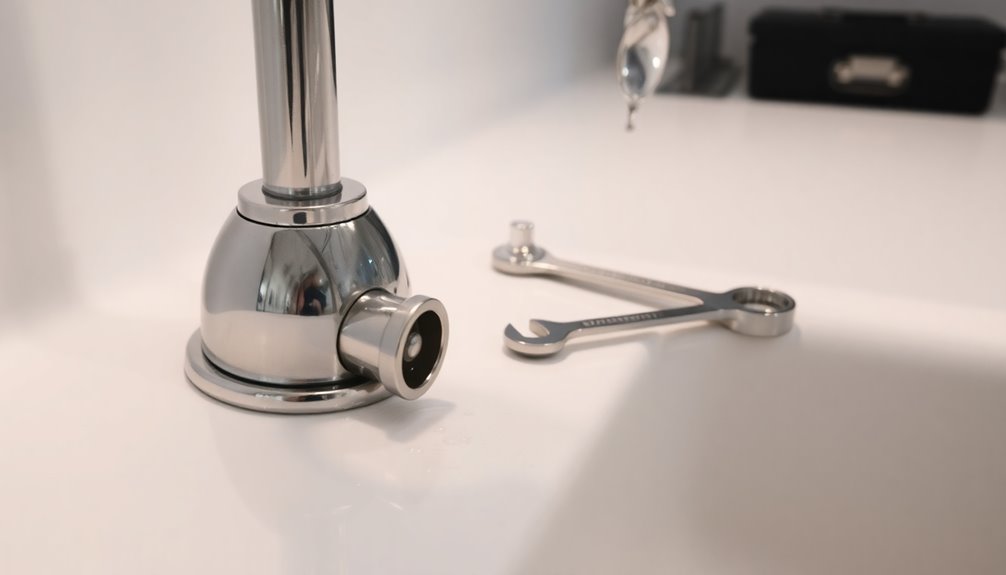
- Shut off the water supply under the sink by turning the valves clockwise to stop the flow before beginning repairs.
- Inspect the faucet handle for looseness; tighten screws or replace the handle if it doesn't engage properly.
- Check the cartridge and valves for wear or damage, as they may need replacement to restore proper function.
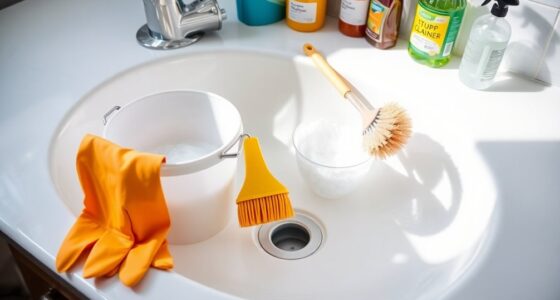
- Clean any mineral buildup or debris from faucet parts to ensure smooth operation and prevent further issues.
- Reassemble the faucet carefully after repairs, ensuring all components are secure and functioning correctly.

RP25513 faucet stem assembly Replacement Kit for two handle faucet repair kit with RP24096 Cartridge RP4993 Seats Springs RP24097 1/4 Turn stop, 2 Pack
- Package Includes: 2 stems, 2 stops, 2 seats, 2 springs
- Universal Compatibility: Fits hot and cold faucets
- Reliable Repair Kit: Fixes leaks caused by stem, spring, or seat failure
As an affiliate, we earn on qualifying purchases.
As an affiliate, we earn on qualifying purchases.
Understanding Faucet Mechanics

When you understand how your faucet works, it becomes much easier to diagnose and fix any issues that arise. The faucet mechanics involve a combination of handles, cartridges, and valves that control water flow and temperature. Each component plays a significant role, and a malfunction in any part can lead to problems, like a faucet that won't turn off.
The cartridge, often made of plastic or ceramic, regulates water flow; when it experiences wear and tear, it may need to be replaced. Regular maintenance, such as checking washers and seals, can help prevent common issues.
Knowing the specific mechanics of your faucet type—whether it's single-handle or double-handle—will assist you in effectively diagnosing and resolving problems.
Common Reasons for Faucet Malfunction
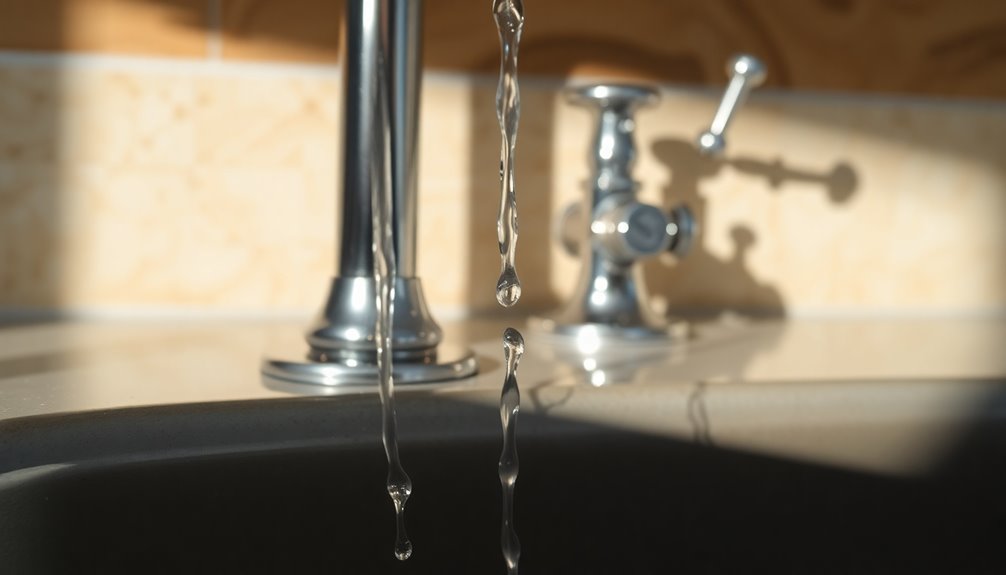
Faucets can malfunction for several reasons, and understanding these common issues can save you time and frustration. One common reason is a faulty valve that prevents proper sealing, leading to continuous water flow.
Additionally, worn-out washers or seals within the faucet may fail to create a tight seal when turned off, causing leaks. A malfunctioning faucet cartridge, often made of plastic or ceramic, can also hinder the faucet from shutting off completely if damaged or clogged.
Finally, stripped faucet handles might make it difficult to turn the faucet off, as they no longer engage properly with the stem. Regular maintenance can help you identify and address these issues, allowing you to repair or replace components before they escalate.
Steps to Fix a Faucet That Won't Turn Off

When your faucet won't turn off, start by shutting off the water supply under the sink to stop the flow.
Next, inspect the faucet handle for any looseness or damage, and tighten any screws you find.
After that, check the cartridge and valves to see if they need replacing or repair.
Shut Off Water Supply
To fix a faucet that won't turn off, the first step is to shut off the water supply.
Look for the shut-off valves under your sink; you'll usually find hot (H) and cold (C) valves there. Turn both valves clockwise to shut off the water.
If your sink doesn't have individual valves, locate the main water supply valve near the water meter and turn it off. This action prevents further water flow.
Once you've shut off the water, open the faucet to relieve any remaining pressure and confirm no water is coming through the spout.
Taking these steps is relatively easy and essential before you start any repairs on a faucet that won't turn off.
Always prioritize safety!
Inspect Faucet Handle
After shutting off the water supply, the next step is to inspect the faucet handle.
Start by checking for looseness or any signs of damage. If you notice any issues, tighten the screws or set screws located under the decorative cap.
Next, inspect the handle's stem for worn-out washers or seals, as these can prevent the faucet from shutting off completely.
Make certain there are no obstructions in the valve body that could hinder the handle's operation.
If the handle spins freely without settling into position, it's a sign you may need to replace the handle.
Once you've made any necessary adjustments or replacements, restore the water supply and test the faucet to confirm it functions properly.
Check Cartridge and Valves
If your faucet still won't turn off after inspecting the handle, it's time to check the cartridge and valves. First, shut off the water supply to prevent any flooding.
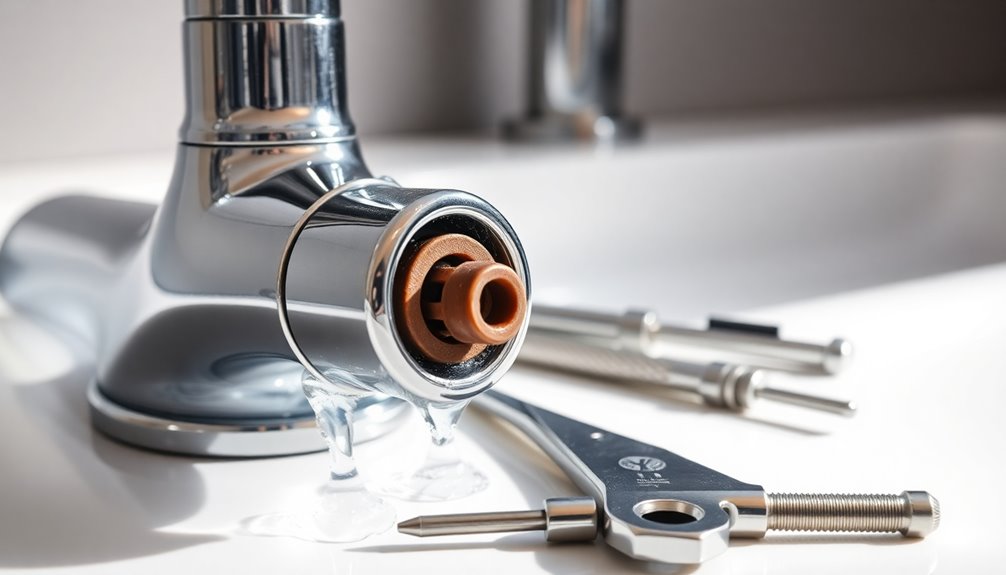
Next, remove the handle by loosening any screws or set screws. Once the handle is off, inspect the cartridge for any signs of wear or damage, as this is often the culprit behind the problem.
If the cartridge looks worn, replace it with a new one that matches your faucet model. Before installing the new cartridge, verify there are no old gasket pieces left behind.
After you've replaced the cartridge, reassemble the faucet and turn the water supply back on to see if that fixes the issue.
Shutting Off the Water Supply
Before you start any repairs, it's crucial to shut off the water supply to the faucet.
First, locate the shut-off valves under the sink. These are usually mounted on the wall. Turn both the cold (C) and hot (H) shut-off valves to the OFF position by rotating them clockwise.
If you can't access these valves or they don't stop the water flow, you may need to turn off the main water valve for your entire house. This valve is often near the water meter or where the water line enters your home.
After shutting off the valves, test the faucet to confirm no water is still flowing before proceeding with any repairs.
If you're unsure, consider contacting a plumber for help.
Inspecting and Repairing the Faucet Handle
Now that you've shut off the water supply, it's time to check the faucet handle.
Start by tightening any loose screws you find, as a secure handle is essential for proper function.
Then, inspect the handle for any signs of damage that could affect its performance.
Check Handle Tightness
To guarantee your faucet operates smoothly, checking the handle tightness is essential.
Start by removing the faucet handle to access any screws that may have become loose over time. Inspect the handle for visible signs of wear or damage, like stripped threads or cracks, which could hinder a secure fit.
Tighten any loose screws or set screws you find under the decorative cap with an appropriate screwdriver or wrench. If the handle still doesn't turn easily or doesn't engage properly, you might need to replace the entire handle.
To prevent future issues, regularly check the handle's tightness as part of your faucet maintenance routine, ensuring ideal performance and reliability.
Inspect for Damage
Inspecting your faucet handle for damage is essential to confirm it functions properly. First, turn off the water supply to prevent any further leakage.
Check the handle for signs of looseness, stripped threads, or corrosion that might hinder its secure fit to the faucet's stem. To get a better look, remove the handle by unscrewing the decorative cap and set screw. This allows you to inspect for damage within the handle assembly.
Look for worn-out washers or O-rings that could be causing the faucet to leak. If you find any damage, replace any faulty components to confirm everything works smoothly.
Once you've made your repairs, reassemble the handle tightly to restore its proper functionality.
Checking and Replacing the Cartridge

Start by turning off the water supply to your faucet to prevent any unwanted leaks while you work.
Next, carefully remove the faucet handle by unscrewing any visible screws or decorative caps. This will give you access to the cartridge underneath.
Once exposed, inspect the cartridge for signs of wear or damage, as this is often the culprit behind a faucet that won't shut off completely.
If the cartridge looks defective, replace it with a new one that matches your faucet model.
Don't forget to check for any old gasket pieces during removal.
After replacing the cartridge, reassemble the faucet and restore the water supply to test if the handle now properly controls the water flow.
Safety Precautions During Repairs
Before diving into faucet repairs, it's crucial to prioritize safety to avoid accidents and injuries. Start by turning off the water supply to prevent flooding and water damage.
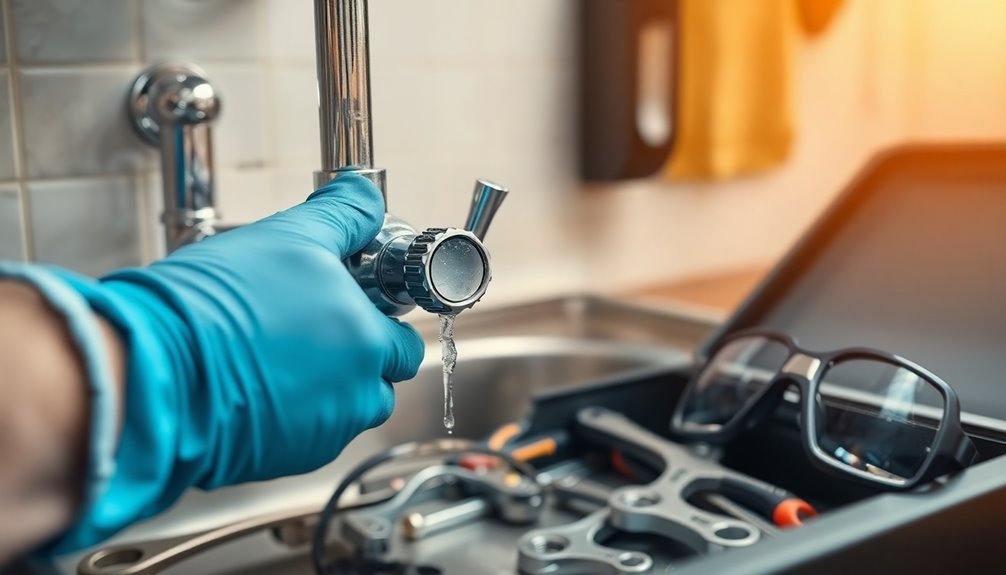
Next, wear protective gloves and goggles to shield yourself from sharp tools and potential splashes. If your faucet's connected to any electrical appliances, disconnect the power to reduce electrical hazards during your work.
Always follow the manufacturer's instructions for troubleshooting and repairs to guarantee you handle components safely and effectively.
Finally, keep a first aid kit nearby; this way, you'll have quick access to medical supplies in case of minor injuries.
Frequently Asked Questions
How to Stop a Faucet That Won't Turn Off?
If you're dealing with a faucet that won't stop running, the first step is to locate the water supply valves beneath the sink.
Turn them off to prevent further water flow.
Next, check the faucet handle for any looseness or visible damage.
Tighten any screws if needed.
Finally, inspect the cartridge inside the faucet; if it's worn out, you'll need to replace it.
Don't forget to turn the water supply back on to test it!
Why Does My Faucet Keep Running After I Turn It Off?
Imagine turning off your kitchen faucet after washing dishes, but it keeps running. This frustration often stems from a faulty valve or worn-out cartridge that can't seal properly.
You might notice the handle feels stiff or spins endlessly, indicating stripped threads. Over time, washers and seals can deteriorate, leading to leaks.
Additionally, a worn faucet seat might prevent proper contact, causing water to flow continuously when you think you've turned it off.
How to Fix a Shut off Valve That Won't Shut Off?
To fix a shut-off valve that won't shut off, start by locating it under the sink.
Make sure both the hot and cold valves are turned fully clockwise.
Check for signs of wear or corrosion; if the valve looks damaged, consider replacing it.
If it's leaking, disassemble it to inspect the washers or O-rings.
Tighten any loose connections with a wrench.
If issues persist, don't hesitate to call a professional plumber for help.
How Do You Fix a Tap That Won't Turn Off?
To fix a tap that won't turn off, start by shutting off the water supply to avoid flooding.
Next, check the faucet handle for any looseness or damage and tighten screws if needed.
Remove the handle to inspect the cartridge or valve; if they're worn out, replace them.
Finally, verify washers or seals are in good shape, as faulty ones can prevent a proper closure.
If you're still stuck, consider calling a plumber.
Conclusion
Now that you know how to tackle that stubborn faucet, you can say goodbye to the constant drip that drives you absolutely bonkers! With a little patience and the right tools, you can restore peace to your kitchen or bathroom in no time. Remember, fixing a faucet isn't just about stopping the water; it's about reclaiming your sanity. So roll up your sleeves and plunge into this DIY project—you've got this!