
Transform your ordinary walls into stunning masterpieces with these 10 creative wall art projects! You'll explore unique textures using filler techniques, crafting vibrant designs with acrylic paint and baking soda, and even upcycling old canvases. Learn how to create realistic floral arrangements with plaster and utilize innovative household items for eye-catching art. Plus, discover how masking tape can help you achieve clean, professional edges. Keep going to uncover all the exciting details and techniques behind these extraordinary transformations!
Key Takeaways
- Combine acrylic paint and baking soda for textured finishes that add depth to ordinary walls.
- Utilize thrifted canvases to create unique art pieces while staying budget-friendly.
- Incorporate masking tape for sharp edges and clean geometric designs that elevate visual appeal.
- Layer all-purpose filler mixed with color to add dynamic textures and transform plain surfaces.
- Experiment with unconventional materials like fabric and jute rope for added aesthetic interest.
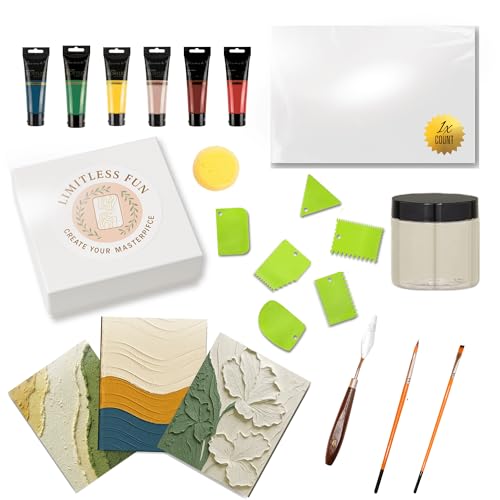
Textured Canvas Art Painting Kit – 3D Canvas Kit – Create Modern Wall Art at Home – Complete DIY Canvas Art – 6 Acrylic Paint Colors + Brushes & Tools
🎨 DIY Home Décor Made Easy – Create stunning textured canvas wall art with this complete kit.
As an affiliate, we earn on qualifying purchases.
As an affiliate, we earn on qualifying purchases.
Exploring Unique Textures With Filler Techniques
When you plunge into exploring unique textures with filler techniques, you'll discover a world of creativity that can transform your canvas.
Using an all-purpose filler and a party knife, you can create a unique texture by applying it in varying directions. This method enhances visual interest and depth in your artwork.
To achieve clean edges, utilize masking tape, and remember to remove it while the filler's still wet for crisp lines.
For additional texture, consider incorporating unconventional materials like a window draft blocker seal strip, which helps craft distinct shapes.
Mixing filler with color can also mimic realistic forms, such as floral petals, adding dimension and intrigue to your creative wall art projects. Additionally, using sustainable materials can elevate the impact of your art while being environmentally conscious.

Smallbudi 6 Colors Large Acrylic Paint Set (69 oz,2040 ml) Art Painting Bulk Supplies for Multi Surface Canvas Wood Leather Fabric Rock Craft, Non Toxic Paint for Kid & Adult with Pump
6 Primary Colors – This large acrylic paint includes 6 basic colors (white, mars black, red, lemon, sap…
As an affiliate, we earn on qualifying purchases.
As an affiliate, we earn on qualifying purchases.
Crafting With Acrylic Paint and Baking Soda

Crafting with acrylic paint and baking soda opens up exciting possibilities for your wall art projects, as this combination creates a textured finish that adds depth and dimension.
By mixing baking soda with your acrylic paint, you can achieve a thick application that's perfect for manipulation and shaping, allowing for unique designs. Experiment with applying the paint mixture in various directions to enhance visual interest.
Layer this textured paint over an initial background to create a dynamic piece that truly captivates. This technique not only elevates your wall decor but also offers a cost-effective way to explore different textures and colors. Additionally, using different materials like wood and metal can further enhance the aesthetic appeal of your wall art.
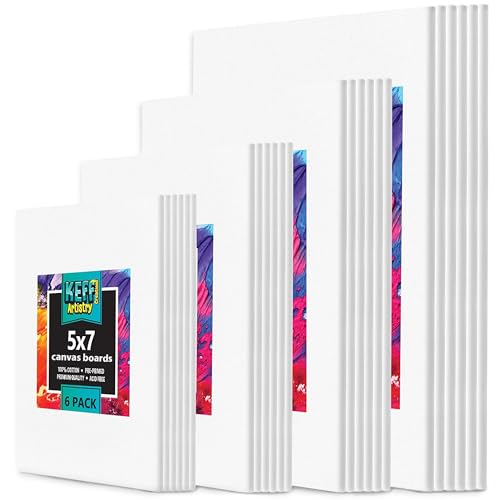
KEFF 24-Pack 𝗣𝗥𝗘𝗠𝗜𝗨𝗠 Canvas for Painting, 6 of 5×7, 8×10, 9×12,11×14 Painting Canvas Boards, Art Supplies for Adults & Kids – 100% Cotton Primed Canvases for Painting Acrylic, Oil, Watercolor
【 Ultimate Canvas for Painting Set 】 This premium canvas boards for painting pack includes 6 pieces of…
As an affiliate, we earn on qualifying purchases.
As an affiliate, we earn on qualifying purchases.
Transforming Old Canvases Into New Masterpieces

You can easily repurpose old canvases into stunning new pieces of art with just a bit of creativity.
By exploring various texture techniques and using cost-effective materials, you'll create unique designs that stand out.
Let's get started on transforming those forgotten canvases into fresh masterpieces!
Repurposing Old Canvases
Repurposing old canvases can breathe new life into forgotten artwork, allowing creativity to flourish without breaking the bank. Every time you apply multiple layers of white paint, you effectively cover previous designs, creating a fresh background for your new masterpiece.
Using all-purpose filler mixed with black acrylic paint adds texture and dimension, making your artwork visually interesting. Techniques like applying filler with a party knife and using masking tape for clean edges will help you achieve intricate designs that look polished.
If you incorporate plaster mixed with color, you can create realistic effects, such as flowers or abstract forms. With thrifted canvases, repurposing old canvases becomes much easier, enabling you to experiment without significant financial investment. Additionally, utilizing responsibly managed forests for your wood supply can further enhance your eco-friendly living while you create.
Texture Techniques Explained
Texture techniques can transform old canvases into stunning new masterpieces that captivate the eye. Start by applying a thick layer of all-purpose filler mixed with black acrylic paint using a palette knife. This allows you to manipulate the design creatively.
For added realism, try using Plaster of Paris, which can be shaped into petals when combined with vibrant color. Use masking tape for clean edges, removing it while the filler is still wet for defined lines.
You can also mix acrylic paint with baking soda to enhance texture or layer toilet paper soaked in hot water for a unique background.
Employ tools like tweezers and smaller palette knives for precise placement and detailed work, elevating your canvas to a whole new level of texture and color. Additionally, incorporating bold colors into your artwork can further energize the overall aesthetic of your space.
Cost-Effective Art Solutions
Old canvases can become stunning focal points in your home with a little creativity and resourcefulness. Start by thrifting old canvases and applying multiple layers of white paint to create a fresh base.
Then, play around with mixing all-purpose filler and black acrylic paint to craft textured designs that catch the eye. Use masking tape for clean edges and hot glue to secure any attachments, enhancing both beauty and durability.
Layering techniques with plaster or filler can give your artwork depth and dimension. Tools like party knives and plastic spatulas make applying and manipulating filler easy, making the DIY process accessible. Additionally, incorporating fiber-rich ingredients like chia seeds into your diet can provide health benefits while you enjoy your creative projects.
With these cost-effective solutions, you'll transform ordinary canvases into unique masterpieces that reflect your personal style.

Duck Clean Release Blue Painter's Tape, 2-Inch (1.88-Inch x 60-Yard), Single Roll, 240195
Ideal for a variety of surfaces including painted walls, trim, glass, wood and metal
As an affiliate, we earn on qualifying purchases.
As an affiliate, we earn on qualifying purchases.
Creating Realistic Floral Designs With Plaster
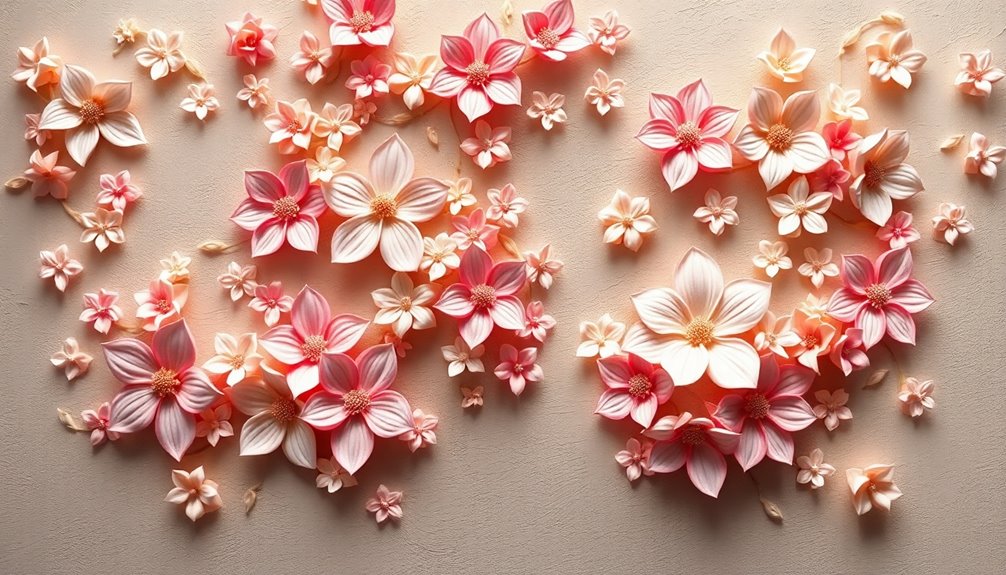
Creating realistic floral designs with plaster starts with mastering plaster mixing techniques for the perfect consistency and color.
You can shape petals using innovative methods like a window draft blocker seal strip to add depth and texture.
With these skills, you'll enhance your artwork and bring your floral creations to life.
Plaster Mixing Techniques
When you mix plaster with acrylic paint, you can achieve stunning floral designs that bring a vibrant touch to your wall art.
These plaster mixing techniques help you create textured effects that mimic lifelike flowers, enhancing visual appeal. Here are some tips to elevate your designs:
- Use a thicker layer of plaster for better manipulation and shaping.
- Employ smaller palette knives and tweezers for intricate detailing.
- Apply colors sequentially into the plaster for depth and dimension.
- Allow the plaster to dry undisturbed to maintain your textures.
Petal Shaping Methods
To achieve realistic floral designs with plaster, it's essential to focus on the shaping of each petal.
Start by mixing plaster with color to create textured petals that mimic nature. Use a party knife to apply a thick layer of filler in various directions, giving you better control over your petal shaping methods.
For intricate outlines, utilize window draft blocker seal strips to enhance dimensionality. To add depth, layer plaster mixed with acrylic paint, ensuring petals are slightly raised from the background.
Finally, employ tweezers for precise placement of smaller plaster or paper pieces, maintaining the intended shape and detail of each petal.
With these techniques, your floral designs will truly come to life!
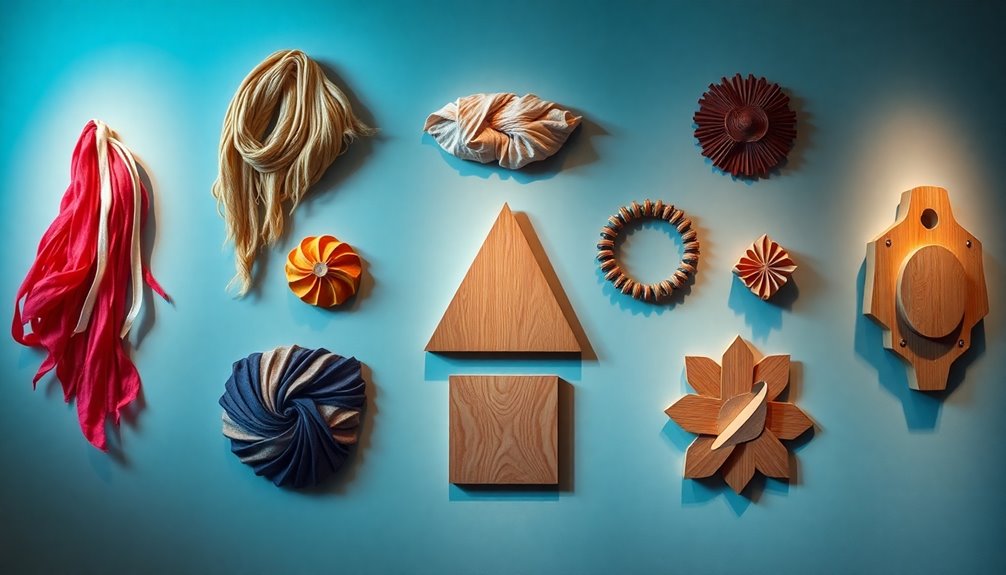
Innovative Use of Household Items for Art

Household items can transform your wall art projects into stunning displays of creativity. By using what you already have at home, you can create unique textures and shapes without breaking the bank.
Here are some innovative ideas to get you started:
- Toilet paper soaked in hot water: Use it for unique background textures.
- Window draft blocker seal strip: Repurpose it to create distinct shapes.
- Baking soda mixed with acrylic paint: This blend gives a textured, three-dimensional effect.
- Masking tape: Achieve clean edges and precise geometric patterns.
Finish your piece with a touch of white paint for a fresh, modern look.
Embrace creativity and let your imagination run wild with these household items!
Layering Techniques for Depth and Dimension
When you apply filler with a party knife, you can create stunning textures that add depth to your artwork.
Layering different colors not only enhances realism but also allows your design to pop with vibrancy.
Filler Application Methods
Although many artists may overlook the importance of filler application methods, mastering layering techniques can greatly enhance your artwork's depth and dimension.
Here are some effective methods you should try:
- Thick Layers: Apply filler in thick layers for better manipulation and pronounced texture on your canvas.
- Dynamic Application: Use a palette knife to spread filler in various directions, creating a lively surface.
- Colorful Plaster: Mix plaster with color to achieve stunning depth and dimension in your designs.
- Clean Edges: Utilize masking tape for sharp, defined lines—remove it while the filler is still wet for the best effect.
Layering for Realism
To achieve a striking sense of realism in your wall art, layering techniques play an essential role in creating depth and dimension.
Start by applying thick layers of filler with a party knife, allowing you to manipulate the design for enhanced texture. When depicting flowers, begin with distant petals and layer closer elements to establish a natural depth.
Mixing plaster with color adds both dimension and a lifelike appearance. Use multiple layers of paint, especially white, over a textured base to cover previous designs while preserving rich texture.
To maintain clean edges and a structured look, create small squares with masking tape before applying filler.
These techniques will elevate your wall art to new levels of realism. Incorporating natural materials can further enhance the overall aesthetic and complement your modern farmhouse decor.
Utilizing Masking Tape for Clean Designs

Utilizing masking tape can transform your wall art projects by providing clean, sharp edges that elevate your design. This simple tool is essential for achieving a professional finish on your canvas.
Here's how you can make the most of it:
- Create crisp geometric shapes for a modern look.
- Apply tape before adding filler to guarantee sharp shifts between textures.
- Remove the tape while the filler is wet to maintain those clean lines effortlessly.
- Layer colors with precision, enhancing your visual appeal.
The Art of Upcycling: Thrifted Canvas Projects
Masking tape isn't just for clean designs; it's also a handy tool when upcycling thrifted canvases into stunning art pieces.
You can start creating by applying layers of all-purpose filler mixed with acrylic paint to add texture and visual interest. Use masking tape to achieve precise edges, giving your art a professional touch.
Consider incorporating plaster of Paris for enhanced texture, allowing you to create realistic elements like petals or abstract forms.
Layering techniques not only deepen your artwork but also let you mix in various materials, such as fabric and paper, enriching the overall design.
Adding Personal Touches With Hot Glue and Letters

Although you might think of hot glue as just a quick fix, it's an essential tool for adding personal touches to your wall art. Using hot glue effectively allows you to attach letters securely to your canvas, ensuring a strong bond that lasts.
Here are four ways to elevate your project:
- Use wooden letters for a rustic touch.
- Experiment with different colors and layers to create striking contrasts.
- Apply random filler around the letters for added texture and depth.
- Remove masking tape while the filler is wet for sharp edges.
With hot glue, you can transform simple letters into a unique expression of your style, making your wall art truly one-of-a-kind! Additionally, monitoring sleep patterns is crucial for ensuring your newborn's well-being during this creative process.
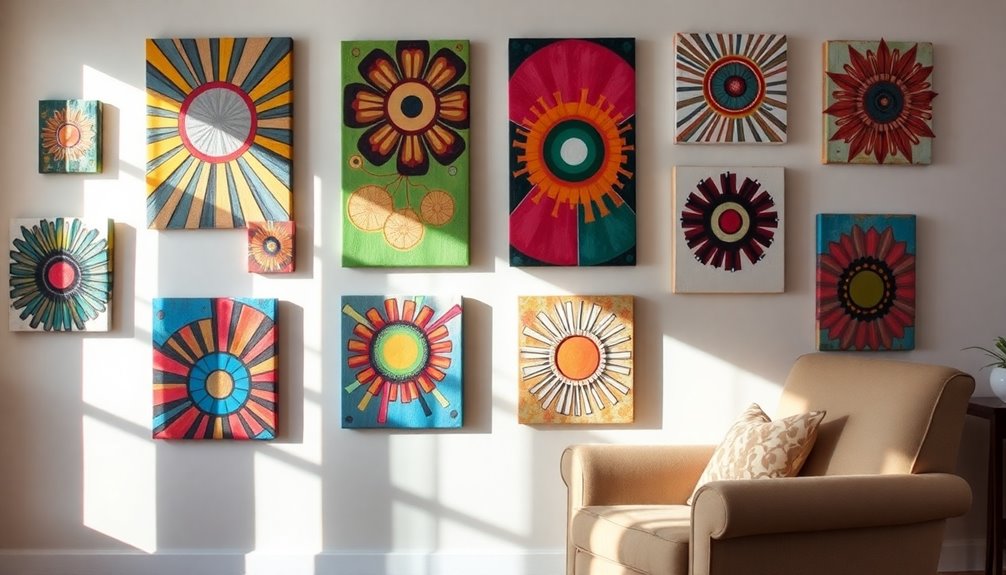
Cost-Effective Ways to Elevate Your Wall Art
If you're looking to enhance your wall art without breaking the bank, there are plenty of creative options to contemplate.
Start by exploring thrifted canvases; they're not only cost-effective but also spark your creativity as you transform pre-owned materials into something unique.
Consider using a free-size frame with a printed design for a polished look minus the splurge on pricey canvases.
Mix acrylic paint with baking soda to create a textured finish that elevates inexpensive pieces.
Use masking tape for clean edges and patterns, giving your artwork a professional touch on a budget.
Finally, wrap sections of canvas with jute rope to enhance the aesthetic and guarantee your great wall remains affordable yet stunning. Additionally, incorporating natural materials like wood can complement your creative wall art projects and tie them into a cohesive farmhouse aesthetic.
Frequently Asked Questions
What Is the Trend in Wall Art in 2024?
In 2024, you'll notice wall art embracing sustainability, using eco-friendly materials and repurposed items for unique creations.
Abstract and textured designs will catch your eye, adding depth through layered techniques.
Customization's key, so you can personalize your space with family photos or significant memories.
Expect bright colors and geometric patterns to dominate, while mixed media combines traditional painting with digital elements, creating dynamic and eye-catching installations that reflect your vibrant style.
What Is the Rule of Wall Decor?
The rule of wall decor focuses on balance and proportion.
You should hang art at eye level, around 57 to 60 inches from the floor, to create an engaging experience.
Stick to a cohesive color palette to unify your space and make each piece feel part of a larger scheme.
Grouping art in clusters adds visual interest, while incorporating various textures can enhance depth and intrigue in your room's overall aesthetic.
Where Can I Get Free Wall Art?
Did you know that around 70% of people believe art enhances their living spaces?
If you're looking for free wall art, check out websites like Canva for customizable prints. Pinterest is also a treasure trove of downloadable designs shared by creators.
Don't forget local libraries, which often host exhibits, or community centers offering workshops where you can create your own.
Platforms like Unsplash and Pexels provide high-quality images for your walls too!
How to Decorate Walls Cheaply?
To decorate your walls cheaply, start by exploring thrift stores for canvases and frames.
You can mix all-purpose filler with acrylic paint to add texture, and use masking tape for clean lines.
Consider using everyday items like window draft blockers or soaked toilet paper to create unique shapes.
Repurpose old wooden boxes or ropes as decorative pieces.
This way, you'll achieve a stylish look without breaking the bank.
Get creative and have fun!
Conclusion
You've seen how simple materials and a bit of creativity can turn your walls into a vibrant gallery. Remember, just like a caterpillar transforms into a butterfly, your ordinary walls can undergo a stunning metamorphosis. Whether you use acrylic paint or upcycled treasures, every project is a step toward making your space uniquely yours. So grab your supplies and let your imagination take flight—your walls are waiting for their moment to shine!