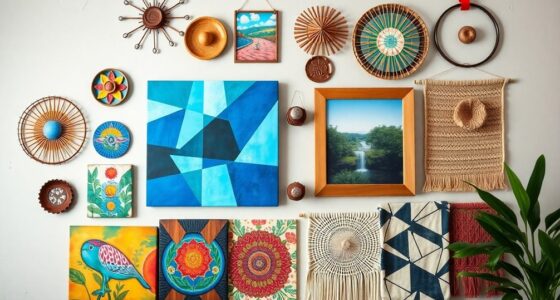
You won't believe the incredible wall art designs you can create using innovative techniques! Mix textured fillers and acrylic paint for stunning visuals or transform thrifted canvases with bold, colorful patterns. Wrap rope around surfaces for a unique twist, and don't forget to use precision tools for clean edges and intricate details. Plus, adding baking soda to your paint can elevate textures further. Want to explore more genius ideas? There are plenty of tips and tricks to discover!
Key Takeaways
- Create stunning textures by mixing all-purpose filler with black acrylic and applying with a party knife for unique effects.
- Explore innovative patterns by wrapping jute or rope around thrifted canvases, enhancing decor with sustainable materials.
- Use baking soda mixed with acrylic paint for captivating textured finishes that add depth and dimension to your artwork.
- Layer toilet paper soaked in hot water for enhanced dimensionality, creating captivating depth in your designs.
- Employ precision tools like masking tape and smaller palette knives to achieve clean edges and intricate textures in your wall art.
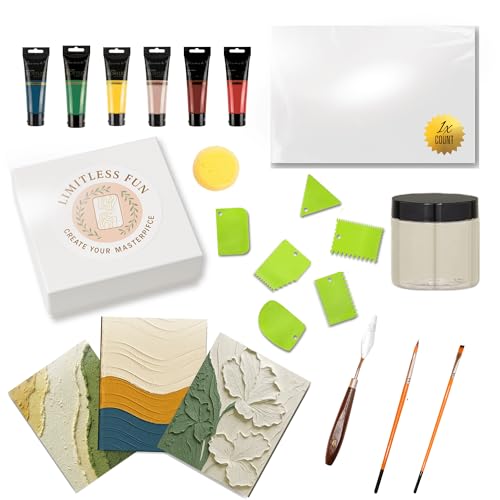
Textured Canvas Art Painting Kit – 3D Canvas Kit – Create Modern Wall Art at Home – Complete DIY Canvas Art – 6 Acrylic Paint Colors + Brushes & Tools
🎨 DIY Home Décor Made Easy – Create stunning textured canvas wall art with this complete kit.
As an affiliate, we earn on qualifying purchases.
As an affiliate, we earn on qualifying purchases.
Transforming Canvas With Textured Fillers
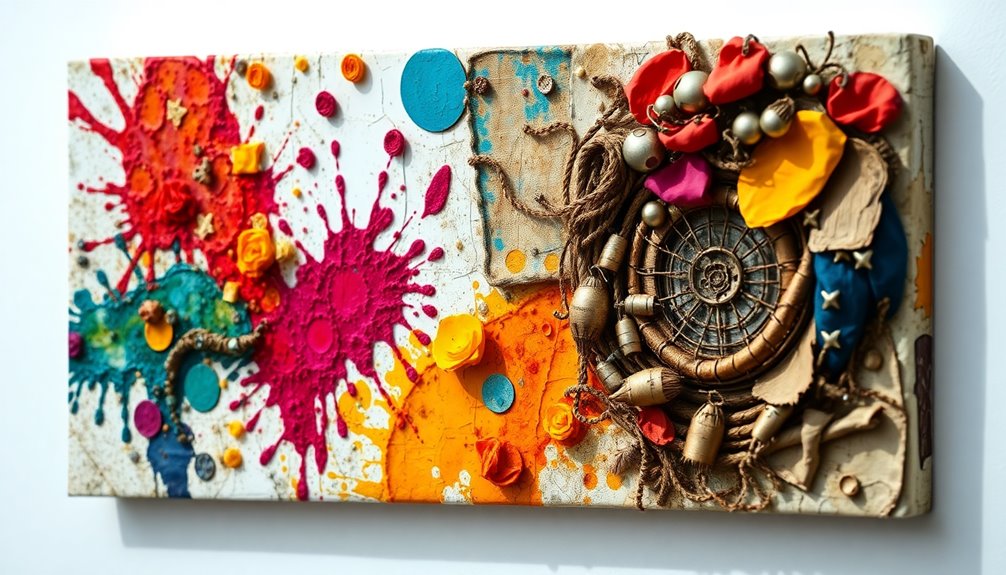
When you want to elevate your canvas art, textured fillers can make a significant difference. Mixing an all-purpose filler with black acrylic creates a stunning textured surface that enhances your artwork's visual appeal.
Use a party knife to apply the filler in various directions, allowing you to manipulate small pieces for unique textural effects. Adding plaster of Paris results in a smoother consistency, perfect for realistic textures like flower petals.
To maintain clean edges, utilize masking tape when applying the filler, and remove it while the filler is still wet for precise designs.
For even more dynamic wall art, try mixing acrylic paint with baking soda to create additional texture that captivates the eye.
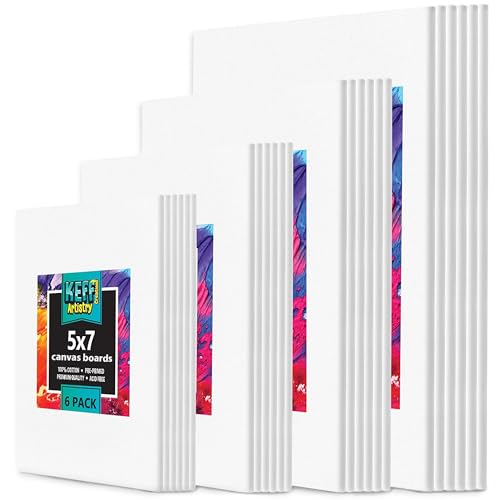
KEFF 24-Pack 𝗣𝗥𝗘𝗠𝗜𝗨𝗠 Canvas for Painting, 6 of 5×7, 8×10, 9×12,11×14 Painting Canvas Boards, Art Supplies for Adults & Kids – 100% Cotton Primed Canvases for Painting Acrylic, Oil, Watercolor
【 Ultimate Canvas for Painting Set 】 This premium canvas boards for painting pack includes 6 pieces of…
As an affiliate, we earn on qualifying purchases.
As an affiliate, we earn on qualifying purchases.
Creative Shape-Making With Everyday Materials

While exploring wall art, you can transform everyday materials into creative shapes that elevate your designs. Use a window draft blocker seal strip for unique textures, and don't forget masking tape for clean edges when applying filler or paint to create your masterpiece. Tweezers can help you place paper pieces precisely, enhancing detail in your piece of art. Layer plaster mixed with color to form abstract shapes like flowers or landscapes, adding dynamic variation. Experiment with random filler around letters and shapes to create depth and texture. This creative process can also promote emotional well-being by allowing you to express yourself and create a space that feels uniquely yours.
| Material | Technique | Result |
|---|---|---|
| Draft Blocker Strip | Shape creation | Unique textures |
| Masking Tape | Clean edges | Precision in shape-making |
| Tweezers | Detail placement | Enhanced texture |
| Plaster | Layering | Dynamic forms |

Scotch Blue Painters Tape Applicator, Applies Painter's Tape in One Continuous Strip, Paint Tape Applicator for Trim, Windows and Door Frames, 1.41 Inches x 20 Yards, 1 Starter Roll
READY. SET. PAINT!: 1 ScotchBlue Original Multi-Surface Painter's Tape Applicator and Starter Roll (1.41 inch wide x 20…
As an affiliate, we earn on qualifying purchases.
As an affiliate, we earn on qualifying purchases.
Mastering Layering Techniques for Depth
To create stunning wall art, you'll want to master layering techniques that add depth and texture.
Start by crafting a textured background layer with a party knife and then apply colors sequentially to enhance the visual experience.
These methods not only enrich your artwork but also elevate its overall impact. Additionally, a clean and organized living space can inspire creativity and enhance your artistic endeavors.
Crafting Textured Background Layers
Crafting textured background layers is essential for creating depth in your artwork, as it adds a unique dimension that captivates the viewer.
Start by applying a thick and even layer of all-purpose filler mixed with acrylic paint to build a textured background. This base can be manipulated for added depth.
For further texture, use toilet paper soaked in hot water, which enhances the dimensionality of your design. Employ a layering technique by allowing each layer to dry before adding new textures.
Consider using plaster of Paris for a smoother consistency that can be sculpted into intricate shapes.
Remember to remove masking tape while the filler is still wet to maintain clean lines and amplify the layered effect in your artwork.
Sequential Color Application Techniques
Building on the textured background layers you've created, applying color in a strategic sequence can greatly enhance the depth of your artwork.
By mastering sequential color application, you'll achieve a more dynamic and dimensional effect. Here are some tips to guide you:
- Start with a base layer of acrylic paint for a solid foundation.
- Use lighter shades for distant elements before layering darker tones.
- Apply paint only on raised textured areas to highlight depth.
- Allow each layer to dry slightly before adding the next to prevent muddiness.
- Experiment with random filler applications around design elements for added interest.
With these layering techniques, your artwork will truly come to life!

CONDA Palette Knife Painting Stainless Steel Spatula Palette Knife Oil Paint Metal Knives Wood Handle (Red 5 Piece)
ARTIST PALETTE KNIFE: 12.75'' W x 6'' H x 0.5'' D, 5 Pieces Set includes 1-each of all…
As an affiliate, we earn on qualifying purchases.
As an affiliate, we earn on qualifying purchases.
Innovative Use of Acrylic Paint and Baking Soda

While exploring new techniques in wall art, mixing acrylic paint with baking soda can transform your creations into textured masterpieces.
This combination offers a textured finish that adds depth and dimension to your designs. Whether you're working on abstract forms or floral motifs, this method enhances the visual appeal, making your artwork truly stand out.
You can easily adjust the ratio of acrylic paint to baking soda, allowing for varying levels of texture based on your desired effect. Plus, it's a cost-effective way to achieve professional-looking results without splurging on expensive materials.
Don't hesitate to experiment with different mixtures to create unique patterns and styles that reflect your artistic vision. Immerse yourself and let your creativity flow!
Designing With Precision: the Role of Tools

When creating wall art, the right tools can make all the difference in achieving precision and detail.
To elevate your designs, consider the following essential tools:
- Party knife: Perfect for applying filler, it manipulates texture for depth and dimension.
- Plastic spatula: Guarantees clean, defined edges with precise lines in your artwork.
- Hot glue: Strong adhesion for attaching elements on porous surfaces supports intricate designs.
- Masking tape: Enhances edge precision, allowing sharp shifts between colors and textures when removed while the filler is wet.
- Smaller palette knives: Ideal for detailed work, helping you achieve intricate textures and forms.
Using these tools effectively can transform your wall art into stunning masterpieces filled with precision and texture! Additionally, incorporating farmhouse kitchen accessories into your designs can create a cohesive look that resonates with rustic charm.
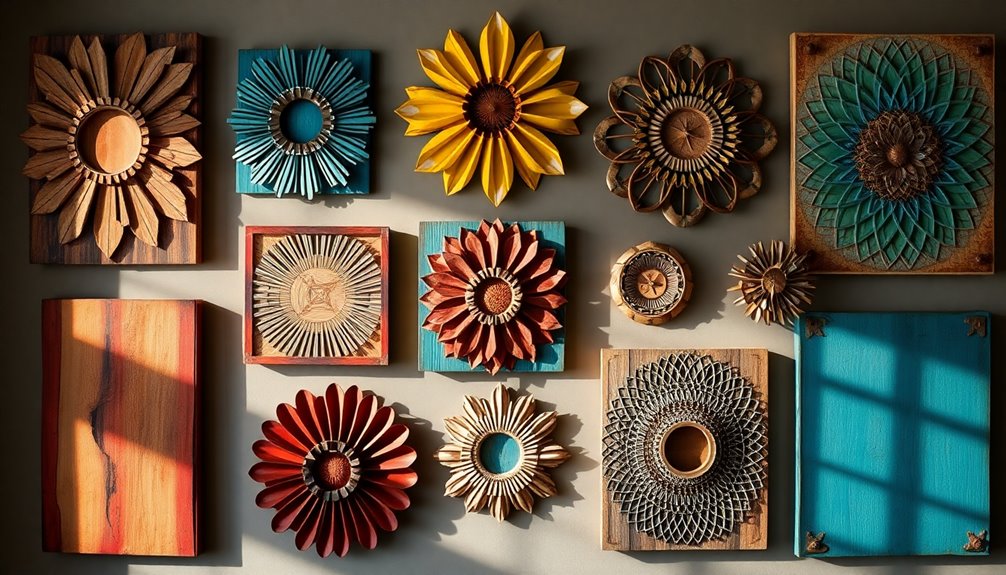
Crafting Abstract Forms: Flowers and Landscapes
When crafting abstract forms of flowers and landscapes, you'll want to focus on layering for depth and texture.
Experiment with flower petal texturing techniques to create vibrant, dynamic pieces that draw the eye.
Flower Petal Texturing Techniques
Flower petal texturing techniques can transform your artwork into a vibrant floral masterpiece. By mastering these methods, your art will look dynamic and alive, capturing attention for a long time.
Here are some tips to get you started:
- Use plaster mixed with color for realistic petal textures.
- Apply filler with a party knife in various directions for shape.
- Start painting distant petals for depth and realism.
- Incorporate window draft blocker seal strips to enhance petal shapes.
- Layer multiple acrylic paints to build color and maintain visibility.
With these techniques, you'll create really big floral designs that stand out.
Immerse yourself in this exciting process and let your creativity blossom!
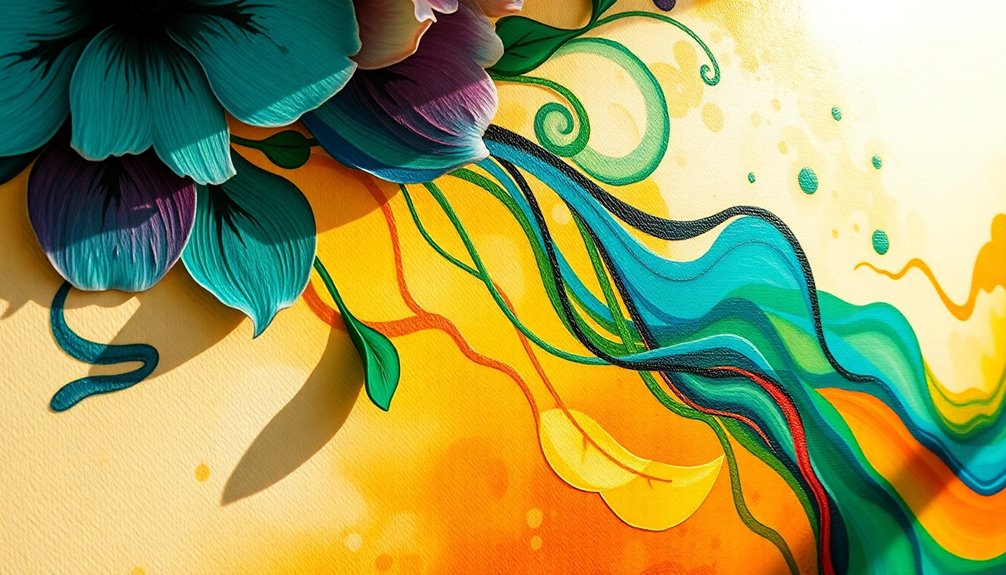
Layering for Depth Perception
To create alluring wall art that showcases depth perception, layering techniques are essential for crafting abstract forms like flowers and landscapes.
Make sure you start with distant petals in your flower designs to establish perspective and a realistic feel. Mixing plaster with color adds not just texture but also intricate details that enhance the layered effect.
By using thick layers of filler and manipulating them in various directions, you'll create a dynamic surface that captivates viewers.
Strategic placement of elements, like raised designs and overlapping sections, fosters an engaging experience that emphasizes depth.
As the saying goes, "Art isn't what you see, but what you make others see." Embrace layering to transform your artwork into a vivid visual journey. Incorporating cozy textiles into your farmhouse bedroom design can further enhance the overall aesthetic and comfort of your space.
Abstract Landscape Composition Tips
Creating an engaging abstract landscape composition requires a thoughtful approach to layering and design. Start by sketching your idea with a pencil; this sets the foundation for your layers.
Here are some tips to enhance your artwork:
- Use plaster mixed with color for textured elements that pop.
- Apply filler in different directions with a palette knife to build dynamic layers.
- Paint distant elements first to establish depth, then add foreground details.
- Experiment with random filler applications around key features, like flowers or hills, to boost visual interest.
- Keep refining until you achieve a balanced composition that draws the viewer in.
Incorporating essential oils into your creative space can also enhance your artistic experience by uplifting your mood and boosting inspiration. These techniques will help you craft a stunning abstract landscape that captivates and inspires.
Cost-Effective Art Projects With Thrifted Supplies

There's something exciting about transforming thrifted supplies into stunning wall art without breaking the bank.
Start by picking up thrifted canvases; they make a perfect budget-friendly base. Use all-purpose fillers mixed with black acrylic paint to create texture that enhances your artwork's appeal.
Experiment with layering and mixing acrylic paint with baking soda for depth and dimension, turning inexpensive materials into eye-catching designs. For clean edges, employ masking tape, and use hot glue to secure elements, elevating your projects without overspending.
You can also craft unique patterns using simple supplies like rope and tape, allowing your creativity to flow while keeping costs low. Additionally, engaging in creative projects can foster emotional well-being, enhancing your overall experience as you immerse yourself in these projects and watch your walls come alive with personality!
Unique Patterns Through Rope Wrapping
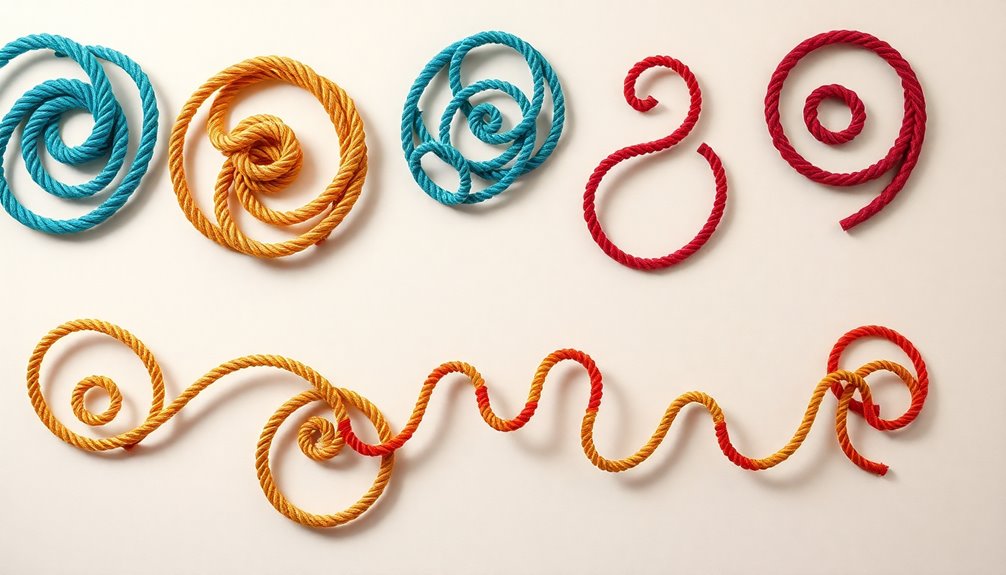
You can easily create stunning wall art by wrapping rope around thrifted canvases, which keeps costs low while allowing for creativity.
By measuring your sections carefully, you'll achieve uniformity, but don't hesitate to overlap the rope for unique textures.
This technique opens up endless possibilities for innovative patterns that can transform any space. Additionally, consider using sustainable materials to enhance your decor while being environmentally conscious.
Cost-Effective Design Technique
While exploring budget-friendly art techniques, rope wrapping emerges as an enchanting option for adding unique patterns and textures to your wall decor. This cost-effective design technique allows you to create stunning wall art without breaking the bank.
Here's what you can do:
- Wrap jute rope around thrifted canvases in sections for unique patterns.
- Measure sections evenly for a polished, uniform look.
- Overlap sections of rope to create fascinating visual designs.
- Use readily available materials, making this technique accessible.
- Combine rope wrapping with other texture methods for multi-dimensional artwork.
Additionally, incorporating natural materials can further enhance the overall aesthetic of your wall art. With just a few simple steps, you can transform ordinary materials into extraordinary wall art that reflects your personal style while staying within budget!
Creative Pattern Variations
Creative pattern variations in rope wrapping can elevate your wall art to new heights. By wrapping jud rope around sections of a canvas, you not only add texture but also create unique geometric designs that enhance your artwork.
To achieve uniformity, measure your sections accurately before applying the rope. Overlapping wrapped sections generates intricate patterns, adding depth and visual interest.
Experiment with different colors or thicknesses of rope to diversify your patterns, allowing for a more personalized expression. Thrifted canvases make perfect, cost-effective bases for testing your rope-wrapping techniques, ensuring that creativity is accessible to everyone. Additionally, incorporating elements of Indonesian decorative pillows can further enhance the overall aesthetic of your wall art, creating a harmonious blend of texture and culture.
The Magic of Hot Glue in Wall Art

Hot glue is a game changer in the world of wall art, transforming simple projects into stunning masterpieces. Its strong bond on porous surfaces guarantees your materials stay put, while its quick-drying nature lets you make adjustments effortlessly.
You'll love how it enhances texture and dimension, creating enchanting designs.
Here are some creative uses for hot glue in wall art:
- Attaching letters and embellishments for added flair
- Creating raised elements for depth and interest
- Securing a variety of materials, from fabric to wood
- Crafting intricate details with precision
- Assembling larger structural components for bold statements
With hot glue, your wall art won't only look amazing but also showcase your unique creative vision!
Elevating Old Canvases Into Stunning Creations
If you're looking to breathe new life into old canvases, there's a world of possibilities waiting for you.
Start by applying a thick layer of all-purpose filler mixed with black acrylic paint to create unique textures. Use masking tape to define clean edges, ensuring your artwork looks professional.
For a smoother consistency, incorporate plaster of Paris to craft textured petals or abstract forms. Don't hesitate to experiment with layering techniques; try using a party knife or plastic spatula to manipulate the filler for added depth.
Finally, enhance the visual interest by mixing acrylic paint with baking soda, resulting in a textured finish that truly stands out. Your old canvases can transform into stunning creations with a little creativity!
Frequently Asked Questions
How to Do Wall Art at Home?
To create wall art at home, start by sketching your design on a frame or canvas.
Use an all-purpose filler mixed with black acrylic paint for texture, applying it with a palette knife. For added depth, mix acrylic paint with baking soda or use plaster for realistic effects.
Use masking tape for clean edges, and remove it while the filler's still wet.
Finally, incorporate tools like tweezers and a hot glue gun for precise placement.
How Do You Come up With Good Art Ideas?
To come up with good art ideas, start by sketching your thoughts freely; don't worry about perfection.
Experiment with textures using materials like all-purpose filler or acrylic paint to spark creativity.
Look around your space for everyday items, like masking tape, that can inspire unique shapes.
Layer colors deliberately to create depth, and don't hesitate to use thrifted canvases and hot glue to keep your projects budget-friendly and accessible.
Let your imagination run wild!
Conclusion
So, whether you're transforming canvas with textured fillers, crafting shapes from everyday materials, or elevating old canvases into stunning creations, the possibilities are endless. Embrace your creativity, experiment with layering, and let your imagination run wild. With a little ingenuity and some thrifted supplies, you can create wall art that not only amazes but also reflects your unique style. So grab your tools, release your artistic spirit, and watch your walls come alive like never before!