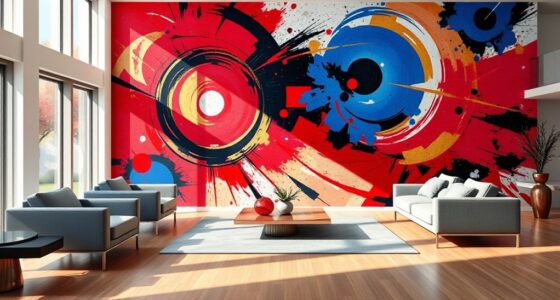
Transform your walls from dull to dazzling with creative wall art ideas! Start by embracing metallic finishes and incorporating dried flowers for texture. Experiment with layering techniques and ombre effects to add depth. Personalize your space with meaningful quotes, and don't hesitate to mix different art styles. Use textured materials for an engaging look and add a touch of glam with silver leaf. There's so much more to explore, so keep exploring for even more fabulous ideas!
Key Takeaways
- Embrace metallic finishes and silver leaf to add luxurious shimmer and depth to your wall art.
- Incorporate dried flowers with textured materials for a dynamic and engaging aesthetic.
- Experiment with layering techniques, such as ombre effects, to create rich visual experiences.
- Personalize your space with meaningful quotes in unique typography styles for a motivational atmosphere.
- Combine contrasting art styles and materials to create unique and eye-catching wall decor.
Embrace Metallic Finishes
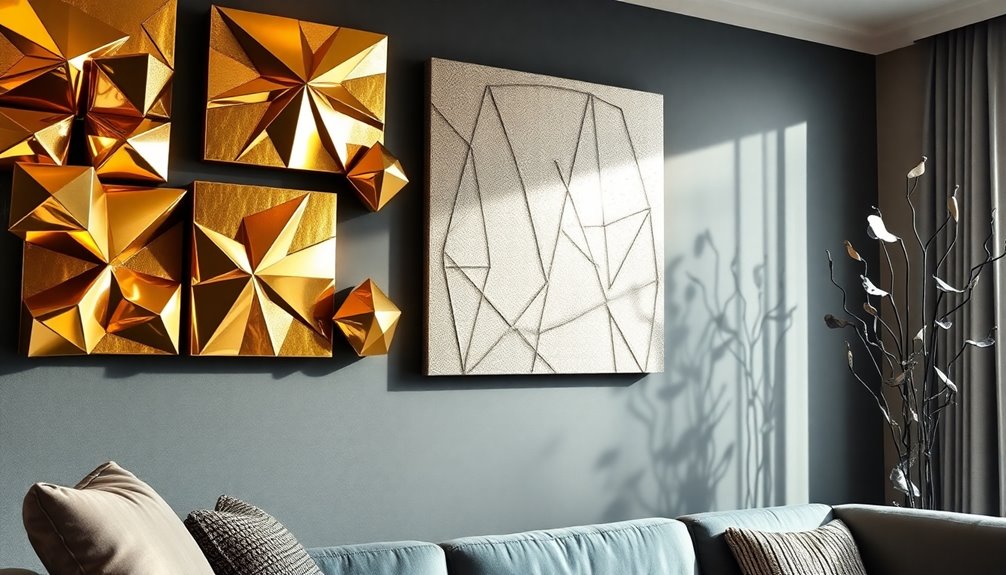
Embracing metallic finishes can transform your wall art from ordinary to extraordinary. By using silver paint, you can elevate the visual appeal of any piece of wall art, making it striking and eye-catching.
Applying multiple layers guarantees full coverage and adds depth, while materials like Silver Leaf bring a luxurious shimmer that draws attention. For durability, use strong adhesives like Gorilla Glue alongside hot glue to keep your decorative elements securely attached.
You'll want to strategically place metallic accents, such as large gems and silver leaf on frames, to create a cohesive and glamorous aesthetic in your wall decor.
These simple yet impactful changes can truly redefine your space and showcase your creativity.
Incorporate Dried Flowers
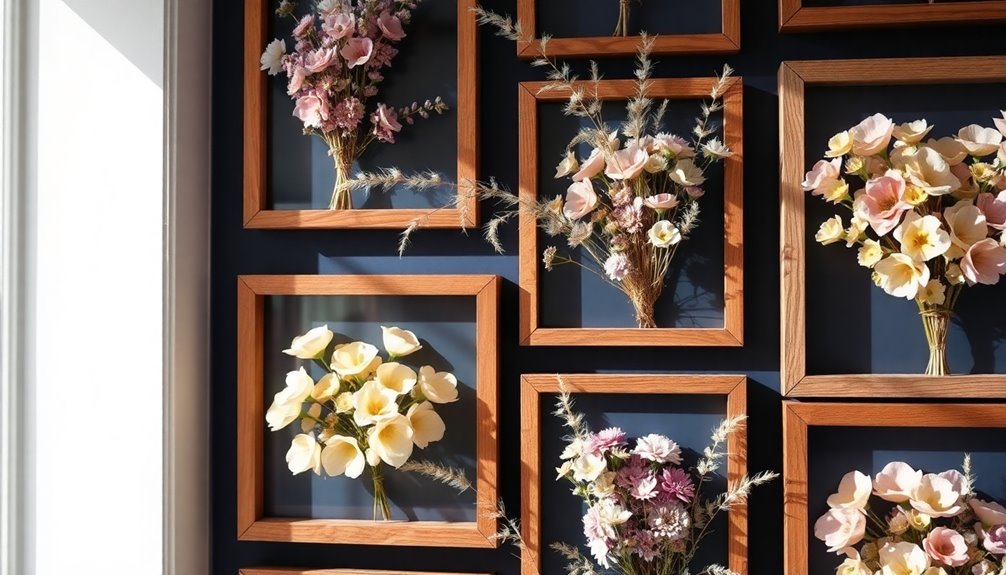
When you incorporate dried flowers into your wall art, you instantly add a unique, natural element that enhances both texture and color. Choose flowers like lavender, eucalyptus, or statice for their lasting beauty. Pair these dried flowers with metallic accents to create a cohesive, glam look. Strong adhesives like hot glue guarantee your flowers stay in place for years to come.
| Flower Type | Color | Best Used With |
|---|---|---|
| Lavender | Purple | Silver leaf |
| Eucalyptus | Green | Gold paint |
| Statice | Blue/Pink | Metallic frames |
| Baby's Breath | White | Rustic wood backgrounds |
| Thistle | Blue | Dark backgrounds |
This blend of elements makes your wall art dynamic and engaging!
Experiment With Layering Techniques
Experimenting with layering techniques can elevate your wall art to new heights, providing a rich visual experience.
Start by applying a base coat of metallic paint to your wall art piece for a strong foundation. Once that dries, add layers of color and textures.
When painting flower petals, make sure you check that each layer dries fully before moving on to the next for a vibrant look. You can also use techniques like dry brushing or sponging for varied textures.
For a stunning effect, apply Silver Leaf adhesive to select areas and layer small pieces of Silver Leaf.
Don't forget to introduce decorative elements like gems or mirrors between paint layers; they add a little bit of contrast and draw the eye. Additionally, consider using a neutral color palette to create a calming backdrop for your layered artwork.
Repurpose Old Frames

Transforming old frames into unique wall art can breathe new life into your decor. Start by removing the central medallion and spray-paint the entire frame for a fresh look.
You can enhance the visual appeal by adding decorative elements like flowers, gems, or mirrors, creating a stunning centerpiece for your wall. To elevate the glam factor, use Silver Leaf adhesive on the flowers and frame edges for a luxurious metallic finish.
Layering paint not only guarantees full coverage but also allows you to customize colors that match your style. Additionally, consider incorporating vintage accessories to further enhance the farmhouse aesthetic of your space. Finally, secure your decorative elements with strong adhesives like Gorilla Glue or hot glue, confirming your beautiful new wall art is durable and long-lasting.
Create Ombre Effects

Building on your creative endeavors with repurposed frames, ombre effects can add a striking visual element to your wall art. To achieve this look, start with a base color and gradually mix in lighter or darker shades for a smooth gradient. Use a high-quality soft paintbrush or sponge for seamless blending.
Here are some tips to elevate your ombre game:
- Experiment with bold color combinations, like light blue to deep navy.
- Try metallic paints for a dramatic, light-catching effect.
- Guarantee each layer dries before adding the next shade.
- Apply overlapping strokes to maintain clean lines.
- Don't be afraid to mix colors until you find the perfect shift.
With these steps, your wall art will transform beautifully!
Try Marbling Techniques
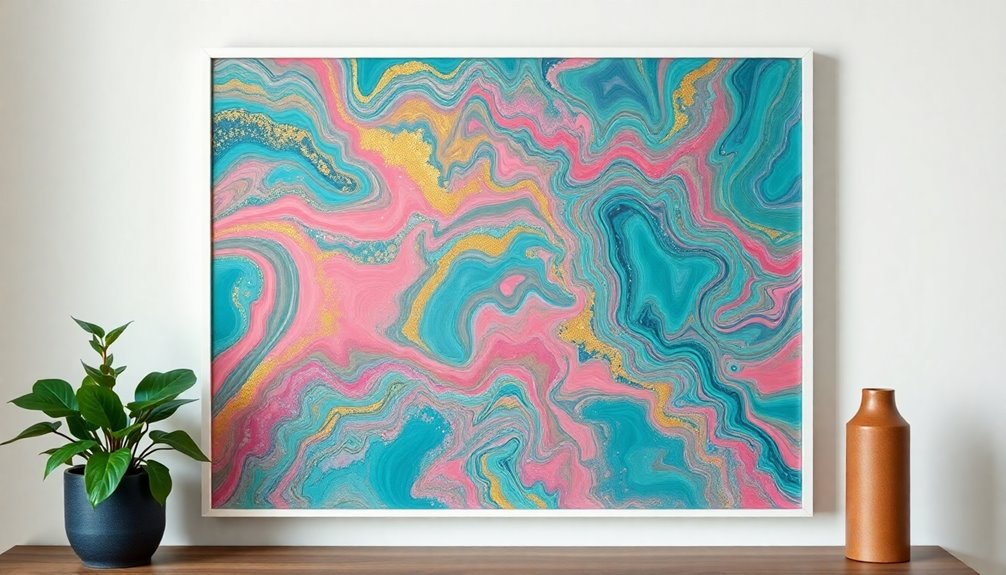
When you try marbling techniques, choosing your colors wisely can make a huge difference in the final design.
Don't hesitate to experiment with various tools and methods to create unique patterns that really stand out.
Once you're happy with your masterpiece, sealing it properly guarantees it lasts for years to come.
Choose Your Colors Wisely
Choosing the right colors can make all the difference in your marbling projects, so consider using a palette of complementary shades to create a harmonious effect. Thicker paints, like metallics or acrylics, work best since they hold their shape and form distinct patterns.
Here are some tips to enhance your color choices:
- Experiment with layering colors; let each layer dry slightly before adding the next.
- Use a variety of tools, like brushes and combs, to create unique swirls.
- Always test your color combinations on a small sample piece first.
- Keep your workspace organized to avoid color mixing disasters.
- Don't be afraid to adjust your palette as you go; creativity thrives on flexibility! Aromatherapy sessions can also inspire your creativity and help you relax while you work.
With these strategies, your marbled artwork will shine!
Experiment With Techniques
With a solid color palette in hand, it's time to explore the exciting world of marbling techniques. You can achieve stunning designs using acrylic paint, water, or specialized marbling inks.
Start by adding drops of paint to a shallow tray filled with water. Use a stick or comb to swirl the colors together, then dip your chosen surface. For the best results, opt for thick paper or canvas to absorb the paint without warping, ensuring a vibrant finish.
Don't hesitate to experiment with various color combinations and layering techniques; metallic paints can add glam to your designs. Once you're satisfied, allow your marbled artwork to dry completely before displaying it for the best effect!
Seal for Longevity
To guarantee your marbled artwork stands the test of time, sealing it properly is essential. A clear acrylic spray or varnish will protect your unique designs and enhance their durability.
Here's what you should keep in mind:
- Allow each paint layer to dry completely before sealing.
- Choose a sealant that's compatible with acrylic paint.
- Apply multiple light coats of sealant for even coverage.
- Experiment with different paint viscosities for unique effects.
- Store your artwork in a dry, cool place to prevent damage. Additionally, consider using glycolic acid products to maintain the vibrancy of your colors over time.
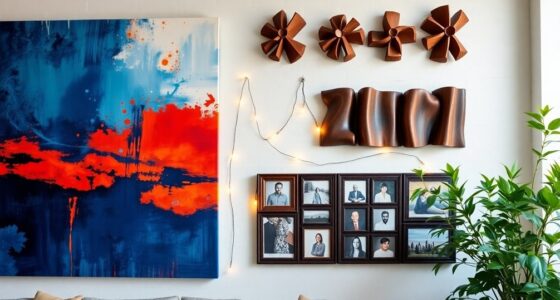
Personalize With Meaningful Quotes
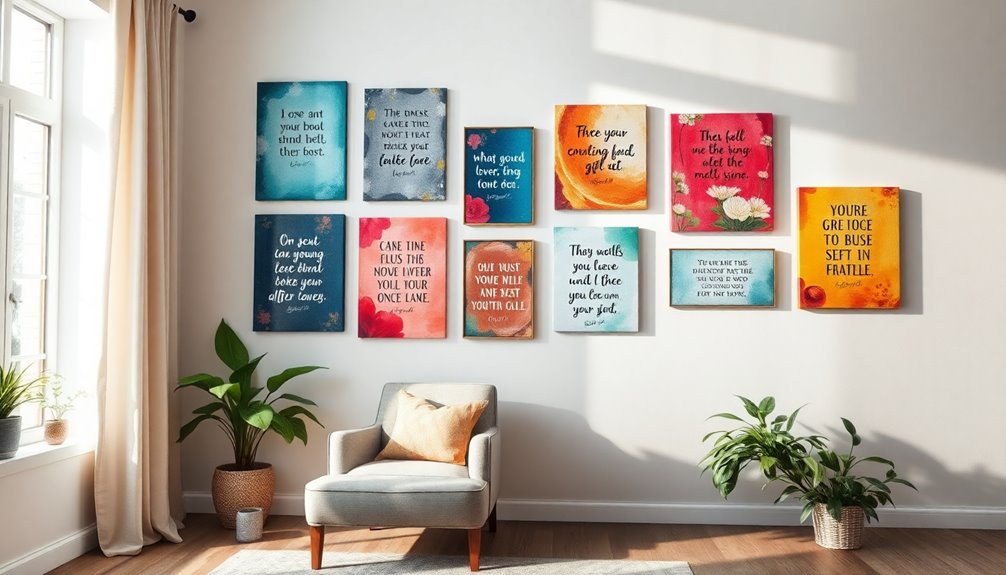
Personalizing your space with meaningful quotes can truly reflect who you are.
Choose your favorite quotes that inspire you and use unique typography styles to make them pop.
This approach not only adds character to your wall art but also creates a motivational atmosphere in your home. Additionally, incorporating quotes about trust through open communication can further enhance the emotional health of your environment.
Choose Your Favorite Quotes
How can you infuse your personality into your living space? One great way is to choose your favorite quotes that resonate with your experiences. This transforms your wall art into a source of inspiration and motivation.
Here are some tips to get started:
- Select quotes from influential figures, books, or songs that reflect your values.
- Experiment with different mediums like canvas, wood, or metal for varied textures.
- Use a mix of typography styles and colors to make your quotes pop.
- Regularly update your quotes to keep your decor fresh and aligned with your evolving thoughts.
- Make your wall art a personal reflection, ensuring it connects deeply with your journey.
Your walls can tell your story!
Use Unique Typography Styles
Typography can be a powerful tool in transforming your wall art into a personal statement. Choose a mix of typography styles—script, serif, or sans-serif—to evoke specific emotions and set the tone for your piece.
Incorporate meaningful quotes that resonate with you or inspire positivity; studies show that uplifting messages can boost your mood and well-being. Use contrasting colors for the background and text to guarantee your quotes stand out and are easily readable from a distance.
Experiment with different sizes and placements to create a dynamic layout that's visually engaging. Finally, consider adding decorative elements like frames or embellishments around the typography to enhance the overall aesthetic and make your quotes truly pop. Additionally, incorporating hilarious literary quotes can inject humor and relatability into your artwork, making it even more engaging for viewers.
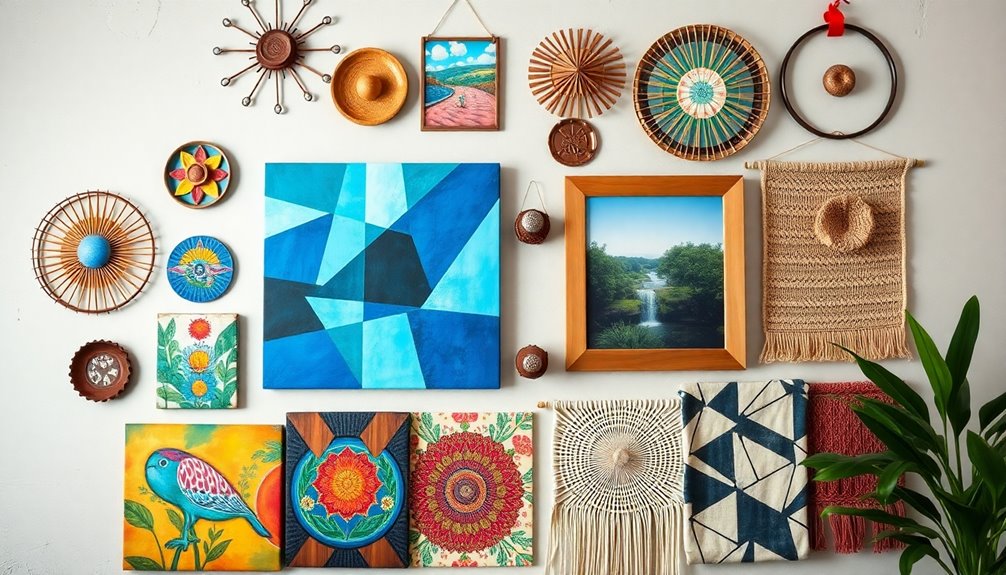
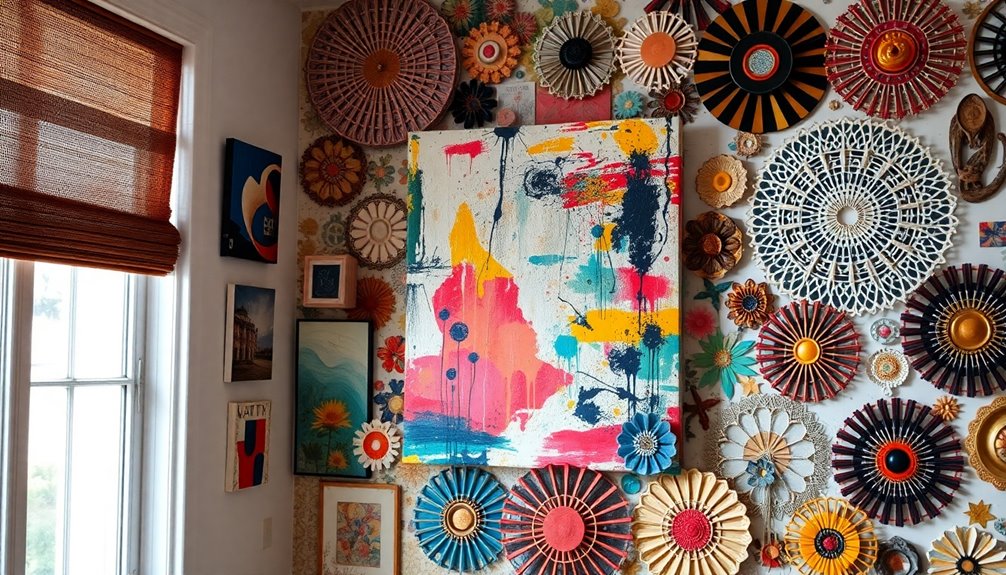
Combine Different Art Styles

When you combine different art styles, you create an enchanting visual experience that can completely transform a room's atmosphere.
Mixing elements like metallic finishes with floral designs can make your wall art truly unique.
Here's how to enhance your piece:
- Use contrasting materials, such as a large metal base with delicate floral accents.
- Incorporate techniques like Silver Leaf application for added elegance.
- Strategically place decorative gems and mirrors to unify styles.
- Experiment with layers, like spray paint combined with metallic brush techniques.
- Create depth and interest by playing with texture and composition.
Use Textured Materials
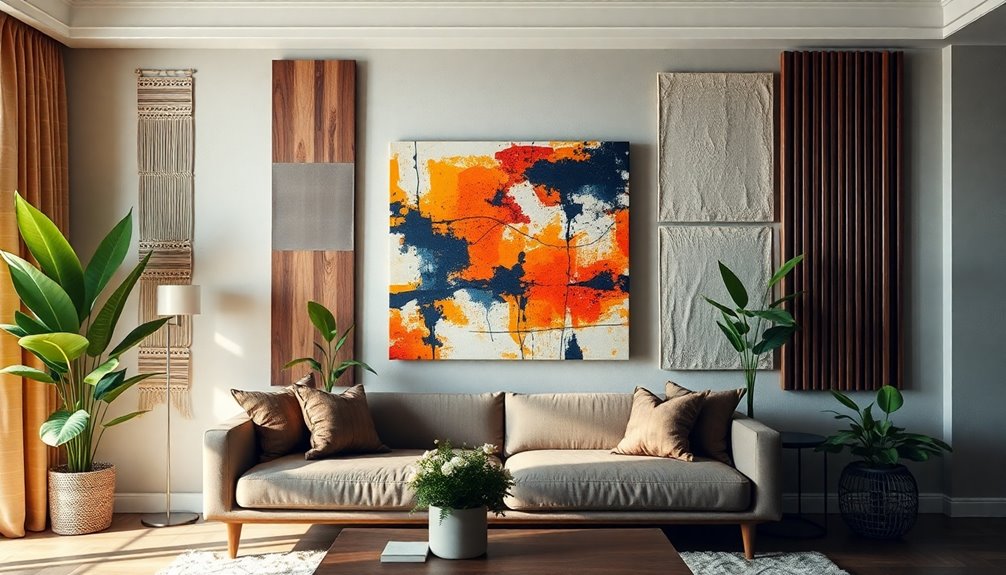
Using textured materials can instantly elevate your wall art, adding depth and dimension that draws the eye. Incorporate elements like fabric, wood, or metal to create a visually intriguing piece.
For a multidimensional effect, layer different materials—think a painted metal base adorned with fabric flowers or gems. Don't shy away from experimenting!
Use adhesive techniques like Gorilla Glue for sturdy materials and hot glue for lighter embellishments to guarantee everything stays in place. Just remember to allow ample drying time, especially with textured materials, so your art retains its intended shape.
Adding cozy textiles to your wall art can further enhance the inviting atmosphere of your space. With these tips, you'll transform your walls into enchanting displays that reflect your unique style and creativity!
Add a Touch of Glam With Silver Leaf
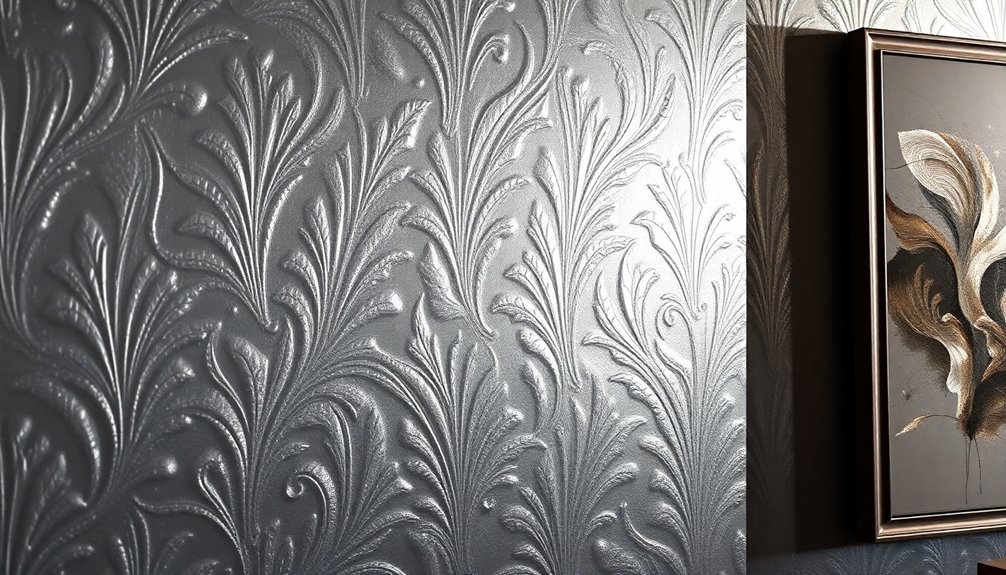
A touch of glam can completely transform your wall art, and silver leaf is the perfect way to achieve that luxurious look. Applying silver leaf creates an eye-catching effect that enhances the overall aesthetic of your piece.
To get started, follow these tips:
- Use silver leaf adhesive for a strong bond; let it dry until tacky.
- Apply silver leaf around the edges to add depth and visual interest.
- Incorporate silver leaf into floral designs for a striking contrast against painted backgrounds.
- Guarantee a unified look by applying silver leaf to both main decorative elements and the outer frame.
- Consider layering different shades of silver leaf for added dimension.
Additionally, consider incorporating elements of Balinese interior design to complement your silver leaf art, creating a harmonious blend of textures and natural materials. With these techniques, you'll create stunning art that dazzles!
Frequently Asked Questions
What Tools Do I Need for Creating Wall Art?
To create stunning wall art, you'll need a few essential tools.
Grab some high-quality paints or markers, brushes of various sizes, and a palette for mixing colors. A sturdy canvas or wooden board will serve as your base.
Don't forget painter's tape for clean lines, an easel for stability, and a ruler for precise measurements.
Finally, keep some protective gear like an apron and gloves handy to keep your workspace clean and your hands protected!
How Do I Choose a Color Palette for My Wall Art?
Did you know that colors can influence your mood by up to 80%?
When choosing a color palette for your wall art, start by considering the emotions you want to evoke.
Look at the room's existing colors and choose complementary or contrasting shades.
Use tools like color wheels for inspiration, and don't hesitate to experiment with different combinations.
Trust your instincts—your art should reflect your personal style and vibe!
Where Can I Find Inspiration for My Wall Art Project?
To find inspiration for your wall art project, immerse yourself in social media platforms like Pinterest and Instagram.
They're filled with creative ideas that can spark your imagination.
Visit local galleries or art shows to see what resonates with you.
Nature, travel, and personal experiences can also fuel your creativity.
Don't forget to browse art blogs or DIY websites; they often showcase unique projects that might inspire your own artistic journey.
How Can I Hang Art Without Damaging My Walls?
Imagine you've finally found the perfect piece of art, only to dread putting holes in your walls.
You don't have to worry! Use adhesive strips or hooks designed for damage-free hanging. These options let you display your art beautifully while keeping your walls intact.
If you're looking for more stability, try using a tension rod or a hanging rail system. Your walls deserve to stay flawless while showcasing your creativity!
What Are Some Budget-Friendly Options for Wall Art?
If you're looking for budget-friendly options for wall art, consider creating your own pieces.
Use inexpensive canvases and acrylic paints to express your creativity. You can also frame fabric swatches or print out free digital art from online sources.
Another great idea is to repurpose old photos or postcards. You could even hang up decorative plates or create a gallery wall with thrifted finds.
Your walls will look fantastic without breaking the bank!
Conclusion
Transforming your walls from drab to fab is just a brushstroke away! By embracing these creative wall art ideas, you'll breathe new life into your space, turning it into a personal sanctuary that reflects your unique style. Don't be afraid to mix and match techniques—each element adds a colorful thread to the tapestry of your home. So grab your supplies, release your creativity, and watch as your walls blossom into a vibrant masterpiece that tells your story!