
For your DIY wall painting projects, start with durable drop cloths and a pre-mixed spackling compound for wall preparation. Use a 2 ½-inch angled brush and a standard 9-inch roller for application, ensuring you have a steady ladder for access. Finish with caulk to fill gaps, but avoid paint pads and fillable products for a smooth finish. Curious about ergonomic options and budget-friendly alternatives? Keep going to find out more about the best tools for your painting needs!
Key Takeaways
- Use durable drop cloths to protect floors and furniture from paint spills during your DIY project.
- Invest in a quality 2 ½-inch angled brush and a standard 9-inch roller for efficient and even paint application.
- A sturdy ladder and ergonomic tools are essential for safety and comfort while painting high areas.
- Maintain clean brushes and tools after each use to extend their lifespan and ensure optimal performance.
- Opt for budget-friendly alternatives like old sheets and quality yet affordable brushes to save on costs without compromising quality.

Rhibak Paint Roller Kit with Extension Pole, 27 Piece Set, 2 to 4 Ft Pole, 4"9" Paint Rollers, Paint Brushes Set for Professional Painting,House Paint Roller for All Latex and Oil Paints & Stains
【All IN ONE 】Great painting tool kit with 4 Inch paint roller cover *6 , 9 Inch paint…
As an affiliate, we earn on qualifying purchases.
As an affiliate, we earn on qualifying purchases.
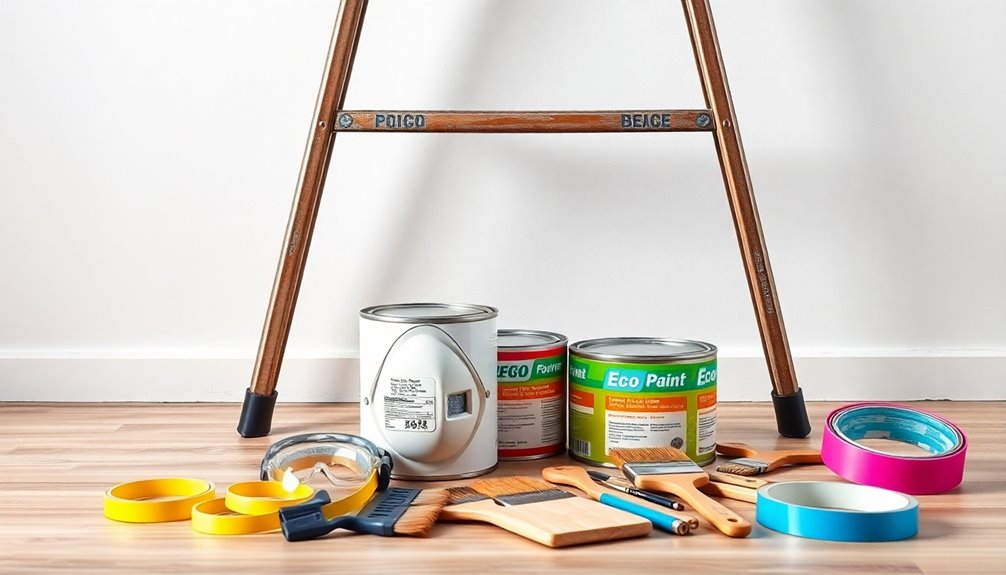
Essential Tools for Wall Preparation
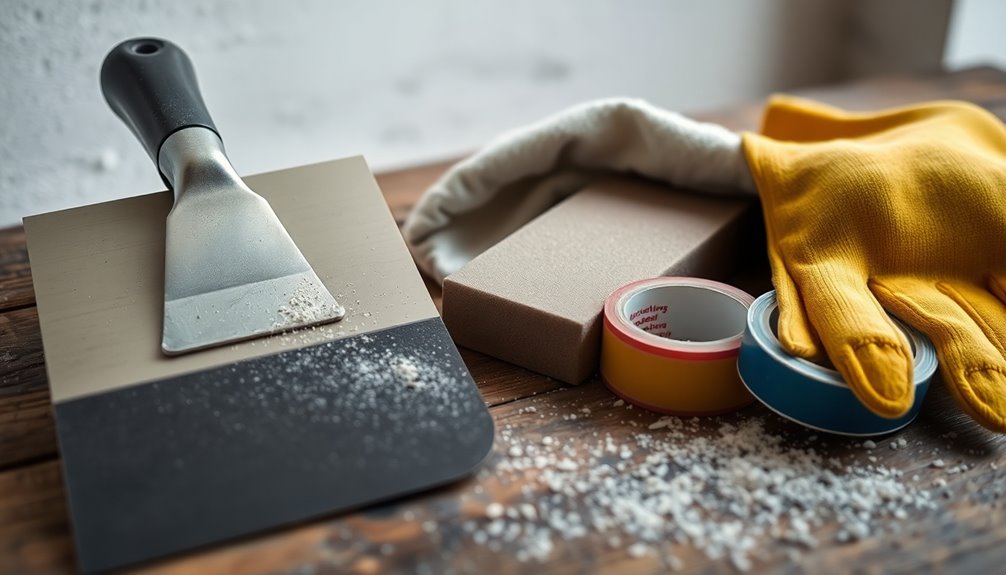
When you're getting ready to paint your walls, having the right tools for preparation makes all the difference.
Start with durable drop cloths to protect your floors and furniture from spills. For any nail holes or imperfections, grab a pre-mixed spackling compound and a two-inch putty knife to apply it evenly. If you're dealing with larger areas, a six-inch taping knife works wonders.
After letting the spackle dry, use medium and fine grit sanding sponges to achieve a smooth surface. Finally, don't forget high-quality painters tape; it's essential for creating clean lines and preventing any paint bleed-through.
With these tools, you're on your way to a flawless finish that'll make your paint job shine!

Pro Grade Paint Brushes, 5-Piece Paint Brush Set: Flat & Angle Brushes for Latex and Oil Paints, Stains, Interior & Exterior Home Improvement
Ideal for Interior Painting & Furniture Projects – Designed for walls, trim, cabinets, wood furniture, and staining projects…
As an affiliate, we earn on qualifying purchases.
As an affiliate, we earn on qualifying purchases.
Must-Have Painting Application Tools
When you're ready to apply paint, having the right brushes and rollers makes all the difference.
A 2 ½-inch angled brush is perfect for those tight edges, while a standard 9-inch roller covers large areas quickly and evenly.
Let's explore how these tools and effective application techniques can elevate your painting project.
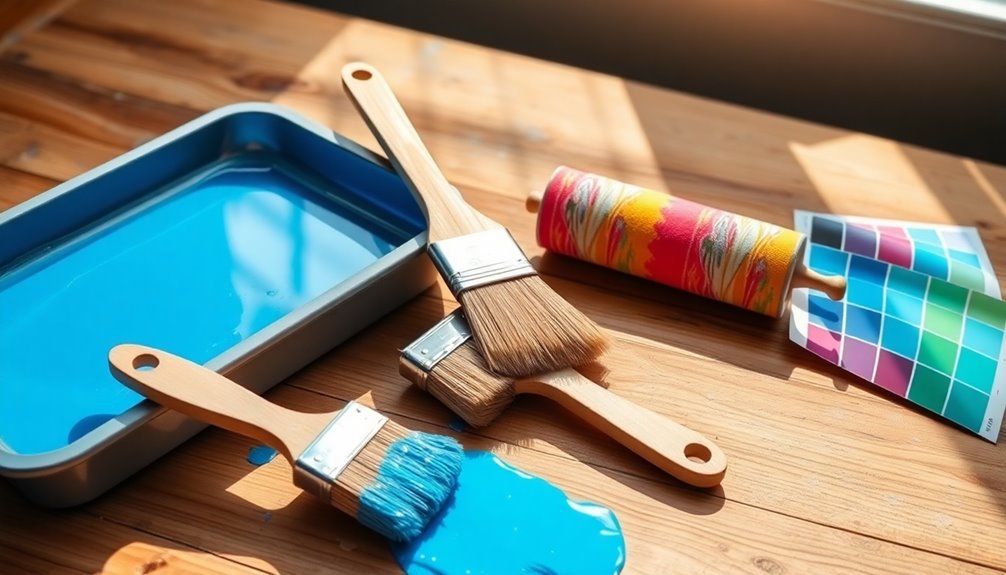
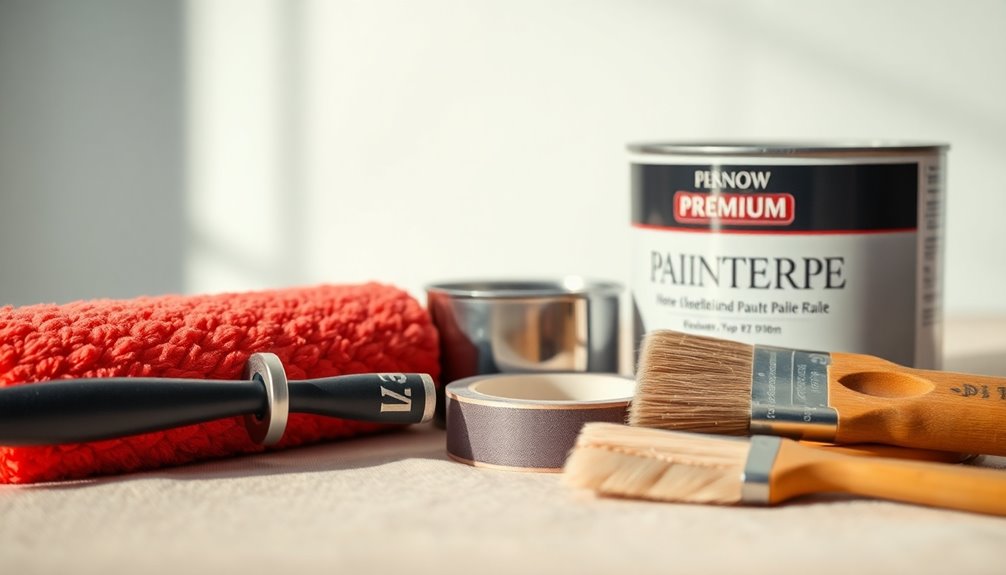
Essential Brushes and Rollers
Choosing the right brushes and rollers is essential for achieving a flawless paint job. A 2 ½-inch angled brush is perfect for cutting in and painting trim, ensuring clean lines and a professional finish.
For larger wall surfaces, use a 9-inch roller with a synthetic core and 3/8-inch nap for even paint distribution. Quality roller covers, like microfiber or lambswool, are also essential tools; choose shorter naps for smooth walls and longer naps for textured surfaces.
Don't forget a roller extension to enhance your reach and reduce strain when painting high walls. Investing in high-quality brushes from brands like Wooster and Purdy won't only improve your paint job but also extend the lifespan of your tools.
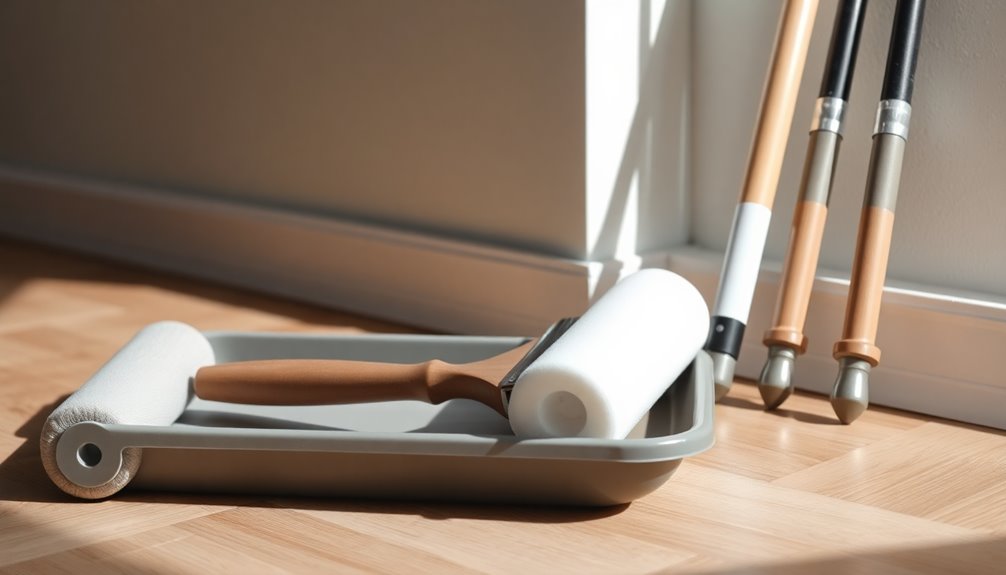
Effective Application Techniques
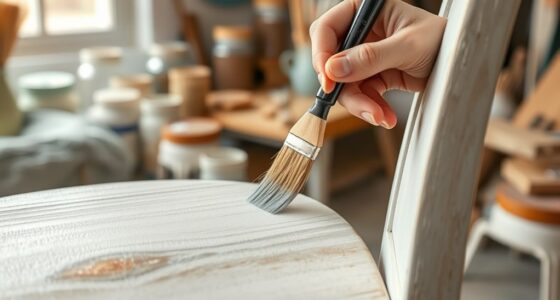
To achieve the best results in your painting project, mastering effective application techniques is essential.
Start with a high-quality 2 ½-inch angled paint brush for cutting in around edges and trim, ensuring a clean, precise finish.
For large wall surfaces, use a standard 9-inch roller with a synthetic core and 3/8-inch nap, which provides even paint distribution and speeds up the painting process.
A sturdy paint tray makes loading your roller easier and supports smooth application, while disposable liners simplify cleanup.
Don't forget an extension pole to reach high walls or ceilings, reducing the need for a sturdy ladder.
Finally, opt for high-quality roller covers like microfiber for a lint-free finish, ensuring a professional look.
Rhibak Paint Roller Kit with Extension Pole, 27 Piece Set, 2 to 4 Ft Pole, 4"9" Paint Rollers, Paint Brushes Set for Professional Painting,House Paint Roller for All Latex and Oil Paints & Stains
【All IN ONE 】Great painting tool kit with 4 Inch paint roller cover *6 , 9 Inch paint…
As an affiliate, we earn on qualifying purchases.
As an affiliate, we earn on qualifying purchases.
Important Safety and Accessibility Equipment
When you tackle wall painting, safety and accessibility are key.
Make sure you have a sturdy ladder and ergonomic tools to keep your body comfortable and reduce strain.
Don't forget to wear proper footwear to maintain stability and prevent slips while you work.
Ladder Stability and Safety
While tackling wall painting projects, ensuring ladder stability and safety is essential for preventing accidents and achieving a smooth finish.
Here are three key tips to keep in mind:
- Choose a quality ladder: Opt for a durable and reliable ladder made of aluminum or fiberglass that meets weight specifications for you and your tools.
- Position on a flat stable surface: Always set your ladder on even ground to maintain stability and prevent slips.
- Maintain three points of contact: When climbing or descending, keep two hands and one foot, or two feet and one hand on the ladder to enhance climbing safety. Additionally, consider using color accuracy tools to ensure that your paint colors look as intended under various lighting conditions.
Ergonomic Tool Considerations
Ergonomic tools can make a world of difference in your painting experience, helping you work longer and more comfortably.
Using ergonomic roller frames with comfortable grips can greatly reduce hand strain, giving you better control during extended sessions. For detailed work on trim and edges, invest in quality paintbrushes with ergonomic handles to improve comfort and reduce fatigue.
Additionally, painter's tape with easy-to-grip dispensers guarantees precise application, minimizing wrist strain while promoting cleaner lines.
Telescopic extension poles can also be a game-changer, allowing you to adjust the length to fit your needs, reducing the need to constantly climb up and down a ladder.
Choosing the right ergonomic tools can keep you painting efficiently and comfortably.
Proper Footwear for Comfort
Choosing the right footwear can greatly enhance your painting experience, ensuring safety and comfort throughout the project.
Proper footwear is essential for tackling DIY wall painting, especially when using ladders or working on uneven surfaces. Here are three key features to take into account:
- Non-slip work boots: These help prevent slips and falls, keeping you safe while you work.
- Closed-toe shoes: Protect your feet from paint spills and dropped tools, minimizing injury risks during painting projects.
- Breathable materials: Opt for shoes made from breathable materials to keep your feet cool and dry, enhancing overall comfort.

12 x 9 Ft Plastic Drop Cloths (6-Pack) – Disposable Painter's Sheeting & Tarps for Painting, Waterproof Furniture/Couch/Floor Protection
1. Versatile Floor and Furniture Protection: More than just for painting, these durable plastic sheet protect floors, furniture,…
As an affiliate, we earn on qualifying purchases.
As an affiliate, we earn on qualifying purchases.
Finishing Touch Tools for a Polished Look
To achieve a polished look in your wall painting project, using the right finishing touch tools is essential. A caulk gun loaded with quality caulk, like Dripless Ergo-Tech, fills gaps between baseboards and walls, ensuring a seamless finish.
For nail holes and imperfections, a two-inch putty knife helps you apply spackling compounds smoothly. Once the spackle dries, use a high-quality sanding sponge to blend those areas, creating a flawless surface.
For quick touch-ups, the Shur-Line Touch Up Painter tool lets you apply paint without mess. If you're in a hurry, opt for caulking tools like the 1050 Quick Dry Siliconized Acrylic Latex Caulk, allowing you to paint within 30 minutes of application for an even more polished look.
Tools to Avoid for a Hassle-Free Experience
While it might be tempting to grab every tool on the market, some can actually complicate your painting process. To guarantee a hassle-free experience, here are three tools to avoid:
- Paint pads – These often lead to uneven application and don't deliver smooth finishes.
- Painting edgers – They might promise clean lines, but they frequently result in unsatisfactory edges and inconsistent coverage.
- Fillable paint products – These can cause uneven distribution, making your job messier.
Instead of using a flat-head screwdriver for opening paint cans, stick to the basics.
Also, steer clear of specialized brushes; they clutter your toolkit and aren't versatile enough for various tasks.
Choose wisely for a smoother painting project!
Ergonomic Options for Comfortable Painting
After identifying tools to avoid for a hassle-free painting experience, it's important to contemplate options that enhance comfort and efficiency. Ergonomic roller frames with a comfortable grip can considerably reduce hand strain and improve control. Lightweight painting tools, like plastic buckets and trays, lessen the physical burden, while adjustable extension poles help you reach high areas without climbing. High-quality brushes featuring ergonomic handles guarantee precision application and minimize hand cramping. Sanding sponges with contoured shapes fit comfortably in your hand, offering excellent maneuverability. Here's a quick reference table for these ergonomic options:
| Tool Type | Benefits | Key Features |
|---|---|---|
| Ergonomic Roller Frames | Reduces hand strain | Comfortable grip |
| Adjustable Extension Poles | Reaches high areas easily | Adjustable length |
| Lightweight Painting Tools | Minimizes physical stress | Easy to carry |
| High-Quality Brushes | Guarantees precision application | Ergonomic handles |
| Sanding Sponges | Easy maneuvering | Contoured shapes |
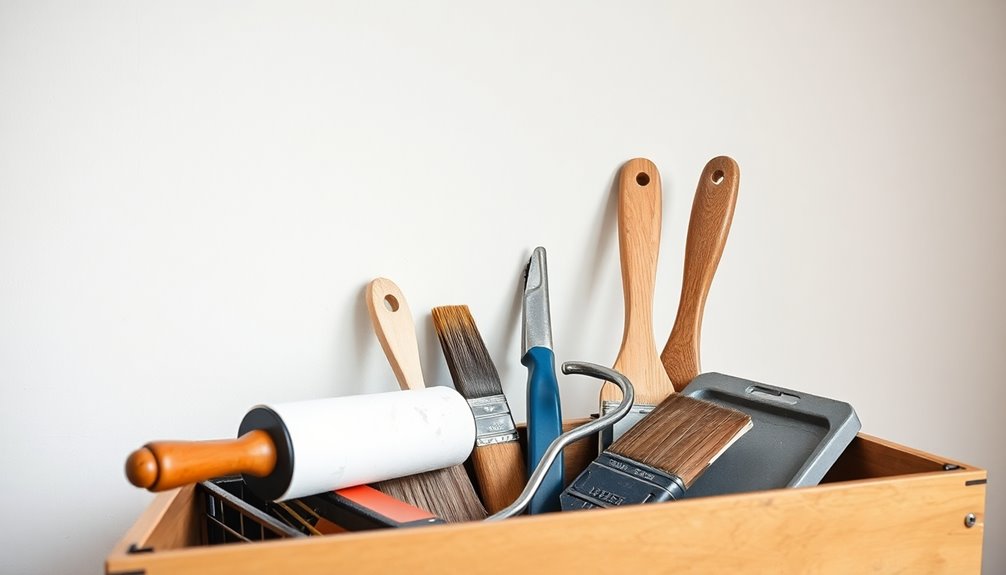
Maintenance of Painting Tools for Longevity

Maintaining your painting tools is essential for guaranteeing they last through multiple projects and perform at their best. Regular maintenance will save you time and money.
Here are three key practices to keep your painting tools and accessories in top shape:
- Clean brushes: Use a dedicated brush cleaner to remove paint buildup, extending their lifespan and maintaining performance.
- Store roller covers: Keep them in a sealed plastic bag to prevent drying out, so they're ready for your next job.
- Rinse paint trays: After each use, wash trays and buckets with warm water to eliminate residue and guarantee they're contamination-free.
Don't forget to allow spackling knives to dry completely and inspect extension poles for functionality.
These simple steps promote longevity!
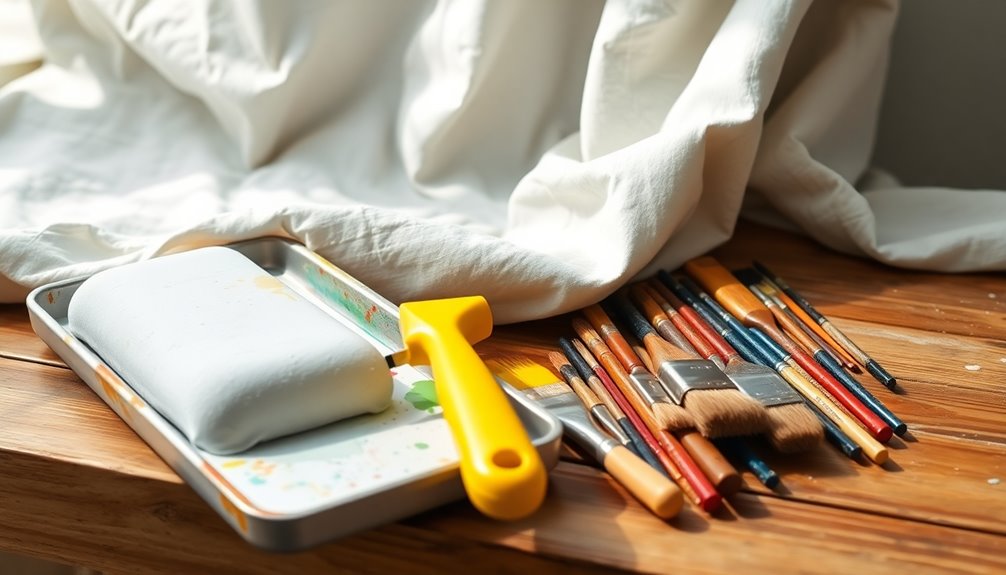
Budget-Friendly Alternatives for Beginners

If you're just starting out with painting, you don't need to break the bank on tools and materials. Consider using old sheets or inexpensive drop cloths instead of pricey canvas drop cloths to protect your floors and furniture.
A two-inch putty knife is a versatile, budget-friendly tool that's perfect for filling nail holes and applying spackle. For brushes, look for quality brands that offer affordable options, ensuring a professional finish without overspending.
Instead of a traditional paint tray, grab a lightweight plastic bucket, which is both effective and low-cost. Don't forget painter's tape from budget-friendly brands; it'll give you good adhesion and clean lines for your painting job.
With these tips, you can achieve great results without overspending!
Frequently Asked Questions
What Tools Do You Need for Painting Walls?
When you're painting walls, you'll need a few essential tools.
Start with a high-quality 2 ½-inch angled brush for trim and detail work, along with a 9-inch roller for larger areas.
Grab some painter's tape to guarantee clean lines, and use a sturdy drop cloth to protect your floors.
A plastic roller tray helps with paint application, and a ladder's necessary for reaching high spots safely.
With these tools, you'll achieve a great finish!
Is It Better to Paint a Wall With a Brush or Roller?
Picture yourself in a retro diner, sipping a milkshake while deciding how to paint your wall.
You'll find that using a roller is generally better for large areas, as it covers more ground quickly.
But don't forget the brush! It's perfect for those tricky edges and detailed spots.
Combining both tools lets you achieve a smooth finish with clean lines, making your DIY project not just efficient but also visually stunning.
What Painting Tool Makes for a Smooth Finish on a Wall?
To achieve a smooth finish on a wall, you'll want to use a high-quality 2 ½-inch angled brush for cutting in around edges and trim.
Pair that with a standard 9-inch roller that has a synthetic core and a 3/8-inch nap for even paint distribution.
Don't forget microfiber roller covers—they provide a lint-free finish.
Plus, prep your surfaces properly and use painter's tape to guarantee clean, crisp lines.
What Is Needed for Wall Painting?
To achieve a flawless wall painting, you'll need quality brushes, reliable rollers, and sturdy ladders.
You'll want painter's tape for clean lines, canvas drop cloths to protect your floors, and surface prep tools like spackle and sanding sponges.
Gather these essentials, and you'll guarantee a smooth application and a beautiful finish.
Don't forget to plan your project carefully, and take your time to prep thoroughly for the best results!
Conclusion
In the world of DIY wall painting, the right tools can be your best friends, transforming a intimidating task into a rewarding adventure. By gathering the essentials, you'll not only enhance your efficiency but also release your creativity. Remember, each stroke of paint is a step toward making your space uniquely yours. So, gear up and jump in—your walls are waiting to tell your story! Happy painting!