
To paint trim a different color without regret, plan your color choices carefully by considering the overall vibe and testing small swatches in various lighting. Prep the trim well by cleaning and sealing edges with painter’s tape, pressing firmly for sharp lines. Use high-quality paint and tools, applying thin coats and allowing proper drying time. Be patient during taping and removal to achieve a polished look. Keep going for detailed tips to guarantee your project turns out just as you envision.
Key Takeaways
- Test small color swatches in different lighting to ensure satisfaction before committing.
- Choose a complementary or subtly contrasting trim color based on your wall and room palette.
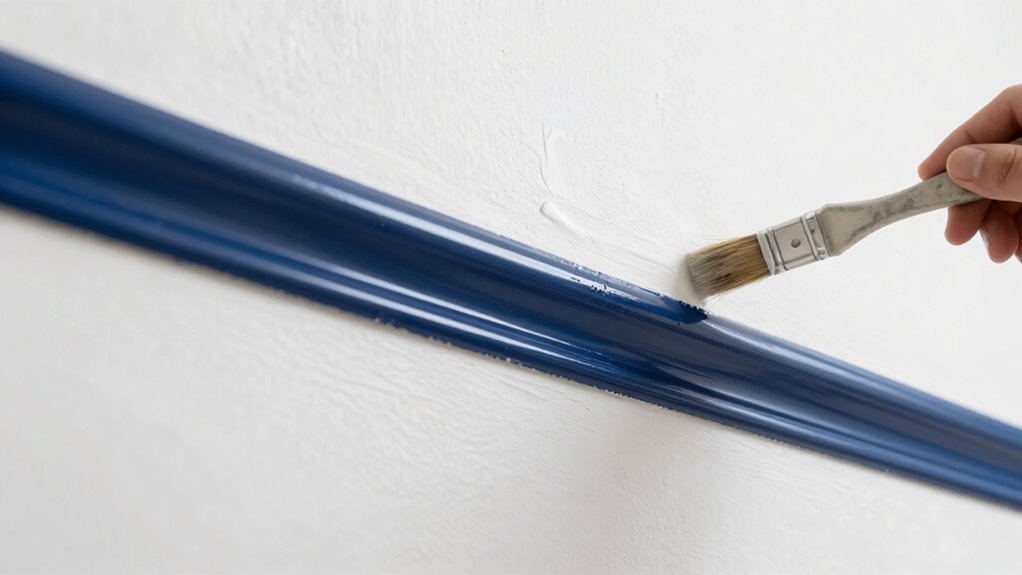
- Use painter’s tape carefully pressed and sealed for sharp, clean lines and prevent color bleed.
- Apply multiple thin coats with proper drying time for an even, durable finish.
- Remove painter’s tape while paint is tacky to achieve crisp, professional-looking edges.
Painting trim a different color can dramatically enhance your space, but it’s easy to worry about ending up with a look you’ll regret. The key to success lies in thoughtful color palette choices and precise painter’s tape techniques. Before you pick your hues, consider the overall atmosphere you want to create. If your room has neutral walls, a bold trim color can add a striking contrast, but if your walls are already colorful, opt for a trim shade that complements or subtly accents the existing palette. Use a color wheel to help visualize how different shades will interact, and don’t be afraid to test out small swatches on your trim first. This gives you a clearer idea of how the colors will look in different lighting and helps prevent costly mistakes.
Test small swatches first to visualize trim colors in different lighting and avoid costly mistakes.
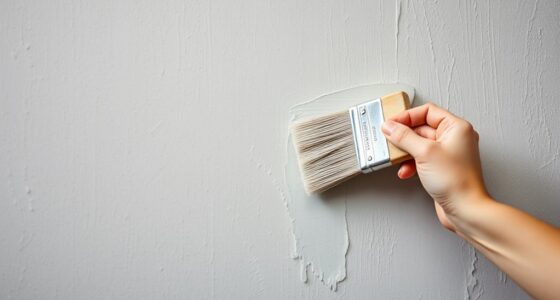
Once you’ve chosen your colors, preparation is essential. Carefully clean the trim to remove dust and grease, ensuring the paint adheres smoothly. When it’s time to paint, painter’s tape techniques are your best friend. Apply painter’s tape along the edges of the trim to create sharp, clean lines and prevent bleed-through onto your walls. Be sure to press the tape down firmly and run a putty knife or credit card along the edges to seal it properly. For best results, remove the tape while the paint is still slightly tacky, which helps achieve crisp edges and prevents peeling or smudging. Additionally, understanding paint finish options can help you choose the most durable and visually appealing look. Knowing the right techniques for tape removal can also make a significant difference in achieving professional-looking results. Using proper surface preparation ensures the paint will last longer and look better over time.
When selecting your paint, choose a high-quality, semi-gloss or gloss finish. These finishes not only provide a durable, washable surface but also enhance the contrast between your wall and trim. Use a good-quality angled brush for detailed work and a small roller for larger sections to ensure even coverage. Apply thin coats rather than thick ones; multiple light coats produce a smoother, more professional look and reduce drips or uneven textures. Proper surface preparation and the right tools are essential for a flawless finish, especially if you want your work to stand the test of time.
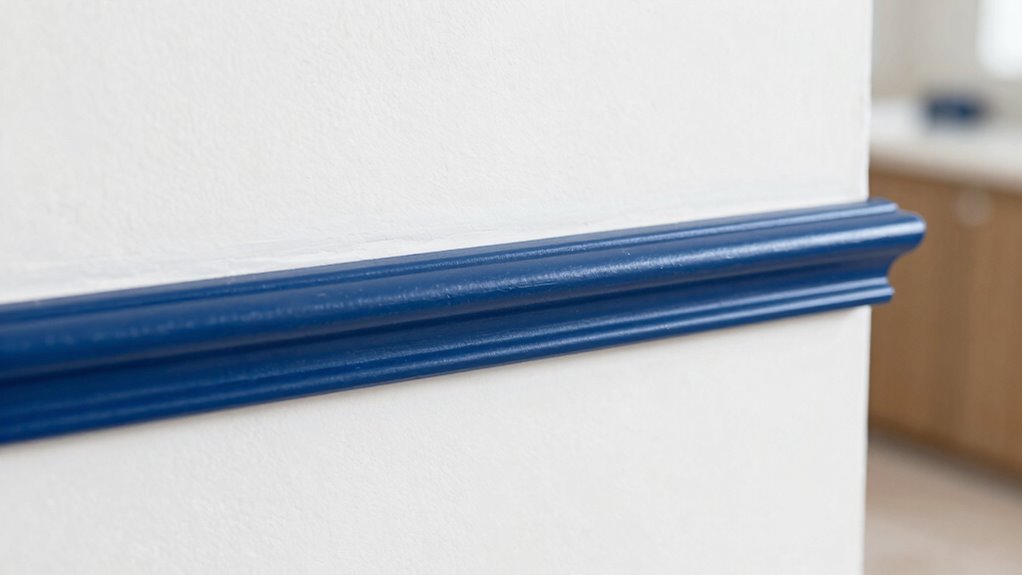
Throughout the process, keep your workspace well-ventilated, and give each coat adequate drying time before applying the next. Patience pays off with a polished look that you’ll be proud of. When you’re finished, carefully remove the painter’s tape to reveal sharp, clean lines and a fresh, contrasting trim. By making deliberate color palette choices and mastering painter’s tape techniques, you’ll enjoy a bold, stylish update without the regret of a poorly executed paint job.

ScotchBlue Original Multi-Surface Painters Tape, 2 Inch Wide (1.88 in. x 60 Yds), 1 Roll Blue Paint Tape Protects Surfaces & Removes Easily, Masking Tape for Indoor and Outdoor Use (2090-48NC)
- Product Size: 1.88 inch wide, 60 yards long
- Easy Removal: Removes without residue up to 14 days
- Multi-Surface Use: Suitable for walls, trim, tile, glass
As an affiliate, we earn on qualifying purchases.
As an affiliate, we earn on qualifying purchases.
Frequently Asked Questions
Can I Change Trim Color Without Repainting the Entire Room?
Yes, you can change the trim color without repainting the entire room. First, consider your wall texture—smoother walls make this easier, while textured surfaces may require extra care. Use painter’s tape for clean edges, and choose a paint sheen that matches or complements existing walls. Carefully prep the trim, then apply your new color with a small brush or roller, blending edges well to avoid noticeable differences.
What Are the Best Paint Types for Trim?
The best paint types for trim are those with a semi-gloss or high-gloss sheen, as they provide durability and a sleek finish. Use a trim stain or primer to guarantee smooth application and better color adhesion. Choosing the right paint sheen enhances the trim’s appearance and longevity, while a high-quality formula minimizes chipping and makes cleaning easier. Opt for oil-based or latex paints, depending on your specific needs and preferences.
How Do I Choose Complementary Trim Colors?
To choose complementary trim colors, start by considering color contrast and harmony. You want your trim to pop without overpowering your walls. Opt for contrasting shades that highlight architectural details, like a crisp white or deep charcoal. Alternatively, select harmonious hues that blend seamlessly for a cohesive look. Test small swatches first, ensuring your chosen colors create the perfect balance between bold contrast and subtle complement.
Will a Different Color Affect Room Lighting?
Choosing a different trim color can impact your room’s lighting effects. A high contrast color may make the space feel more dynamic, but it might also absorb or reflect light differently, affecting brightness. Lighter shades tend to bounce more light around, creating a brighter atmosphere, while darker shades can add depth but may make the room feel dimmer. Consider how your chosen color interacts with natural and artificial light to achieve the desired effect.
How Long Should I Wait Before Touching Up?
You should wait at least 24 hours before touching up your painted trim. This allows the paint to cure, guaranteeing good paint durability and preventing smudges or uneven color contrast. Rushing the touch-up might damage the finish or cause peeling later. For best results, check the manufacturer’s recommendations on the paint can, and confirm the paint feels dry to the touch before making any corrections.
Conclusion
Think of your room as a garden, where each color is a blooming flower. Choosing a different color for your trim is like planting a vibrant new blossom—exciting but nerve-wracking. Just as a gardener trusts their vision and cares for each bloom, trust your choices and take your time. With patience and confidence, your space will flourish into a harmonious masterpiece, where every hue tells a story—and you’ll never regret the bold new chapter you’ve painted.