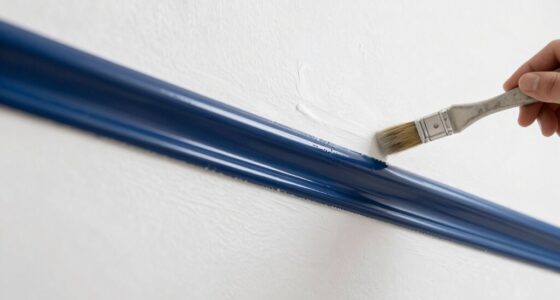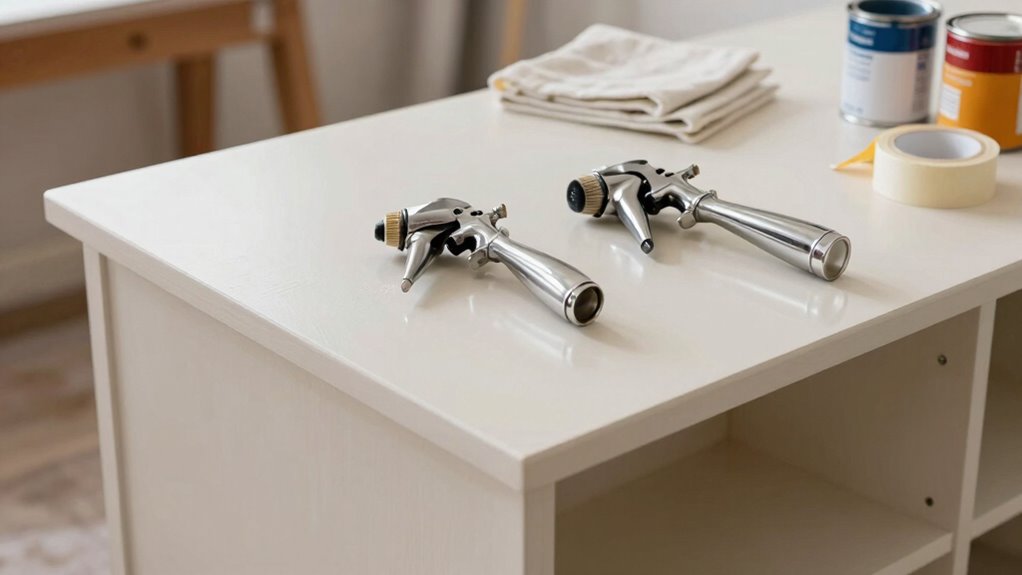

To guarantee your paint sprayer works well on cabinets, you’ve got to nail the surface preparation. Start with a thorough cleaning to remove grease, dust, and old paint. Use a degreaser or mild detergent, then rinse and let it dry completely. Next, sand the surfaces lightly to create texture for better adhesion. Don’t skip the primer, either—it’s essential for a uniform finish. Stick around to discover more tips for achieving that flawless look!

Get furniture and decor delivered free with Prime
- Fast, free delivery on millions of items
- Prime Video, Amazon Music and more included
- Member-only deals all year
Key Takeaways
- Thoroughly clean surfaces to remove grease, dust, and old paint for optimal paint adhesion.
- Sand surfaces lightly to create texture, ensuring even paint application without deep grooves.
- Apply a compatible primer to enhance adhesion and ensure a uniform finish.
- Achieve the right paint consistency; aim for a smooth, pourable texture to prevent clogging.
- Allow primer to fully cure before painting to avoid compromising the final results.

When you’re prepping for a paint sprayer, every detail counts. If you want to achieve a flawless finish on your cabinets, you can’t overlook the significance of surface preparation. It’s the foundation for your entire project and can make or break your results. Start by cleaning the surfaces thoroughly. Remove any grease, dust, or old paint that could interfere with adhesion. A good rule of thumb is to use a degreaser or a mixture of water and mild detergent. After cleaning, give the surfaces a thorough rinse and allow them to dry completely.
Surface preparation is crucial for a flawless cabinet finish—clean thoroughly to ensure optimal paint adhesion.
Once your cabinets are clean, you’ll want to focus on sanding. This step isn’t just about aesthetics; it creates a texture that helps the new paint stick better. Use fine-grit sandpaper to gently scuff the surface, ensuring you don’t create deep grooves. Pay special attention to corners and edges, where paint tends to build up. After sanding, wipe down the cabinets with a damp cloth to remove any dust. Neglecting this step can lead to an uneven surface and affect paint consistency.
Next, you need to reflect on your primer. Applying a quality primer not only enhances adhesion but also helps in achieving a uniform finish. Choose a primer that’s compatible with the paint you plan to use. If you’re going with a water-based paint, stick to a water-based primer. The same goes for oil-based products. After priming, let it cure as per the manufacturer’s instructions. This wait time is vital, as rushing this step won’t yield the results you want.
Now, let’s talk about paint consistency. If your paint is too thick, it can clog your sprayer and create an uneven coat. On the other hand, if it’s too thin, it won’t cover well. Aim for a smooth, pourable consistency. You can achieve this by stirring the paint thoroughly and, if necessary, thinning it according to the manufacturer’s recommendations. Always test the consistency by spraying a small amount onto a scrap piece of wood.
Before you start spraying, lay down drop cloths and tape off areas you don’t want to paint. A clean workspace makes a world of difference. Proper surface preparation is crucial for achieving a professional-looking finish. With these steps, you’re not just preparing your cabinets; you’re setting yourself up for success. A little prep work goes a long way in achieving that professional finish you’re after.
As an affiliate, we earn on qualifying purchases.
Frequently Asked Questions
Can I Use Any Paint Type With a Sprayer?
You can’t use just any paint type with a sprayer; it depends on sprayer compatibility and paint viscosity. Most sprayers work best with latex or acrylic paints, but oil-based paints require specific sprayers. Always check the manufacturer’s guidelines for your sprayer to verify compatibility. Additionally, if the paint’s too thick, you might need to thin it out for a smooth application. Proper prep makes all the difference in achieving a flawless finish.
How Do I Clean My Paint Sprayer After Use?
Cleaning your paint sprayer after use isn’t as challenging as it seems! Start by emptying any leftover paint and flushing it with the appropriate solvent. Follow up with warm soapy water for an extra clean. For maintenance, don’t forget to check and clean the nozzle, too. These cleaning tips can extend your sprayer’s life and guarantee smooth operation. Regular upkeep makes all the difference, so don’t skip this essential step!
What Safety Gear Should I Wear While Spraying?
You should definitely wear a mask, goggles, and gloves while spraying. These protect you from harmful fumes and overspray. For sprayer maintenance tips, make certain your workspace is well-ventilated and consider using drop cloths to minimize cleanup. Wearing appropriate gear not only keeps you safe but also helps guarantee a smoother spraying process. Don’t forget, overspray prevention is key to achieving a professional finish without unnecessary mess!
How Long Does It Take for Paint to Dry?
Paint typically takes about 1 to 2 hours to dry to the touch, but you should wait 24 hours before applying a second coat. Factors like humidity, temperature, and paint type can influence drying time. Imagine the paint glistening under a warm sun, slowly transforming from wet to a smooth finish. Keep an eye on those conditions, as they can make your project go smoothly or leave you waiting longer than expected.
Can I Spray Cabinets Indoors Without Ventilation?
No, you shouldn’t spray cabinets indoors without proper ventilation. Paint fumes can be harmful and cause respiratory issues, so indoor safety is essential. Always make certain windows are open and use fans to circulate air. If possible, wear a mask designed for paint fumes to protect yourself further. Taking these precautions not only keeps you safe but also helps guarantee a better finish on your cabinets. Prioritize your health while working on your project!
Conclusion
Proper prep is like laying a solid foundation before building a house; it’s crucial for a flawless finish. If you want your paint sprayer to work wonders on your cabinets, don’t skimp on this important step. Clean, sand, and prime surfaces to guarantee the paint adheres beautifully and evenly. With the right preparation, you’ll transform your cabinets into stunning focal points that reflect your style. So gear up and get ready to elevate your space!
Halloween Picks
halloween
As an affiliate, we earn on qualifying purchases.