
Before you start painting, understand that proper surface prep is key—clean, sand, and prime for smooth, lasting results. Use the right tools, like high-quality brushes and rollers, and master techniques like feathering and maintaining a wet edge to avoid streaks. Preparing properly minimizes coats, saves time, and makes your finish look professional. If you keep these tips in mind, you’ll achieve durable, flawless results that truly stand out. Stay tuned to learn more!
Key Takeaways
- Proper surface preparation, including cleaning, sanding, and priming, is essential for a smooth, durable finish.
- Selecting the right brushes and tools for your paint type ensures better coverage and reduces streaks.
- Mastering application techniques like feathering and maintaining a wet edge results in a professional-looking finish.
- Using appropriate primers tailored to surfaces enhances paint adhesion and longevity.
- Consistent, careful application minimizes the need for multiple coats and extends the paint’s durability.
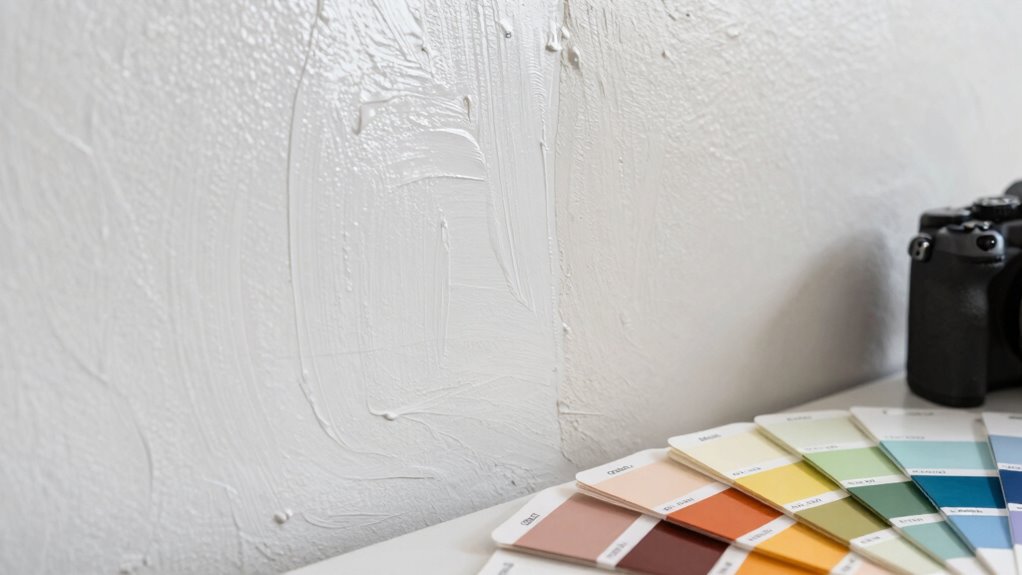
Choosing the right paint finish can make a significant difference in how your space looks and feels, whether you’re updating a single room or tackling an entire project. But before you start painting, it’s vital to understand the importance of proper surface preparation and effective brush techniques. Skipping surface prep can lead to uneven coverage, visible imperfections, and a finish that doesn’t last. Take the time to clean, sand, and prime the surfaces thoroughly. Dirty or rough surfaces prevent paint from adhering properly, which can cause peeling or chipping down the line. If you’re working on walls with existing paint, scraping off loose paint and filling in holes or cracks with spackle ensures a smooth, even surface. Priming is especially essential when changing from dark to light colors or painting over glossy finishes. It creates a uniform base, helping the paint to adhere better and reducing the number of coats needed. Additionally, understanding surface adhesion can help you choose the right primer and paint for optimal durability. Proper surface preparation also minimizes the need for multiple coats, saving you time and effort in the long run. Preparing the surface properly enhances paint longevity, ensuring your work looks good for years to come.
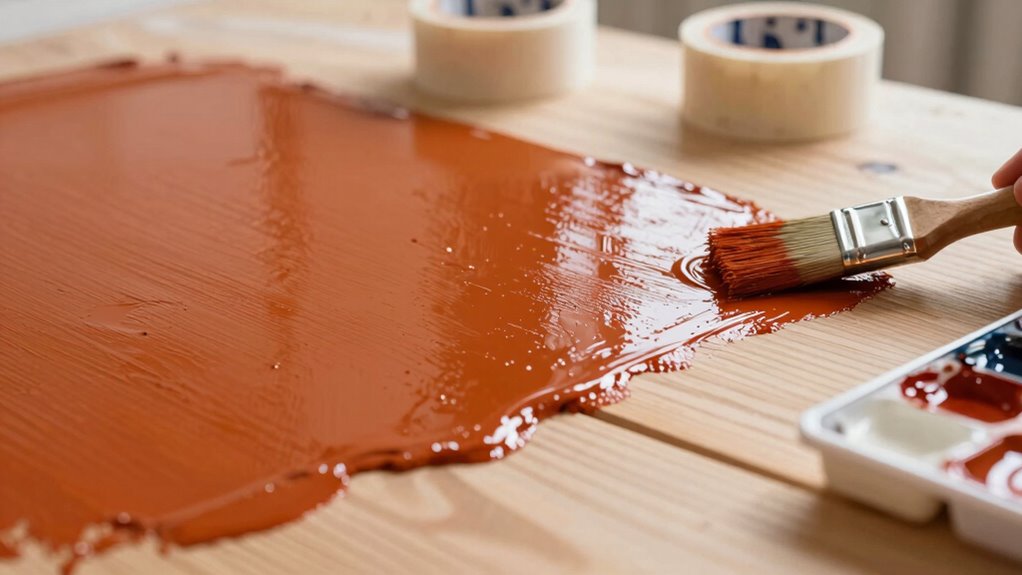
Once your surface is ready, focus on your brush techniques to achieve a professional look. Your choice of brush can influence the smoothness and precision of your application. Use high-quality brushes suited for your type of paint—synthetic bristles work well with latex, while natural bristles are better for oil-based paints. When applying paint, start with a “cut-in” around edges and corners, using a steady, controlled motion. Load your brush with just enough paint to cover without drips, and work in long, smooth strokes to avoid streaks. Feathering your strokes helps blend the paint seamlessly, especially along edges and seams. Keep a wet edge as you work to prevent lap marks, and don’t press too hard—let the brush do the work. For larger surfaces, consider using a roller after the initial cut-in, but always go back with a brush to touch up corners and detailed areas. Mastering these brush techniques can elevate your DIY painting projects to a more professional finish. Additionally, practicing proper paint application techniques can help you achieve a more uniform and durable coating, making your project look polished and long-lasting. Knowing how to prepare and apply paint correctly can also reduce paint waste and ensure better coverage overall.

Pro Grade Paint Brushes, 5-Piece Paint Brush Set, Flat & Angle Brushes for Walls, Trim, Cabinets, Interior & Exterior Latex and Oil Paints, Stains
- Complete 5-Piece Set: Includes various sizes for all tasks
- Professional Grade Performance: High-quality brushes at a fraction of store prices
- Zero Bristle Loss: Secure adhesive bonding prevents bristle shedding
As an affiliate, we earn on qualifying purchases.
As an affiliate, we earn on qualifying purchases.
Frequently Asked Questions
How Do I Choose the Right Paint Finish for High-Traffic Areas?
For high-traffic areas, go for durable finishes like semi-gloss or satin, which withstand wear and are easy to clean. Consider color coordination to match your decor, and choose finishes that enhance texture if you want to highlight wall details. This way, your space remains stylish and practical, and the paint’s resilience keeps it looking fresh longer. Always opt for finishes that balance durability with aesthetic appeal.
Can Different Finishes Be Used on the Same Wall?
Using different finishes on the same wall isn’t just possible—it’s like giving your wall a stunning makeover! You can combine texture options and sheen variations for a dynamic look, highlighting specific areas or creating visual interest. Just be sure to prep properly, use painter’s tape for clean lines, and consider how each finish interacts. Mixing finishes adds depth and personality, making your wall truly a work of art.
What Are the Best Cleaning Tips for Maintaining Painted Finishes?
To maintain painted finishes, stick to regular cleaning schedules with a soft cloth or sponge. Use gentle stain removal techniques, like mild soap and water, avoiding abrasive cleaners that can damage the paint. For stubborn stains, try a mixture of baking soda and water or a specialized cleaner. Always test a small area first, and dry the surface thoroughly to prevent streaks or water damage.
How Long Does Each Type of Paint Finish Typically Last?
You’ll find that different paint sheens have varying durability comparisons. Matte finishes usually last around 4-7 years before showing wear, while eggshells and satin can last 5-8 years. Semi-gloss and gloss finishes are the most durable, often lasting 7-10 years or more. Your choice of paint sheen impacts longevity, with high-gloss options offering the best durability, especially in high-traffic areas.
Are There Eco-Friendly Paint Finish Options Available?
Yes, eco-friendly paints and sustainable finishes are available. You can choose options made with low or zero volatile organic compounds (VOCs), which reduce indoor air pollution. Look for brands that prioritize natural ingredients and sustainable production methods. These eco-friendly paints not only protect the environment but also guarantee better indoor air quality, making your space healthier. Switching to sustainable finishes is a smart move for eco-conscious DIYers like you.
Conclusion
Remember, choosing the right paint finish is like picking the perfect outfit—you want it to match the occasion and last through the day. I once hurriedly painted my living room with a glossy finish, only to realize fingerprints and smudges became my new decor. Don’t make that mistake. Take the time to select wisely. When you understand the finishes, your project will turn out just as you envisioned—smooth, stunning, and built to last.