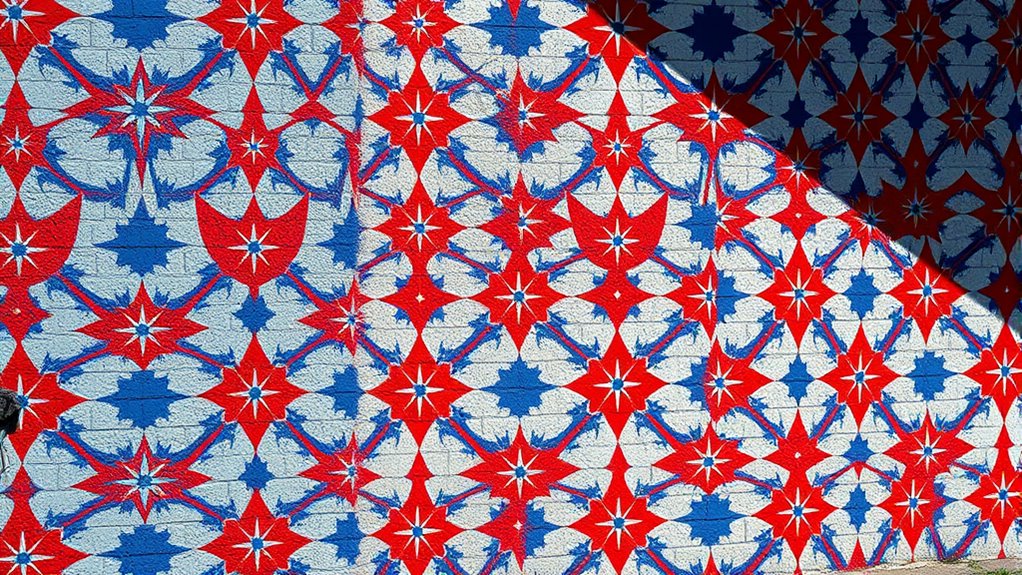
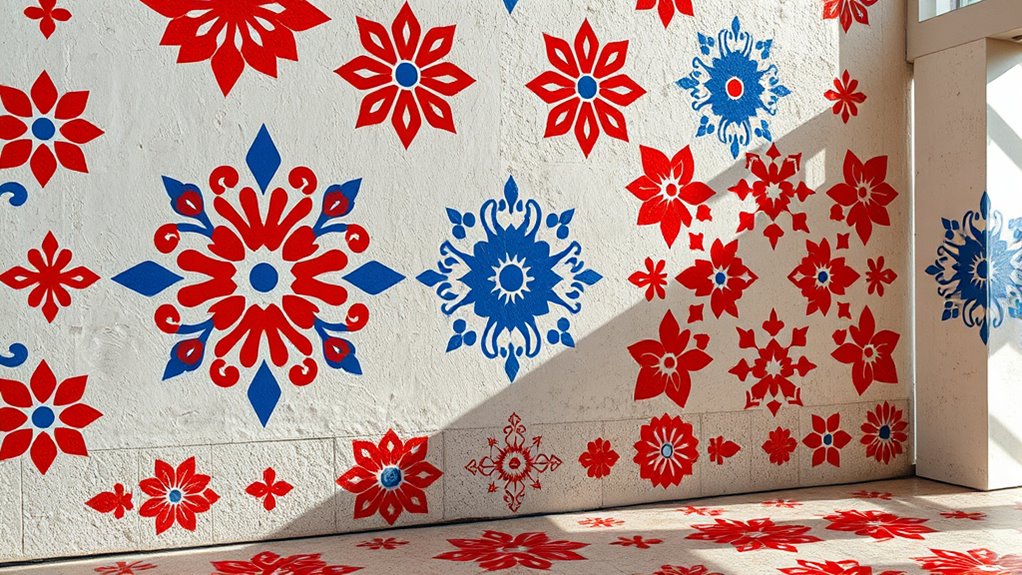
To create stunning patterns on walls and floors, focus on mastering stencil techniques with proper preparation and application. Secure your stencil with painter’s tape, work in sections, and periodically clean the stencil to maintain crisp edges. Use complementary colors and blend edges smoothly to achieve vibrant, seamless designs. Practice on scrap surfaces first to perfect your skills. Careful attention to detail and patience will help you produce professional-looking results; keep exploring for more effective tips and tricks.
Key Takeaways
- Secure the stencil firmly with painter’s tape to prevent shifting during application.
- Plan and mark pattern alignment to ensure seamless repetition on walls or floors.
- Use complementary colors and blend edges smoothly for vibrant, professional-looking patterns.
- Clean the stencil regularly to maintain pattern accuracy and prevent paint buildup.
- Practice blending techniques on scrap surfaces to achieve consistent, even color transitions.

Ever wondered how artists achieve sharp, consistent designs in their artwork or home decor? It all comes down to mastering the right stencil techniques, especially when it comes to creating intricate patterns on walls and floors. One essential aspect of successful stenciling is understanding color blending. When you’re working with multiple hues, it’s tempting to rush, but careful color blending can elevate your design from simple to stunning. To do this effectively, start by choosing colors that complement each other and think about how they’ll progress within your pattern. Using a sponge or stencil brush, gently dab or stipple the paint onto your stencil, blending the edges where different colors meet. This technique creates smooth gradients and prevents harsh lines, making your pattern look more polished and professional. Keep in mind that blending works best with acrylic or latex paints that are easy to manipulate and dry quickly. Practice on a scrap surface first, so you can get a feel for how the colors meld together. Additionally, consistency in paint application is key to achieving uniformity across your design, ensuring each section blends seamlessly.
Another vital component of successful stenciling is stencil maintenance. You want your stencil to stay in top shape so that the edges are crisp and your design remains consistent. After every use, wash your stencil thoroughly with warm, soapy water, especially if you plan to reuse it multiple times. Avoid using harsh chemicals that can degrade the material. When cleaning, gently scrub away any excess paint with a soft brush or cloth, paying close attention to the intricate cutouts. Once cleaned, let the stencil dry completely before storing it flat or rolling it up carefully. Proper maintenance prevents paint from drying in the cutouts, which can cause tearing or uneven edges during your next project. When you’re ready to use the stencil again, check for any damage or buildup that might affect your pattern’s accuracy.
In addition, consider taping your stencil securely to the surface to prevent shifting during painting. Use painter’s tape to keep it in place, ensuring your design stays precise. If you’re working on a large surface, consider working in sections, moving the stencil carefully and cleaning it periodically to avoid smudges. The combination of skillfully blending colors and maintaining your stencil properly makes all the difference in achieving crisp, vibrant patterns. With patience and attention to detail, your walls and floors will showcase professional-looking designs that enhance your space’s aesthetic. So, take your time, practice these techniques, and enjoy transforming your home with beautifully stenciled patterns that truly stand out.
Frequently Asked Questions
Can Stencil Techniques Be Used on Textured Surfaces?
Yes, stencil techniques can be used on textured surfaces, but you need to address textured surface challenges first. To do this, you should use stencil adaptation techniques like applying a stabilizing adhesive or a flexible medium to create a smoother area. This helps the stencil adhere properly and prevents paint from bleeding. With patience and proper preparation, you can achieve clean, crisp patterns even on rough or uneven textures.
What Are the Best Sealants for Protecting Stencil Artwork?
Don’t worry about your stencil artwork wearing out—choosing the right sealant types makes all the difference. You should opt for clear, protective coatings like acrylic or polyurethane sealants, which provide durability and water resistance. These sealants lock in your design, prevent fading, and withstand cleaning. Apply multiple coats for extra protection, ensuring your stencil art stays vibrant and intact for years to come.
How Do I Fix Mistakes or Uneven Paint With Stencils?
If you make mistakes or find uneven paint with your stencil, start with touch up techniques by gently dabbing the correct color over the error using a small brush. For larger issues, carefully remove excess paint with a damp cloth or a fine sandpaper if necessary. For stencil correction, reposition the stencil precisely and reapply paint. Patience and steady hands will help you achieve a clean, professional look.
Are There Eco-Friendly or Non-Toxic Stencil Paints Available?
Yes, there are eco-friendly paints and non-toxic options available for your stencil projects. You can find water-based, low-VOC, or natural paint brands that prioritize environmental safety and indoor air quality. These eco-friendly paints are designed to be non-toxic, making them safe for homes with children or pets. Always check product labels to verify they meet your standards for sustainability and health, and enjoy creating beautiful, safe stencil patterns.
What Tools Are Essential for Detailed Stencil Work?
Imagine the precision of an artist’s hand—your essential tools for detailed stencil work are precision brushes and stencil cutters. These tools help you achieve crisp lines and intricate designs, turning your vision into reality. Use fine-tipped brushes for delicate edges and stencil cutters for cutting intricate patterns. Together, they allow you to craft detailed, professional-looking patterns that elevate your wall or floor art with ease and accuracy.
Conclusion
Now that you’ve mastered stencil techniques, your walls and floors become blank canvases bursting with personality. Think of each pattern as a brushstroke of your soul, transforming dull surfaces into vibrant stories. With every spray and peel, you breathe life into your space, turning ordinary into extraordinary. So go ahead—let your creativity soar like a painter’s brush dancing across a masterpiece, leaving behind a trail of beauty and inspiration that’s uniquely yours.


