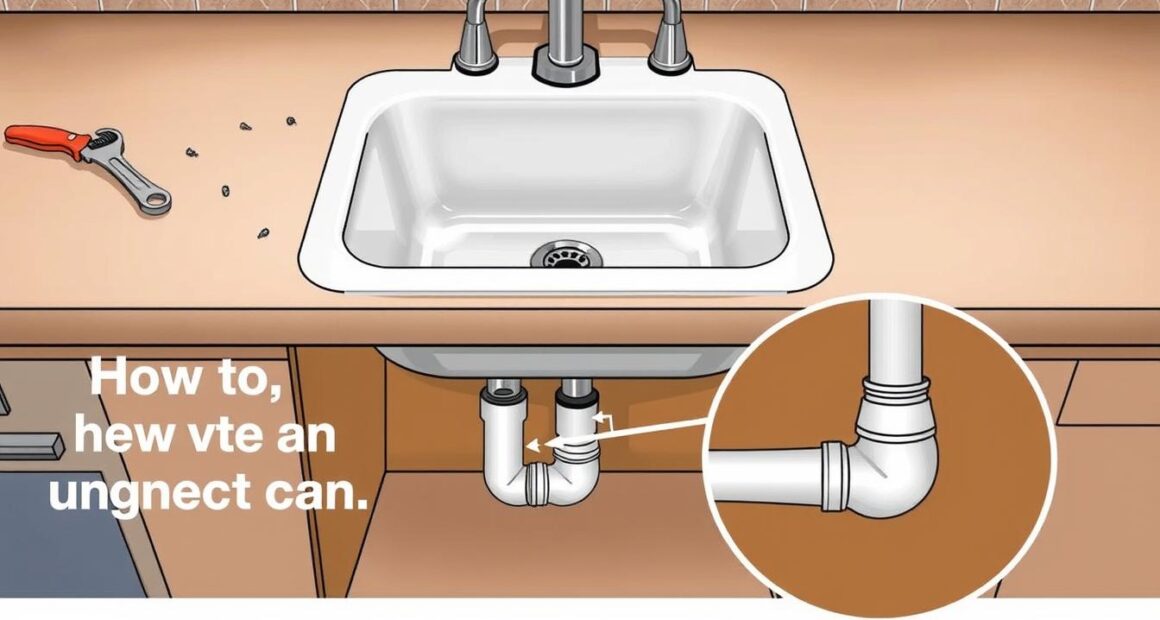
Ever looked at your kitchen sink and felt proud? It has seen so much, from meal prep joy to the mess of a family gathering. Sinks are really the unsung heroes at home. But even the sturdiest sinks need to be replaced or fixed sometimes. If you need to take out your undermount sink, you’re in good company. Many people decide to do this themselves to update their kitchen. In this guide, we’ll show you how to remove an undermount sink. You’ll learn the steps needed, what tools you’ll need, and how to do it confidently. Let’s make this challenge an empowering moment.
Key Takeaways
- Installation time for an undermount sink typically takes 2-3 hours, with additional curing time for adhesive.
- Most properly installed undermount sinks can support between 300-500 pounds of weight.
- Granite, quartz, and marble are the best materials for undermount sink installation.
- Old caulk should be removed and re-caulking should be done annually to prevent leaks.
- Using specialized tools is essential for a successful DIY sink removal process.
Introduction to Undermount Sinks
Undermount sinks are now a top choice for modern kitchens because of their neat look. They sit below the countertop, making the kitchen look clean and unified. These sinks are great because they don’t have a rim that collects food and water, making them easy to clean.
Undermount sinks look good and work well with many types of countertops. You can pair them with granite, quartz, or solid surfaces. This makes cleaning simpler since there’s just one gap between the sink and counter. This design avoids dirt-catching edges.
Undermount sinks come with different installation options. You can choose from zero reveal, positive reveal, or negative reveal based on your style. A zero reveal sink matches the countertop level perfectly. This makes upkeep easier and keeps the look clean.
For undermount sink installation, it’s best to use GE’s Supreme Silicone Kitchen and Bath sealant. It sticks well and dries fast, becoming water-ready in just 30 minutes. However, it usually fully cures in about 24 hours. A good seal is important for keeping the sink stable and leak-free.
Why Remove an Undermount Sink?
People remove undermount sinks for different reasons to remove an undermount sink. Some want a new look or more features in their kitchen. Others might need a bigger or different shape of sink. Fixing leaks or damage is another reason to consider getting a new sink.
It’s key to know why you’re changing your sink. Many homeowners look for sink replacement ideas that are modern and trendy. For example, double basin sinks are popular with about 60% of homeowners. Yet, single basin sinks are also in demand due to their size. Trends change, and about 30% of people update their style every 5 to 10 years. This shows how important it is to keep your kitchen looking fresh.
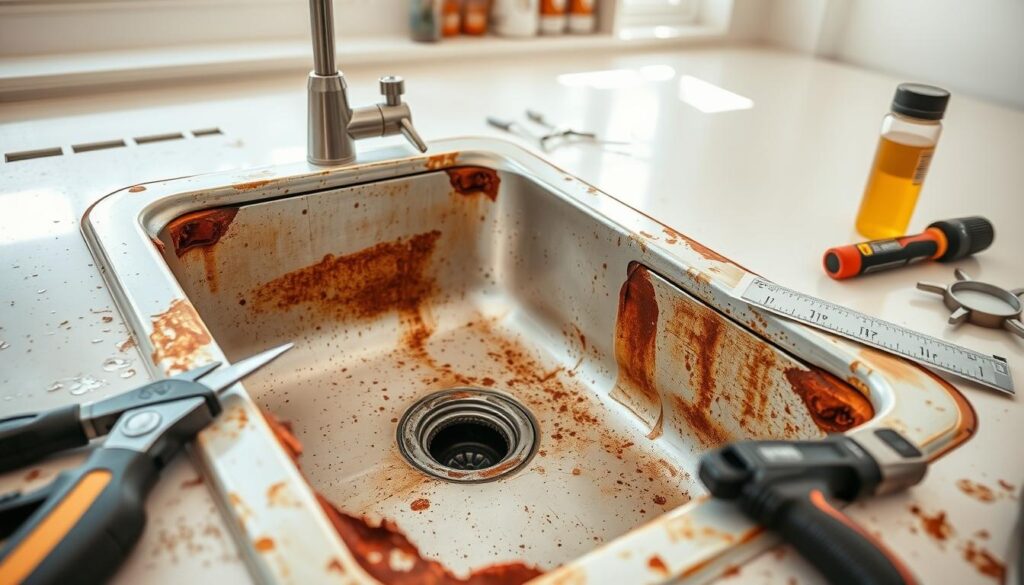
Statistics show that about 85% of kitchen remodels include updating the sink. This is a main way to improve your kitchen. Upgrading can make your kitchen more useful and also add value. The return on investment for these updates is usually between 72% to 87%. This means you get back a good part of what you spend on the renovation.
Tools and Materials Needed for Removal
Getting ready to remove an undermount sink? You’ll need the right tools for undermount sink removal and materials. Having them makes a big difference in how smoothly and effectively you can work. Here’s a list of what you’ll need for the job.
Essential Tools for the Job
Having a complete sink removal tools list means everything you need is within reach. Make sure to have:
- Ratchet set for loosening screws
- Utility knife for cutting old caulk
- Adjustable wrench for taking off plumbing connections
- Pliers for gripping and twisting
- Caulk gun for applying new silicone caulk
- Hammer for tapping and lightly prying
- Metal spatula for removing adhesive residue
Materials You’ll Need
Don’t forget to gather your materials before you start. These items make your project go smoother:
- Silicone caulk for sealing the new sink
- Plumber’s putty for watertight seals
- Acetone for cleaning any remaining adhesive
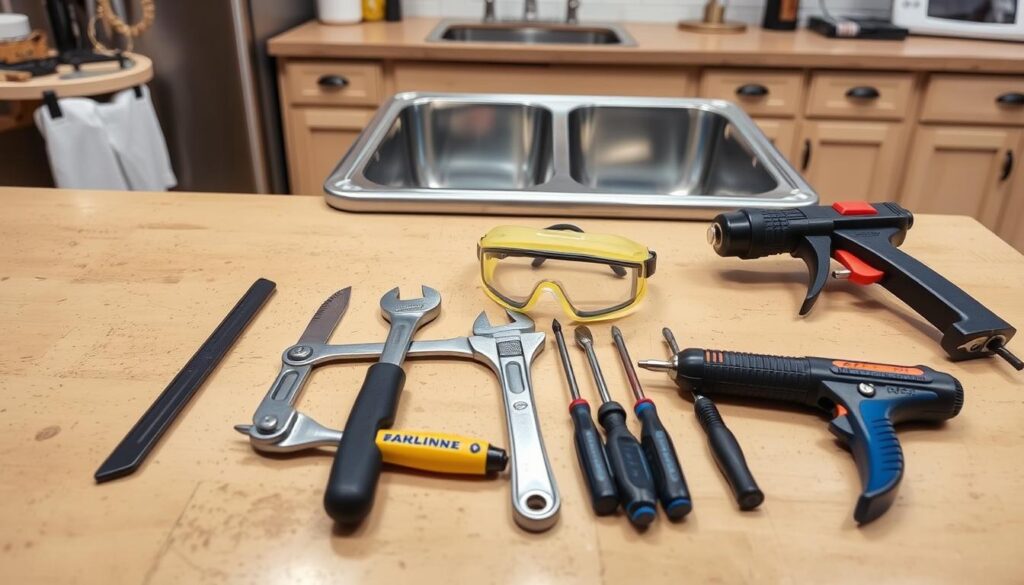
With these tools and materials ready, you’re set to remove your undermount sink. This preparation helps avoid delays and makes the job easier.
Step-by-Step Guide on How to Remove an Undermount Sink
Removing an undermount sink might seem tough, but it’s doable with the right steps. By following a step-by-step method, you make sure the sink comes off easily. This is key for any future installs or repairs.
Disconnecting the Plumbing
First, shut off the water to avoid leaks while taking out the sink. Then, carefully disconnect all plumbing parts like the drain and faucet lines. If you have a garbage disposal, take that out too. Taking a photo of your plumbing setup can be a good idea for when you put it back together.
Removing Mounting Clips
Now, look at the mounting clips that keep the sink attached to the counter. These clips are crucial for the sink’s stability. Unscrew these clips slowly, leaving some in place for now to support the sink. Make sure you can reach these clips easily, maybe using a ratchet extension for the tricky spots.
Detaching the Sink from the Counter
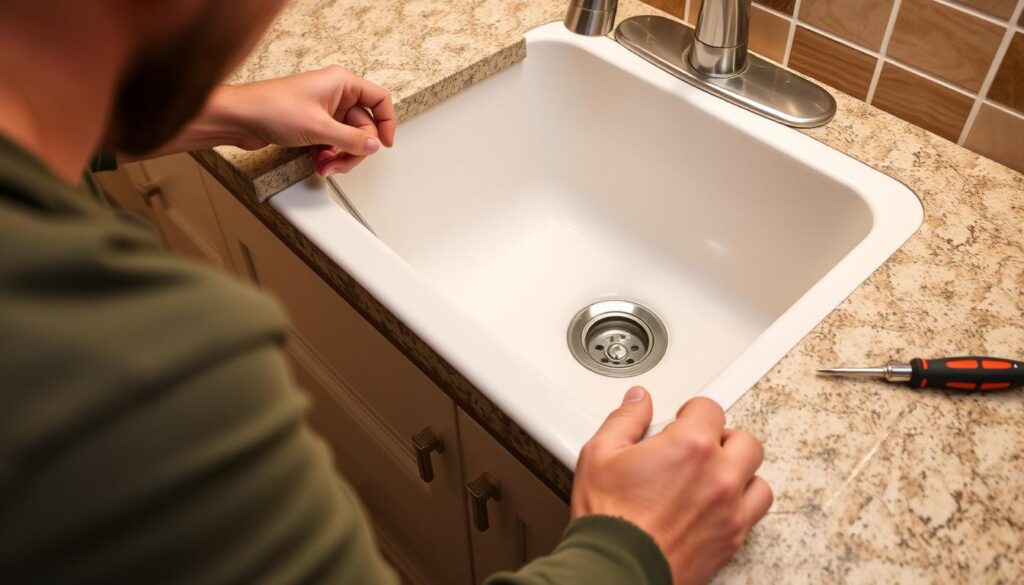
The last step is to take the sink out carefully. Cut through any sealant around the sink with a utility knife. Use a metal spatula or a flat-head screwdriver to gently loosen the sink from the counter. Be patient and careful to avoid damaging the countertop. Once the seal is broken, you can lift the sink out. This finishes the removal.
Preparing the Countertop for New Installation
After you’ve removed your old sink, clean and check the countertop carefully. This step is key for a good new sink installation. A clean countertop not only looks better but also avoids future problems.
Cleaning the Surface
Start by cleaning the countertop well. It’s vital to get rid of old silicone and debris for a tight fit. Use a metal spatula to scrape off leftovers. Then, clean it with tools like acetone for a spotless surface. A clean countertop is crucial for a leak-free installation.
Inspecting for Damage
Checking the countertop for damage is also critical. As you get ready for the new sink, examine every inch. Look for cracks or chips hidden by the old sink. Fixing these issues early helps avoid future troubles. This ensures your new sink sits perfectly and looks great.

Common Challenges During Removal
Removing an undermount sink can bring up unique challenges for homeowners. Often, issues stem from the sink not being installed properly. For example, about 30% face moisture problems due to wrong adhesive use.
Some folks use permanent epoxies, which makes replacing the sink hard. In such cases, the countertop usually has to be broken to remove the sink. Also, 25% of these sinks are not sealed right, which might lead to mold.
A lot of homeowners find it tough to remove sinks. This is because 70% of the time, the sink is too tightly attached. Also, up to 75% don’t know the right way to install an undermount sink, leading to mistakes.

Choosing the right tools and methods can help fix sink removal problems. A big issue is leaks after not disconnecting water correctly, affecting 65% of DIY attempts. Not preparing well can also damage countertops, as 50% of homeowners have found.
| Challenge | Occurrence Rate | Consequences |
|---|---|---|
| Improper Sealant Usage | 25% | Mold and mildew risk increases |
| Permanent Epoxy Use | 20% | Countertop destruction needed |
| Corrosion of Hardware | 10% | Sink falling or becoming loose |
| Installation Awareness | 75% | Higher likelihood of installer error |
| Leakage Issues | 65% | Damages from improper disconnection |
| Need for Professional Help | 40% | Insufficient knowledge about plumbing |
Knowing these challenges can make sink removal smoother. Always think about your skills before starting DIY projects. Sometimes, it’s best to call a professional.
Safety Tips When Removing an Undermount Sink
Removing an undermount sink requires putting safety first. You might face risks due to heavy sinks or tight spaces. Proper safety steps make the process smoother and safer.
Protective Gear Recommended
First, get the right safety gear for sink removal. Protective gear defends you and lowers the chance of injury. You should wear:
- Safety glasses: Shield your eyes from debris and splashes.
- Gloves: Prevent cuts and protect your hands from harsh materials.
- Face mask: Avoid inhaling dust and fumes while working.
It’s crucial to organize your work area. A tidy space helps you concentrate better.
Working with Heavy Materials
Some undermount sinks are heavy, like those made of cast iron or copper. Knowing how to handle heavy sinks safely makes things easier. Always follow these sink removal safe practices:
- Enlist a partner: A two-person team is highly recommended for lifting and maneuvering to avoid injury.
- Use proper lifting techniques: Bend your knees and keep your back straight when lifting.
- Secure your footing: Ensure your working area is stable to prevent slipping.

| Protective Gear | Purpose |
|---|---|
| Safety Glasses | Protect eyes from debris |
| Gloves | Prevent cuts and chemical exposure |
| Face Mask | Avoid inhaling dust and fumes |
Conclusion
Removing an undermount sink needs careful planning and the right tools. Gathering materials beforehand helps a lot in the removal process. It’s also key to measure properly and be safe to prevent damage, especially with granite countertops.
About 70% of homeowners choose undermount sinks because they look nice. Doing the removal yourself can save you roughly 50% in costs. So, you get a great new look and save money too.
Using the right techniques can stop leaks or water damage. This saves you from possible big repair costs later. With what you’ve learned, you’re ready to remove your old sink and install a new one. Enjoy your home project!
