From kitchen sinks to bathroom faucets, having properly adjusted handle stops is crucial for maintaining a smooth water flow and avoiding unnecessary leaks or malfunctions. Understanding the inner workings of your faucet and learning how to adjust its handle stops can make a world of difference in enhancing both the aesthetics and functionality of your fixtures. So, whether you’re a seasoned DIY enthusiast or simply looking to upgrade your plumbing skills, mastering the art of adjusting faucet handle stops is an essential skill that every homeowner should have in their toolkit. Join us on this journey as we unravel the secrets behind achieving perfectly calibrated faucet handles with ease and precision.
Understanding Faucet Handle Stops
The Role Of Faucet Handle Stops
Faucets play a crucial role in controlling the water flow and temperature in your faucets. They are small components located inside that help in limiting the rotation of the handle, preventing it from turning too far in either direction. This ultimately ensures that the water temperature remains consistent and prevents any damage to the faucet system.
Identification Of Common Issues
Common issues with faucet stops can include difficulty in adjusting water temperature, inconsistency in water flow, and leaking from the faucet. Identifying these issues is essential to ensure the proper functioning of the faucet and to prevent any potential damage that may occur due to malfunctioning handle stops.
Tools Required For Adjusting Faucet Handle Stops
When it comes to adjusting faucets, having the right tools is essential for a successful and precise outcome. By using the appropriate tools, you can ensure safety and accuracy while making the necessary adjustments. In this section, we will discuss the essential tools required for adjusting the faucet handle, prioritizing safety and precision.
Essential Tools For The Job
Before embarking on the task of adjusting faucet stops, it is important to have the necessary tools on hand. The following table outlines the essential tools required for this job:
| Tool | Description |
| Screwdriver | A flathead or Phillips screwdriver may be required to remove the handle and gain access to the internal components of the faucet. |
| Adjustable wrench | An adjustable wrench is useful for loosening and tightening nuts and bolts, providing the necessary leverage for adjustments. |
| Allen wrench | Some faucets are equipped with set screws that require an Allen wrench for removal, allowing access to handle stops. |
| Plumber’s grease | Plumber’s grease can be applied to the threads of screws and other components to facilitate smooth adjustments and prevent corrosion. |
| Flashlight | Having a flashlight on hand can help illuminate the internal components of the faucet, making it easier to identify and adjust handle stops. |
Ensuring Safety And Precision
Prior to commencing the adjustment process, it is crucial to prioritize safety and precision. By using the appropriate tools and following proper procedures, you can ensure that the adjustments are made accurately without compromising the integrity of the faucet. Additionally, taking the necessary precautions will help prevent potential damage to the faucet or injury during the adjustment process.
Step-by-step Guide To Adjusting Faucet Handle Stops
Are you tired of struggling with a loose or stiff faucet handle? The good news is that you can easily adjust the faucet with a few simple steps. In this step-by-step guide, we’ll walk you through the process of adjusting to restore ease and functionality to your faucet. With just a few tools and a little know-how, you can save time and money by fixing the issue yourself.
Turning Off The Water Supply
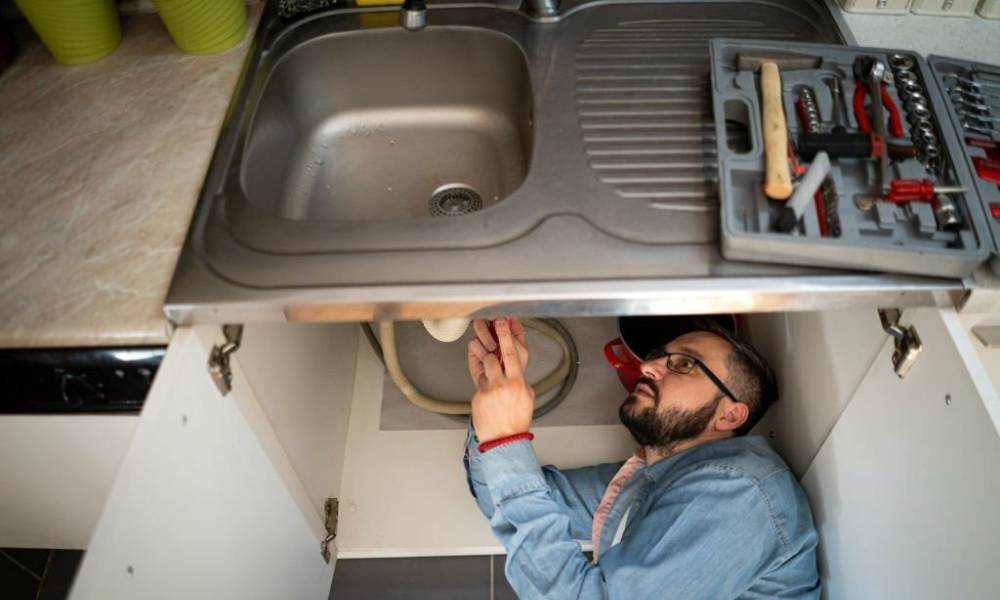
Before making any adjustments, it’s essential to turn off the water supply to the faucet to prevent any potential leaks or water damage. Locate the shut-off valves under the sink and turn them clockwise to shut off the water flow.
Dismantling The Faucet Handle
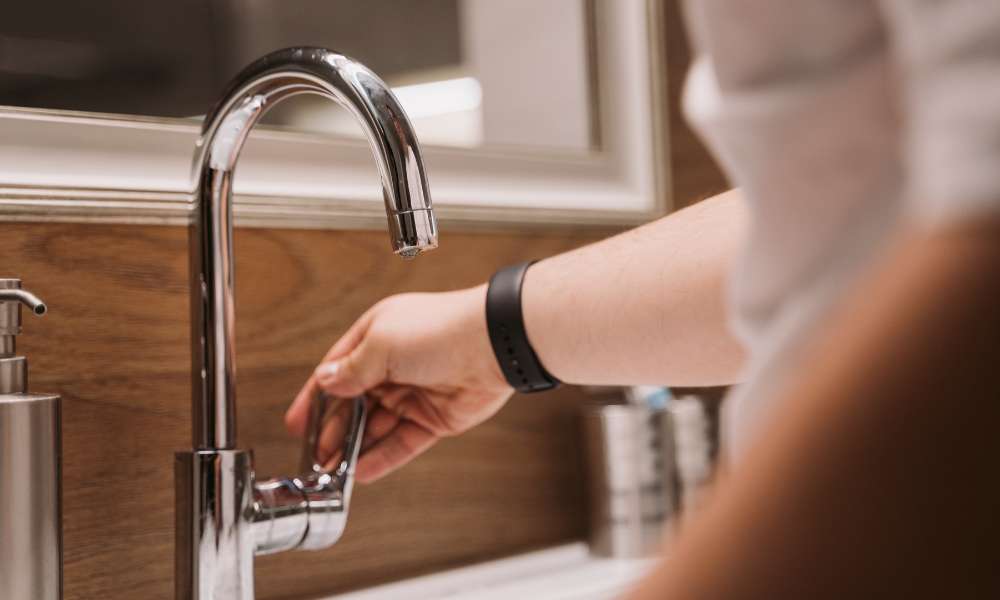
Next, use a screwdriver to remove the screws that hold the faucet handle in place. Carefully lift off the handle to expose the inner components of the faucet.
Identifying The Stop Mechanism
Once the handle is removed, take a closer look at the internal mechanism of the faucet to locate the stop mechanism. This is the component that controls the range of motion and the amount of water flowing from the faucet handle.
Adjusting The Stop Mechanism
Using an adjustable wrench, carefully adjust the stop mechanism by turning it clockwise to reduce the range of motion or counterclockwise to increase it. Be sure to make small adjustments and test the handle frequently to achieve the desired level of control.
Testing The Faucet Handle
With the adjustments made, turn the water supply back on and test the faucet handle to ensure that it now moves smoothly and provides the desired water flow. Make additional adjustments if necessary until the handle functions optimally.
Reassembling The Faucet Handle
Once you are satisfied with the adjustments, reassemble the faucet handle by placing it back in position and securing it with the screws. Turn the water supply back on and test the handle one final time to ensure that the adjustments have been successful.
Tips For Maintenance And Long-term Performance
- Inspect faucet handles stops at regular intervals for any signs of wear and tear.
- Ensure that the handles are turning smoothly without any resistance.
- Check for any leaks or drips that may indicate a need for adjustments.
- Immediately attend to any minor issues such as loose handles or minor leaks.
- Tighten any loose screws or nuts to prevent further damage.
- Replace worn-out washers or gaskets to maintain optimal performance.
By following these maintenance tips and promptly addressing any issues, you can significantly extend the lifespan of your faucet. Regular checks and proactive maintenance not only help prevent major issues but also ensure the long-term performance of your faucets.
Common Mistakes To Avoid When Adjusting Faucet Handle Stops
It’s crucial to avoid common mistakes that may lead to problems down the line. By steering clear of these missteps, you can ensure a smooth adjustment process and extend the lifespan of your faucet.
Over-tightening The Mechanism
One of the most common mistakes when adjusting the faucet handle is over-tightening the mechanism. This can lead to excessive wear and tear, potentially causing leaks or damage to the faucet. It’s important to exercise caution and only tighten the mechanism to the manufacturer’s recommended specifications.
Ignoring Unusual Sounds Or Resistance
Another mistake to avoid is ignoring unusual sounds or resistance while adjusting the faucet. These signs could indicate underlying issues that need attention. By addressing these warning signs promptly, you can prevent potential damage and ensure the proper functioning of your faucet.
Frequently Asked Questions
How Do I Know If My Faucet Handle Stops Need Adjustment?
To check if your faucet handle stops or needs adjustment, turn the handle and observe if it closes properly. If it doesn’t fully shut off the water flow, it may need adjustment.
What Tools Do I Need To Adjust Faucet Handle Stops?
To faucet handle stops, you may need an Allen wrench, screwdriver, and possibly pliers. These tools will help you access and manipulate the internal components of the faucet.
Can I Adjust Faucet Handle Stops Without Professional Help?
Yes, you can faucet stops on your own with some basic tools and a guide. However, if you are uncertain or uncomfortable, it’s best to consult a professional plumber for assistance.
What Are The Common Issues With Faucet Handle Stops?
Common issues with faucet stops include dripping or leaking, difficulty in turning the handle, or the handle not shutting off the water completely.
Conclusion
It is a simple yet important task that can improve the functionality and efficiency of your plumbing fixtures. By properly setting the stops, you can prevent leaks, save water, and increase the lifespan of your faucets. Regular maintenance and adjustments are crucial in ensuring smooth operation and avoiding costly repairs down the line. Remember to refer to the manufacturer’s instructions or seek professional help if needed. Take the time to check and adjust your faucet handle stops today to enjoy hassle-free use and peace of mind in your daily routines.


