To fix scratches in a porcelain sink, Apply A specialized repair kit Or Buff minor scratches with a non-abrasive cream. For deeper scratches, Use fine-grit sandpaper And touch-up paint.
Maintaining The pristine condition of A porcelain sink can be challenging, especially When unsightly scratches start To appear. Over time, General wear And tear can take A toll On even The highest quality porcelain, Affecting The overall look.
Whether your sink is A modern feature Or A classic element Of your home, Knowing How To tackle these blemishes is essential for keeping it looking its best. With The right approach, Restoring The smooth surface And glossy finish of your porcelain sink is A straightforward DIY task. To ensure optimal results And an immaculate appearance, Choose The appropriate repair method according To The depth And Severity of The scratches, Using trusted products And Careful techniques.
Assessing Porcelain Sink Damage
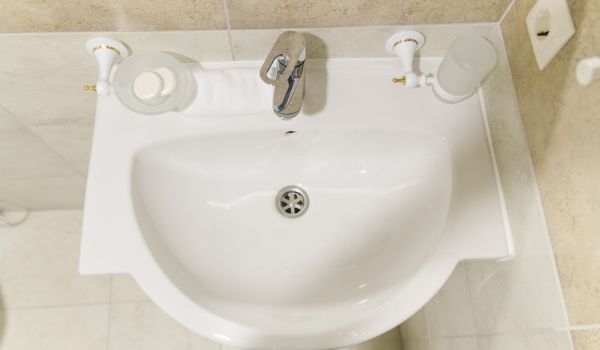
Assessing Porcelain Sink Damage is A crucial first step in maintaining The Beauty And Functionality of your bathroom Or kitchen. Not only does it prevent The damage from worsening, But it also ensures that your sink retains its glossy finish for years to come. A porcelain sink, Known for its durability And sleek appearance, Can become an eyesore if scratches And chips go unaddressed. By accurately evaluating The damage, Homeowners can decide On The most effective repair strategy.
Importance Of Addressing Sink Scratches Quickly
Identifying And repairing scratches in your porcelain sink promptly is vital for several reasons. Fast action prevents The scratch from deepening or lengthening, Which can occur with regular use And cleaning. Furthermore, Untreated scratches can harbor dirt And bacteria, Making The sink unhygienic. Repairing these blemishes quickly not only restores The sink’s luster but also maintains a clean And safe environment in your home.
Distinguishing Between Various Types Of Scratches
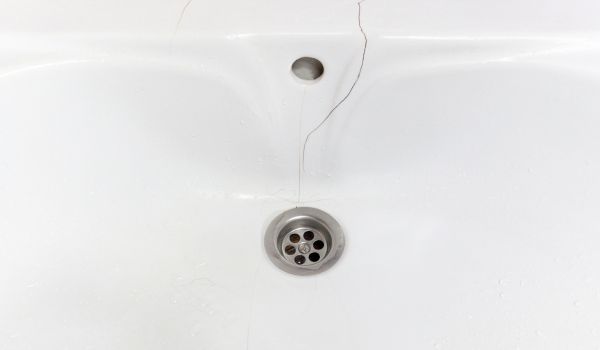
Scratches on porcelain sinks are not all created equal. They can range from superficial marks to deep gauges, And understanding The difference is essential for effective repair. Superficial scratches are often just marks left by metal pans And can usually be wiped away with a non-abrasive cleaner.
However, Deeper scratches, Which appear as notable grooves on The surface, May require more intensive repair methods. Using a magnifying glass can help in identifying The scratch type And choosing The right approach for correction.
Evaluating The Depth And Extent Of Damage
When inspecting your porcelain sink for scratches, It’s important to gauge The depth And overall extent of The damage. Here’s a step-by-step approach to evaluation:
- In good lighting, Visually inspect The sink surface for visible scratches.
- Run your fingertips gently over The scratch to feel The depth. A visible scratch that is not felt is often superficial And requires a simple fix.
- For scratches that can be felt, Use a toothpick to gauge The depth. If The toothpick “catches,” The scratch is likely deep enough to require a repair kit.
- Examine The entire sink to assess The number of scratches. A single deep scratch might only need a spot treatment, While multiple scratches could indicate a need for more comprehensive resurfacing.
Ultimately, A thorough assessment will dictate The repair process, Ensuring that your porcelain sink is returned to its original state –And
Gathering Necessary Tools And Materials
Before you dive into The repair process of your porcelain sink, It’s crucial to gather all The necessary tools And materials. A well-prepared approach ensures an efficient And effective fix, Leaving looking as good as new. Here’s what you’ll need to commence your porcelain repair project.
List Of Tools Needed For Repairing Porcelain Sink Scratches
Bold Begin by assembling The essential tools to tackle those pesky sink scratches. These tools are easily accessible And might already be in your home toolkit.
- Clean cloth – to clear The surface of any debris.
- Soap And water – for cleaning The affected area.
- Fine-grit sandpaper – to smooth out The scratch.
- Masking tape – for area demarcation around The scratch.
- Gloves – to protect your hands during The repair.
Selection Of The Right Porcelain Repair Kit
Choosing The correct porcelain repair kit is pivotal for a seamless fix. The market offers a variety of kits that cater to different shades And finishes of porcelain. Ensure that you pick a kit that closely matches your sink’s color to achieve an inconspicuous repair.
| Kit Component | Function |
| Porcelain filler or touch-up glaze | Fills in And covers scratches. |
| Applicator brush or tool | Facilitates precise application. |
| Finishing polish | Gives a glossy finish to The repaired area. |
Alternative Diy Materials If A Repair Kit Isn’t Available
Don’t have a repair kit on hand? No worries; There are DIY solutions that can provide a temporary fix. These household items can be used with caution to minimize The appearance of scratches.
- Whitening toothpaste – a gentle abrasive that can diminish light scratching.
- DIY paste made from baking soda And water – another mild abrasive for scratch treatment.
- Car wax – to buff And seal The scratch after treatment.
Preparing The Sink For Repair

Welcome to our DIY guide on how to fix scratches in your elegant porcelain sink. Before diving into The intricacies of The repair process, It’s crucial to prepare properly. A well-prepared workspace is The foundation of a successful repair job, And The following steps will ensure your porcelain sink returns to its pristine condition with a professional touch. Let’s get started!
Cleaning The Porcelain Sink Thoroughly
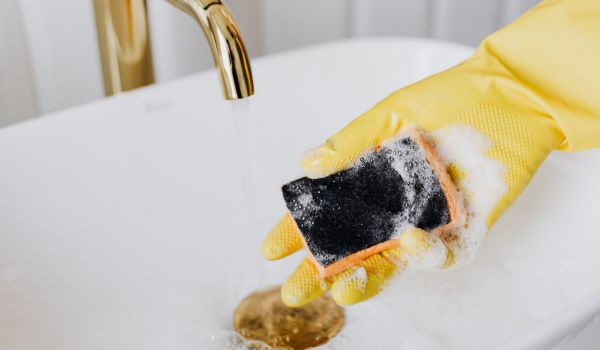
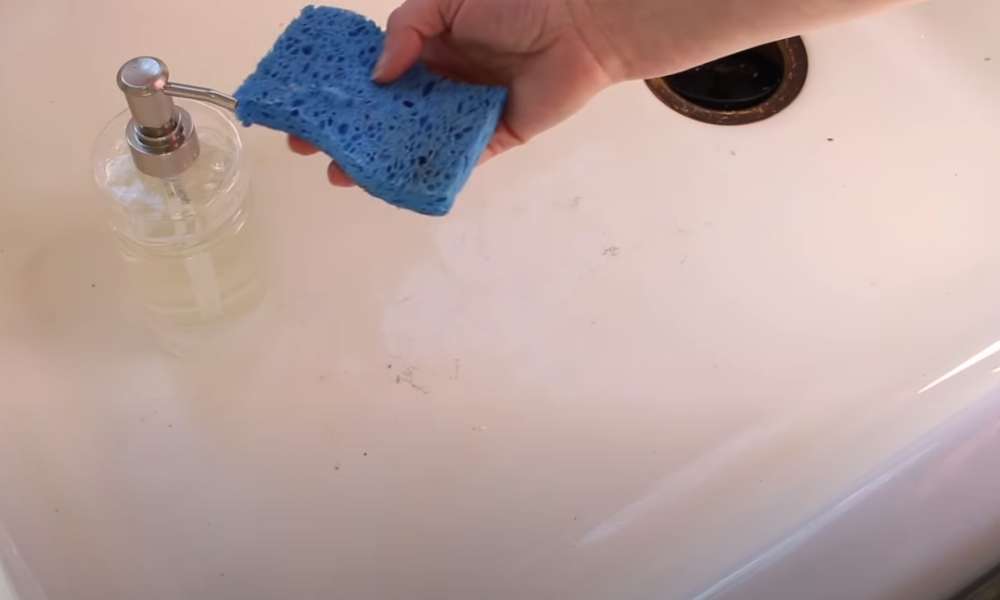
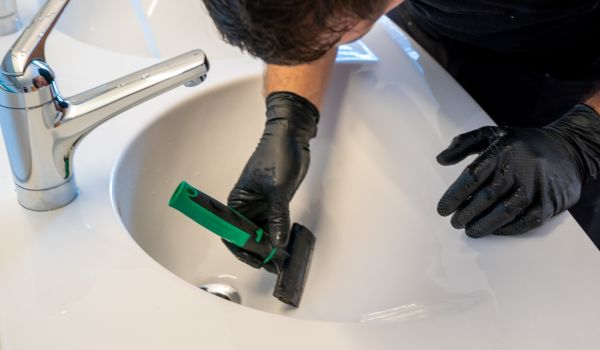
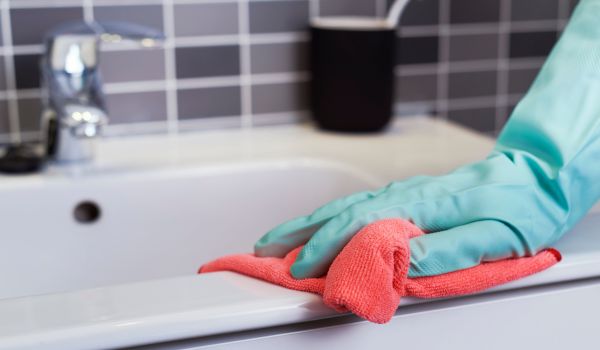
To achieve The best results, Begin with a sparkling clean surface. Dirt, Grime, Or any residues can hinder The repair materials from adhering correctly, Making this step essential. Follow these simple steps:
- Wipe The sink with a soft sponge And a mixture of warm water And mild dish soap.
- Rinse thoroughly with water to remove soap residues.
- For stubborn stains, Apply a non-abrasive cleaner And gently rub using a soft cloth.
- Ensure to rinse The sink again And wipe it dry with a clean towel.
Masking Off The Repair Area To Protect The Rest Of The Sink
Accuracy matters when focusing on The damaged area. Protect The surrounding area to keep The rest of your sink safe from repair materials:
- Place masking tape around The scratched area, Leaving a slight margin for error.
- Confirm The tape adheres well to prevent any spillage onto unaffected sections of The sink.
Ensuring A Dry, Dust-free Work Environment
Last but not least, The environment you work in must be optimal for The repair materials to settle And cure. Any moisture or dust can compromise The quality of The fix. Follow These guidelines:
- Wipe The repair area one more time with a dry, lint-free cloth to absorb any remaining moisture.
- Keep The room well-ventilated, And avoid any activities that could stir up dust for a few hours before And after The repair.
- Consider using a dehumidifier if your bathroom tends to be humid.
Once you’ve finalized These preparatory steps, Your sink is ready for The actual repair. A clean, contained, And uncontaminated workspace ensures The best adhesion And most durable repair for that unsightly scratch in your porcelain sink.
How To Fix Minor Porcelain Sink Scratches
Over time, A porcelain sink can accumulate unsightly scratches from daily use, Detracting from its glossy sheen. Yet, You don’t need to live with These abrasions or consider a replacement. With The right approach And materials, Those minor marks can disappear. Here, Discover practical methods to restore your sink’s smooth surface.
Step-by-step Guide To Buffing Out Light Scratches
Buffing light scratches from your porcelain sink is simpler than it seems, And it starts with gathering The correct tools: a fine-grit polishing compound, A soft cloth, And a touch of patience.
- Clean The sink thoroughly, Removing debris And residue with mild detergent, Then dry with a lint-free towel.
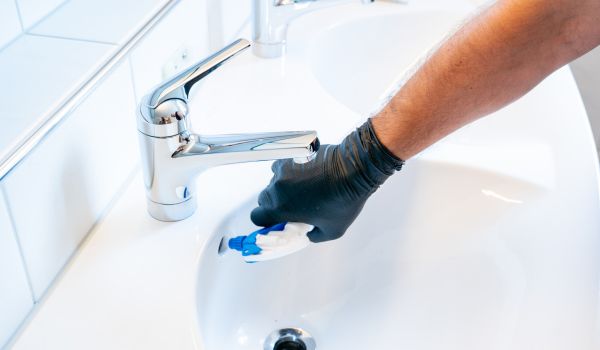
- Apply a small amount of The polishing compound to The scratched area.
- Use a soft cloth to gently buff The compound into The scratch using circular motions.
- Continue buffing until The scratch is no longer visible, Apply more compound as needed.
- Rinse The area with water And dry once more to reveal a smooth, Polished surface.
Tips For Applying The Repair Compound Effectively
Achieving flawless results depends on how well you apply The repair compound. Remember to work in a well-lit area so you can see The scratches clearly And apply The compound sparingly—a little goes a long way. If The scratch persists, Reapply, But allow The area to dry before adding more compound.
- Read The manufacturer’s instructions for The best application technique.
- Use a clean, Soft cloth to avoid introducing new scratches.
- Check your progress frequently by wiping away excess compound.
- Patiently buff in small, Circular motions for even coverage.
Techniques For Blending The Repair Into The Surrounding Area
To seamlessly blend The repaired spot with The surrounding porcelain, use a gradual buffing approach. Here’s how to achieve a consistent finish:
Begin with The immediate area of The scratch, Then gradually expand your buffing circles to feather The edges of The repair. This gradual expansion helps The repaired area to merge with The original surface without leaving a noticeable boundary.
| Step | Technique |
| 1 | Match The gloss level by continuing to buff The compound into The sink until you achieve The desired sheen. |
| 2 | Keep a steady hand And even pressure to avoid creating high or low spots in The finish. |
| 3 | Rinse And inspect The area from different angles to ensure a uniform appearance. |
Ensure you rinse away any remaining polishing compound thoroughly, And buff The area lightly to restore The shine that matches The rest of The sink.
Addressing Deep Scratch Complications
Dealing with deep scratches in a porcelain sink can be a daunting task. These types of damages are more than just unsightly; They can lead to further deterioration of your cherished fixture. Deep scratches can accumulate dirt, And bacteria, And even compromise The integrity of The porcelain. In this section, We’ll explore ways to mend These profound abrasions, Covering everything from when it’s time to call in The experts, To DIY repair techniques that can save The day.
Assessing When To Seek Professional Help

Before taking any repair action, It is crucial to evaluate The severity of The scratch. If The scratch is exceptionally deep Or large, It might be beyond The scope of a DIY fix. DIY approaches typically work for minor to moderate scratches, But significant damage may require a professional touch. Signs that professional help is needed include:
- Scratches that have led to chipping Or extensive loss of porcelain
- A scratch that spans a considerable length Or width of The sink
- Damage that affects The structural stability of The sink
Contacting a professional repair service may prevent further damage And help maintain The sink’s longevity And functionality.
Methods For Filling And Repairing Deeper Scratches
For scratches that are deep yet manageable, Filling And repairing might be The most effective approach. To properly mend a deeper scratch:
- Clean The area thoroughly with a gentle cleanser And allow it to dry.
- Use a porcelain repair kit, Which typically includes a filling compound specifically designed for porcelain. Ensure The color matches your sink.
- Apply The compound to The scratch, fill it, And remove any excess to ensure a smooth surface.
- After The filling material dries, Gently sand The area to blend The repair with The surrounding porcelain.
- Apply a layer of porcelain touch-up glaze if necessary.
Detailed instructions And recommendations for products will be provided within The repair kit you choose. Following These closely can lead to The most seamless And undetectable repairs.
Safeguarding Against Common Repair Mistakes
Addressing deep scratches in porcelain sinks can come with its pitfalls. To prevent common repair mistakes, adhere to These guidelines:
- Do not rush The repair process. Allowing adequate drying time for fillers And glazes is essential.
- Avoid aggressive sanding. Over-sanding The repaired area can lead to more damage or an uneven surface.
- Match The repair material closely with your sink’s exact shade to maintain a consistent look.
- Ensure all repairs are done in a well-ventilated area to avoid inhaling fumes from repair materials.
- Use fine-grit sandpaper to blend The repair, And avoid coarse materials that can scratch The surrounding area.
By taking precautions And following These steps, You can confidently tackle deep scratches And restore your sink to its pristine condition.
Sealing And Polishing After Scratch Removal
Once you’ve managed to remove those unsightly scratches from your porcelain sink, It’s crucial to properly seal And polish The area. Sealing The porcelain prevents future damage And restores The sleek look And feel, While polishing brings back The gleam that makes your sink look as good as new. Let’s dive into how to seal And buff to perfection.
Instructions For Applying Sealant Over The Repaired Area
Applying sealant is a straightforward but delicate process that ensures your scratch-removal efforts last. Follow These steps:
- Clean The area thoroughly using a soft cloth And mild cleaner. Allow it to dry completely.
- Select a high-quality porcelain sealant suited for your sink.
- Apply The sealant carefully to The repaired area using a small brush or applicator. Make sure to cover it evenly.
- Let The sealant dry as instructed by The manufacturer, Usually for at least 24 hours.
- Inspect The sealant to ensure it’s fully set And clear.
Buffing And Polishing Tips To Restore Shine
After sealing The repaired area, It’s time to bring back The luster:
- Use a clean, Soft microfiber cloth to apply a porcelain polish.
- Gently buff The surface in circular motions to avoid additional scratches.
- Continue until you attain a high-gloss finish.
- If desired, Apply a coat of carnauba wax for an extra layer of protection And shine.
Take care not to use abrasive materials during this process, As They can cause new scratches.
Maintenance Advice To Prevent Future Scratches
Regular maintenance is key to keeping your porcelain sink scratch-free. Remember These tips:
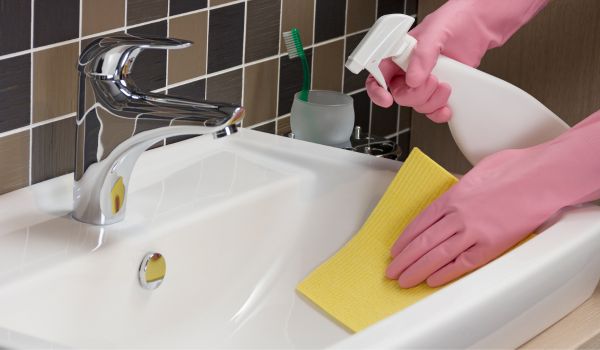
- Avoid using abrasive cleaners or pads. Stick to soft sponges And mild detergents.
- Never place sharp objects directly into The sink. Use a protective mat if necessary.
- Rinse The sink after use to remove particles that could cause scratches.
- Consider using a sink protector to safeguard against daily wear And tear.
With These steps, Not only does your repaired porcelain sink shine, But it’s also geared up to withstand The rigors of daily use without scratching easily again.
Frequently Asked Questions
Can You Remove Scratches From A Porcelain Sink?
Yes, You can remove scratches from a porcelain sink using a repair kit or by buffing it with a non-abrasive cleaner And a soft cloth.
How Do You Cover Up Scratches On Porcelain?
To cover up scratches on porcelain, Apply a small amount of car wax or a non-abrasive cleaner to The area. Gently rub it in until The scratch is less visible, Then wipe clean with a soft cloth.
How Do I Get Scratches Out Of My Kitchen Sink?
To remove scratches from a kitchen sink, Use mild abrasive cleaners like baking soda or a non-abrasive cleaner And a soft cloth. Gently rub The scratch in The direction of The grain until it fades. Rinse thoroughly afterward. For deeper scratches, Consult The sink’s manufacturer or a professional.
Conclusion
Restoring The smooth, Pristine look of your porcelain sink is achievable with The right tips And tricks. By following The simple methods outlined above, You’ll tackle unsightly scratches efficiently. Remember to treat your sink gently, And it’ll continue to shine brilliantly for years to come. Keep looking its best And say goodbye to blemishes with confidence.


