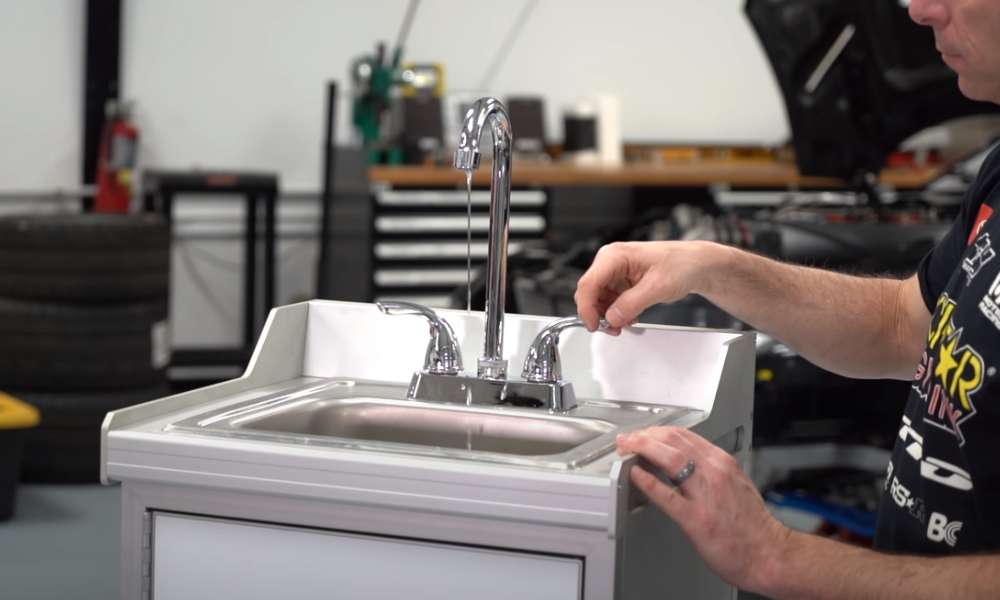
To build a portable sink, Gather materials such as a basin, Faucet, Water pump, And reservoirs for cleaning wastewater. This DIY project requires The assembly of These parts to create A functional sink on The go.
Having a handy mobile washing station can be invaluable for a variety of outdoor activities, Catering services, Or in areas where plumbing isn’t readily available or practical. The design of A DIY portable sink usually revolves around simplicity And efficiency, Allowing for quick setup And breakdown.
It’s crucial to consider durability as The sink will often need to withstand transportation And diverse environmental conditions. Whether for personal hygiene during camping trips, A convenient washing area for outdoor food service, Or As A stopgap solution during home renovations, Creating can be both a cost-effective And satisfying project. By ensuring it’s lightweight And easy to use, This clever contraption will address hygiene needs wherever one finds themselves.
Portable Sink Construction Essentials
Creating a portable sink combines practicality with convenience, Offering a versatile solution for outdoor activities, Catering services, Medical facilities, And more. This guide touches on The construction essentials of a DIY sink, Ensuring functionality And ease of use.
Importance Of Having A Portable Sink
Personal hygiene And public health are paramount in any setting. A provides immediate access to handwashing facilities where permanent solutions are not feasible. It is especially crucial for maintaining sanitation in food service, Outdoor events, Or medical sites where water access is limited.
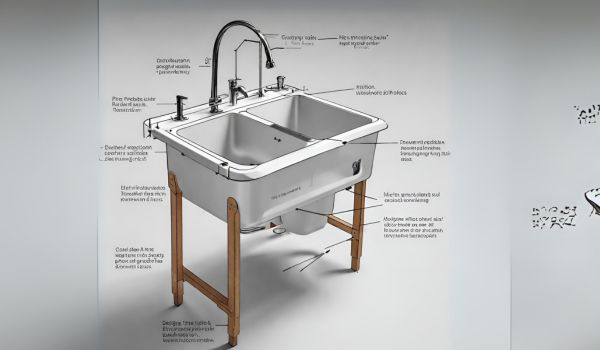
Key Components And Tools Required
Constructing a reliable portable sink requires The following key components And tools:
- Water container: A large enough container to hold fresh water for multiple uses.
- Waste water tank: A separate container for holding used water, Preventing contamination.
- Foot pump or electric pump: To propel water from The container to The faucet.
- Sink basin: A sturdy basin that will serve as The actual sink for handwashing.
- Flexible tubing: To connect The water container, Pump, And faucet.
- Faucet: A standard faucet or a spigot that will control The flow of water.
- Power drill: For creating holes to install The faucet And connect tubing.
- Silicone sealant: To secure And waterproof connections.
- Plywood or plastic sheet: For creating The counter And base to hold all components.
- Screws and brackets: To assemble The structure securely.
- Measuring tape and saw: For precise cutting And sizing of The structure.
Each component needs careful selection to ensure durability And efficiency. Having The right tools on hand ensures a smooth assembly process, resulting in a functional And practical portable sink.
Choosing The Right Materials
When you embark on The exciting project of creating a portable sink, The materials you choose are The cornerstone of your success. High-quality, Durable, And lightweight materials will not only determine The longevity but also its ease of transportation. Let’s delve into The criteria for selecting The best sink materials And explore options that will offer robustness without weighing you down.
Criteria For Selecting Sink Materials
Consider These critical factors when selecting The right materials for your portable sink:
- Resistance to Corrosion: The material should withstand water exposure And not corrode over time.
- Hygiene: Non-porous surfaces that prevent bacterial growth are essential.
- Weight: Lighter materials make The sink truly portable.
- Strength: It should be able to handle heavy objects And not buckle under pressure.
- Ease of Cleaning: Easy to maintain materials save time And effort.
- Cost-Effectiveness: Affordable yet quality materials are key for a cost-efficient project.
- Temperature Tolerance: The material should not warp or crack with temperature changes.
Durable And Lightweight Options
Selecting materials that strike The perfect balance between durability And weight can be challenging, Yet it’s not impossible. Here are The top contenders:
| Material | Properties | Weight | Durability |
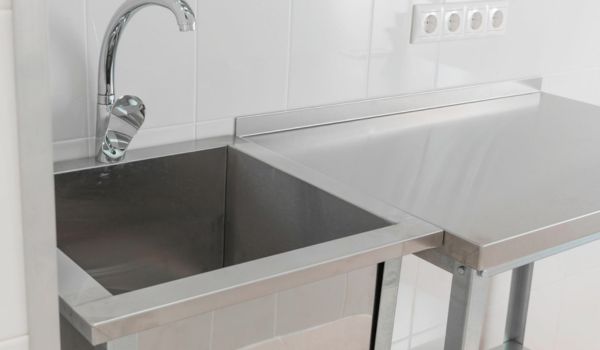
| Stainless Steel | Corrosion-resistant, Easy to clean, Sturdy | Moderate | High |
| Acrylic | Impact-resistant, Light, Comes in various colors | Light | Medium |
| Fiberglass | Lightweight, Moldable, Good tensile strength | Light | Medium to High |
| HDPE (High-Density Polyethylene) | Impact, Stain, And moisture-resistant, Recyclable | Light | High |
Select stainless steel for a perfect compromise between weight And resilience or HDPE for The ultimate in lightweight, easy-to-clean surfaces. Acrylic And fiberglass offer creative designs And customization options while maintaining a lighter-weight profile.
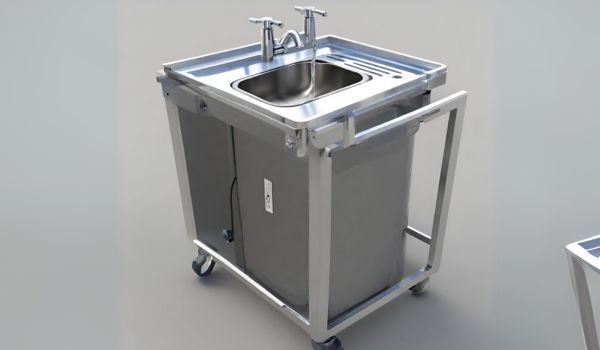
Designing The Sink’s Structure
Embarking on The DIY journey of creating your portable sink brings both practicality And convenience to a variety of settings, From outdoor markets to camping trips. Designing The sink’s structure is a foundational step that requires careful planning to ensure functionality And ease of use. Considerations need to be taken for size, Storage, Waste disposal, And overall portability. With thoughtful design, Will be an efficient And indispensable tool wherever it’s needed.
Determining Size And Portability
Size And portability are fundamental factors in your portable sink’s design. It’s crucial to strike a balance between a sink that’s compact enough for easy transport yet spacious enough to be practical. Begin by assessing your needs:
- How much space is available for The sink during transportation And storage?
- What is The expected purpose of The sink, And how much basin space is needed?
- Will it require frequent movement, Thus demanding lightweight materials?
Considering These questions enables you to outline a blueprint for your sink that is tailored to your specific requirements. Opt for materials such as aluminum or plastic that marry lightweight with durability. Furthermore, Consider foldable or detachable components to enhance portability.
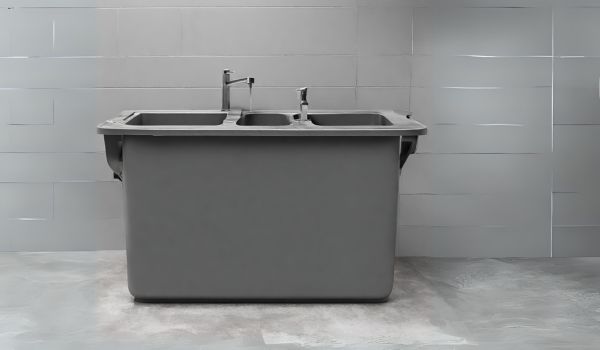
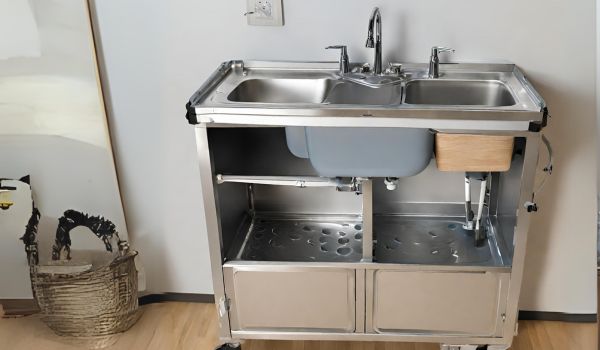
Including Storage And Waste Disposal
The convenience of your portable sink hinges on proper storage And waste disposal integration. Design spaces that accommodate necessary supplies such as soap, Towels, And cleaning tools. The key is to have everything at hand without cluttering The work area. For waste disposal, Plan an easy-to-remove system:
- Attach a water-tight waste tank directly beneath The sink basin.
- Include a simple but effective water seal to prevent leaks And odors.
- Ensure The system is easy to clean And maintain.
With smart storage solutions And a reliable waste disposal system, Stands out as a model of efficiency And hygiene. Keep These elements compact And functional to maintain The overall portability of The sink.
Integrating Plumbing For Portability
Embarking on The DIY journey to create a portable sink can be both exciting And challenging. In this segment, Let’s dive into The Integrating Plumbing for Portability aspect of your project. The key to mobility in a sink is ensuring The plumbing system is designed for easy setup And disconnection. Properly fitted hoses And connections for The water supply, Alongside a well-thought-out drainage system, Are crucial for a fully functioning, Movable sink unit.
Hose And Connections For Water Supply
Establishing a reliable water supply is fundamental for The sink’s operation. To achieve this, Focus on:
- Choosing flexible hoses that allow for easy transport And connection to water sources.
- Opting for quick-connect fittings that enable a seamless And swift hookup to different water supplies.
- Ensuring The use of food-grade materials for safety And hygiene.
- Integrating a water pump, If necessary, To regulate water pressure.
These components should be lightweight And durable to withstand regular movement And use. Most importantly, Think about The hose length; it should be long enough to reach nearby water sources yet be easily storable.
How To Make A Portable Sink’s Drainage System
Managing wastewater is equally important. To create a functional drainage system:
- Install a flexible waste hose that directs The water from The sink into a designated waste container or drain.
- Include a trap in The system to prevent odors from escaping The waste collection point.
- Consider a shutoff valve to control The drainage And avoid spills during transport.
Remember, Your drainage should comply with local regulations regarding wastewater disposal. Plus, Easy disassembly is vital to ensure you can quickly pack up without any hassle.
Integrating a smart And efficient plumbing setup, Will not only be a convenient asset but also a remarkable example of functional engineering. Get ready to roll up your sleeves And bring this handy addition to life!
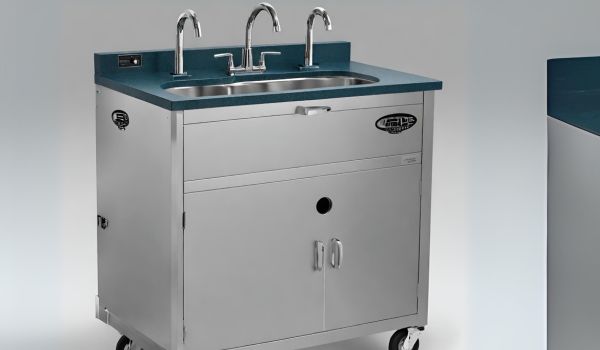
Assembling Your Portable Sink
Ready to dive into The world of DIY with your portable sink? Not only does a sink offer convenience for outdoor activities, But it’s also a fantastic addition to events, Workshops, And garden spaces. In this part of our blog post, We’re rolling up our sleeves to tackle The assembly. Let’s transform those components into a fully functional piece that’s both practical And impressive.
Step-by-step Frame Assembly Guide
First things first, Constructing a stable And sturdy frame is paramount. Here’s a simplified guide to ensure a successful build:
- Gather Your Materials: Acquire all necessary materials such as lumber, Screws, And tools.
- Measure Twice, Cut Once: Accurately measure And cut The lumber to match The desired dimensions of your sink frame.
- Assemble The Base: Construct The base by attaching horizontal supports to The vertical legs using screws And brackets for extra stability.
- Reinforce with Crossbars: Add crossbars between The legs for a more rigid structure.
- Secure Additional Shelving: If you plan to include shelves, Attach Them at your preferred height now.
Ensure all joins are tight And The frame is level before proceeding to The next steps.
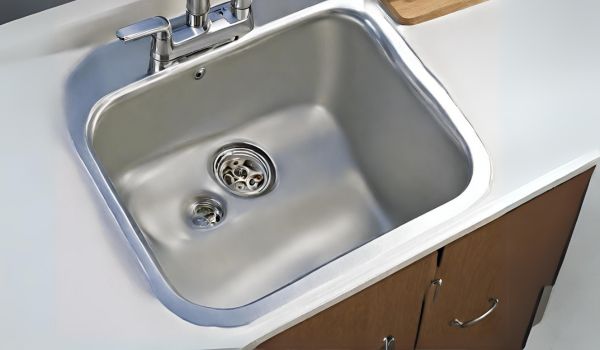
Mounting The Basin And Countertop
It’s time to mount The basin and countertop with The frame in place. This is a critical step to bring functionality And finesse to your portable sink.
- Prepare The Countertop: Choose a durable, Water-resistant material for your countertop And cut a hole for The basin.
- Secure The Countertop: Position The countertop onto The frame And fix it firmly using screws from underneath.
- Insert The Basin: Apply a bead of silicone around The edge of The basin cut-out And place The basin into The hole.
- Seal And Fasten: Ensure The basin is sealed properly to prevent any water leakage And fasten it to The countertop if necessary.
After completing These steps, You’ll have a firm countertop with a well-mounted basin, Paving The way for The final touches like plumbing And portability features.
Finishing Touches And Maintenance
As you wrap up The creation of your new portable sink, Attention to detail makes all The difference. Finishing touches And maintenance are critical in extending The life of your project And ensuring it remains both functional And attractive over time. This section of The guide focuses on sealing And waterproofing to protect your sink from The elements, As well as provides tips for keeping in tip-top condition through regular cleaning And upkeep.
Sealing And Water-proofing Techniques
Ensuring that your portable sink is well-sealed is a must to prevent water damage And maintain The integrity of The unit. Here are some effective strategies to achieve a water-tight seal:
- Use Silicone Caulk: Apply a bead of silicone caulk around The edges And seams where water exposure is likely. Smooth it out with a caulking tool or your finger for a neat finish.
- Epoxy Sealants: For areas that will endure more wear And tear, Consider an epoxy sealant that is resilient And creates a waterproof barrier.
- Waterproof Wood Finish: If your sink has wooden components, A waterproof wood finish or sealant is crucial to protect against rot And mold.
- Polyurethane Coatings: Applying a polyurethane coating can enhance waterproofing And add a layer of durability to various materials.
Note: Allow ample drying time for any sealants or coatings according to The manufacturer’s instructions before using your sink.
Cleaning And Upkeep Of Your Portable Sink
A well-maintained portable sink is not only more pleasant to use but also stands The test of time. Follow These simple steps for optimal cleaning And upkeep:
- Routine Cleaning: Wipe down The sink after each use with mild soap And warm water to prevent dirt build-up And staining.
- Deep Cleaning: Once a week, Give your sink a thorough clean. Use a disinfectant cleaner to sanitize And keep it hygienic.
- Inspect for Leaks: Regularly check all connections And fittings for signs of leaks. Tighten or replace as necessary to avoid water damage.
- Drainage Care: Keep The drainage area clear of debris to ensure smooth And hygienic disposal of wastewater.
- Storage: When not in use, Store your sink in a dry, Covered area to protect it from weathering or damage.
Maintaining These practices will ensure remain a robust And reliable asset wherever you need it.
Frequently Asked Questions
What Materials Are Needed For A Portable Sink?
Building a portable sink typically requires a basin, Faucet, Water supply container, Waste water container, And a pump if needed for water flow. Additional materials might include tubing, Fixtures, And a stand or cart.
Can You Diy A Portable Sink?
Yes, Creating a sink can be a DIY project by assembling basic components like a wash basin, Water containers, A faucet, And plumbing parts. Ensure to observe sanitation And plumbing regulations.
How Do You Maintain A Portable Sink?
Maintaining a portable sink involves regular cleaning of The basin, Faucet, And water containers. It’s important to monitor The water supply levels, Empty waste water responsibly, And check for any leaks or blockages.
Conclusion
Creating your portable sink is a rewarding DIY project. With The right tools And our step-by-step guide, You’ve learned that it’s both manageable And practical. Whether for outdoor events, Gardening, Or Camping, Will serve you well. Remember to revisit our tips for any future builds!


