To make A driftwood sink, You can weigh it down with rocks Or Use A sinker to attach it. This will prevent it from floating in the water.
Now let’s explore the process Of making driftwood sink in more detail. Driftwood adds A rustic And Natural touch To aquariums, Terrariums, Or Any aquatic display. However, Its tendency To float can be problematic. Fortunately, There are simple ways To make driftwood sink And Stay in place.
Whether you’re an aquarium enthusiast Or A DIY enthusiast, This guide will show you how To overcome this challenge. We’ll discuss various methods such As weighing down driftwood with rocks Or Using sinkers To attach it. By following these techniques, You can create A stunning underwater environment with beautifully placed And Securely anchored driftwood.
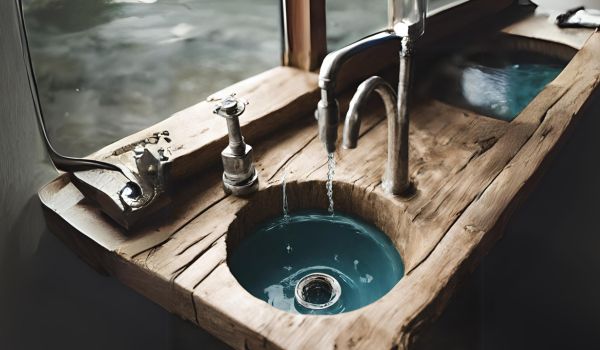
Selecting Suitable Driftwood
When selecting driftwood for your aquarium, There are A few factors To consider. One important consideration Is the size and shape Of the driftwood. Make sure To choose pieces that will fit nicely into your tank, Allowing for suitable swimming space For your fish. Avoid selecting driftwood that is too large Or obstructive, As this may create issues With water circulation. Additionally, assess the type Of wood you are using. Certain types Of driftwood may release tannins into the water, Which can turn it yellowish Or brownish. While some fish species may benefit from these tannins, Others may be negatively affected. It’s important To research the type Of wood you plan To use and assess its potential impact On the water parameters. Overall, Choosing the right driftwood will not only enhance the aesthetic appeal Of your tank. But also create A safe and healthy environment For your aquatic pets.
Cleaning And Disinfecting

Physical scrubbing To remove debris: The first step in cleaning driftwood is To physically scrub off any debris Or dirt. Use a stiff brush Or scrubbing pad And gently scrub the surface Of the driftwood To remove any loose dirt, Algae, Or barnacles. Ensure that you scrub all the nooks And crannies, As well as the ends Of the driftwood.
Boiling to kill pathogens: Boiling the driftwood is An effective method To kill any pathogens that may be present. Fill a large pot with water And bring it to A boil. Place the driftwood into the boiling water And let it boil for At least 30 minutes. This will help sanitize the driftwood And ensure that it is safe To use in your aquarium Or as A decoration
Soaking to remove tannins: Driftwood often releases tannins, Which can discolor the water And affect the pH level. To remove these tannins, Soak the driftwood in A container of water For several days Or weeks. Change the water every day until the water remains clear. This soaking process will help leach out the tannins And prepare the driftwood For use.
Understanding Driftwood Buoyancy
Understanding the natural buoyant properties Of wood is essential when it comes To making driftwood sink. The floating nature Of driftwood can be attributed to A few reasons. Firstly, Wood is less dense than water, Which allows it to float On the water’s surface. Additionally, The air pockets and fibrous structure in wood contribute To its buoyancy. These air pockets create A lighter overall density for the wood, Enabling it To resist sinking.
Another reason for driftwood’s floating nature Is its ability To repel water. The surface Of wood contains tiny spaces And pores that prevent the water from penetrating And soaking the wood, Thereby aiding its buoyancy. Moreover, The bark and outer layers Of driftwood can also contribute To its ability To float due To their unique properties.
By understanding these natural buoyant properties Of wood, You can successfully make driftwood sink by altering its density Or removing its natural buoyancy. Various techniques and strategies can be employed To achieve this, Such as treating the wood with chemicals Or using weights To counteract its buoyancy.
| Reasons for Driftwood’s Floating Nature |
| Less dense than water |
| Air pockets and fibrous structure |
| Ability To repel water |
| Bark and outer layers |
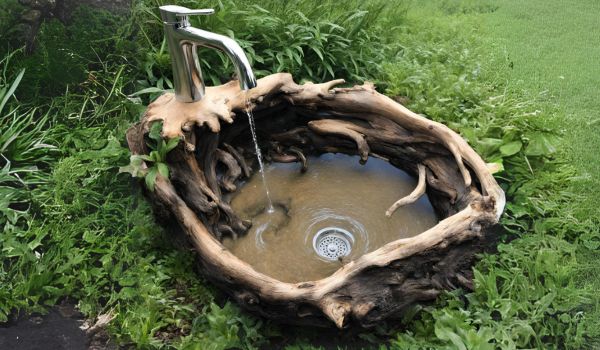
Anchoring Techniques Unveiled
Using slate Or tile bases: One technique For anchoring driftwood sinks is To use slate Or tile bases. By placing the driftwood on A solid base, Such as A piece of slate Or tile, You can provide stability And prevent the sink from moving Or shifting. The base should Be large enough To support the entire sink And should be secured To the countertop Or wall. Additionally, You can use suction cups To hold the driftwood sink in place. By attaching suction cups To the underside Of the sink And pressing them firmly against the surface, You can create A secure attachment that prevents the sink from sliding Or falling.
Making holes in it: Another method For anchoring driftwood sinks is To make holes in the wood. And affix it To the countertop Or wall using screws Or brackets. By drilling holes in the driftwood And securing it with screws Or brackets, You can create A strong and secure anchor that keeps the sink in place. Additionally, You can consider using adhesive Or glue to further strengthen the bond between the wood And the surface it Is attached to. Finally, Incorporating plants into the design can also help To anchor the driftwood sink. As the roots Of the plants will wrap around the wood And provide additional stability.
Waterlogging The Driftwood
When it comes To making driftwood sinks, Waterlogging is an essential step. The process Of soaking the wood helps To remove air And fill the pores with water, Which increases its weight And helps it sink. There are different methods you can use To soak the driftwood, Depending on the size And type Of wood.
One method Is weight-assisted sinking during soaking. This involves placing weights on top Of the driftwood To keep it submerged in the water. You can use rocks, Bricks, Or any heavy objects To provide the necessary weight. The duration of soaking will depend On the size and density Of the wood. For smaller pieces, soaking For 24-48 hours may be sufficient, While larger pieces may require several days Or even weeks Of soaking.
Another method is To change the water regularly during soaking. By doing this, You can help speed up the process Of waterlogging And prevent the growth Of algae or bacteria. It is recommended To change the water every 24-48 hours, Or whenever it becomes cloudy Or foul-smelling.
How To Repair Water Damaged Cabinet Under Sink
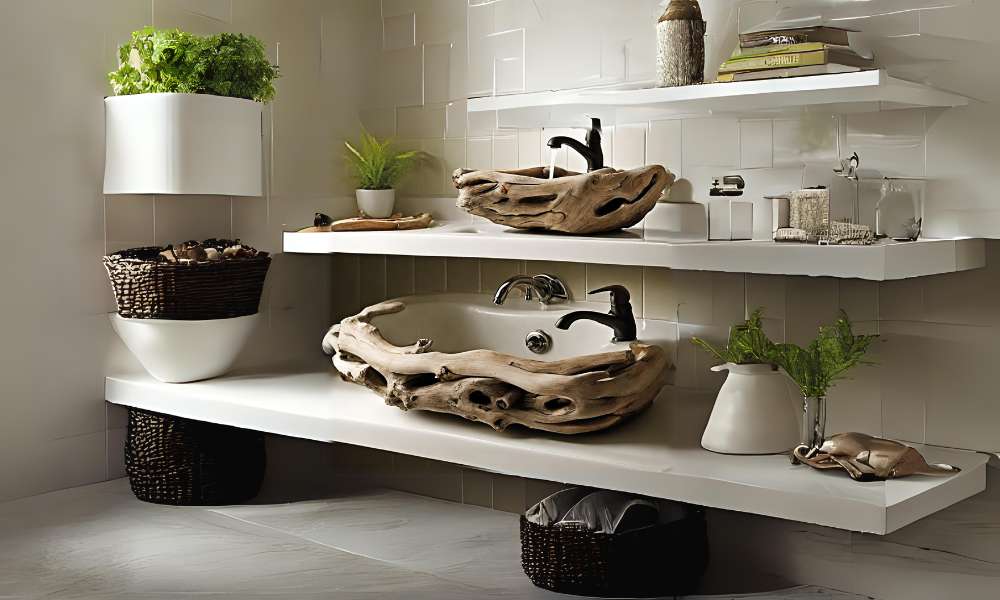
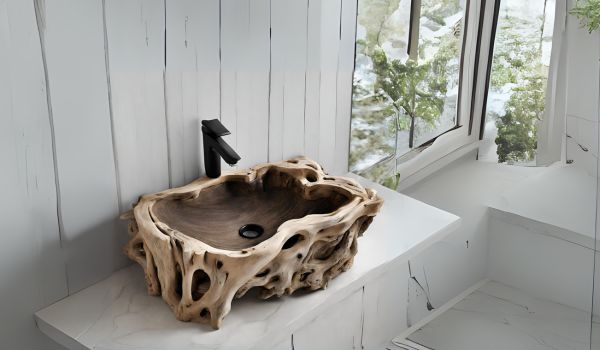
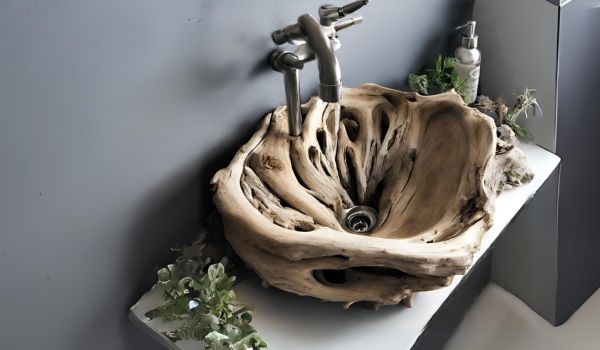
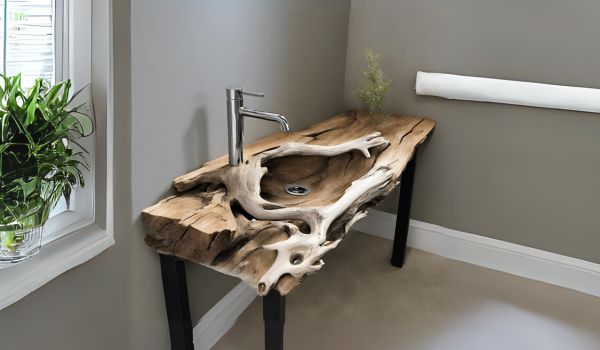
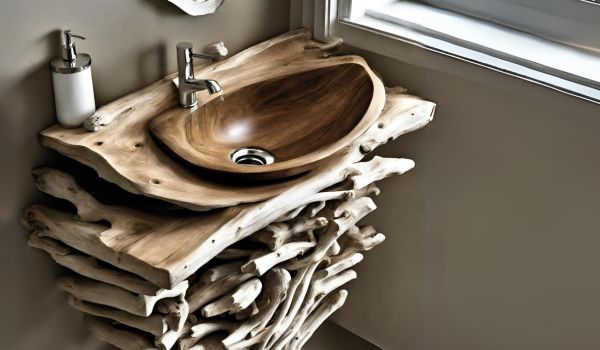
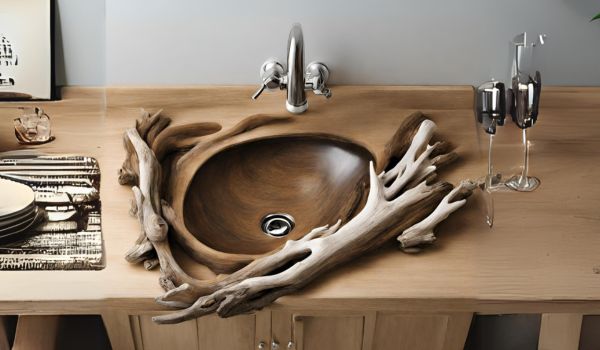
Positioning For Aesthetic Appeal
Driftwood can be A beautiful addition To any aquarium, But it’s important To position it correctly For maximum aesthetic appeal. Following the principles of aquascaping With driftwood can help create A visually pleasing And natural-looking setup. One key aspect Is balancing the driftwood With other tank elements such As plants and rocks. This ensures that the overall design Is cohesive And harmonious.
By carefully placing the driftwood around other objects in the tank. You can create A captivating focal point And a sense Of depth. Consider the shape, Size, And texture Of the driftwood when choosing its placement. Experimenting with different orientations And angles can help achieve the desired effect. Remember To take into account the needs And behavior Of your fish And other aquatic species when positioning the driftwood in the tank.
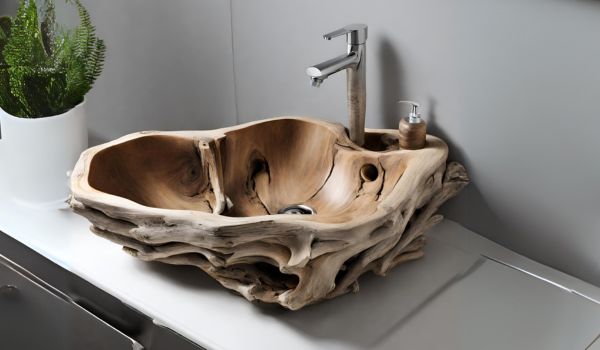
Final Fixation Strategies
To achieve A final fixation for A driftwood sink, two popular strategies can be employed. The first involves the use Of aquarium-safe adhesives, Which provide A secure and long-lasting attachment. These adhesives Are specifically designed To withstand the water conditions present in An aquarium. It is important To follow the product instructions carefully, Ensuring proper application. And allowing sufficient curing time before placing the driftwood into the tank.
Another effective strategy is To bury the driftwood within the substrate. This method not only stabilizes the wood but also creates A natural-looking appearance. Before burying, It is advisable To wash the driftwood thoroughly To remove any dirt Or contaminants that may impact the water quality. Once clean, Position the wood in the desired location And bury it partially within the substrate, Ensuring that it is stable And secure.
Depending on personal preference And the specific needs Of the aquarium setup, You can utilize both fixation strategies. By carefully considering And implementing these techniques. You can successfully create A driftwood sink that enhances the aesthetics Of your tank while providing A secure environment For your aquatic inhabitants.
Ensuring Stability Over Time
When making A driftwood sink, It’s important To ensure its stability over time. This can be achieved by periodically checking the buoyancy Of the driftwood. To do this, You can gently push down on the sink To see if it remains stable Or if it starts To float. If the sink floats, Adjustments may be required To make it sink properly.
One technique To adjust the sink’s buoyancy is To add additional weight to it. This can be done by attaching heavy objects, Such as stones Or metal weights, To the underside Of the driftwood. Another technique is To reaffix the driftwood To the sink basin using A strong adhesive, Ensuring a secure connection that won’t loosen over time.
By regularly checking the buoyancy Of the driftwood sink And making necessary adjustments, You can ensure its stability And prevent any potential issues in the future.
Monitoring Water Parameters
Testing water quality regularly Is crucial when it comes To monitoring the impact Of driftwood on pH And hardness levels in your aquarium. Driftwood, Being a natural material, Can release tannins into the water, Resulting in lower pH And increased water softness.
Testing And monitoring water parameters allows you To keep tabs on any fluctuations. And make necessary adjustments To maintain A stable environment For your aquatic inhabitants. You can use pH testing kits and water hardness test kits to measure and track these parameters. Regular testing enables you To identify any potential issues early On and take appropriate action, Such as utilizing buffering agents Or adjusting water chemistry. By ensuring optimal water conditions, You create a healthier And more stable environment For your driftwood sink And its inhabitants.
Addressing Common Driftwood Issues

Driftwood sinks are A popular choice For aquarium enthusiasts As they provide A natural and rustic look To the tank. However, One common issue that many aquarists face Is algae growth On driftwood. Algae growth can not only make the driftwood appear unsightly, But it can also negatively impact the water quality in the tank.
- Choose the right driftwood: Opt for driftwood that has been properly cured And is free from any visible signs Of algae or other growth.
- Quarantine new driftwood: Before adding driftwood To your aquarium, quarantine it in A separate container And monitor it for any signs Of algae growth.
- Proper tank maintenance: Regularly clean your tank, Including removing any excess debris or uneaten food, To prevent the buildup Of nutrients that can encourage algae growth.
| Treatment | Description |
| Manually remove algae | Use a soft brush Or algae scraper To gently remove the algae from the driftwood’s surface. |
| Algae-eating fish or invertebrates | Introduce algae-eating fish Or invertebrates, Such as siamese algae eaters Or amano shrimp, That can help control algae growth. |
| Chemical treatments | Consider using aquarium-safe chemical treatments specifically designed To combat algae growth. Follow the instructions carefully. |
By following these prevention And treatment strategies. You can successfully address the issue Of algae growth on driftwood And maintain A clean and visually appealing aquarium environment.
Frequently Asked Questions
How Do You Make Driftwood Sink?
To make A driftwood sink, You can soak it in water for A few days Or boil it To remove air bubbles. Then, attach weights To it using A fishing line Or stainless steel screws To help it sink. Finally, Test it in a water basin To ensure it stays submerged.
Why Does Driftwood Float?
Driftwood floats because it Is less dense than water. When wood becomes waterlogged over time, It absorbs water, Causing it to become buoyant. This is why it Is necessary To treat driftwood To make it sink.
What Are The Benefits Of Using Driftwood In Aquariums?
Driftwood provides A natural and organic aesthetic To aquariums. It also offers shelter And hiding places for fish And other aquatic creatures. Additionally, Driftwood gradually releases tannins which can lower the pH and create A more natural environment For certain species of fish.
Conclusion
By following these easy steps, You can successfully make A driftwood sink for your aquarium. Remember to clean And prepare the driftwood properly, Use the right anchoring methods, And Allow time For the wood To sink naturally. Taking these precautions will ensure the safety And stability of your aquarium while providing A natural and visually appealing habitat For your aquatic pets.
So, Go ahead And Transform your aquarium with beautiful, Sunken driftwood today!


