Removing an undermount sink may seem like a daunting task, but fear not – with the right tools and techniques, this seemingly complex process can be tackled with ease. Whether you’re looking to upgrade your kitchen or simply need to replace a damaged sink, understanding how to remove an undermount sink is a valuable skill for any DIY enthusiast. In this article, we will guide you through the step-by-step process of safely and efficiently remove an undermount sink from your countertop, empowering you to take on this project with confidence and precision.
Understanding the Anatomy of an Undermount Sink
A combination of adhesive, clips, and sometimes screws and brackets typically attaches under-mount sinks to the countertop. The adhesive, usually silicone, forms a watertight seal between the edge and the underside of the countertop. Use the clips or brackets to secure it in place while the adhesive dries and as additional support post-installation. Keeping the seal intact and unharmed during removal is crucial, as you may need to reuse it when installing.
Preparing for the Task
Any DIY project, especially one that involves plumbing and heavy lifting, should begin with thorough preparation. Here’s what you need to do first:
Gather Your Tools and Materials
Make sure you have the following tools and materials ready before you start:
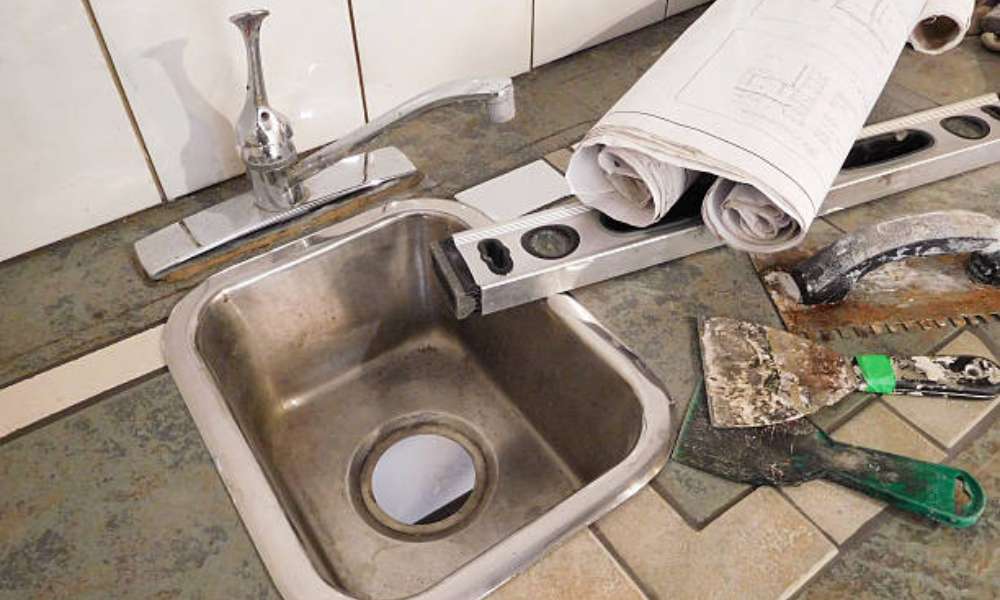
- Safety glasses and gloves
- A utility knife
- A putty knife or a similar type of scraper
- A screwdriver or drill with appropriate bits
- A bucket
- A sturdy work surface
Shut Off the Water Supply and Prepare Drainage
This usually involves closing the valves located under the sink or in the basement if there are no local shutoffs. Next, prepare a bucket or other suitable container to catch any water that might remain in the pipes when you disconnect.
The Step-by-Step Removal Process
With the preparation complete, it’s time to start the removal process. Be sure to go through these steps one at a time to avoid any mishaps or damage.
Disconnect the Plumbing
Start by disconnecting the plumbing from the sink. This usually involves disconnecting the P-trap and any other applicable connections. Remember to have your bucket ready to catch any remaining water. Once the plumbing is removed, plug the drain with a rag to prevent debris from falling into the pipes.
Loosen the Sink
Carefully cut through the sealant securing to the countertop. Use your utility knife to cut through the silicone, being cautious not to scratch the countertop. Then, locate the mounting clips or brackets inside the cabinet and remove them. If they are rusted or stuck, a lubricant might help ease their removal.
In some cases, especially with heavier sinks, there may be additional support brackets installed underneath. Loosen these as well, ensuring are completely free from their attachments.
Remove the Sink
With all the mounting hardware disconnected, Should now be free. If there are any stubborn spots, carefully work a putty knife or scraper under the edges to free them completely. It’s essential to use slow, gentle pressure to avoid damaging the countertop.
Lift the sink out from below. If it seems stuck, check one more time to ensure you have disconnected all mounting hardware before you exert additional force. Have someone assist you, especially if is large or heavy.
Cleanup
After the old sink is removed, use the putty knife or scraper to clean off the remaining sealant from the countertop. Be meticulous in this step, as cleanliness is crucial for the proper installation.
Installing the New Sink
Once the old sink is out and the area is clean, you can prepare to install it. This will involve setting the sink in place, connecting any necessary support brackets, applying a new silicone sealant, and securing the sink to the countertop with the appropriate mounting hardware.
Before doing this, ensure that the new sink fits properly. If any adjustments are necessary, this is the time to make them. Once satisfied with the fit, proceed to install following the manufacturer’s instructions.
Apply Silicone Sealant
Use a generous bead of high-quality silicone sealant to create a watertight bond between the sink and the countertop. This is a vital step and should be done with care to ensure there are no gaps in the seal.
Secure the Sink
Set the sink in place and use new clips or brackets to secure it to the underside of the countertop. Tighten them evenly to avoid any stress on the sink. If your sink requires support brackets, install these according to the manufacturer’s recommendations as well.
Connect the Plumbing
Reconnect the plumbing, including the P-trap and any other connections. Take your time with this step to ensure you connect everything correctly and tighten it securely to prevent leaks.
Turn On the Water
With the plumbing connected, you can now turn the water supply back on. Check for any leaks and make any necessary adjustments to the connections. Run water through the sink and check again for leaks.
Final Thoughts
By following the step-by-step guide outlined in this article, you can safely and efficiently remove your under mount sink without causing any damage to your countertops or plumbing. Remember to take your time and proceed with caution to ensure a smooth process. Once you remove it, you will have a blank canvas to install a new sink or make other desired changes to your kitchen or bathroom. Don’t hesitate to seek professional help if needed, and enjoy the satisfaction of completing this home improvement project yourself.
faqs
How are undermount sinks attached?
Adhesive, clips, or brackets typically attach them to the underside of the countertop.
can you replace an undermount sink with a drop-in
Yes, It is possible to replace an under-mount sink with a drop-in sink, but it may require some modifications to the countertop. –
What is the best way to remove an undermount sink?
The best way to remove an without damaging the countertop is to carefully detach any mounting clips or brackets securing, and then gently lift it out.


