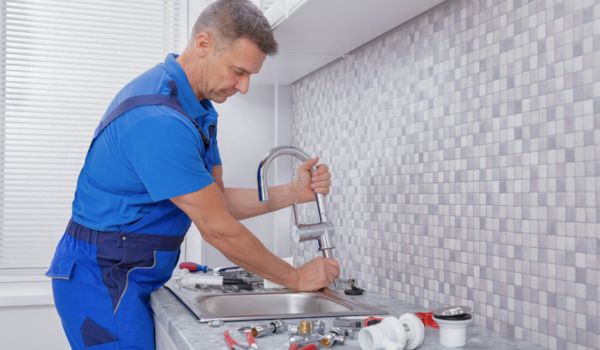
To remove A kitchen faucet with A U-shaped bracket, Start by turning off the water supply. Then, Use A wrench To loosen And Remove the nuts securing the faucet.
Understanding The U Shaped Bracket Used In Kitchen Faucets
The U shaped bracket is an integral part of many kitchens. It is A supporting mechanism that helps secure the faucet to the sink. By understanding the function And Importance of this bracket, You can easily grasp the process of removing the kitchen.
What is a U-shaped bracket?
It is A metal bracket that forms A U shape And Is usually located near the base. Its purpose is to stabilize And Reinforce the faucet, Ensuring it remains in place during usage.
Why is the U shaped bracket used in kitchen faucets?
The U-shaped bracket is crucial for the structural integrity of the faucet. It prevents excessive movement, Reducing the chances Of leaks Or Damage To the plumbing connections. Removing the U shaped section properly is essential To ensure A smooth And Successful replacement Of the faucet.
Importance of removing the U-shaped bracket properly:
It is imperative to detach the U-shaped bracket correctly. This ensures a secure removal without causing any damage to the surrounding components. Proper removal also simplifies the installation of a new faucet, providing a solid foundation for future use. Taking the time to understand And Handle the U-shaped section appropriately is crucial for a successful replacement process.
Tools Required To Remove A Kitchen Faucet With U Shaped Bracket
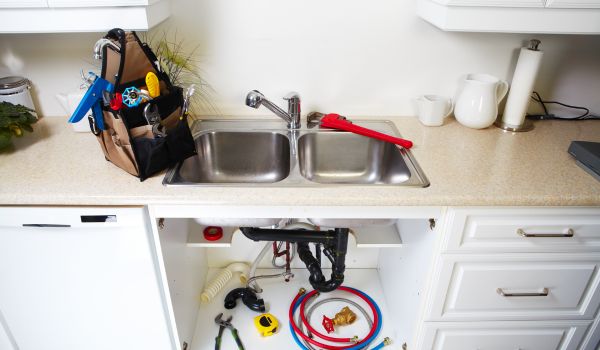
Proper removal of A faucet with a U-bracket requires the use of the right tools. Having the correct tools on hand will make the process easier And Prevent damage to the faucet Or surrounding areas. Here is a list of essential tools for removing A kitchen with A U-shaped bracket:
| 1. | Adjustable wrench |
| 2. | Basin wrench |
| 3. | Channel locks/pliers |
| 4. | Phillips screwdriver |
| 5. | Allen wrench (if applicable) |
| 6. | Plumber’s putty (for reinstallation) |
Using the right tools is crucial To ensure a successful removal process. The adjustable wrench will be useful for loosening And Tightening various connections, While the basin wrench allows access to hard-to-reach areas. Channel locks Or Pliers can be used To grip And Turn fittings, And The Phillips screwdriver is handy for removing screws. Additionally, An Allen wrench may be necessary if there are any hexagonal fittings. Finally, A plumber’s putty will be required for proper sealing during reinstallation.
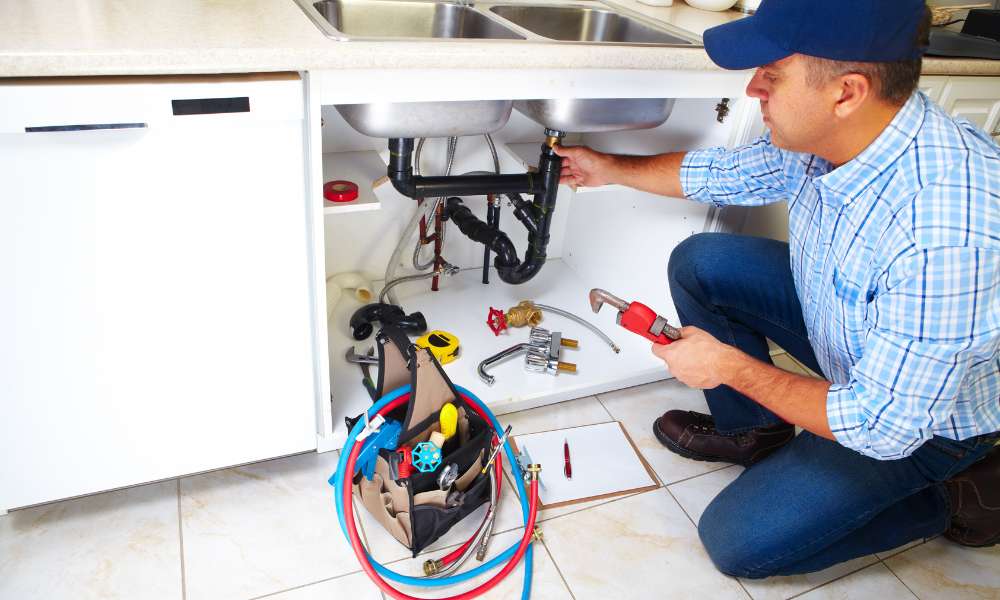
Step-By-Step Guide To Remove Kitchen Faucet With U Shaped Bracket
Step #1. Shut off the water supply
Are you about to embark on A journey to remove your kitchen faucet with A U-shaped bracket? One crucial step is shutting off the water supply. This seemingly mundane task holds immense importance And It’s essential to execute it with precision. By doing so, You not only prevent a potential flood but also make the process of removing much smoother.
Turning off the water supply grants you control over an elemental force that can wreak havoc if left unchecked during the removal process. It gives you both peace of mind And A sense of empowerment as you tackle the task at hand. So, as you prepare to navigate the intricacies of detaching A U-shaped, Don’t overlook this crucial step.
Step #2. Place a bucket underneath the sink
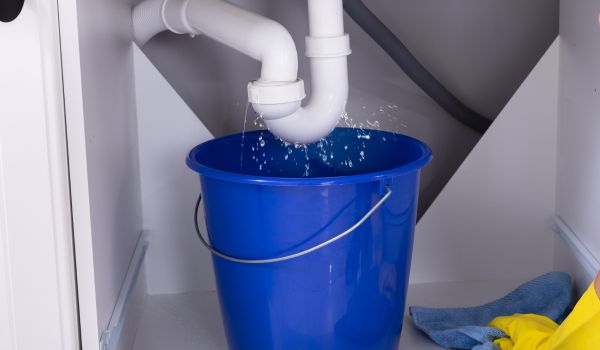
To remove the kitchen faucet with a U-shaped bracket, You’ll need a trusty bucket, Some basic tools, And A can-do attitude. Placing a bucket underneath the sink is essential during this process as it helps catch any excess water And Prevents messy clean-ups later on.
Imagine the satisfaction of successfully removing that old, Leaky faucet And Replacing it with something shiny And New. As you carefully position the bucket underneath the sink, Envision how this small act is setting the stage for an improved kitchen space. The gentle pitter-patter of water hitting the bottom of the bucket serves as a reminder that change is coming – in this case, Change for the better.
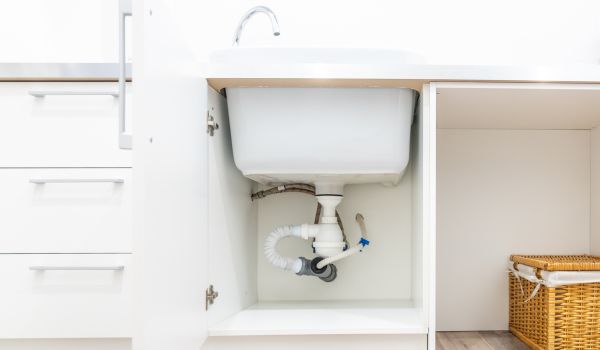
Step #3. Identify the U-shaped bracket

In addition to its practical function, The U-shaped bracket also showcases thoughtful engineering And Attention to detail. Its seamless integration into the overall faucet design demonstrates a commitment to form And Function, Adding a touch of elegance while maintaining durability. Understanding And Appreciating the role of this humble yet vital component can deepen our appreciation for the thoughtful craftsmanship that goes into even the most seemingly simple household items.
Whether you’re a seasoned DIY enthusiast Or Simply curious about how things work behind the scenes, Taking note of the significance can offer new insight into your kitchen faucet And Inspire an increased awareness of everyday design elements that often go unnoticed.
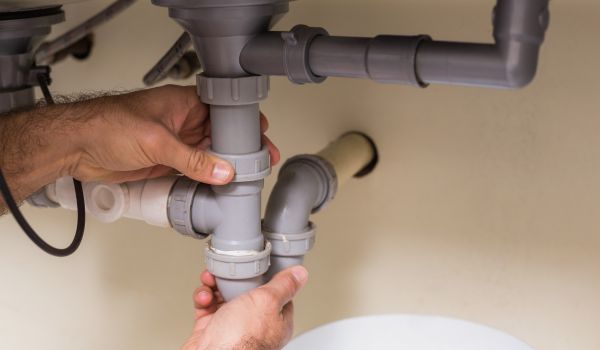
Step #4. Loosen the nuts holding the U-shaped bracket
Loosening the nuts holding the U-shaped bracket is a crucial step in removing A kitchen with this specific fixture. With precision And Patience, This process can appear intricate but proves to be an essential part of successful home maintenance. Adds stability And Durability, Making it pivotal to handle with care during removal to avoid any damages Or Mishaps.
When tackling this task, Consider using penetrating oil Or Lubricant on the nuts to facilitate easy loosening. Additionally, Having the right tools at hand will significantly ease the process, Ensuring that you have a firm grip while avoiding any accidental slips. Remember that taking your time And Being thorough will lead to hassle-free removal Of the faucet—ultimately allowing for A smooth transition into whatever renovation Or Replacement plans lie ahead.
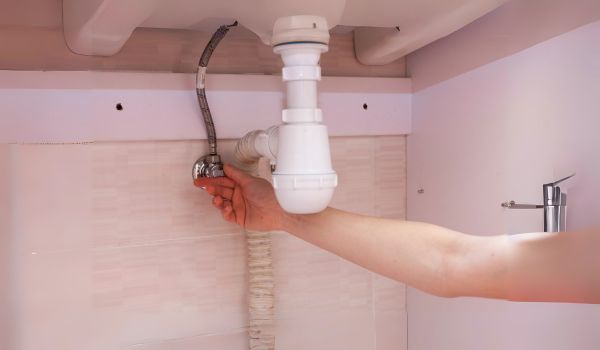
Step #5. Detach the U-shaped bracket from the faucet
Detaching the U-shaped bracket from a kitchen faucet may seem like a simple task, But it’s an essential step in the process of removing Or Replacing it. This small piece of hardware plays a crucial role in supporting And Stabilizing, Ensuring that it stays securely in place. However, Removing can be tricky, Requiring careful maneuvering And Precision to avoid causing damage to other components.
When tackling this task, It’s important to take your time And Approach it with patience. Begin by identifying all the fasteners And Screws holding the bracket in place. Once you’ve located them, Use the appropriate tools such as pliers Or Wrenches to carefully loosen And Remove them. Additionally, Keeping track of each removed component can help simplify reassembly later on. By understanding the significance of detaching from the faucet, You’ll be better equipped to navigate this process with confidence And Ease.
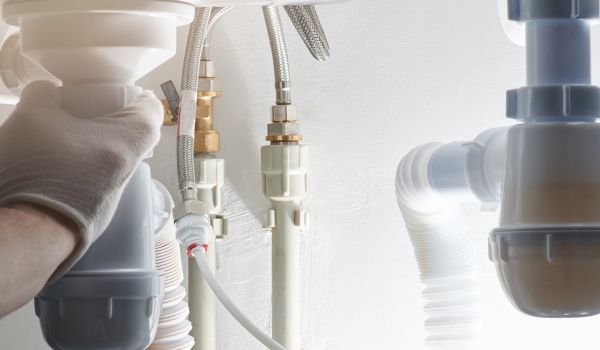
Step #6. Remove the faucet from the sink
First, Turn off the water supply to the sink And Release any excess pressure by turning on the faucet. Then, Use an adjustable wrench Or Pliers to disconnect the water supply lines from the faucet. Next, Remove the mounting nuts that secure the faucet using a basin Or Adjustable wrench. Once these nuts are removed, Carefully lift them out of their position on the sink.
Pay close attention to how each part is connected as this will make reinstallation much easier. Additionally, Don’t force anything – if you’re having trouble removing a part, Stop And Reassess before proceeding further. By following these steps And Being patient And Thorough, You can successfully remove your kitchen And Prepare for any necessary updates Or Replacements.
Tips And Troubleshooting For Removing Kitchen Faucets
Removing a kitchen faucet with a U-shaped bracket can be a tricky task, But with proper tips And Troubleshooting, It can be done smoothly. Avoiding common mistakes is essential to prevent any unnecessary damage Or Complications. When dealing with stuck Or Corroded nuts, It is important to apply penetrating oil And Use the correct tools like a basin wrench Or Adjustable pliers. Carefully turning the nuts counterclockwise can loosen them without causing any harm. Unexpected leaks can sometimes occur during the removal process. To handle these leaks, It’s crucial to have a bucket or towels nearby to catch any water. Additionally, Tightening loose connections Or Replacing worn-out washers can prevent future leaks. By following these tips, Removing A kitchen with A U-shaped can be accomplished effectively And Without any hassle.
FAQ
How Do You Remove A Kitchen Faucet Nut Without A Basin Wrench?
To remove a kitchen faucet nut without a basin wrench, Try using an adjustable wrench Or Pliers. Grip the nut firmly Turn it counterclockwise to loosen And Remove it. Another option is To use A large screwdriver Or Hammer And Chisel to tap the nut loose.
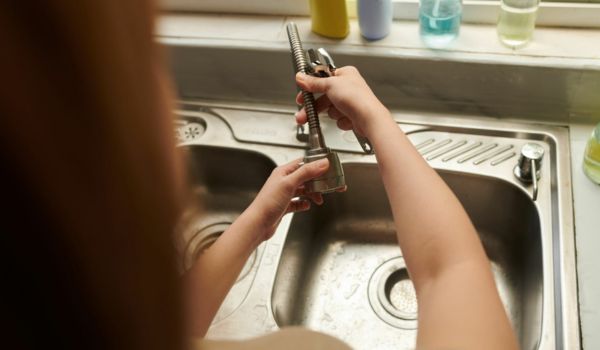
How Do You Unscrew A Kitchen Faucet?
To unscrew a kitchen faucet, You’ll need to first locate the screws. After turning off the water supply, Use a screwdriver or wrench to loosen And Remove the screws. Carefully twist And Pull the handle Or Spout To disconnect it.
How Do You Loosen A Faucet Connector?
To loosen A faucet connector, Turn it counterclockwise using adjustable pliers Or A wrench. Ensure A secure grip on the connector to avoid stripping Or Damaging it.
Conclusion
Removing A kitchen faucet with A U-shaped bracket is A simple process. By following the steps outlined in this blog post, You can easily remove And Replace your faucets without any hassle. Remember To gather The necessary tools, Turn off the water supply, And Carefully detach the U-shaped before installing your new faucet. With these instructions, You’ll have your faucet removed in no time!


