
To make a kitchen witch, gather dried corn husks, twine, and fabric scraps. Soak the husks for flexibility. Tie them together to form the body and arms. Add a skirt and style the hair with corn silk. Create a decorative hat and assemble a broom using dried grasses. Make sure all accessories are secure. For a charming display, find a spot in your kitchen that receives sunlight; there's more to uncover about enhancing your witch's presence!
Key Takeaways
- Gather and soak an even number of dried corn husks for flexibility before constructing the doll's body and arms.
- Create the doll's body by tying husks together, forming a head, and trimming for a neat appearance.
- Add a skirt using darker husks, style hair with corn silk, and attach accessories like a hat or shawl.
- Assemble a broom using dried grasses, securing it to the doll's dress and arms for stability.
- Display your kitchen witch in a well-lit area, enhancing the space with seasonal decorations and positive energy.
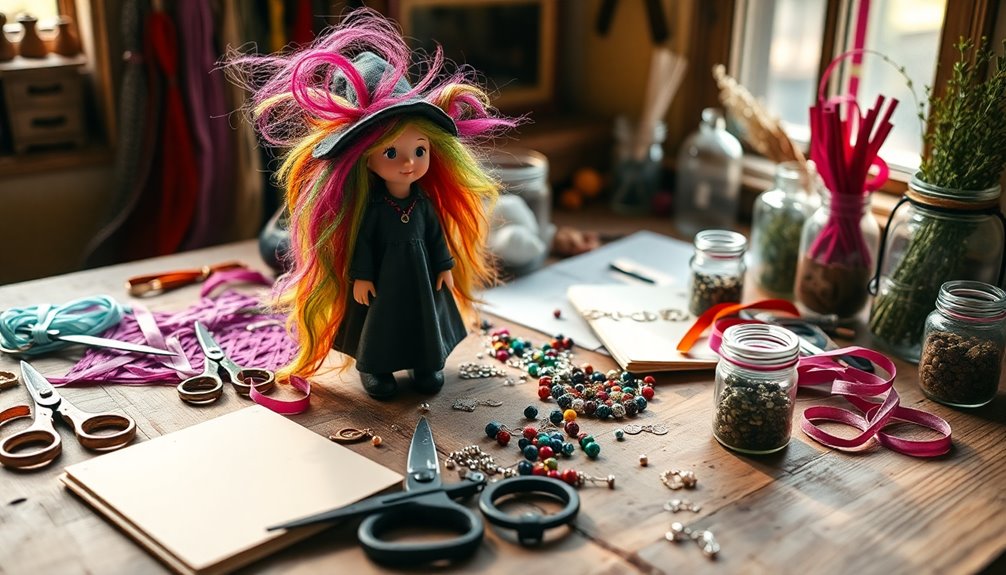
Gathering Your Materials
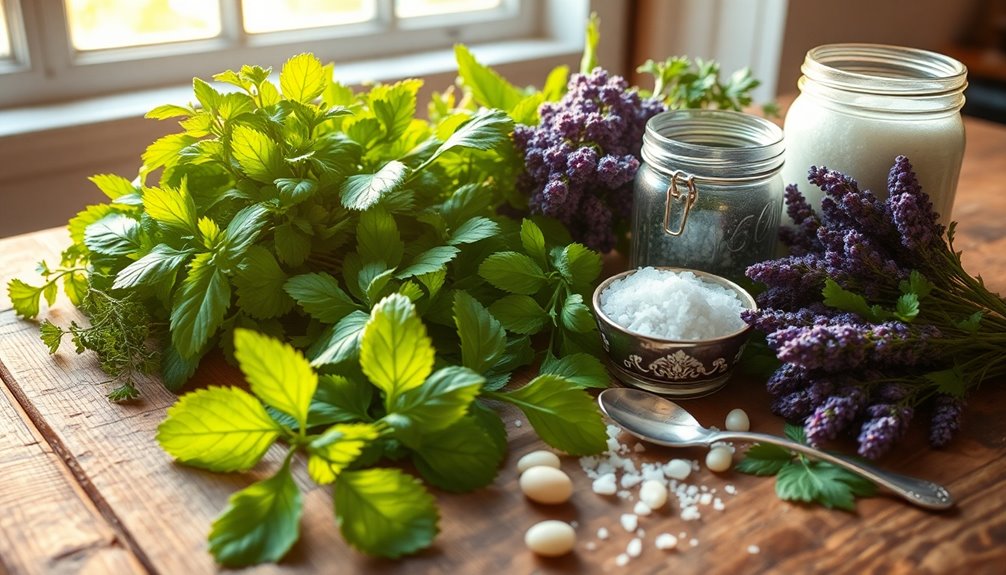
Before you plunge into making your kitchen witch, it's crucial to gather your materials. Start with an even number of dried corn husks, like four, six, or eight. If you didn't buy them from a craft store, make sure they're stored in a warm, dry place for about two weeks.
Next, collect some string or twine; you'll need this to secure the husks together, forming the body and arms of your doll. Don't forget to grab additional fabric scraps or yarn to create clothing or accessories like skirts or hats.
Finally, consider adding some dried grasses for a broom, glue for assembly, and optional decorative items like dried flowers or small twigs to personalize your kitchen witch.
Preparing the Corn Husks
To prepare your corn husks for crafting a kitchen witch, start by sourcing husks from sweet corn, guaranteeing they're cut from stocks for maximum length and flexibility.
Here's how to get them ready:
- Select husks: Choose up to ten husks, picking thicker green ones for strength and whiter ones for flexibility.
- Soak: Before using dried husks, soak them in water for about 10 minutes to make them pliable.
- Store: Keep your dried husks in a warm, dry place for about two weeks to guarantee they're fully dried.
When you're ready to craft, the husks should be soft and flexible, making it easier to shape and tie during the doll-making process.
Happy crafting!
Constructing the Doll's Body
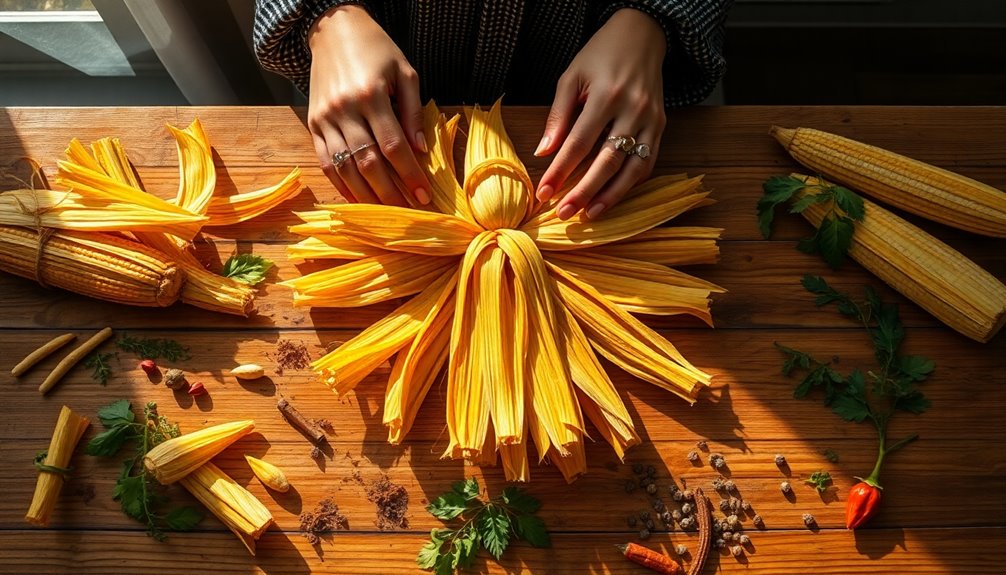
Constructing the doll's body involves using an even number of corn husks—four, six, or eight—depending on the size you want. Start by selecting thicker green husks for strength or whiter ones for flexibility. Tie them together about 1.5 inches down from the tips with string or twine. Open the husks to form the body and fold back the tops to create the head, securing the neck with a knot.
| Step | Action | Notes |
|---|---|---|
| 1 | Tie husks together | Use string or twine |
| 2 | Form the body and head | Fold back the tops |
| 3 | Secure the neck | Add bulk for shape (optional) |
| 4 | Verify all components are neat and stable | Trim excess husks |
Now you're ready for the next steps!
Adding Arms and Skirt
Adding the arms and skirt to your kitchen witch brings her to life and adds character. To create the arms, follow these steps:
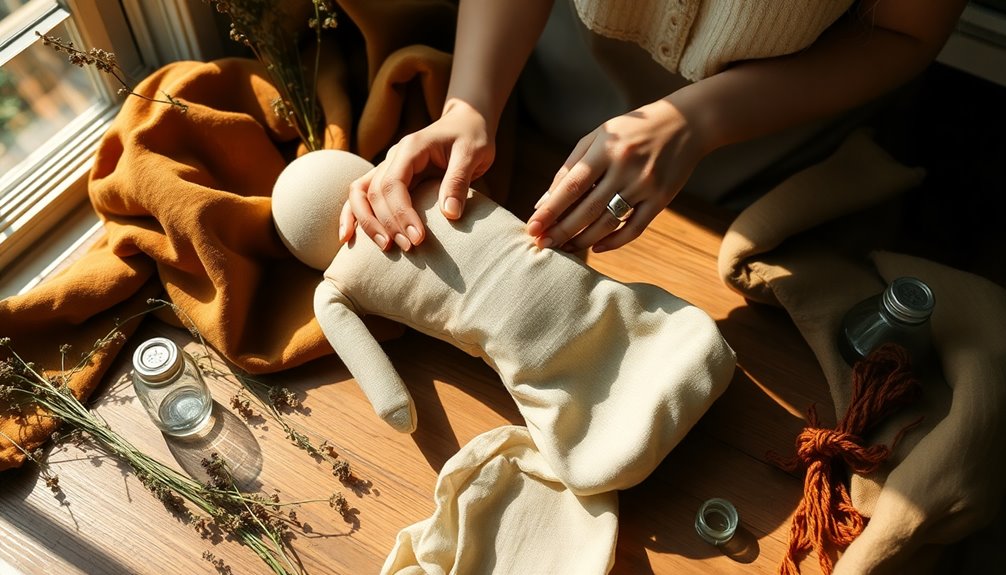
- Roll a husk, tie it securely at both ends, and measure the length by inserting it into the body before cutting any excess.
- For the skirt, cut about eight pieces of darker husks to your desired length and secure them around the waist with a knot for stability.
- Confirm all pieces are tightly knotted together to prevent any loosening during display.
After attaching the arms, trim any excess materials for a neat appearance. The darker husk tips not only provide visual contrast but would work beautifully to enhance your kitchen witch's overall aesthetic. Additionally, ensuring regular skin treatments can provide a refreshing boost to your creative energy as you craft.
Creating Hair and Accessories
Now that you've added arms and a skirt, it's time to focus on your kitchen witch's hair and accessories.
You can use corn silk or twine for hair, styling it to match the witch's personality.
Don't forget to accessorize with small flowers, feathers, or charms to give her that extra touch of charm and character!
Hair Materials and Techniques
Creating the hair for your kitchen witch can be a fun and creative process. You can choose from various materials to give your witch a unique style. Here are three great options:
- Corn Silk: This traditional choice offers a natural look, easily braided or styled to your liking.
- Twine: For a rustic appearance, twine can be shaped or braided, adding texture to your witch's hair.
- Decorative Elements: Enhance character by incorporating dried flowers, small feathers, or twigs into the hair or headpiece.
When attaching the hair, securely glue or tie it to the top of the head for stability. Additionally, consider using high-quality materials to ensure durability in your project.
Don't forget to vary lengths and colors for a more dynamic, personalized touch!
Accessory Ideas and Placement
Accessories play an essential role in bringing your kitchen witch to life, adding character and charm.
For her hair, use corn silk or twine, allowing you to braid and style it creatively. Enhance her whimsical look by weaving in small dried flowers like tansy or tiny feathers.
A decorative hat is a must; craft one from husk pieces with a circular brim and cone-shaped center for that classic witch silhouette.
Don't forget a shawl! Roll husk sections and secure them with twine for added flair.
Verify all accessories are firmly attached—glue the hat and arms to maintain your witch's integrity and overall aesthetic.
With these thoughtful touches, your kitchen witch will truly shine!
Hat Construction

Now that you've got your kitchen witch's hair and accessories ready, it's time to focus on hat construction.
You'll need specific materials and some shaping techniques to create the perfect look, plus a few decorative ideas to make it stand out.
Let's explore how to craft a hat that truly reflects your witch's personality!
Materials Needed for Hats
To make a charming kitchen witch hat, you'll need a few essential materials. Start with firmer corn husks, as they form the base shape of your hat.
Here's what you'll need:
- Corn husks – Cut them into a circle with a center hole for the hat's base.
- Glue – Use this to attach the pointy part to your head and secure the layers together.
- Dried flowers or twigs – These will add personal touches and embellishments to your design.
Once you've gathered these materials, you can create a delightful hat that enhances your kitchen witch's charm. Additionally, consider incorporating elements from suspension upgrades to improve the overall aesthetic appeal of your hat.
Remember to layer a second brim for a more visually appealing look and use a darker green husk band for added flair!
Hat Shaping Techniques
Shaping the hat for your kitchen witch is a fun and creative process that can set your design apart.
Start by cutting a firmer husk piece into a circle with a center hole for the base. To create the iconic cone shape, fold the center point of the circle inward and secure it with glue, making sure it's stable. Trim any excess husk from the cone's base before inserting it into the brim for a polished look.
For an added touch, attach a darker green husk band around the base of the hat to enhance contrast and style. If you're feeling adventurous, layer a second brim on top of the first and glue them for a more elaborate design.
Decorative Hat Ideas
While crafting your kitchen witch's hat, consider incorporating unique decorative elements that reflect her magical personality. Start with a sturdy base by cutting a circle from firmer husk pieces, making sure to create a center hole for the cone shape.
Then, follow these tips to enhance her hat:
- Add a decorative band: Use darker green husk to wrap around the base for a stylish touch.
- Layer the brims: Glue a second brim on top to boost stability and flair.
- Embellish creatively: Decorate with dried flowers, small feathers, or twigs tied into a besom, ensuring it truly represents your kitchen witch's essence.
Additionally, you may want to ensure that your decorations are made from safe materials for pets to avoid any hazards if you have furry friends roaming around. With these ideas, your witch's hat will be as enchanting as her spells!
Assembling the Broom
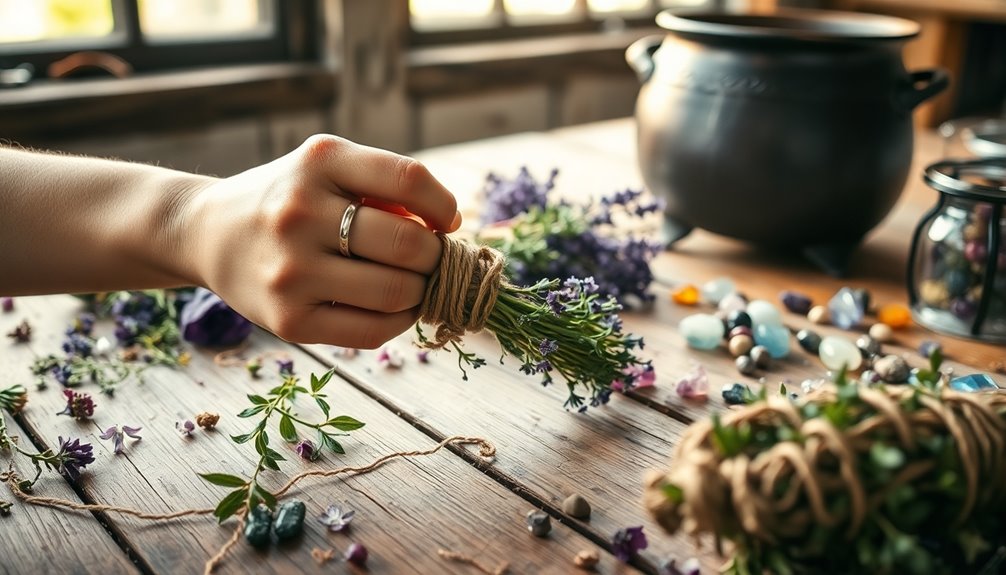
As you assemble the broom for your kitchen witch, start by cutting dried grasses to your preferred length. Make sure they're long enough to create a full bristle effect when tied together.
Gather the grasses into a bundle and secure them tightly with twine at the top, leaving a long piece for attaching to the witch's body.
Next, create a small slit in the doll's dress to insert the broom handle, ensuring stability and a natural appearance. For added support, glue the arms of the doll to the broom, allowing for easy positioning without needing yearly removal.
Finally, trim any excess materials from the broom assembly to maintain a neat, visually appealing appearance. Enjoy your crafting!
Final Touches and Decoration
Now that you've securely attached the broom to your kitchen witch, it's time to focus on the final touches and decoration.
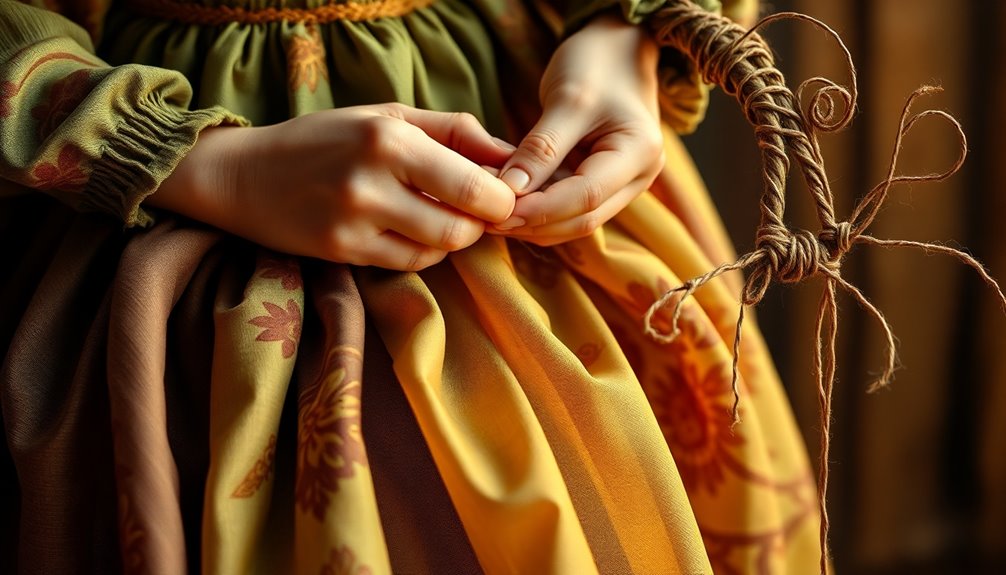
Start by trimming the apron and skirt to your desired lengths, giving them a decorative shape that complements your design.
Next, secure the hat with twine, ensuring the brim sits firmly, and consider layering for added visual interest.
Finally, personalize her look with these enhancements:
- Decorate the hat with dried flowers, small feathers, or twigs for a natural touch.
- Attach the arms to the broom with glue, positioning them neatly for stability.
- Style the hair using corn silk or twine, incorporating braids if you like.
These final details will bring your kitchen witch to life!
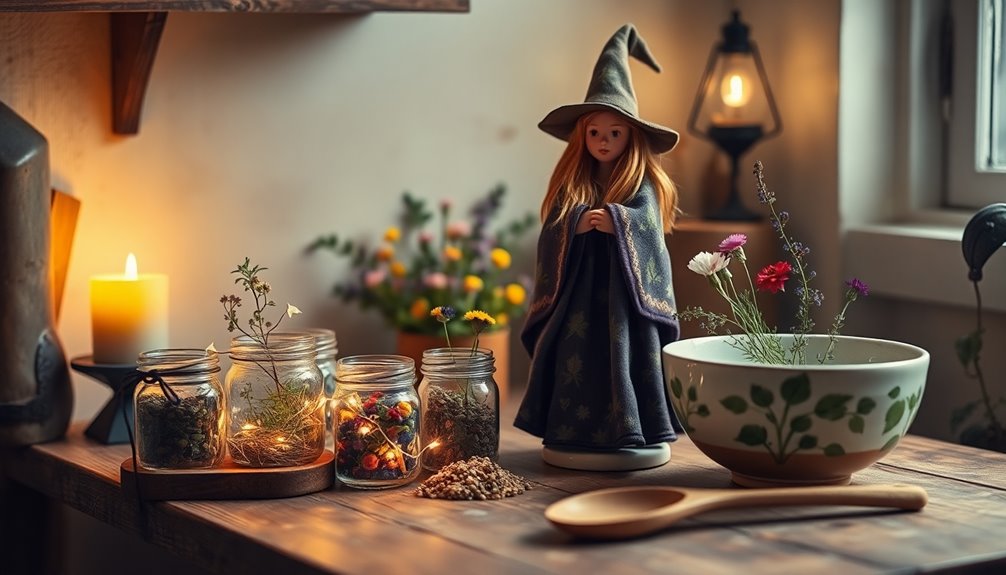
Displaying Your Kitchen Witch
To truly honor your kitchen witch, choose a display area that allows it to shine, preferably where it can soak up natural light. A kitchen window is ideal, blessing your cooking space with positive energy.
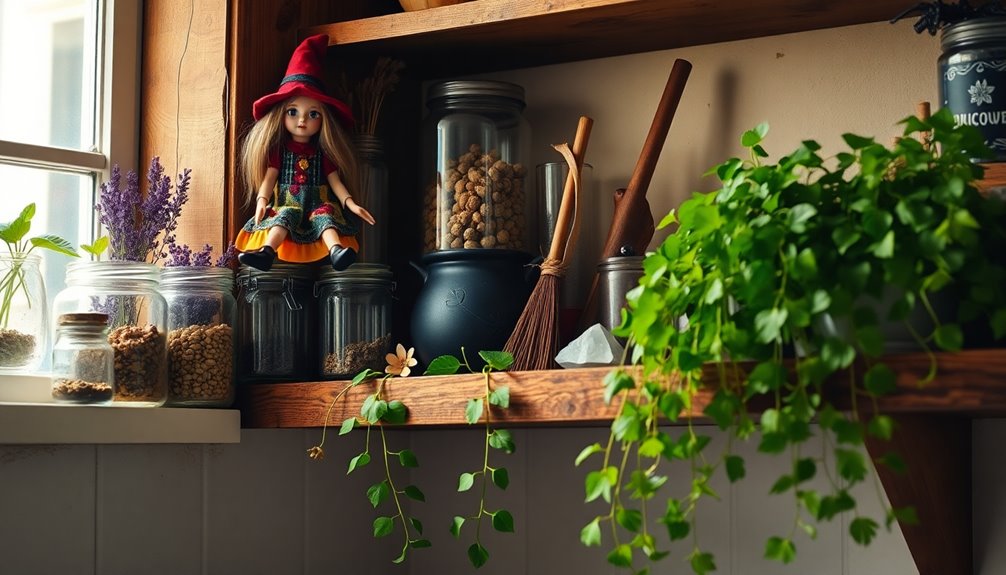
Consider using decorative shelving or a small altar to showcase your kitchen witch alongside herbs, spices, and other kitchen tools that enhance its magical presence.
Position your kitchen witch at eye level for easy visibility, allowing you to connect with its energy while you cook.
Incorporate seasonal decorations like dried herbs or flowers to create a harmonious atmosphere that reflects nature's cycles.
Regularly clean and refresh the display area to maintain positive energy flow, ensuring your kitchen witch continues to bring blessings and good food into your home.
Frequently Asked Questions
How to Make a Witchy Kitchen?
Did you know that 85% of people find cooking more enjoyable in a clean space?
To create a witchy kitchen, start by decluttering and sprucing up your area, inviting positive energy. Set up a dedicated altar with crystals, herbs, and candles to channel your intentions.
Incorporate natural elements, like plants, and develop personal rituals, such as blessing your ingredients.
Finally, choose ingredients based on their colors and properties to enhance the magic in your meals.
What Is the Tradition of the Kitchen Witch?
The tradition of the kitchen witch stems from northern European cultures, where poppets resembling hags were hung in kitchen windows to invite blessings and good food.
These figures symbolize resourcefulness, crafted from leftover materials found in the home.
Kitchen witches serve as protective talismans, embodying the connection between domestic life and magic.
They remind you that everyday items hold the potential for spirituality, making your culinary practices feel more enchanted and meaningful.
What Is the Difference Between a Green Witch and a Kitchen Witch?
A green witch focuses on herbs, plants, and nature, connecting deeply with the earth's cycles.
You might find them cultivating gardens or foraging for wild plants, emphasizing natural energies.
In contrast, a kitchen witch uses cooking as their magical practice, transforming everyday meals into rituals.
They create spells through intention and mindfulness while using ingredients from their pantry.
Both paths celebrate nature, but they approach their magic in different ways.
Is a Kitchen Witch Good Luck?
Isn't it lovely to think that a little figure in your kitchen could bring good luck?
Yes, a kitchen witch is often seen as a symbol of positive energy, believed to attract blessings and ward off negativity.
By placing one in your kitchen, you're inviting prosperity and protection into your home.
Plus, the act of caring for it can deepen your connection to your space, enhancing the good vibes even more.
Conclusion
Now that you've crafted your kitchen witch, celebrate your creativity! Admire her unique charm, cherish the memories made, and embrace the magic she brings. Whether she watches over your kitchen or adds a whimsical touch to your home, let her inspire you to cook with love, share stories with friends, and create joy in everyday moments. Keep her close, treasure her presence, and remember: every kitchen witch has a tale waiting to be told!