
To remove a recessed faucet aerator without a key, start by turning off the water and covering the sink. Use channel-type pliers wrapped in a soft cloth for a good grip. If it's stuck, apply penetrating lubricant and let it sit for 10-15 minutes. You can also use a hair dryer for gentle heat to expand the metal. If needed, leverage a flathead screwdriver in the notches to pry it out. There's more to discover about maintaining your aerator efficiently.
Key Takeaways
- Start by trying to unscrew the aerator by hand, turning counter-clockwise for initial removal.
- Apply penetrating lubricant around the edges and let it sit for 10-15 minutes to loosen buildup.
- Use a hair dryer to apply gentle heat, expanding the metal for easier removal.
- Utilize a small flathead screwdriver to pry at any visible notches or grooves on the aerator.
- If necessary, create a hole for grip in the aerator using a drill to facilitate removal.
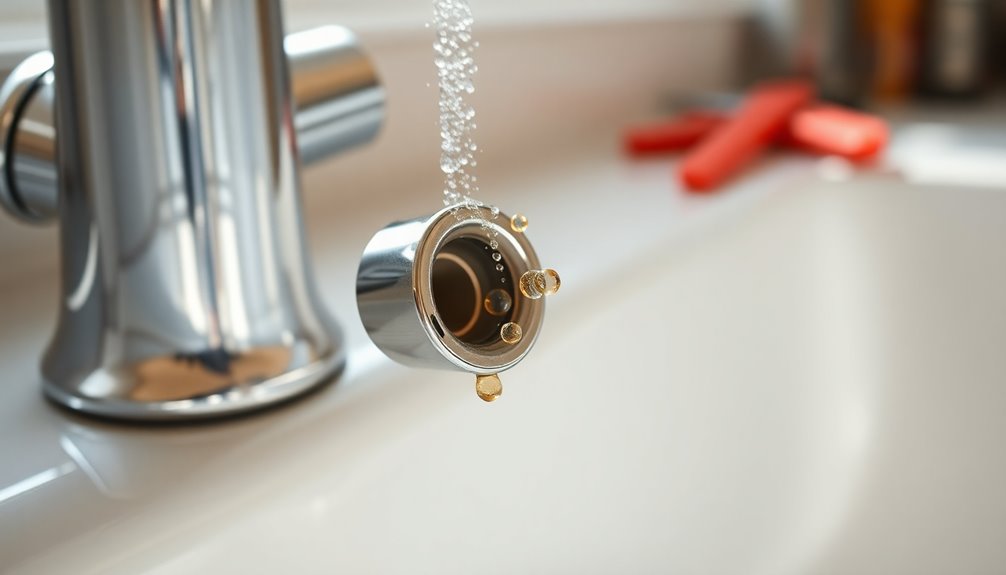
What Is a Faucet Aerator?

A faucet aerator is a small yet essential device that you might find attached to the end of your faucet. It mixes air with water, reducing flow while maintaining pressure, which helps conserve water.
With an aerator, you can cut your water usage by up to 30%, saving you money on your water bills and lessening your environmental impact.
However, over time, mineral deposits can clog the aerator, leading to reduced flow and pressure. When this happens, you'll need to clean or replace the aerator.
Many aerators have a screw-on design for easy removal, but if you're dealing with recessed types, specialized tools might be necessary.
Regular maintenance can considerably enhance your faucet's performance.
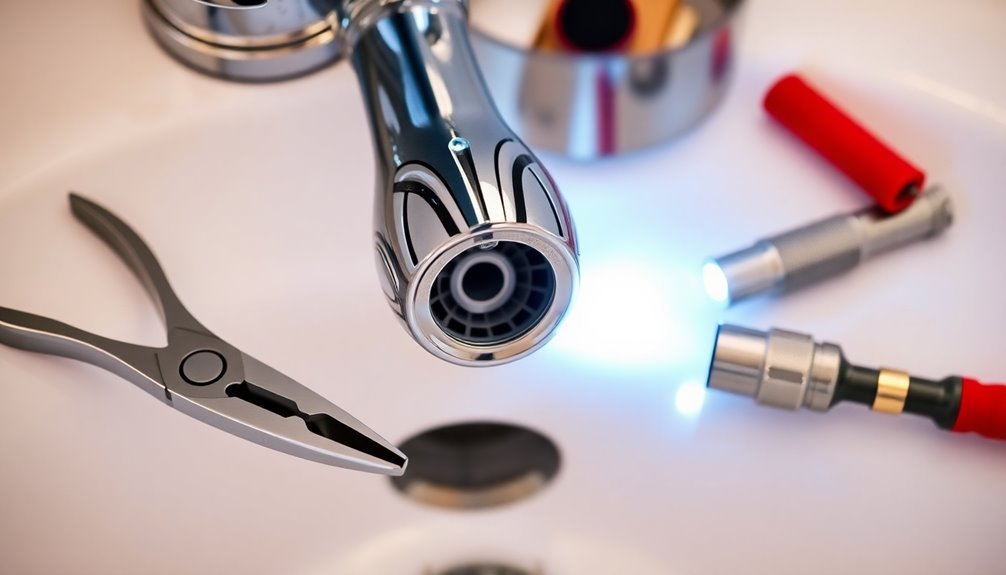
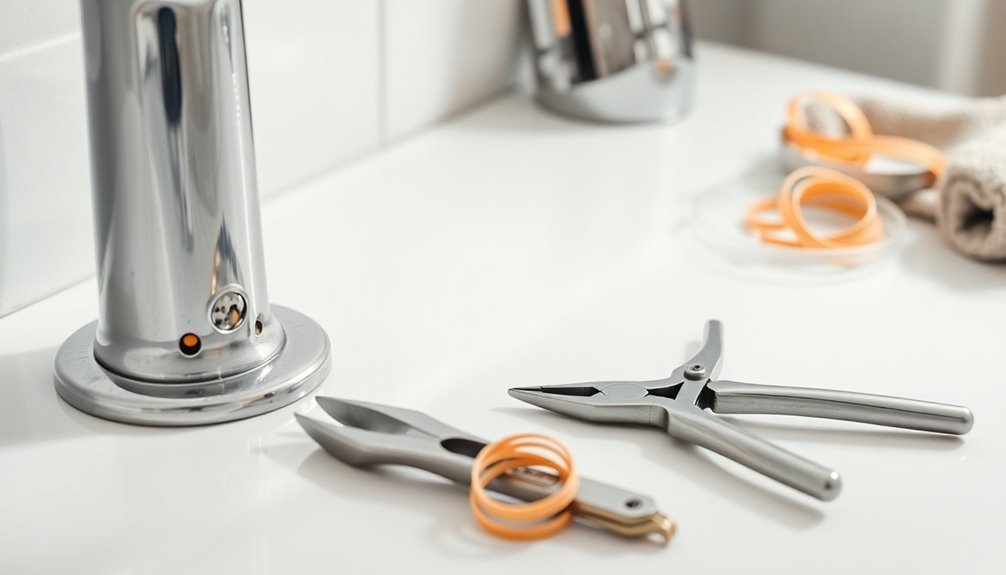
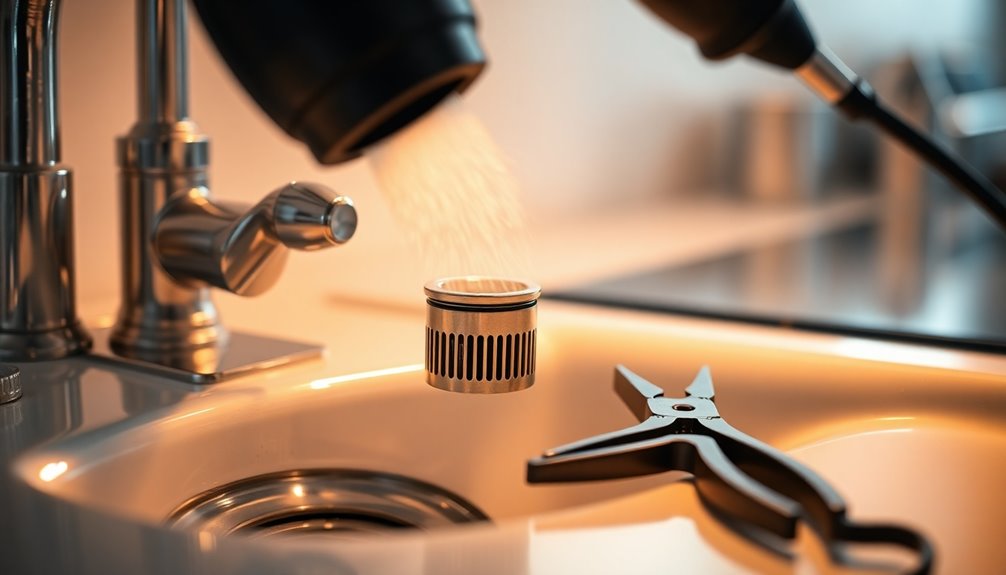
Tools You'll Need
To successfully remove a recessed faucet aerator, you'll need a few essential tools.
These include pliers for grip, rubber gloves for handling, and a soft cloth to protect your faucet's finish.
We'll also explore alternative methods and maintenance tips to keep your aerator in top shape.
Essential Tools Overview
When tackling the task of removing a recessed faucet aerator, having the right tools on hand can make all the difference.
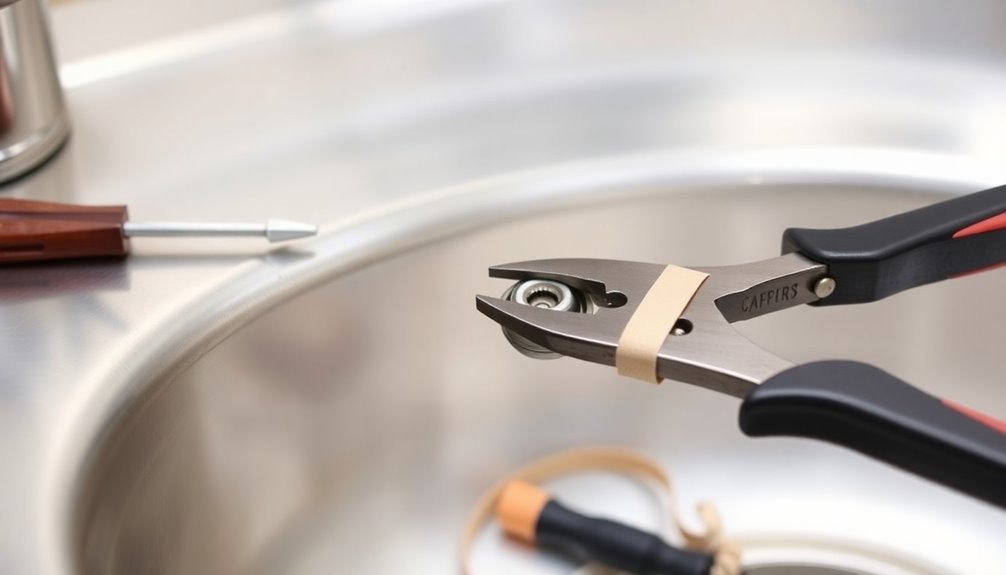
You'll need channel-type pliers for their superior grip and leverage to turn the aerator counterclockwise. To protect the aerator from scratches while enhancing grip, wrap it with a soft rag or some masking tape.
A penetrating lubricant like WD-40 can loosen a stuck aerator by breaking down mineral deposits, so spray it on and let it sit for a few minutes.
If you see notches, a small flathead screwdriver can help pry it out.
Finally, using a hair dryer to apply gentle heat expands the metal, making it easier to unscrew without damage.
Alternative Removal Methods
If you've tried the basic methods without success, exploring alternative removal techniques can be helpful. Here are some tools and methods to evaluate:
- Channel-type pliers wrapped in a rag for better grip
- A small flathead screwdriver for prying out notched aerators
- Needle-nose pliers or a pick for stubborn aerators
Start by using channel-type pliers to twist the recessed aerator counterclockwise. If it's stuck, apply penetrating lubricant like WD-40 around the edges and let it sit for a few minutes to loosen mineral deposits.
You can also use gentle heat from a hairdryer to expand the aerator slightly. Just be cautious with any plastic components.
With these tools and techniques, you'll increase your chances of successfully removing that pesky aerator.
Maintenance and Care Tips
While maintaining your recessed faucet aerator might seem challenging, having the right tools on hand makes the process much easier. Here are some essential tools you'll need for effective maintenance and care tips:
| Tool | Purpose | Notes |
|---|---|---|
| Rubber Gloves | Enhance grip on slippery aerators | Prevent slipping |
| Pliers | Turn aerator without scratching | Wrap with soft cloth |
| Flathead Screwdriver | Pry stubborn aerators gently | Use on notches/edges |
| Penetrating Lubricant | Loosen mineral buildup around aerator edges | Let sit for a few mins |
Regularly clean your aerator by soaking it in vinegar and water, and consider keeping a replacement aerator handy for ideal water flow.
Step-by-Step Guide

Now that you have your tools ready, let's get into the effective techniques for removing that pesky recessed faucet aerator.
You'll start by trying to unscrew it by hand, but if that doesn't work, there are a few tricks you can use to get it off.
Follow these steps carefully, and you'll have it removed in no time.
Tools Required for Removal
To successfully remove a recessed faucet aerator, you'll need a few essential tools at your disposal. Having the right tool makes the process easier and more efficient.
Here's what you should gather:
- Rubber gloves for better grip
- Channel-type pliers with a soft cloth
- Penetrating lubricant like WD-40
Start by putting on rubber gloves to enhance your grip.
Next, use channel-type pliers, making sure to wrap a soft cloth around the aerator to avoid scratches.
Applying a penetrating lubricant around the edges will help loosen any stubborn mineral deposits.
If needed, a hairdryer can provide gentle heat to expand the metal.
Finally, a small flathead screwdriver can help pry out any notches for added leverage during removal.
Effective Removal Techniques
Before you start removing the recessed faucet aerator, make sure your hands are dry for a better grip.
First, use pliers wrapped in a cloth to unscrew the aerator counter-clockwise. If it's stubborn, apply a penetrating lubricant around its edges and let it sit for a few minutes to dissolve any calcium buildup.
For extra leverage, try applying heat by gently using a hairdryer on the aerator for a minute or two, which can help expand the metal.
Next, use a small flathead screwdriver to pry at any visible notches or grooves, being careful not to damage the faucet.
If nothing works, consider creating a hole in the aerator for a grip, but be cautious to avoid damaging your faucet.
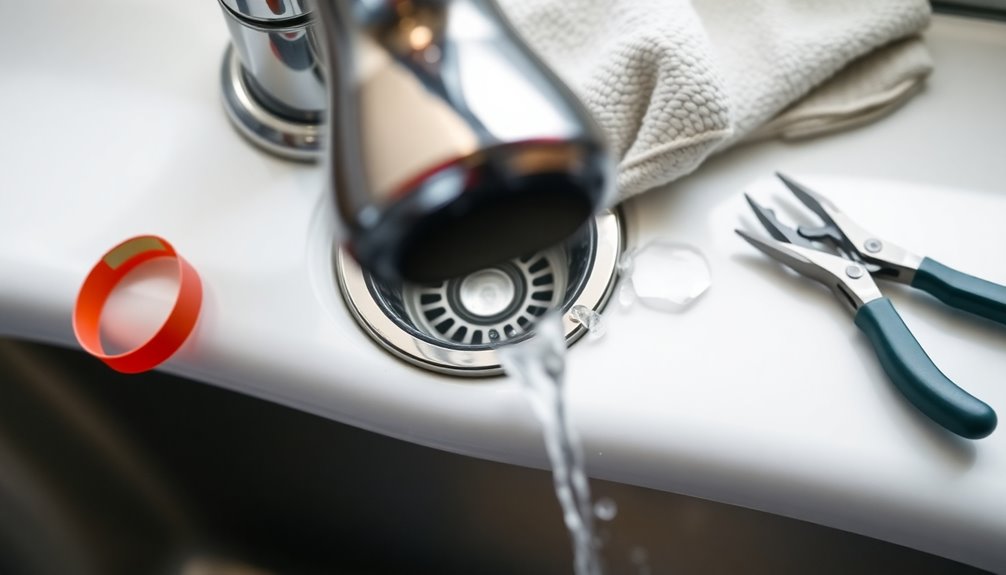
Preparation
Since removing a recessed faucet aerator can be tricky, it's essential to prepare properly to avoid any mishaps. Proper preparation not only guarantees a smoother process but also helps maintain water flow once the aerator is reinstalled.
Here's what you need to do:
- Turn off the faucet and cover the sink with a soft cloth to catch any small pieces.
- Gather your tools: pliers, a soft cloth for grip, and penetrating lubricant like WD-40.
- Wear rubber gloves for better grip and protection from sharp edges.
Additionally, inspect the aerator's edge for notches or grooves that can aid in removal.
If needed, prepare a soaking solution of equal parts water and vinegar to dissolve mineral buildup.
Use Pliers Carefully
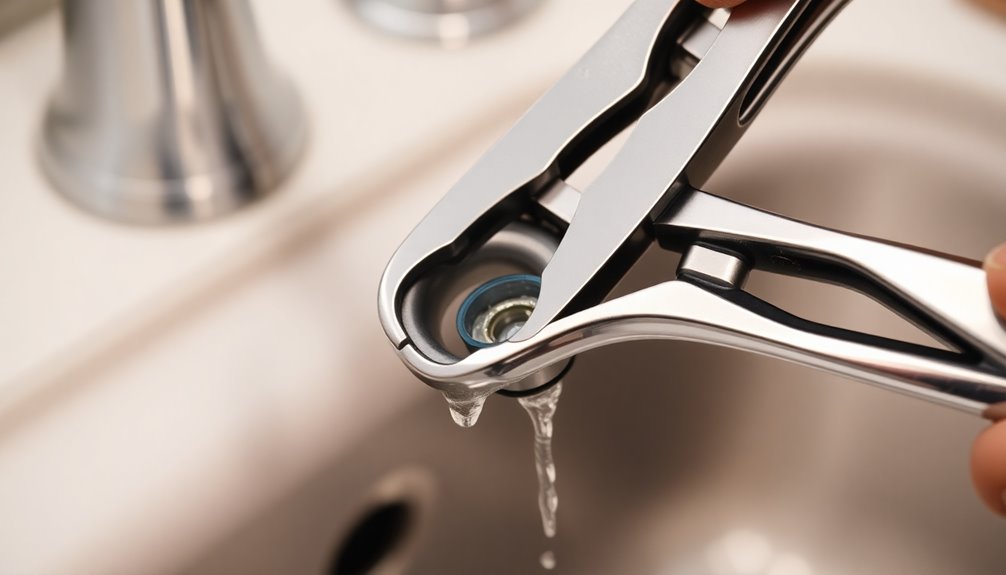
Using pliers carefully is essential for successfully removing a recessed faucet aerator. Start by wrapping a soft cloth around the aerator to enhance your grip and protect it from scratches. Use channel-type pliers to grip firmly, twisting counter-clockwise to loosen. If the pliers don't work, check your grip on the faucet and try again. Remember to apply steady pressure to avoid damage.
| Step | Action |
|---|---|
| 1. Wrap Cloth | Protect and enhance grip |
| 2. Choose Pliers | Use channel-type pliers |
| 3. Grip Firmly | Guarantee a secure hold |
| 4. Twist Counter-clockwise | Loosen the aerator |
| 5. Be Patient | It may take several attempts |
Cover the sink with cloth to catch any small parts.
Apply Penetrating Lubricant
To effectively remove a recessed faucet aerator, you'll want to choose the right penetrating lubricant, like WD-40.
Apply it carefully around the edges to break down mineral buildup and loosen stuck parts.
Choosing the Right Lubricant
When tackling a stubborn recessed faucet aerator, choosing the right lubricant is essential for success. Penetrating lubricants, like WD-40, are your best bet for breaking down rust and loosening stuck parts.
Here are a few key points to take into account:
- Seepage: They're designed to seep into tight spaces and dissolve hardened deposits.
- Application Time: Allow the lubricant to sit for 10-15 minutes for effective penetration.
- Moderation: Use sparingly to prevent slippery surfaces that complicate removal.
Additionally, using a penetrating lubricant effectively can enhance your investment strategy by ensuring the longevity and functionality of your plumbing fixtures.
Application Techniques for Effectiveness
Before you attempt to remove a stubborn recessed faucet aerator, applying a penetrating lubricant is key for success.
Start by cleaning the area around the aerator to keep debris from entering the faucet. Apply a lubricant, like WD-40, around the edges to dissolve mineral deposits and loosen rust or corrosion. Let it sit for at least 10-15 minutes for effective penetration.
Gently grip the aerator with pliers, using a cloth to protect it, and apply counter-clockwise pressure to unscrew. If it's still stuck, reapply the lubricant and consider using gentle heat from a hairdryer to expand the metal, making it easier to remove the faucet aerator without further struggle.
Apply Gentle Heat
Applying gentle heat can be a game-changer in loosening a stubborn recessed faucet aerator. By expanding the metal, heat can help break down any mineral buildup or corrosion.
Here's how you can do it effectively:
- Use a hairdryer to direct heat onto the aerator for about 30 seconds.
- Keep the nozzle at a safe distance to protect plastic parts from damage.
- Always wear protective gloves to avoid burns.
After applying heat, try to unscrew the aerator counter-clockwise using pliers wrapped in cloth for better grip.
If it doesn't budge, don't hesitate to repeat the heating process. This technique is often the key to successfully removing that pesky aerator!
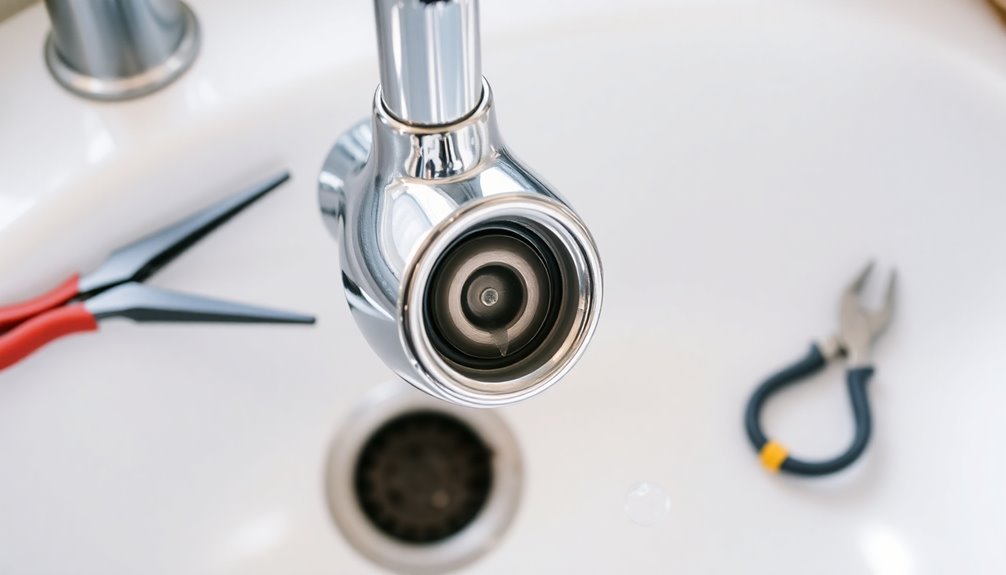
Use a Flathead Screwdriver

Using a flathead screwdriver can be an effective method for removing a recessed faucet aerator.
Start by carefully inserting the blade into any visible notches or grooves on the aerator's rim. Position the screwdriver at a slight angle to gain leverage while avoiding damage to the faucet or aerator surface.
If you don't see any notches, gently create a small groove with the screwdriver to make removal easier. Apply even pressure while turning the screwdriver counter-clockwise to prevent breaking the aerator.
Before you begin, cover the sink with a soft cloth to catch any small parts that might fall during the process.
This technique can help you successfully remove the aerator without needing a specialized key.
Maintenance Tips
To keep your faucet aerator functioning efficiently, it's important to regularly inspect it for mineral buildup or clogs.
Here are some maintenance tips to guarantee peak performance:
- Clean aerators every few months by soaking them in a white vinegar solution to dissolve mineral deposits.
- Use a soft brush, like an old toothbrush, to scrub the aerator gently after soaking.
- Avoid over-tightening the aerator during reassembly to prevent damage and make future removal easier.
Consider replacing the aerator every few years, especially if you live in an area with hard water.
This proactive approach helps maintain water flow and conserves resources, guaranteeing your faucet works effectively for years to come.
Related Posts
Regular maintenance of your faucet aerator is key to keeping it in good working order.
If you're dealing with recessed aerators, you might find these related posts helpful. Learn how to use simple tools like pliers with cloth for grip, ensuring you won't scratch small parts of your faucet.
Discover effective techniques, like applying penetrating lubricant or gentle heat from a hairdryer, to loosen stubborn aerators. You can also explore using a flathead screwdriver to pry out the aerator carefully.
If mineral buildup is an issue, our post on vinegar solutions can guide you through breaking down those pesky calcium deposits.
These tips will help you maintain your faucet's performance and longevity.
Frequently Asked Questions
How to Remove Recessed Sink Aerator Without Key?
To remove a recessed sink aerator without a key, start by wrapping channel-type pliers in a soft cloth to protect the finish and grip the aerator.
Turn it counter-clockwise. If it's stuck, spray some penetrating lubricant around the edges and wait a few minutes.
You can also apply gentle heat from a hairdryer to loosen it. If it has notches, use a small flathead screwdriver for leverage.
Soaking in vinegar can help, too.
What Can I Use if I Don't Have an Aerator Key?
Did you know that over 80% of households experience low water pressure due to clogged aerators?
If you don't have an aerator key, don't worry! You can grab pliers wrapped in a cloth to twist the aerator counter-clockwise.
Alternatively, use a flathead screwdriver to pry it out or long-nose pliers for tight spots.
For stubborn aerators, try applying heat with a hairdryer or a penetrating lubricant to help dissolve mineral buildup.
How Do You Remove a Hidden Aerator From a Delta Faucet?
To remove a hidden aerator from a Delta faucet, start by applying penetrating lubricant around the edges to loosen any mineral buildup.
After a few minutes, use pliers wrapped in a cloth for a better grip and twist the aerator counter-clockwise.
If it's still stuck, check for notches and gently insert a flathead screwdriver.
For stubborn cases, applying gentle heat with a hairdryer can help expand the metal and break the bond.
How Do You Clean a Faucet Aerator That Doesn't Unscrew?
To clean a faucet aerator that doesn't unscrew, start by soaking it in equal parts water and vinegar for at least an hour to break down mineral deposits.
If that doesn't work, use an old toothbrush to scrub it gently while it's still attached.
You might also apply heat from a hairdryer to expand the metal.
If needed, use a flathead screwdriver and penetrating lubricant to free any stubborn buildup.
Conclusion
Removing a recessed faucet aerator without a key can feel like maneuvering through a maze, but with patience and the right tools, you can emerge victorious. Think of the aerator as a treasure chest, holding the secrets to improved water flow. Once you've successfully extracted it, you've not only solved a problem but also revealed a smoother, more efficient faucet experience. So, embrace your inner plumber and enjoy the revitalizing flow of success as you move forward!