
To repair a large chip in your porcelain sink, first, assess the damage's size and depth. Clean the area with rubbing alcohol and sand it for better adhesion. Use a porcelain repair kit to mix epoxy filler and hardener, applying it in thin layers. Allow each layer to cure before sanding for a smooth finish. Remember to properly maintain your sink to prevent future chips and cracks—there's plenty more you can do to keep it looking great.
Key Takeaways
- Assess the chip's size and depth, noting any cracks to determine if professional repair is necessary for large chips.
- Clean the damaged area with rubbing alcohol to remove dirt and grease before applying any repair materials.
- Use a porcelain repair kit to mix epoxy filler and hardener, following the instructions for optimal results.
- Apply the epoxy in thin layers, allowing each layer to cure fully before sanding for a smooth finish.
- Maintain the sink properly post-repair to prevent future damage, including careful handling of heavy items.
Understanding Porcelain Sink Damage

When you examine a porcelain sink, it's important to recognize that damage can occur from various sources, including heavy impacts and thermal shock.
These factors can lead to chips and cracks, ultimately compromising the sink's functionality and appearance. You might find a damaged area that's just a small surface chip, which you could repair yourself.
However, larger chips may require professional help to guarantee a lasting fix. Regular usage and the materials used in the sink's construction play a significant role in how susceptible it's to damage over time.
Knowing the risk factors can help you take precautions, maintaining your sink's integrity and avoiding costly repairs down the line.
Assessing the Size and Depth of the Chip

To effectively address a chip in your porcelain sink, first assess its size and depth. This step is essential for determining whether you can handle the repair yourself or if you need professional help.
- Measure the chip's diameter; small chips are usually under 1 inch.
- Check the depth; surface-level chips are easier to fix.
- Look for cracks or fissures around the chip; these can indicate more extensive damage.
- Evaluate how the chip affects your sink's functionality and appearance.
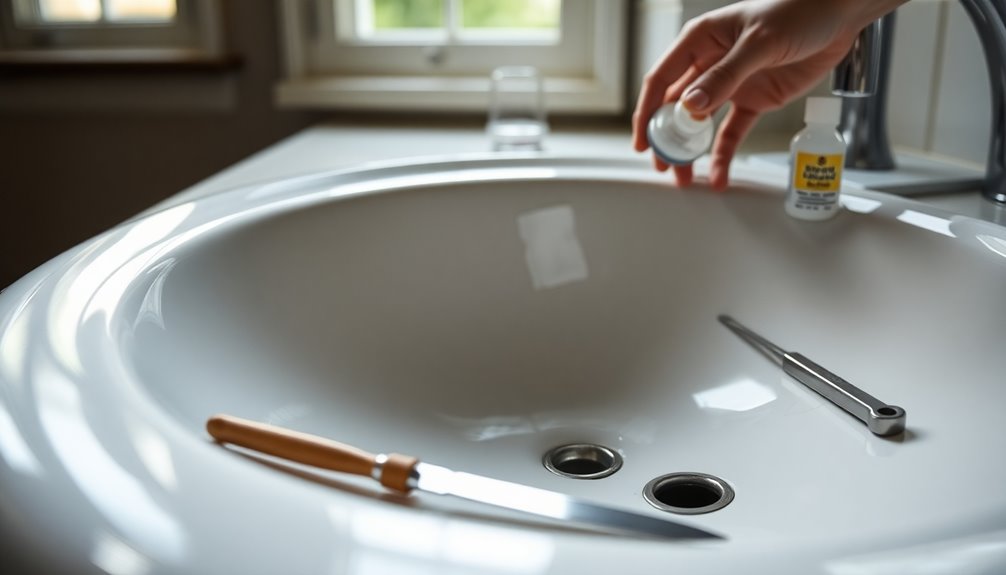
Essential Tools and Materials for Repair

To effectively repair a porcelain sink, you'll need a few essential tools and materials.
Start with a porcelain repair kit that includes epoxy filler and hardener, then gather fine-grit sandpaper for smoothing the surface.
Don't forget rubbing alcohol for cleaning and small applicator tools to help you apply the filler precisely.
Repair Kits Overview
While tackling a porcelain sink repair, having the right tools and materials on hand can make all the difference. A quality repair kit is essential for achieving a seamless fix.
These kits typically include:
- Epoxy fillers and hardeners for strong adhesion
- Color matching options for a flawless finish
- Fine-grit sandpaper to prepare the damaged area
- Protective gloves and small applicator tools for precise application
Some kits even offer instructions tailored to various types of damage, ensuring you address chips and cracks effectively.
If you're dealing with deeper chips, a blow-dryer may come in handy to speed up drying time.
With the right repair kit, you'll be well-equipped to restore your porcelain sink to its former glory.
Essential Application Tools
When repairing a large chip in your porcelain sink, having the right application tools is essential for ensuring a successful and lasting fix.
Begin with a two-component epoxy repair kit, which includes epoxy filler and hardener for strong adhesion. You'll also need fine-grit sandpaper to prepare the damaged area, creating a rough surface that enhances bonding.
For precise application of the epoxy filler, grab a small applicator tool like a wooden matchstick or a small brush. Don't forget rubbing alcohol and clean cloths to thoroughly clean the repair area, removing any dirt or grease.
Ultimately, wear protective gloves to safeguard your hands from the chemicals in the epoxy while you work. These essential application tools will make your repair much easier.
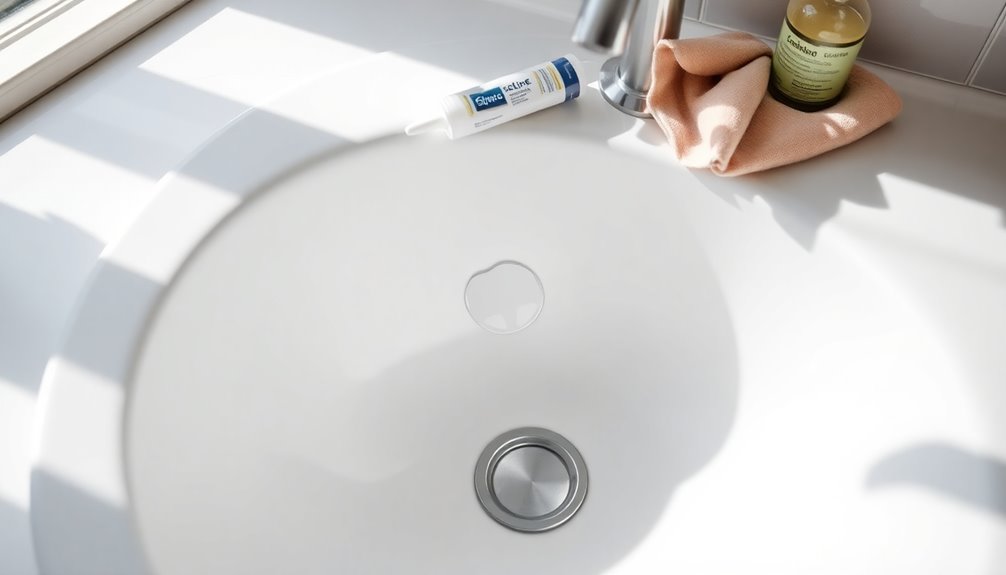
Surface Preparation Supplies
Having the right application tools sets the stage for effective surface preparation, which is essential for a successful porcelain sink repair.
To guarantee you tackle the chipped area thoroughly, gather these essential supplies:
- Porcelain repair kit (epoxy filler, hardener, color matching options)
- Fine-grit sandpaper (for smoothing the damaged area)
- Rubbing alcohol and clean cloths (to clean the surface)
- Protective gloves (to safeguard your hands)
Once you've gathered everything, start by cleaning the chipped area thoroughly with rubbing alcohol. This removes dirt and grease, allowing better adhesion.
Next, use fine-grit sandpaper to smooth the surface, guaranteeing the repair materials bond effectively.
Having these supplies ready will streamline your repair process and yield a seamless finish.
Step-by-Step Process for Repairing the Chip

To successfully repair a chip in your porcelain sink, start by evaluating the damage. Check the size and depth of the chip to decide if you can fix it yourself or need professional help.
Clean the area with rubbing alcohol, then sand the surface using fine-grit sandpaper for better adhesion.
Grab a porcelain repair kit, mix the epoxy filler and hardener according to the instructions, and aim to match the sink's color closely.
If the chip is deep, apply the filler in layers, allowing up to 24 hours for drying between each layer.
After the final application, wait for the recommended curing time before using your sink, and avoid scrubbing the repaired area for at least a week to guarantee a durable fix.
Tips for Achieving a Seamless Finish

Achieving a seamless finish in your porcelain sink repair is essential for both aesthetics and durability. Start by mixing the epoxy thoroughly to match your sink's color.
Here are some tips to guarantee a smooth repair:
- Use fine-grit sandpaper (around 400 grit) to feather the edges of the chip.
- Apply the epoxy in thin layers, letting each layer cure completely before sanding lightly.
- Smooth the surface with a damp cloth and soapy water before the epoxy cures to reduce future sanding.
- Finish with a clear coat or polish for added shine and to blend the repair.
Preventing Future Chips and Cracks
To keep your porcelain sink looking great, consider using protective sink mats to cushion against impacts.
Be mindful of temperature changes; avoid dropping hot pots directly into the sink.
Finally, handle heavy objects carefully to prevent chips and cracks from forming.
Use Protective Sink Mats
While you mightn't think about it often, using protective sink mats can be a game changer for your porcelain sink. These mats act as a cushion, absorbing impacts that might otherwise chip or crack your sink. By distributing weight evenly, they prevent localized pressure that often leads to damage.
Consider these benefits of protective sink mats:
- Impact absorption to reduce chip risks from heavy objects
- Even weight distribution to minimize pressure points
- Non-slip materials to keep the mat securely in place
- Easy maintenance to keep your sink area hygienic
Regularly using protective sink mats not only protects your sink but also extends its life, ensuring it remains beautiful for years to come.
Avoid Thermal Shock
Using protective sink mats is just one way to care for your porcelain sink; however, avoiding thermal shock is equally important for maintaining its integrity.
Thermal shock happens when your sink faces rapid temperature changes, so it's essential not to pour boiling hot water directly into it or place hot pots and pans on the surface. Always allow items to gradually heat or cool before they contact the sink.
Using trivets or heat-resistant mats under hot cookware provides a buffer that protects your sink. Regularly check for signs of damage, as existing weaknesses can worsen the impact of thermal shock. Additionally, consider using humidifiers to maintain a stable environment around your sink, as fluctuating humidity levels can also affect its durability.
Educate everyone in your household on proper sink usage to prevent future chipping and cracking.
Handle Heavy Objects Carefully
When handling heavy objects around your porcelain sink, it's crucial to take precautions to prevent chips and cracks.
Make sure you're mindful of how you treat your sink to maintain its beauty and functionality.
- Always lift heavy items instead of sliding them across the sink surface.
- Use a soft cloth or mat under heavy objects for cushioning.
- Avoid dropping pots, pans, or utensils into the sink to prevent impact damage.
- Designate a storage area for heavy kitchen tools away from the sink.
Frequently Asked Questions
Can a Chip in a Porcelain Sink Be Repaired?
Yes, you can repair a chip in a porcelain sink.
If it's a small chip, you'll likely find a porcelain repair kit useful. For larger chips, you might need to assess the damage closely; sometimes, professional help's best.
Start by cleaning the area, then apply the epoxy filler, ensuring it matches the sink's color.
Don't forget to let it dry completely. Timely repairs can keep your sink looking great and extend its life!
How Do You Fix a Large Hole in a Porcelain Sink?
Fixing a large hole in a porcelain sink is like piecing together a jigsaw puzzle.
First, you'll want to clean the area thoroughly and sand the edges to guarantee the repair sticks.
Then, grab a porcelain repair kit and mix the epoxy filler as directed.
Apply it in layers if needed, letting each layer cure.
Once it's smooth, sand it down and finish with color-matching paint for a seamless look.
You've got this!
Can Chipped Porcelain Be Repaired?
Yes, you can repair chipped porcelain. For small chips, you can use a porcelain repair kit that includes epoxy fillers designed to match the color and provide durability.
Start by cleaning and sanding the chipped area to help the filler adhere better. For larger chips, you might want to apply the filler in layers, letting each layer dry before adding more.
Repairing them promptly can prevent further damage and keep your porcelain looking great.
Do Porcelain Repair Kits Work?
Imagine your porcelain piece as a delicate flower, its beauty marred by a chip. Porcelain repair kits can be the gentle gardener, nurturing that flower back to life.
When you prepare the surface and apply the epoxy correctly, you'll often find the repair blends seamlessly, almost like magic. While these kits work wonders on small chips, deeper damage might need a professional's touch.
Conclusion
By repairing that chip in your porcelain sink, you're not just mending a surface flaw; you're breathing new life into a cherished part of your home. Just like a well-tended garden, your sink can flourish again with a little care and attention. Embrace the beauty of imperfection, knowing that every mark tells a story. With the right tools and techniques, you can guarantee your sink remains a resilient centerpiece, reflecting both function and the warmth of your space.