
To tighten your Delta kitchen faucet, start by clearing the area under the sink and using a lamp for better visibility. Use a 1/2 deep socket to access and tighten the retaining nut. Employ a hex wrench for secure connections and a basin wrench for loosening stubborn nuts. Don't forget to lubricate O-rings with grease during maintenance. With these tips, you'll make sure your faucet stays secure; there's more to learn about maintenance and repairs ahead.
Key Takeaways
- Clear the area beneath the sink for easy access to the faucet components and tools needed for tightening.
- Use a 1/2 deep socket or a hex wrench to tighten the retaining nut beneath the sink securely.
- If the nut is stuck, utilize a basin wrench to gain leverage and loosen it before tightening.
- Periodically check and tighten the retaining nut to prevent future loosening and leaks.
- Document any repairs or adjustments made for future reference and troubleshooting.
Preparing for the Repair

Before you immerse yourself in tightening your Delta kitchen faucet, it's essential to prepare your workspace effectively.
Start by clearing out the cabinet space beneath the sink to give yourself easy access to the faucet components.
Consider using pillows or foam pads to support your back while you're lying under the sink. This makes the repair process more comfortable.
A clamp-type work lamp will illuminate your workspace, making it easier to see the faucet and where you'll be working.
Don't forget to place a small fan nearby to keep cool in the tight space.
Finally, spread a towel over the countertop to protect its surface from any tools or debris that may fall during your repair.
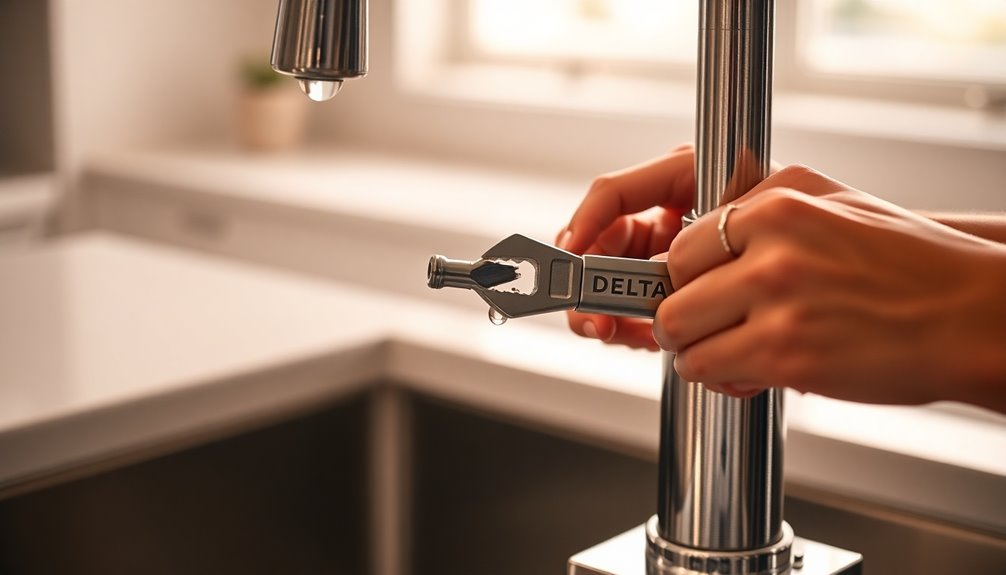
Tools and Techniques for Tightening and Lubrication
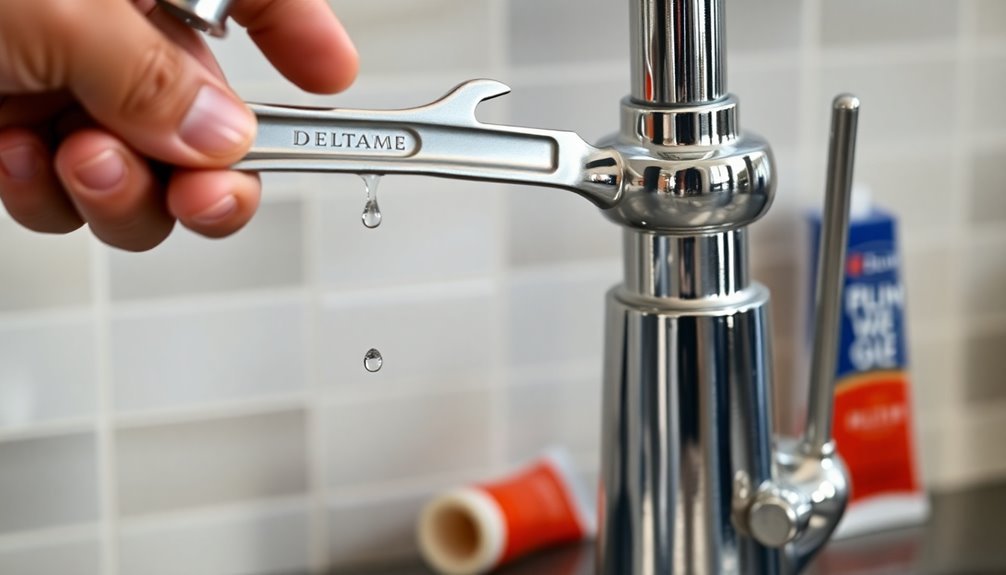
Tightening a Delta kitchen faucet requires the right tools and techniques to assure a smooth repair. Start with a 1/2 deep socket and a hex wrench to access the retaining nut beneath the sink. If the nut's stuck, a basin wrench can help you get the leverage you need to loosen it before you tighten the faucet. Don't forget to disconnect the sprayer hose for easier access.
Here's a handy table to guide you:
| Tool | Purpose | Tips |
|---|---|---|
| Deep Socket | Accessing retaining nut | Use with a long extension |
| Hex Wrench | Tightening connections | Assure a snug fit |
| Basin Wrench | Loosening stuck nuts | Use for better leverage |
Also, lubricating O-rings with grease can improve performance and prevent future issues.
Additional Repair Work and Maintenance

Maintaining a Delta kitchen faucet goes beyond tightening connections; regular repair work is key to keeping it in top shape.
Start by checking and tightening the retaining nut under the sink periodically to avoid loosening from frequent use. During maintenance, lubricate the O-rings and other moving parts to guarantee smooth operation and prevent wear.
If you notice the retaining nut is damaged, consider fabricating a new one from brass rod for a precise fit.
Additionally, reseat the gasket by removing the faucet assembly, cleaning the surface, and applying clear silicone rubber sealer for a watertight seal.
Finally, document any repairs or modifications you make for future reference, which can help troubleshoot potential issues down the line.
Custom Parts Fabrication

Custom parts fabrication can be essential for keeping your Delta kitchen faucet in ideal condition, especially when components like the retaining nut become damaged.
If the original nut is unusable, you may need to create a new one from brass rod. Using a lathe to cut threads and a mini-mill to form flats guarantees the nut fits precisely during reinstallation.
To access the nut easily, remove the braided hose, simplifying the replacement process. Incorporating spacers into the design enhances accessibility for future adjustments.
Documenting your custom parts fabrication process can also provide a valuable reference for upcoming repairs, maintaining consistent quality and compatibility with your Delta kitchen faucet's set screw.
Gasket Reseating and Accessibility Features
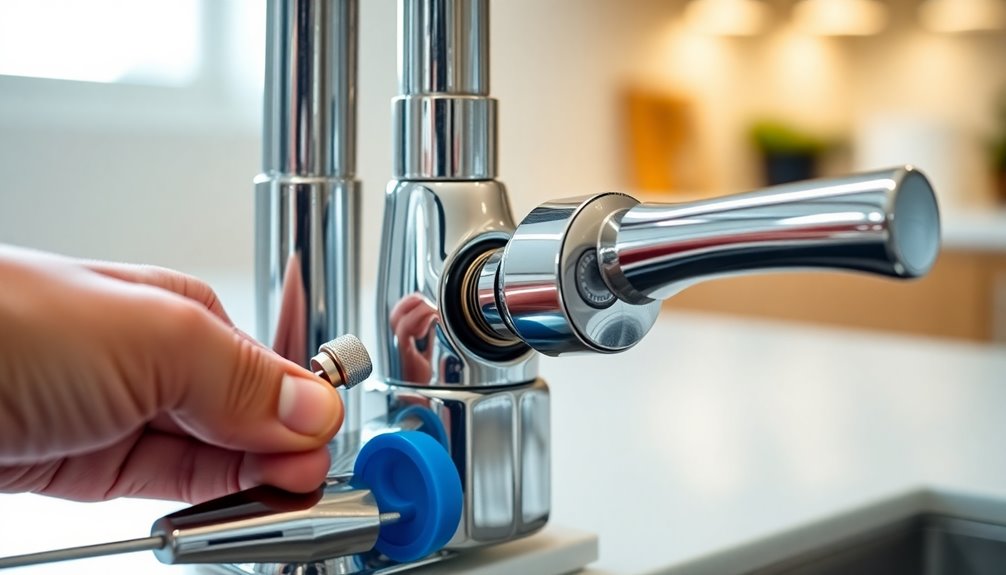
When you're dealing with a Delta kitchen faucet, reseating the gasket is essential for preventing leaks.
Start by removing the entire faucet assembly and clean the surface using a razor blade to eliminate old sealer, ensuring a smooth fit.
Apply a clear silicone rubber sealer evenly to the gasket's bottom, then reposition it for a watertight seal.
Allow the silicone to cure for several hours before reinstalling the faucet assembly.
To improve accessibility features for future repairs, consider creating a spacer or adjusting the retaining nut's position.
Utilizing a mini lathe can help fabricate custom components that enhance access and make maintenance easier for your Delta faucets, ultimately saving you time and hassle down the line.
Frequently Asked Questions
How to Tighten a Delta Kitchen Faucet Handle?
To tighten your faucet handle, first, locate the set screw on the handle.
You'll need a hex wrench; typically, a 1/8 inch for single handles or a 3/32 inch for two handles.
Insert the wrench and turn it clockwise to secure the screw.
If the handle's still loose, remove it, re-seat it on the stem, and tighten the screw again.
Regular maintenance can help keep your faucet functioning smoothly.
How Do You Tighten a Loose Kitchen Faucet?
Imagine getting splashed by a loose kitchen faucet while washing dishes—frustrating, right?
To tighten a loose kitchen faucet, start by clearing out the space under your sink.
Grab a basin wrench or socket wrench, then locate the retaining nut beneath the faucet.
Turn it clockwise to secure it. If it's stuck, a little penetrating oil can help.
Once tightened, test the handle to guarantee it's stable and won't budge during use.
How Do You Fix a Wobbly Kitchen Tap?
To fix a wobbly kitchen tap, start by locating the retaining nut beneath the sink that holds the faucet in place.
You'll likely need a 1/2 deep socket for this. If space is tight, use a basin wrench or a long extension ratchet to reach the nut.
Before tightening, check for any misplaced spacers or gaskets.
Once you've secured the nut, wiggle the faucet handle to guarantee it's stable.
How Do You Tighten Faucet Fittings?
To tighten faucet fittings, start by turning off the water supply to avoid leaks.
Next, grab a basin wrench or a deep socket with an extension to reach the retaining nut under the sink.
If there's a set screw on the handle, use a hex wrench to tighten it clockwise.
You might need to disconnect the sprayer hose for better access.
Finally, test the faucet to guarantee it operates smoothly without leaks.
Conclusion
By following these steps, you can easily tighten your Delta kitchen faucet and keep it running smoothly. Think of your faucet as a well-tuned instrument—each adjustment brings harmony to your kitchen. Regular maintenance and a little lubrication can prevent future issues and extend the life of your faucet. So, roll up your sleeves, grab your tools, and give your faucet the care it deserves. With just a bit of effort, you'll guarantee it flows like a gentle stream.